
If you think making sushi at home is tough, I’m here to tell you that the real secret isn’t the fussy fish slicing—it’s the rice! Seriously, your finished roll or bowl is only as good as the base layer. I spent months tweaking, failing, and splattering vinegar mixtures everywhere trying to nail that authentic, sticky texture. But I finally cracked the code! This guide is my answer for turning humble short-grain rice into perfect, glistening sushi rice that tastes exactly like what you get at your favorite spot. Mastering this fundamental skill will make all the difference in your kitchen confidence. When you nail the sushi rice, everything else just falls into place. You’ll want to check out my dough guide too when you’re ready for pizza night: easy homemade pizza recipe!
- Why Perfect sushi rice is the Foundation of Great Sushi
- Gathering Ingredients for Authentic japanese rice seasoning
- How to Prepare sushi rice using the Stovetop sushi rice instructions
- Alternative: Instant pot sushi rice recipe for consistency
- Mastering japanese rice seasoning and cooling for sticky rice for sushi guide
- Tips for Success when making your sushi rice at home
- Frequently Asked Questions about perfect sushi rice recipe
- Using Your sushi rice for a beginner sushi making base
- Nutritional Estimate for this sushi rice recipe
Why Perfect sushi rice is the Foundation of Great Sushi
I can’t stress this enough: the rice is the whole show! You can have the most expensive tuna in the world, but if your rice is hard, mushy, or flavorless, the whole experience is ruined. We are aiming for that magical balance—it has to be sticky enough to hold the roll together, but each grain must still peek out pleasantly. That’s what separates the good homemade sushi from the true restaurant quality sushi rice.
It’s all about respecting the two non-negotiables: texture and seasoning. Get those right, and you’ve won half the battle. If you are looking for another foundational concept to master, my guide to fluffy scrambled eggs shows how technique matters for simple staples too!
Selecting the Best Rice for sushi rice
Forget your long-grain Basmati or Jasmine; that type of rice just won’t cut it. You absolutely must use short-grain Japanese rice. Sometimes it’s labeled as Calrose if you’re closer to the West Coast, but look specifically for the descriptor “sushi rice.”
These specific grains have the right amount of starch content—amylopectin—which is what gives you that perfect, cohesive stickiness when cooked. Long-grain rice separates too much, making rolling impossible. Trust me, your sushi will fall apart if you substitute!
Gathering Ingredients for Authentic japanese rice seasoning
Okay, ingredient gathering! This is where we build the flavor foundation that makes this sushi rice taste like it came straight from Tokyo. You only need a few things, but their quality really shines through because there are so few components. Make sure you have your short-grain rice ready—we discussed grabbing that already, right?
Beyond the rice itself, the seasoning mixture is critical. We’re making an easy blend of rice vinegar, granulated sugar, and salt. If you’re getting ready for a brunch and need something different, my cheesy egg bake is a great make-ahead option for feeding a crowd!
Notes on the sushi vinegar seasoning ratio
Listen carefully; this ratio is the heart of your authentic japanese rice seasoning. For every two cups of uncooked rice, we use half a cup of rice vinegar mixed with three tablespoons of sugar and one teaspoon of salt. This gives you that perfect tang and sweetness that balances the richness of your sushi fillings.
Seriously, don’t mess with this balance! Also, please make sure you’re using actual rice vinegar, not apple cider vinegar. The flavor profile is completely different, and it will throw off your beautiful sushi rice.
How to Prepare sushi rice using the Stovetop sushi rice instructions
If you don’t have a fancy rice cooker, don’t sweat it! The stovetop method is how I started, and honestly, it gave me more control over the final texture of my sushi rice. This method requires your full attention for about 30 minutes, so set a timer and stay near the stove!
First things first: rinsing! You have to rinse that rice until the water runs perfectly clear—this gets rid of excess surface starch so your final product isn’t gummy glue. Then, combine the rinsed rice with exactly two cups of cold water for two cups of dry rice. It feels like a lot, but trust me on the ratio!
Bring the pot to a rolling boil over medium-high heat. Once it’s boiling hard, immediately drop the heat down to the absolute lowest setting. Cover it with the tightest-fitting lid you have. Here’s my biggest piece of advice, something I learned the hard way: Do not, under any circumstances, lift that lid for the next 15 minutes!
When the 15 minutes are up, kill the heat entirely, but keep the lid on. Let it rest, undisturbed, for another 10 minutes. That steam trapped inside does the final magic for creating that soft, perfect base for your homemade sushi. Once you’re done with the stovetop fuss, you should check out my easy vegan banana bread if you need something sweet later!
Once rested, you’ll transfer it carefully, but before you do, you can sneak a peek at how others approach it over at aline-made.com just for comparison!
Alternative: Instant pot sushi rice recipe for consistency
Okay, sometimes I just don’t have the focus to hover over a pot, you know? If you’re someone who needs iron-clad consistency and hates fiddling with the heat settings, the Instant Pot is your best friend for achieving that perfect sticky rice texture. It makes life so much easier when you’re aiming for restaurant quality without the guesswork!
For this method, we are sticking to the perfect 1:1 water-to-rice ratio, which is different from the stovetop, so pay attention! Put your rinsed rice and the water into the inner pot.
Seal it up, make sure the vent is set to sealing, and cook on High Pressure for exactly four minutes. That’s it! The magic happens during the release: you must allow a Natural Pressure Release (NPR) for ten minutes after those four minutes are up. After the 10 minutes pass, you can manually quick release any remaining steam.
This method is fantastic for beginners trying to master the base for their homemade sushi. While you wait for the pot to de-pressurize, maybe check out my super flavorful, just-as-easy Instant Pot White Chicken Chili for dinner later this week!
If you want to see how another great cook handles this method, Umami Girl has a solid approach over at umamigirl.com.
Mastering japanese rice seasoning and cooling for sticky rice for sushi guide
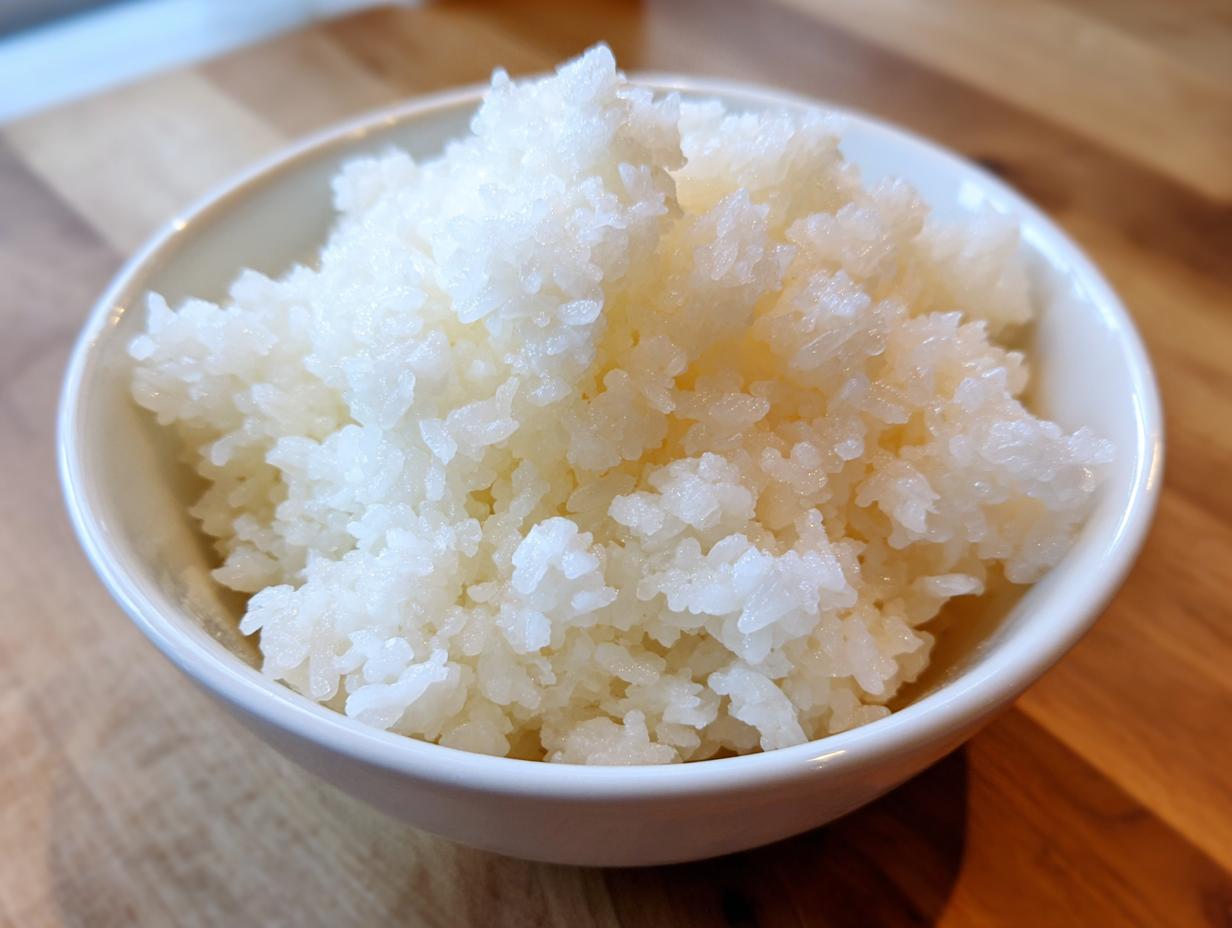
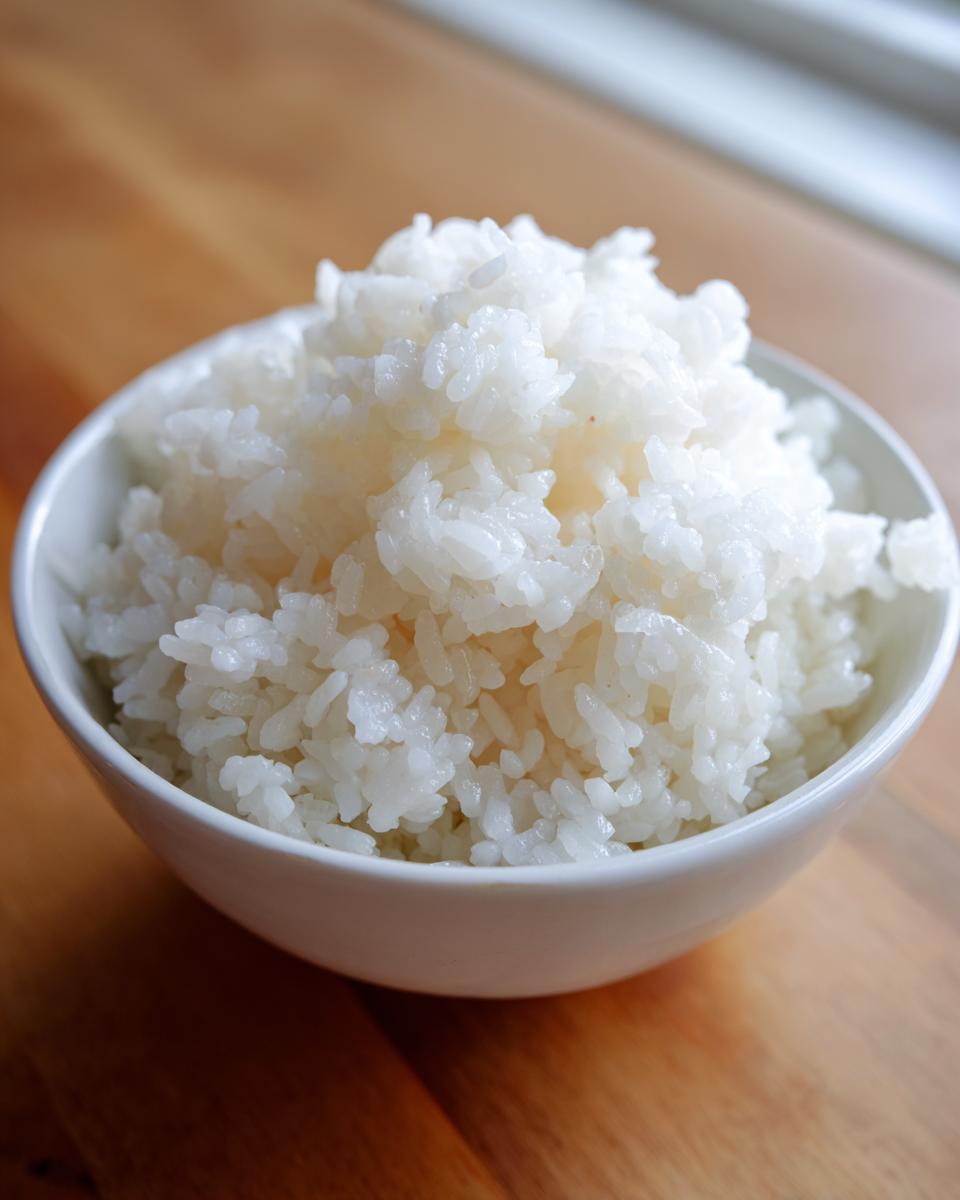
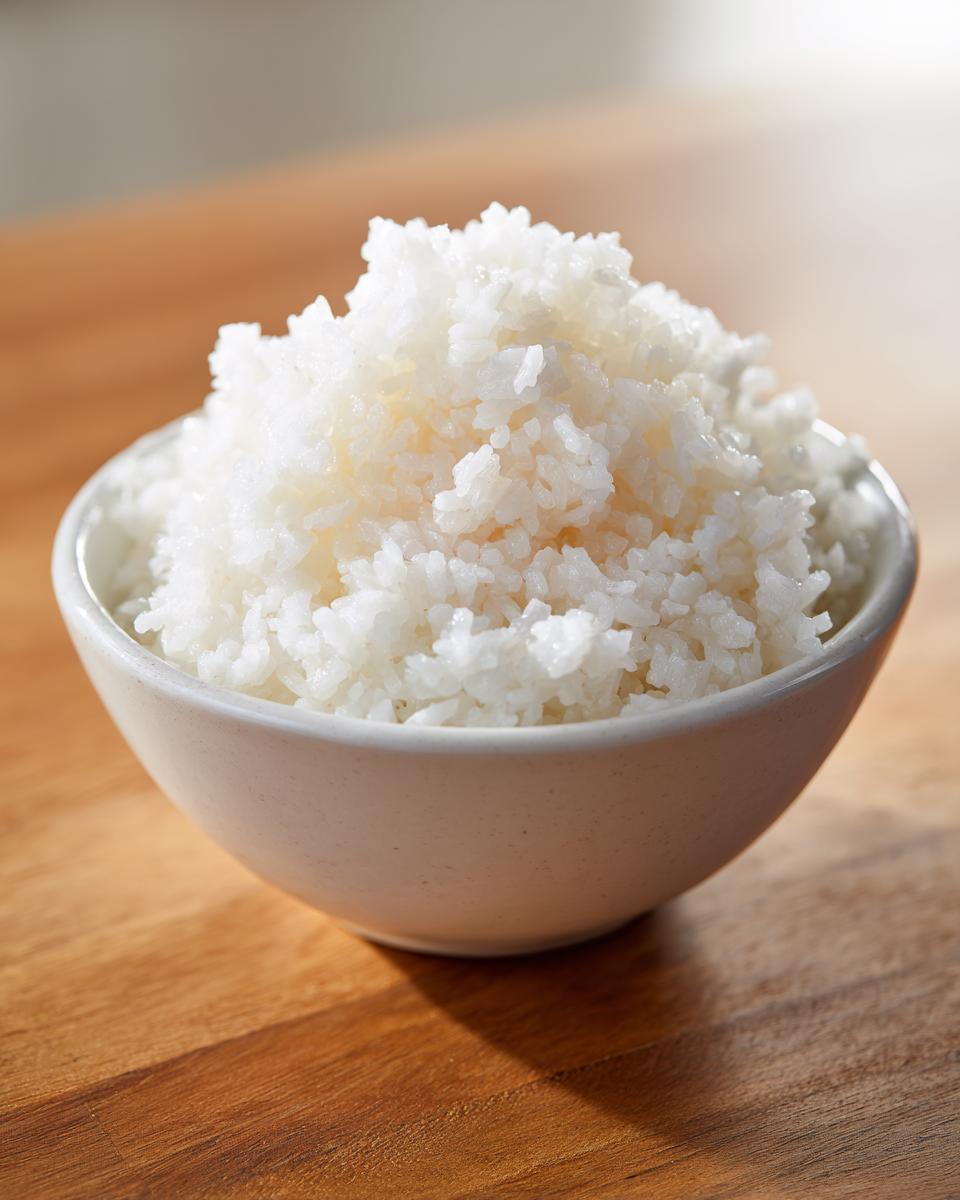
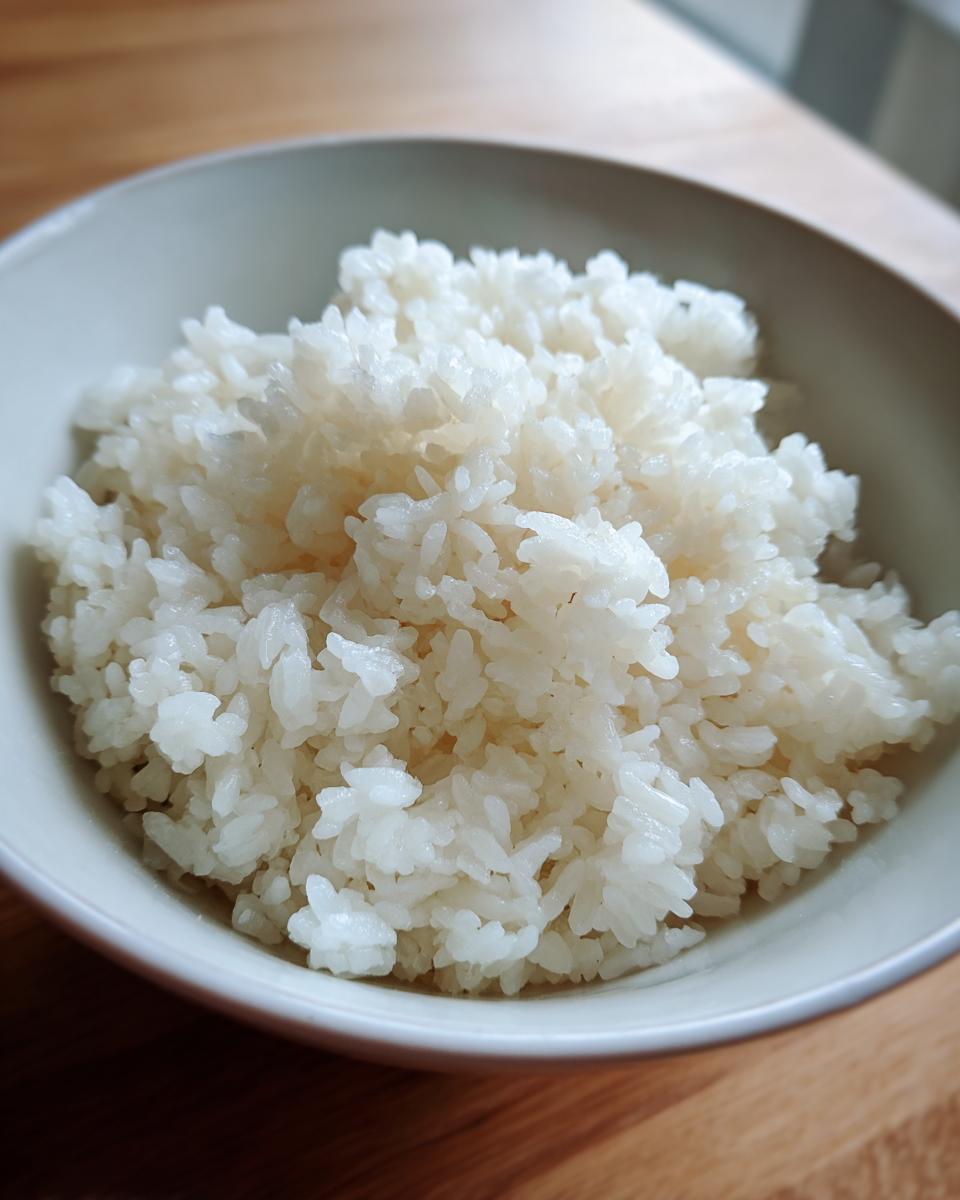
Alright, this next part—combining the seasoning and cooling the rice—is truly where you secure that amazing, restaurant-level texture. Seriously, don’t rush this, or you’ll end up with a bowl of sticky, sweet mush instead of gorgeous, separate grains. First, you have to transfer the hot rice immediately to a very wide, non-metallic bowl. Wood is traditional and ideal because it absorbs a tiny bit of moisture, but glass or even a clean plastic bowl works if you don’t have the special Japanese Hangiri.
Now, remember that vinegar mixture we made? Pour it evenly over the hot rice. Then, resist the urge to stir! Stirring breaks the grains, and we want intact, pearly grains. Instead, use a rice paddle and employ a gentle ‘cutting’ or folding motion. Imagine you are turning over a delicate cake layer. You want to integrate the seasoning without bruising the rice.
As you fold, you absolutely must fan the rice. Fanning cools it down fast, which helps the starch set just right and gives the rice that iconic, healthy sheen. Keep folding and fanning until the rice cools down to just slightly warmer than body temperature. It shouldn’t be steaming hot when you go to roll your sushi. This quick cooling is the secret to the perfect sticky rice for sushi guide! When you’re done, that rice is ready for action, or you can find some extra inspiration on techniques over at whisli.com. If you need a warm-up snack while you wait for that rice to cool, my apple cinnamon oatmeal is perfect!

Tips for Success when making your sushi rice at home
You’ve gone through all the hard work—rinsing, cooking, seasoning, and fanning! Now, don’t ruin your beautiful work by storing it wrong. The biggest mistake people make when learning how to make sushi rice at home is popping it straight into the fridge. Resist that urge!
Refrigeration kills that perfect texture we worked so hard for. If you aren’t using it all immediately, cover the bowl gently with a slightly damp, clean kitchen towel. This keeps the surface from drying out while allowing the rice to stay at room temperature until needed. If you’ve ever struggled with dry rice, learning proper storage, just like nurturing a sourdough starter, is key!
If your rice has sat out for a few hours and feels a little stiff, don’t microwave it—that just cooks it unevenly. A quick steam over boiling water for just a minute or two will bring the moisture back perfectly before you proceed with rolling.
Storage and Reheating Instructions for sushi rice
Your homemade sushi rice is definitely best eaten the day you make it, ideally within four to six hours. If you absolutely must store it longer, keep it covered with a damp cloth at cool room temperature. Never put it in the fridge because extreme cold hardens the starches immediately, making it impossible to use for sushi.
To revive slightly stiff rice, skip the microwave! Pop it in a steamer basket over simmering water for about sixty seconds. That gentle heat coaxes the moisture back without making it gloopy.
Frequently Asked Questions about perfect sushi rice recipe
I know when you’re learning a new technique, questions pop up left and right! That’s totally normal, especially when you’re trying to achieve that high standard for your perfect sushi rice recipe. Here are the things I got asked most often when I was first starting out with this base recipe!
Can I use long-grain white rice instead of short-grain for sushi rice?
Oh, please don’t! If you want that satisfying sticky texture that holds your roll together, you need short-grain rice. Long-grain varieties, like Jasmine or Basmati, just don’t have enough of that essential starch. They cook up fluffy and dry, and they’ll fall apart the second you try to shape them. Stick to the Japanese or Calrose type for quality results!
How long does homemade sushi rice last?
Honestly, the window here is small—it is truly best used within four to six hours of making it, while it’s still perfectly seasoned and slightly warm/room temp. If you leave it longer, the texture starts to degrade rapidly, even if you store it correctly covered with a damp cloth. The seasoning starts to dry out the grains, and it loses that essential body for rolling.
What is the purpose of fanning the sushi rice?
That fanning step isn’t just for show, promise! It’s critical for cooling the rice down quickly and evenly. We are aiming for body temperature—not hot, not cold. This rapid cooling process is what sets the starch perfectly, giving your sushi rice that beautiful, glossy sheen and ensuring it has that perfect soft adhesion we love in restaurant quality sushi rice. It’s a pro move for ensuring homemade excellence!
If you feel like you need a savory break after all that rice practice, my recipe for easy garlic parmesan meatloaf is total comfort food!
Using Your sushi rice for a beginner sushi making base
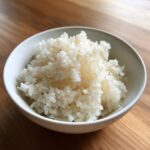
You’ve done the hard part—the perfect sushi rice is ready! It’s sitting there, glossy and slightly warm, just begging to be used. This mixture is truly the only thing you need to get started on your sushi journey. It’s the essential first step for any homemade sushi starter guide!
Your next step is simple: get rolling! You can shape this rice into basic rolls (maki) or just layer it in a bowl with some toppings for a fun sushi bowl. Once you’ve mastered the rice, the fillings are totally up to you. Check out my skillet lasagna if you want a different one-pan weeknight win, but for now, go make some rolls! You can see some inspiration on shaping rice over at cookingfee.com.
Nutritional Estimate for this sushi rice recipe
Okay, let’s talk fuel for a second. While this recipe is all about technique and flavor, a little nutrition knowledge never hurt anyone! You’re going to be eating this homemade sushi rice as the base for your rolls or bowls, so it’s good to have a general idea of what you’re consuming.
Based on the core ingredients—the rice, vinegar, sugar, and salt—here is a rough estimate for a single serving size (about one cup of the cooked, seasoned rice). Remember, this is just a starting point! Your actual numbers will shift depending on the brand of rice you buy and exactly how much sugar you dissolve into that vinegar mix.
If you’re looking for something on the lighter side after your sushi session, my recipe for the easy crunchy cabbage salad is fantastic!
- Serving Size: 1 cup cooked
- Calories: Around 205 kcal
- Carbohydrates: Roughly 45g
- Sugar: Approximately 8g (from the seasoning)
- Protein: About 4g
- Fat: Very low, less than 1g total
- Sodium: Around 280mg (depending heavily on the salt added)
Just a quick word of warning: These values are estimates based on the recipe measurements we used. If you decide to go heavy on the sugar in your seasoning mixture, that sugar and calorie count will climb! Treat this as a helpful guideline, not a precise lab report. Enjoy your perfect rice!
PrintFoolproof Sushi Rice: Master Perfect Sticky Seasoned Rice at Home
Learn how to make restaurant-quality sushi rice (Shari) at home using short-grain rice. This guide provides clear steps for achieving the perfect sticky texture and authentic seasoning ratio for your homemade sushi rolls and bowls.
- Prep Time: 15 min
- Cook Time: 25 min
- Total Time: 40 min
- Yield: 4 servings 1x
- Category: Side Dish
- Method: Stovetop/Rice Cooker
- Cuisine: Japanese
- Diet: Vegetarian
Ingredients
- 2 cups short-grain Japanese rice (or Calrose rice)
- 2 cups cold water (for cooking)
- 1/2 cup rice vinegar
- 3 tablespoons granulated sugar
- 1 teaspoon salt
Instructions
- Rinse the rice: Place the rice in a fine-mesh sieve or bowl. Rinse under cold running water, gently agitating the rice with your hand until the water runs clear. Drain completely.
- Cook the rice: Combine the rinsed rice and 2 cups of cold water in a heavy-bottomed pot with a tight-fitting lid, or in your rice cooker/Instant Pot according to its specific instructions for short-grain rice.
- Stovetop method: Bring the water to a boil over medium-high heat. Once boiling, immediately reduce the heat to the lowest setting, cover tightly, and simmer for 15 minutes. Do not lift the lid.
- Rest the rice: Remove the pot from the heat and let it stand, covered, for another 10 minutes. This step is crucial for texture.
- Prepare the seasoning: While the rice rests, combine the rice vinegar, sugar, and salt in a small saucepan. Heat gently over low heat, stirring until the sugar and salt fully dissolve. Do not boil. Remove from heat and let cool slightly.
- Season the rice: Transfer the hot, cooked rice to a large, non-metallic bowl (wood or glass is best). Pour the vinegar mixture evenly over the rice.
- Fold and cool: Using a cutting or folding motion with a rice paddle or spatula, gently incorporate the seasoning into the rice. Avoid stirring or mashing the grains. Fan the rice as you fold to help it cool quickly to body temperature, which gives it the proper sheen and stickiness.
- Use immediately or cover: Use the sushi rice right away for rolls or nigiri, or cover the bowl with a damp cloth until ready to use. Do not refrigerate.
Notes
- Use short-grain rice, often labeled as sushi rice or Calrose, for the best sticky texture.
- Do not skip the rinsing step; removing excess starch prevents gummy rice.
- When seasoning, use a cutting motion rather than stirring to keep the grains intact.
- For Instant Pot users, use a 1:1 water-to-rice ratio and cook on High Pressure for 4 minutes, followed by a Natural Pressure Release for 10 minutes.
Nutrition
- Serving Size: 1 cup cooked
- Calories: 205
- Sugar: 8
- Sodium: 280
- Fat: 0.3
- Saturated Fat: 0.1
- Unsaturated Fat: 0.2
- Trans Fat: 0
- Carbohydrates: 45
- Fiber: 0.5
- Protein: 4
- Cholesterol: 0