
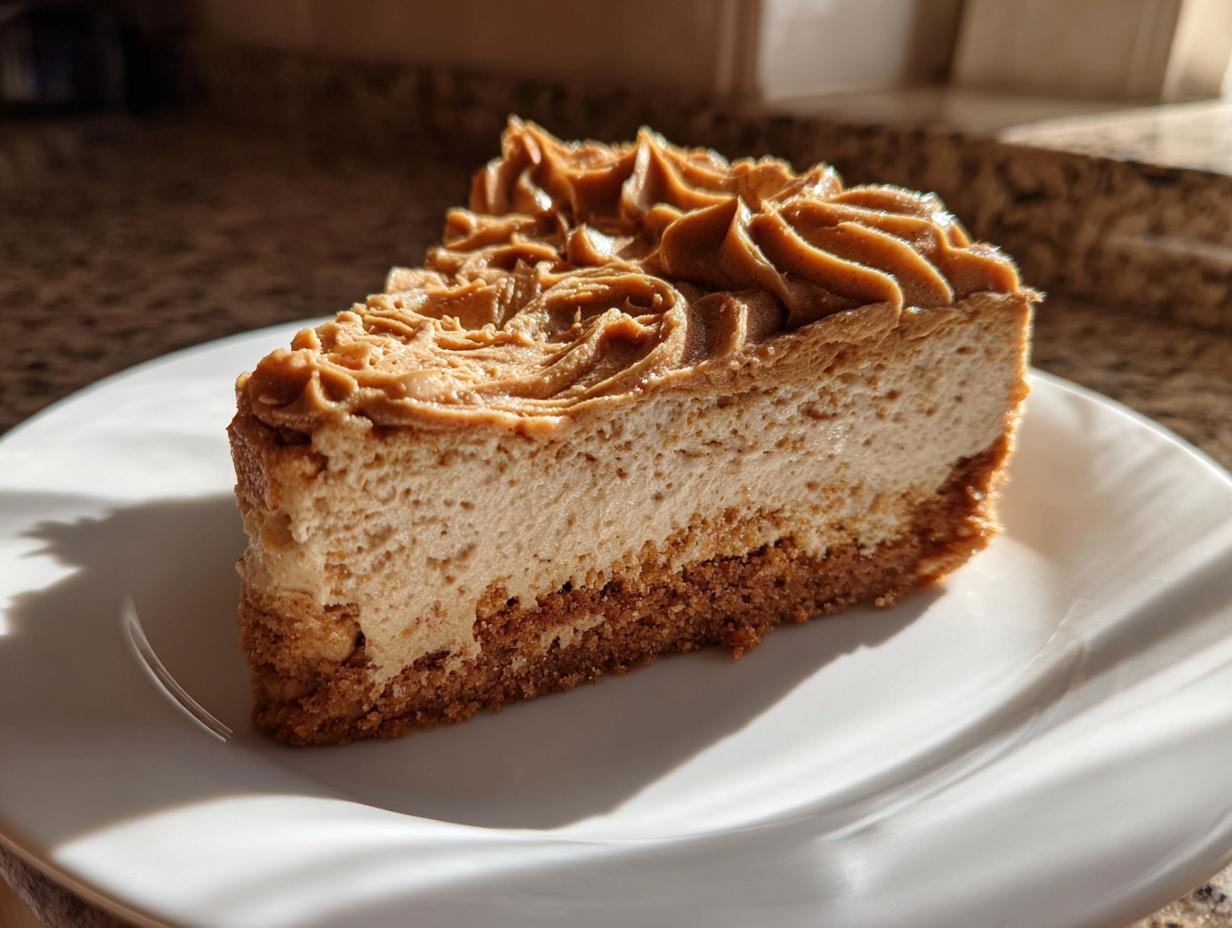
Sometimes, you just need a dessert that screams decadence but whispers, “I barely tried.” If you are like me, Aria Thompson, and believe that extraordinary flavor shouldn’t require turning on the oven, then you’ve found your new obsession. Forget complicated fillings and temperamental baking; we are diving headfirst into the **biscoff cheesecake**. This ultimate recipe is unbelievably rich and creamy, yet it’s designed using my home-cook philosophy: simple, foolproof steps guarantee success every single time. That spiced cookie butter goodness you get from the crust and filling is pure magic. I actually learned a thing or two about quick sauces while developing recipes like my easy homemade teriyaki sauce, and that lesson—efficiency equals happiness—goes right into making this **biscoff cheesecake** work for your busy life.
- Why This No-Bake Biscoff Cheesecake Is Your New Family Favorite Dessert
- Gathering Ingredients for Your Biscoff Cheesecake Recipe
- Step-by-Step Instructions for No Bake Biscoff Cheesecake
- Tips for Success with Your Homemade Cheesecake
- Ingredient Notes and Biscoff Cheesecake Variations
- Storage & Reheating Instructions for Your Biscoff Dessert
- Frequently Asked Questions About This Easy Cheesecake
- Estimated Nutritional Data for One Slice of Biscoff Cheesecake
- Share Your Ultimate Biscoff Dessert Creations
Why This No-Bake Biscoff Cheesecake Is Your New Family Favorite Dessert
I’m telling you, out of all the **biscoff dessert ideas** I’ve ever made, this **biscoff cheesecake** recipe is hands-down the one that gets requested for every single family gathering now. It’s just so impossibly rich and satisfying! The first time I pulled it out to surprise my friends, everyone assumed I’d been using my oven for hours. When I confessed it was a completely **no oven dessert**, they were stunned. That’s the beauty of this **easy cheesecake**—it delivers huge, **indulgent treats** flavor without the fuss.
This **creamy cheesecake** earns its spot as a **family favorite dessert** because it respects your time. It has that wow factor needed for **party desserts**, but it requires almost no effort from me.
Quick Prep Time for Ultimate Biscoff Dessert Ideas
Seriously, active prep time is about 20 minutes, tops! You mix the crust, press it, and then you whip up the filling. That quick turnaround means you can decide on a whim you want a truly **decadent cheesecake** after dinner, and it’ll be setting up in the fridge before you’ve finished cleaning your mixing bowl. It’s the definition of **simple sweets**!
Achieving That Signature Creamy Cheesecake Texture
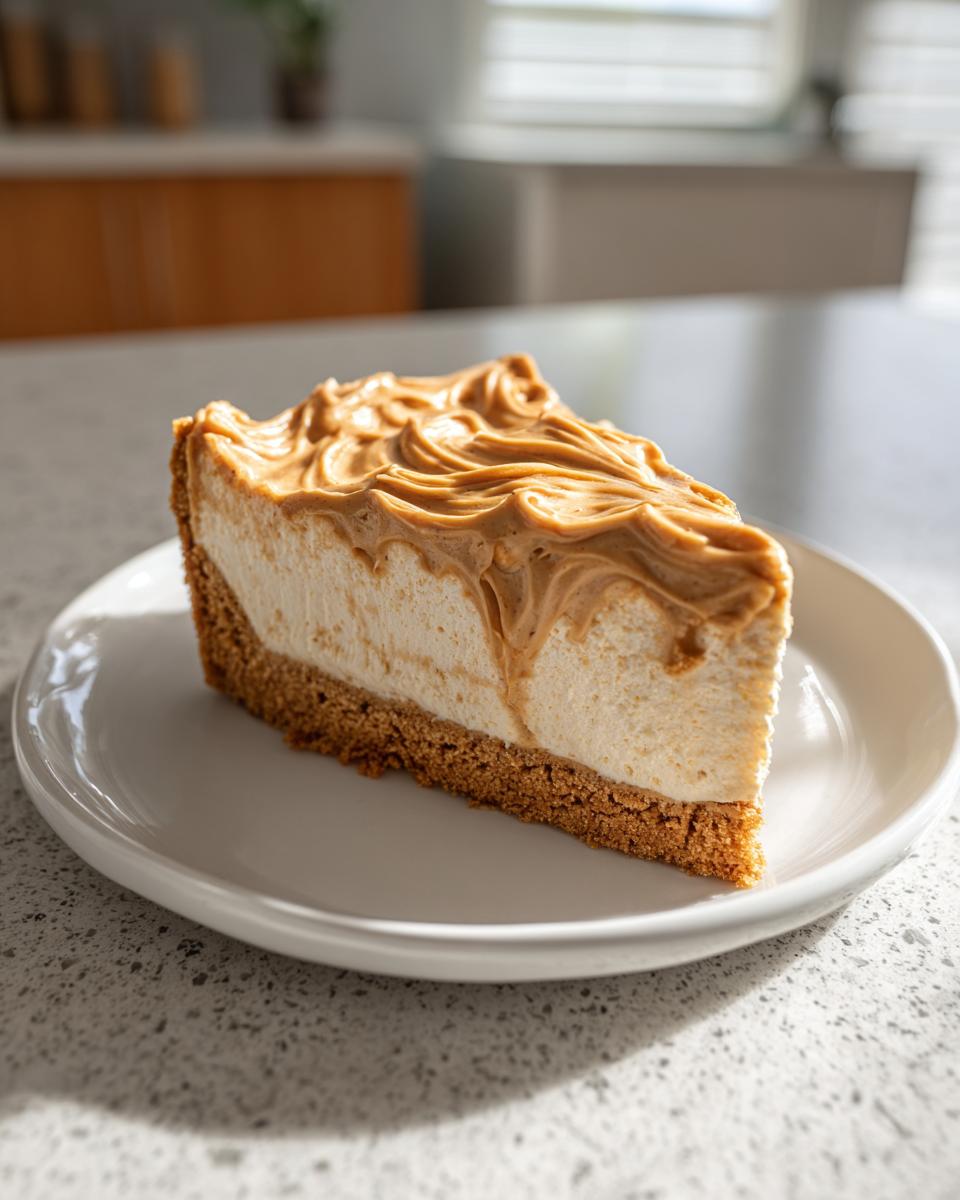
The secret to that super smooth, melt-in-your-mouth **creamy cheesecake** texture is how we handle the dairy. We don’t rely on baking to set this thing; we rely on perfect folding. By whipping the heavy cream separately until stiff peaks form and then gently folding it into the stabilized cream cheese and **cookie butter dessert** base, we incorporate air without smashing it down. That delicate technique is what gives you that light yet firm set you see in the best **homemade cheesecake**.
If you’re new to the no-bake game, trust me on this folding step—it makes all the difference when you’re making this beautiful easy dessert recipe.
Gathering Ingredients for Your Biscoff Cheesecake Recipe
Okay, getting ready for this **Biscoff Cheesecake Recipe** is honestly the easiest part! I always tell folks that one of the biggest wins with this **cookie butter dessert** is that the ingredient list is short and sweet, focusing only on what matters for maximum flavor impact. We need that rich, spiced cookie butter and some good quality cream cheese to get that incredible mouthfeel. Remember, since this is a **no bake cheesecake**, the quality of the main flavor stars really shines through!
Before you start mixing, make sure your cream cheese is really softened up—that’s crucial for a smooth result. I usually leave mine out for at least an hour. If you need a quick refresher on getting smooth frosting, check out my guide on vanilla buttercream; the principle of gentle mixing is the same!
Biscoff Crust Recipe Components
You only need two things to make the magic happen on the bottom layer, giving us that perfect **Biscoff crust recipe** base:
- 1 1/2 cups Biscoff cookie crumbs (you’ll need about 25 cookies total for this measure)
- 6 tablespoons unsalted butter, melted
Creamy Filling Ingredients for Biscoff Cheesecake
This is where the **decadent cheesecake** comes together. Don’t skimp on softening that cream cheese, okay?
- 16 ounces cream cheese, softened
- 1 cup powdered sugar
- 1 teaspoon vanilla extract
- 1/2 cup heavy whipping cream, cold (don’t substitute this—it needs to whip up!)
- 1 cup Biscoff cookie butter, slightly warmed (we warm this just so it folds in nicely, not to melt it!)
- 1/4 cup Biscoff cookie butter, for topping
- Optional: Whole Biscoff cookies for garnish
Step-by-Step Instructions for No Bake Biscoff Cheesecake
I know, I know, the anticipation is killing you! You have all your ingredients ready for this amazing **biscoff cheesecake**, and you just want to get that cookie butter layer mixed. Don’t rush this part, though. Even though it’s a **no bake dessert**, success hinges on making sure each layer sets up perfectly. We’re building structure layer by layer, which is why this recipe is so reliable. If you follow these steps, you’ll have the most beautiful, **creamy cheesecake** possible. This process reminds me a lot of setting up my millionaire pie, where patience in the chilling stage makes all the difference!
Preparing the Spiced Cookie Butter Crust
First up, let’s get that spiced base ready. This is what gives the **biscoff cheesecake** that signature crunch against the smooth filling.
- You’ll want to mix the Biscoff cookie crumbs and the melted butter together in a bowl. Just keep stirring until the whole mixture starts looking like wet sand—that’s the perfect moist texture we are aiming for.
- Then, take that crumb mixture and press it down firmly into the bottom of your 9-inch springform pan. I use the bottom of a measuring cup to help me get it really compact and even. Pop that pan straight into the freezer while you get the star of the show—the filling—ready!
Assembling the Decadent Cheesecake Filling
This next part is crucial for that **decadent cheesecake** texture. Remember my note about folding the cream in? This is where we do it!
- Start with your softened cream cheese in a big mixing bowl. Beat it up until it looks smooth, no lumps allowed! Then, slowly add the powdered sugar and vanilla extract, mixing just until everything comes together.
- Now, grab your cold heavy whipping cream and whip it in a separate bowl until you get stiff peaks—shiny, firm peaks that stand up on their own. This is non-negotiable for that airy texture!
- Gently, and I mean *gently*, fold that whipped cream into the cream cheese mixture. Don’t stir it like you mean it; just use a rubber spatula to bring the cream up from the bottom until it’s mostly blended.
- Finally, take that cup of slightly warmed **cookie butter dessert** and gently fold it into the mixture too. Stop as soon as it’s one uniform, beautiful beige color. Overmixing here will deflate all that air we just worked so hard to get in there!
- Pour all that wonderful, **creamy cheesecake** filling right over your chilled crust and spread it out evenly across the top.
Chilling and Serving Your Lotus Cheesecake
We are nearing the finish line on this fantastic **Lotus cheesecake**!
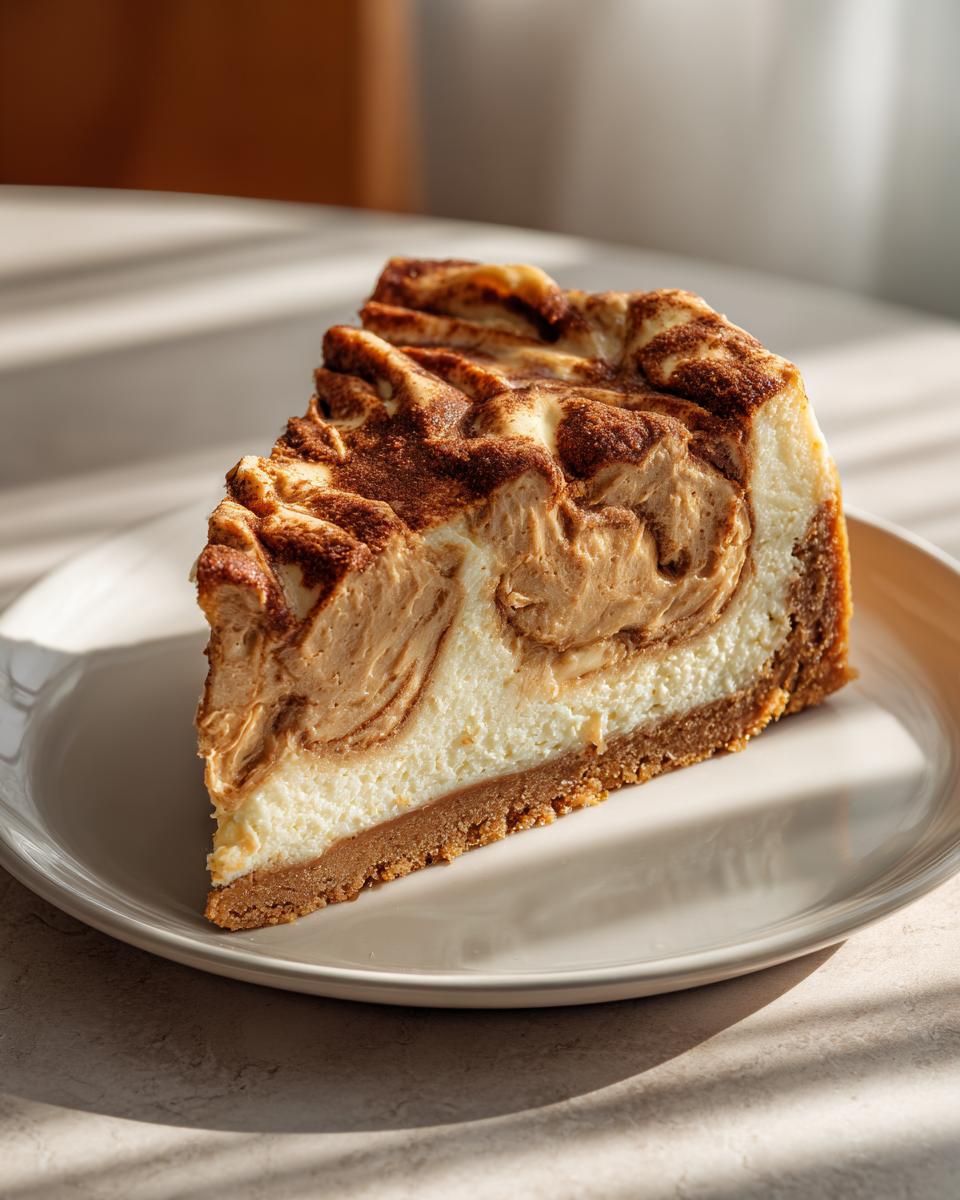
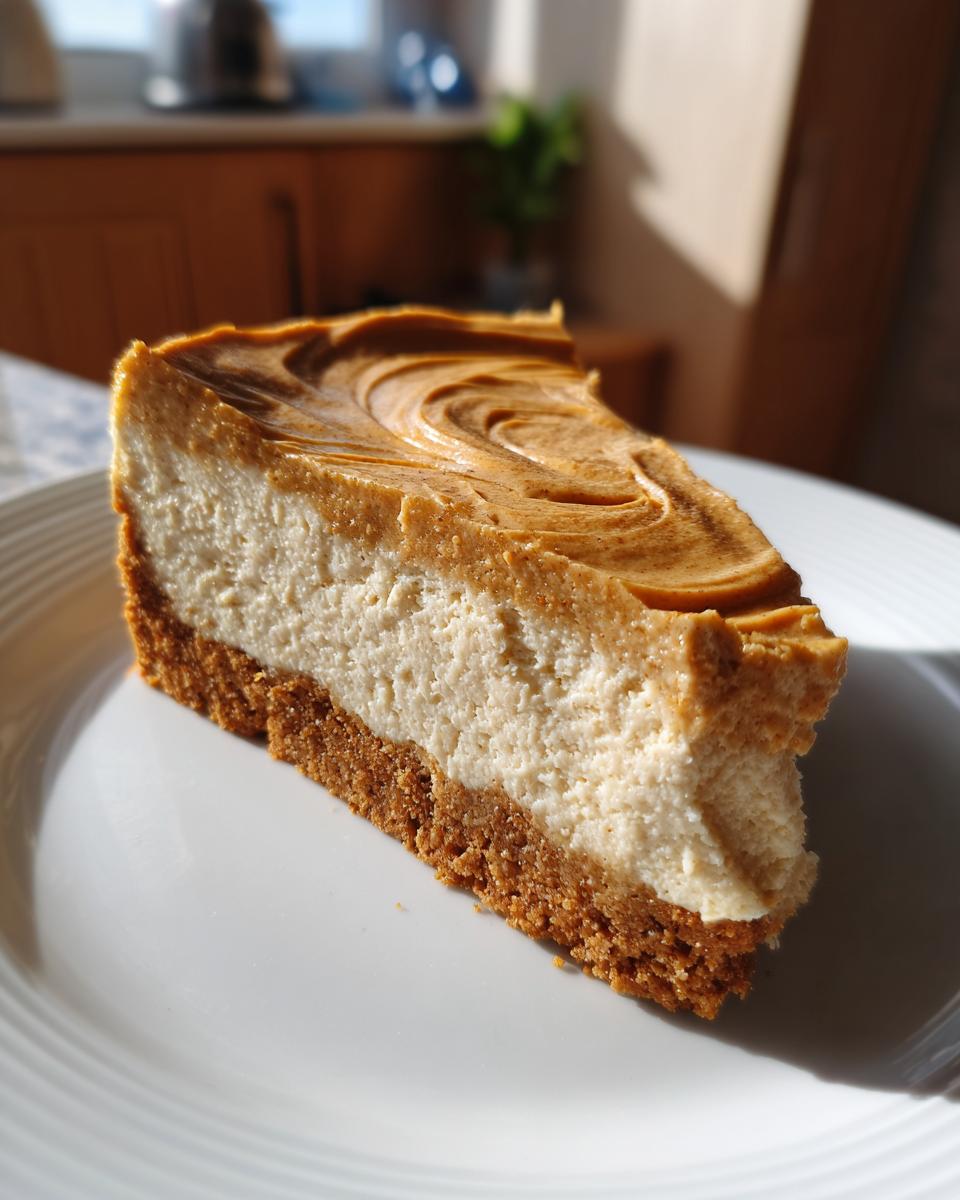
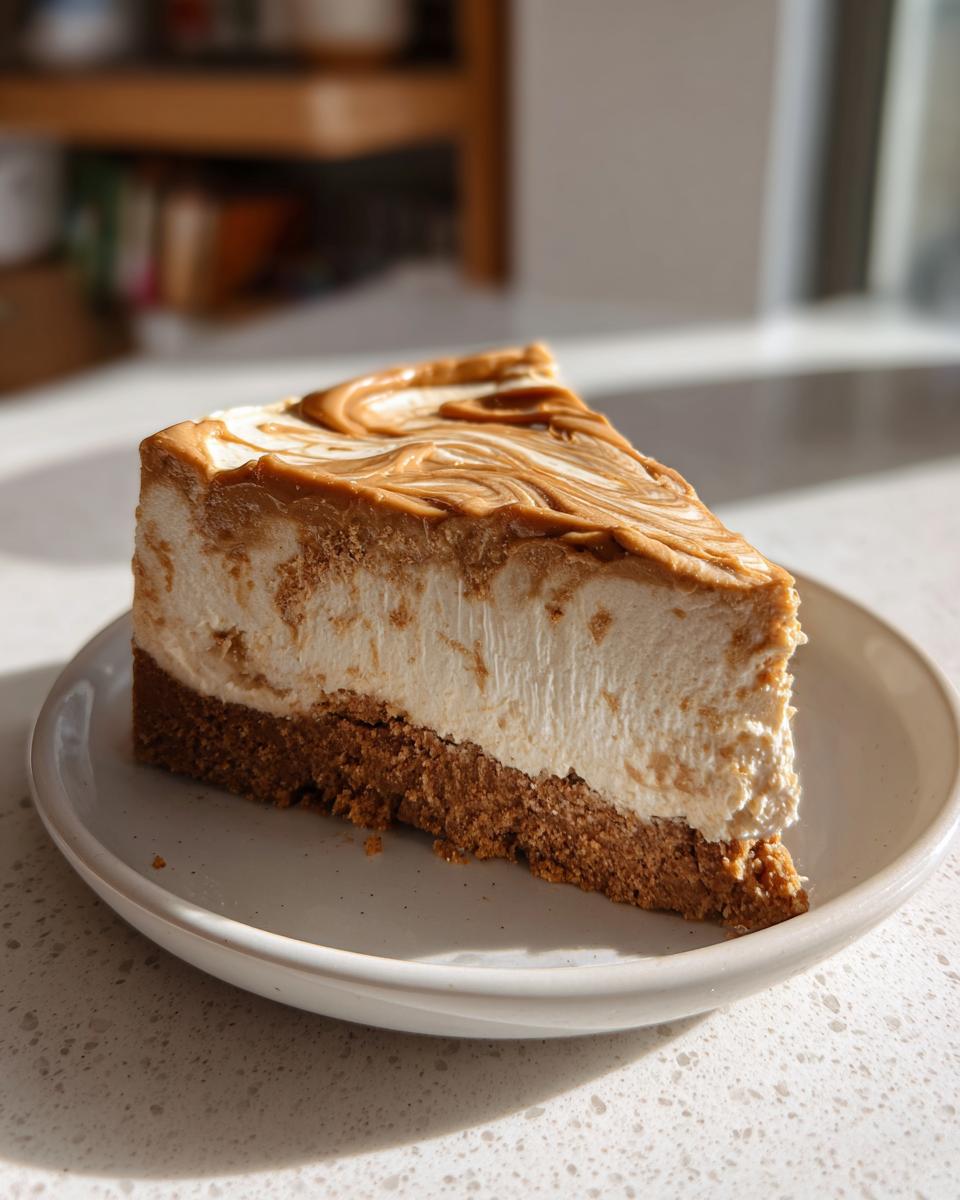
- Take that remaining 1/4 cup of **Biscoff cookie butter** and drizzle it right over the filling. I love using a small knife or even a toothpick to give it a quick swirl so it marbles beautifully on top before it sets.
- Cover the whole thing loosely with plastic wrap—make sure the wrap isn’t touching the top! Now, this is the most important step for any **No Bake Cheesecake**: it needs to chill in the refrigerator for at least 6 hours. Truly, if you can wait overnight, it sets up even firmer and tastes even better. Don’t skip this set time!
- When it’s time to serve this **easy dessert**, carefully release the springform side. If you used parchment paper on the bottom, that’s your insurance policy for an easy slice! Garnish with a few whole cookies if you saved some. Slice it up and enjoy the applause!
Tips for Success with Your Homemade Cheesecake
Even though this is the simplest **biscoff cheesecake recipe** you will ever find, Aria always insists that a few little tricks from my kitchen can take it from good to absolutely unforgettable. These aren’t complicated rules; they are just the tiny details I honed over trial and error to ensure every **homemade cheesecake** is perfect year after year. We are aiming for maximum flavor and zero sticking incidents!
First off, let’s talk about getting this beauty out of the pan cleanly. My mom taught me the greasing dance, but since this rich **cookie butter dessert** has a dense crust, I always use a trick to guarantee an easy release. Before you press your crumbs in, cut a circle of parchment paper and place it right on the bottom of your springform pan. Grease the sides, add the crumbs, and then that paper acts like an elevator when it’s time to serve. It prevents any drama!
Next up is the **cookie butter dessert** itself. If you ever feel like it’s just too stiff to fold into the **creamy cheesecake** filling—which happens, especially if it’s cold in your kitchen—don’t wrestle with it! Take that cup of Biscoff and microwave it gently, maybe for just 15 or 20 seconds. You don’t want it runny, just slightly warm so it incorporates smoothly and doesn’t create little, stubborn pockets of cold butter in your beautiful filling. That’s a game-changer for achieving that smooth, uniform look we love in a **decadent cheesecake**.
Finally, remember that while this is a fantastic **no oven dessert**, the chilling time is basically the baking time! Don’t try sneaking a piece after four hours. At least six hours is the absolute minimum, but if you can let your **biscoff cheesecake** hang out in the fridge overnight, it firms up perfectly, tastes better, and you won’t risk ruining the slice trying to cut it too soon. It’s worth the wait for the best results on this **easy dessert recipe**!
If you’re mastering this, you might also want to check out my tips on making perfect dough for my easy homemade pizza recipe—it’s all about technique consistency, even when the end product is totally different!
Ingredient Notes and Biscoff Cheesecake Variations
Now that you’ve mastered the perfect **Biscoff crust recipe** and that dreamy filling, let’s talk about making this **biscoff cheesecake** absolutely your own. This recipe is built for adaptability—it’s perfect as is for a classic **cookie butter dessert**, but I love experimenting with it! Since we are keeping things simple here at Cooking Zenith, these variations are easy tweaks, not total overhauls. You’re getting top-tier flavor with minimal extra steps, keeping that promise of **easy cheesecake** intact.
If you’ve ever adapted one of my brownie recipes, like the ones for my red velvet cheesecake brownies, you know that sometimes a small addition creates a whole new experience. The same goes here for creating different **cheesecake variations**!
Making a Salted Caramel Biscoff Cheesecake
If you really want to lean into those **indulgent treats** category, this is the way to go. Salted caramel and spiced cookie butter are just soulmates, aren’t they? To elevate this **decadent cheesecake**, all you need to do is prepare your **biscoff cheesecake** base through step 6—before the final swirl on top. Then, instead of just swirling the plain **cookie butter dessert**, drizzle about half a jar of good quality salted caramel sauce over the surface.
Then, take a knife and swirl it in. You’ll get these gorgeous amber rivers throughout the white cheesecake filling. It adds such a lovely salty pop that just takes the already amazing flavor profile to another level. It’s so much easier than I think people expect when they see such a fancy result!
Substitutions for the Cookie Butter Dessert Base
I know Biscoff (or Speculoos, depending on where you shop) is the reigning champion here, and it gives us that signature spice note that makes this **Lotus cheesecake** unique. But what if you run out halfway through, or you just want to try something different? You absolutely can substitute the cookie butter!
You could use a good quality peanut butter if you’re feeling savory, or even use a different spiced cookie crumb for the crust, like gingersnaps mixed with the Biscoff crumbs. However, I have to be honest: if you skip the actual **Biscoff cookie butter** in the main filling, you won’t get that ultimate **biscoff cheesecake** experience we are aiming for. The flavor profile changes significantly. So, while substitutions work for the crust, try your best to keep that spiced cookie butter for the filling—that’s the heart of this specific **easy dessert recipe**!
Storage & Reheating Instructions for Your Biscoff Dessert
Alright, since this **biscoff cheesecake** is a glorious **no bake cheesecake**, we don’t have to worry about reheating it at all—which is a huge bonus! Who wants to microwave something this perfect, anyway? The goal here is pure, chilled, **creamy cheesecake** perfection, and that means storage is key. You want to keep all that lovely air we whipped into the filling intact, and you definitely don’t want it taking on any weird fridge smells!
When you’ve finally managed to restrain yourself (or the guests have gone home!), cover your leftover slices or the whole **cookie butter dessert** tightly. I mean *tightly*. Plastic wrap works great, but if you have leftovers, a slice placed in an airtight container is even better for maintaining that fresh texture. Keep it right in the cold spot of your refrigerator. Because it’s so rich and contains dairy, it shouldn’t stay out on the counter for more than two hours, ever. Keep it cool, keep it covered.
The good news is that this **biscoff cheesecake** actually tastes even better on day two! The chilling process allows those spices from the crust and the swirls of cookie butter to fully meld into the cream cheese base. It holds up beautifully for about four to five days in the fridge, making it one of the absolute best **easy dessert recipes** for making ahead of time for a party. That way, it’s ready to go when you are!
If you needed a make-ahead idea for something warm later, I’d point you towards my brownie batter dip recipe—but for this cheesecake, cold is king!
Frequently Asked Questions About This Easy Cheesecake
You have questions? I have answers! When it comes to baking for friends and family, I know how important it is to get the details right, even with an **easy dessert recipe** like this spectacular **biscoff cheesecake**. Since this is my go-to **no bake cheesecake**, I’ve answered the common worries I hear from folks getting ready to make it for the first time. Don’t stress; these **simple sweets** come together beautifully!
Can I use a graham cracker crust instead of the Biscoff Crust Recipe?
Oh, that’s a great question about the base! You absolutely *can* swap out the **Biscoff crust recipe** for a standard graham cracker crust if you are in a pinch. Just mix your graham crumbs with the melted butter and press it down the same way. But, and this is a big but for me, you truly miss out on that foundational spiced flavor! That little hint of cinnamon and ginger in the Biscoff crust is what takes this from a great cheesecake to *the* ultimate **biscoff cheesecake**. Stick to the cookie crumbs if you can!
How long does the Biscoff Cheesecake need to chill?
This is where patience pays off, just like waiting for my creamy fruit salad to set up! The absolute minimum time for this **no bake cheesecake** to set enough so you can slice it without everything collapsing is six hours in the refrigerator. I really, really push folks to chill it overnight, though. When it chills overnight, all those rich flavors from the **cookie butter dessert** meld together so much better, and the texture becomes unbelievably firm and **creamy cheesecake** heaven. Trust me, the extra wait makes slicing so much cleaner!
Is this recipe suitable for a party dessert?
Is this recipe suitable for a party dessert? Honey, this **biscoff cheesecake** *is* the party dessert! Because it’s a **no bake cheesecake**, you can make it the day before your event, which is such a lifesaver when you have a million other things going on. It looks so elegant with that swirled top, making it the perfect centerpiece for your spread of **party desserts**. Guests always flock to it first because that bold, spiced cookie flavor is just irresistible!
Estimated Nutritional Data for One Slice of Biscoff Cheesecake
I always include nutritional estimates for my **biscoff cheesecake** recipes because transparency is a huge part of what we do here at Cooking Zenith—we need to know what deliciousness we’re getting into! Since this amazing **cookie butter dessert** is so rich, it’s definitely an indulgent treat, so keep that in mind when you serve it up. We are dealing with cream cheese and butter here, after all!
Please know that these numbers are estimates based on the standard ingredients I used when testing this **easy cheesecake** recipe. If you swap out major components, your final count for calories or fat content might shift a little. For instance, using one brand of **Biscoff cookie butter** over another could make a tiny difference. But honestly? When it tastes this good, I try not to stress the details too much!
Here is the breakdown for a single slice of this glorious **no bake cheesecake**:
- Serving Size: 1 slice
- Calories: 450
- Sugar: 35g
- Sodium: 280mg
- Fat: 32g
- Saturated Fat: 19g
- Unsaturated Fat: 13g
- Trans Fat: 0g
- Carbohydrates: 38g
- Fiber: 1g
- Protein: 5g
- Cholesterol: 95mg
If you’re looking for lighter versions of our favorite desserts, sometimes checking out alternatives to full-fat ingredients is helpful. For example, if you enjoyed this, you might want to see how I made my creamy no-bake lemon pie a little lighter by using lower-fat cream cheese variants!
Share Your Ultimate Biscoff Dessert Creations
Now that you have officially made the **Ultimate No-Bake Biscoff Cheesecake**, the best part begins: sharing the joy! That’s what this whole culinary journey is about, right? It’s not just about mastering the **Biscoff Crust Recipe** or perfecting the swirl; it’s about bringing **simple sweets** to the people we love. I truly hope this recipe has brought a little bit of that simple, **creamy cheesecake** magic into your home kitchen.
I always love hearing about how you’ve made the recipe your own, or maybe you just want to tell me how long it took your family to stop requesting it! Please, please leave a rating and a comment right down below. Your feedback matters so much to me here at Cooking Zenith, and it helps other home cooks build up their confidence to tackle their first **cookie butter dessert**.
And if you take a picture of your gorgeous, set **Lotus cheesecake**—maybe you added a drizzle of something special or stacked those whole cookies perfectly on top—tag me on social media! Seeing your **homemade cheesecake** creations is the absolute peak of culinary achievement for me. It shows that you’ve stepped into your kitchen with curiosity and created something truly memorable. Happy baking (or, well, *no-baking*!) until the next time we meet over a fabulous meal. Next time you need a treat, you might want to bookmark my recipe for the best soft chewy snickerdoodles!
PrintUltimate No-Bake Biscoff Cheesecake
Make this rich, creamy No-Bake Biscoff Cheesecake using just a few simple ingredients. This easy cheesecake recipe features a spiced cookie butter crust and a smooth, decadent filling that requires no oven.
- Prep Time: 20 min
- Cook Time: 0 min
- Total Time: 6 hr 20 min
- Yield: 10 servings 1x
- Category: Dessert
- Method: No Bake
- Cuisine: American
- Diet: Vegetarian
Ingredients
- 1 1/2 cups Biscoff cookie crumbs (about 25 cookies)
- 6 tablespoons unsalted butter, melted
- 16 ounces cream cheese, softened
- 1 cup powdered sugar
- 1 teaspoon vanilla extract
- 1/2 cup heavy whipping cream, cold
- 1 cup Biscoff cookie butter, slightly warmed
- 1/4 cup Biscoff cookie butter, for topping
- Optional: Whole Biscoff cookies for garnish
Instructions
- Prepare the crust: Mix the Biscoff cookie crumbs and melted butter in a bowl until the mixture resembles wet sand.
- Press the crumb mixture firmly into the bottom of a 9-inch springform pan. Place the crust in the freezer while you prepare the filling.
- Make the filling: In a large bowl, beat the softened cream cheese with an electric mixer until smooth. Add the powdered sugar and vanilla extract, mixing until just combined.
- In a separate bowl, whip the cold heavy whipping cream until stiff peaks form. Gently fold the whipped cream into the cream cheese mixture until no streaks remain.
- Gently fold the 1 cup of slightly warmed Biscoff cookie butter into the cream cheese mixture until a uniform color is achieved. Do not overmix.
- Pour the creamy filling over the chilled crust and spread it evenly.
- Drizzle the remaining 1/4 cup of Biscoff cookie butter over the top. Use a knife or skewer to gently swirl the topping into the cheesecake filling for a marbled effect.
- Cover the cheesecake loosely with plastic wrap and refrigerate for at least 6 hours, or preferably overnight, until completely set.
- Before serving, carefully release the springform side. Garnish with whole Biscoff cookies if desired. Slice and serve this easy dessert.
Notes
- For the easiest crust release, line the bottom of the springform pan with parchment paper before adding the crumbs.
- If your Biscoff cookie butter is too stiff, warm it gently in the microwave for 15-20 seconds to make it easier to fold into the filling.
- This recipe is a fantastic no oven dessert perfect for warm weather or when you need a quick, impressive party dessert.
Nutrition
- Serving Size: 1 slice
- Calories: 450
- Sugar: 35
- Sodium: 280
- Fat: 32
- Saturated Fat: 19
- Unsaturated Fat: 13
- Trans Fat: 0
- Carbohydrates: 38
- Fiber: 1
- Protein: 5
- Cholesterol: 95