
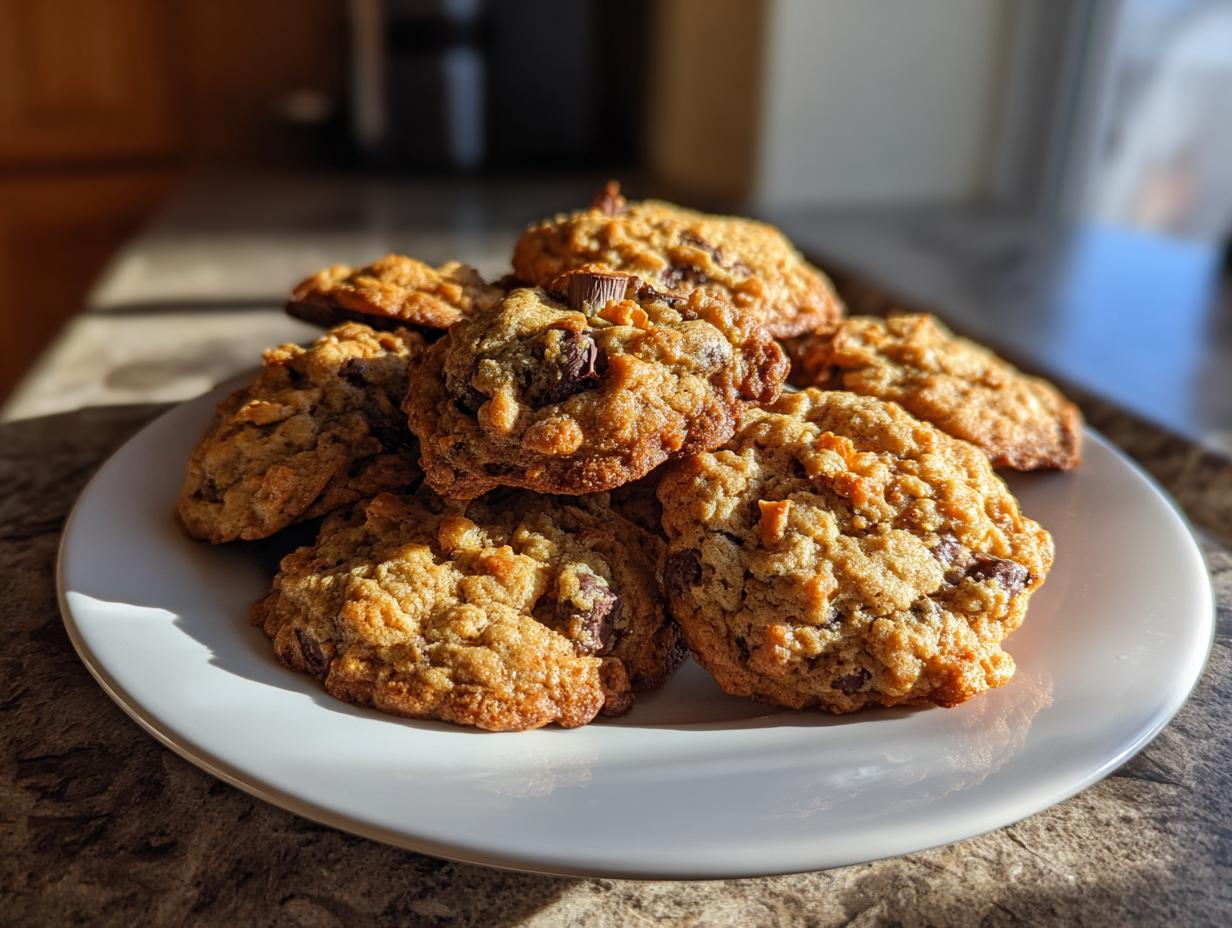
There’s something wonderfully rebellious about taking every good thing you have in the pantry and just tossing it into a batch of cookie dough, isn’t there? That’s the magic of kitchen sink cookies! They answer that little voice inside all of us that screams, “Why choose just one flavor when you can have them all?” I’m Aria, and when I bake cookies that look like they have it all tucked inside, I feel a rush of pure culinary freedom. Forget complicated rules; this recipe is about maximizing joy and texture. We’re making the Ultimate kitchen sink cookies today—the one version that sets the standard for gooey, crunchy, salty, and sweet perfection. Trust me, once you see how customizable this treat is, you’ll be making it year-round, not just for the holidays when flavors start piling up! If you’re looking for a fast way to get started in the morning, check out my guide on my easy breakfast recipes while the oven preheats!
- Why This is the Ultimate kitchen sink cookies Recipe (E-E-A-T Focus)
- Gathering Ingredients for your kitchen sink cookies
- Step-by-Step: How to Prepare the best kitchen sink cookies
- Holiday Variation: Festive kitchen sink cookies
- Tips for Success with this customizable cookie recipe
- Storage and Keeping your kitchen sink dessert Fresh
- Serving Suggestions for kitchen sink cookies
- Frequently Asked Questions about kitchen sink cookies
- Nutritional Estimate for kitchen sink cookies
- Nutritional Estimate for kitchen sink cookies
Why This is the Ultimate kitchen sink cookies Recipe (E-E-A-T Focus)
I stand by this formula completely; it’s what separates a great cookie from one that’s just… a messy pile. What makes these kitchen sink cookies the ultimate choice? It comes down to structure. We pack them full of goodies—and I mean *everything*—but the ratio of butter and sugar means they don’t spread into thin, greasy puddles. That’s pure baking science at work, folks!
- The texture is spot-on: wonderfully chewy bakery style cookies that hug all those crunchy bits.
- We nail the addictive sweet and salty cookies factor every single time because of the chips, pretzels, and those salty chips working together.
- It’s the queen of customizable cookie recipe variations. If you hate nuts, leave them out! If you love toffee, throw it in!
If you’re looking for another deeply satisfying, textured bake, you have to try my recipe for the best butter cookies—they melt right in your mouth.
Achieving Chewy Bakery Style Cookies Texture
To get that incredible chewiness, you need to pay attention to your sugars. The brown sugar is your best friend here! It has molasses, which is hygroscopic—meaning it holds onto moisture. We use a higher amount of brown sugar than white sugar specifically to pull on that moisture and keep the center soft long after it cools.
The final trick? Baking time. When you pull these out, the edges should look set and golden, but that center should still look a little underdone, maybe even slightly puffy. Don’t panic! That residual heat guarantees you get those perfect, soft, chewy bakery style cookies instead of crunchy discs.

Gathering Ingredients for your kitchen sink cookies
This is where the “kitchen sink” part really comes to life! When we assemble what goes into these kitchen sink cookies, the goal is maximum impact. I don’t want you guessing with vague amounts here; I want precise measurements so you get that perfect bite every time. Remember, this is your canvas, but these ratios are the foundation for the best texture!
Here is what you’ll need to gather for your batch:
- 1 cup (2 sticks) unsalted butter, softened
- 1 cup packed light brown sugar
- 1/2 cup granulated sugar
- 2 large eggs
- 1 tablespoon vanilla extract
- 2 1/4 cups all-purpose flour
- 1 teaspoon baking soda
- 1/2 teaspoon salt
- 1 cup semi-sweet chocolate chips
- 1 cup white chocolate chips
- 1 cup crushed pretzels
- 1 cup potato chips, lightly crushed
- 1 cup M&M’s candies (or holiday mix-ins)
- 1/2 cup chopped nuts (optional)
If you’re prepping a quick lunch or snack for later, you might enjoy my instructions for making easy 4-ingredient homemade cheese crackers!
Ingredient Notes and Substitutions for kitchen sink cookies
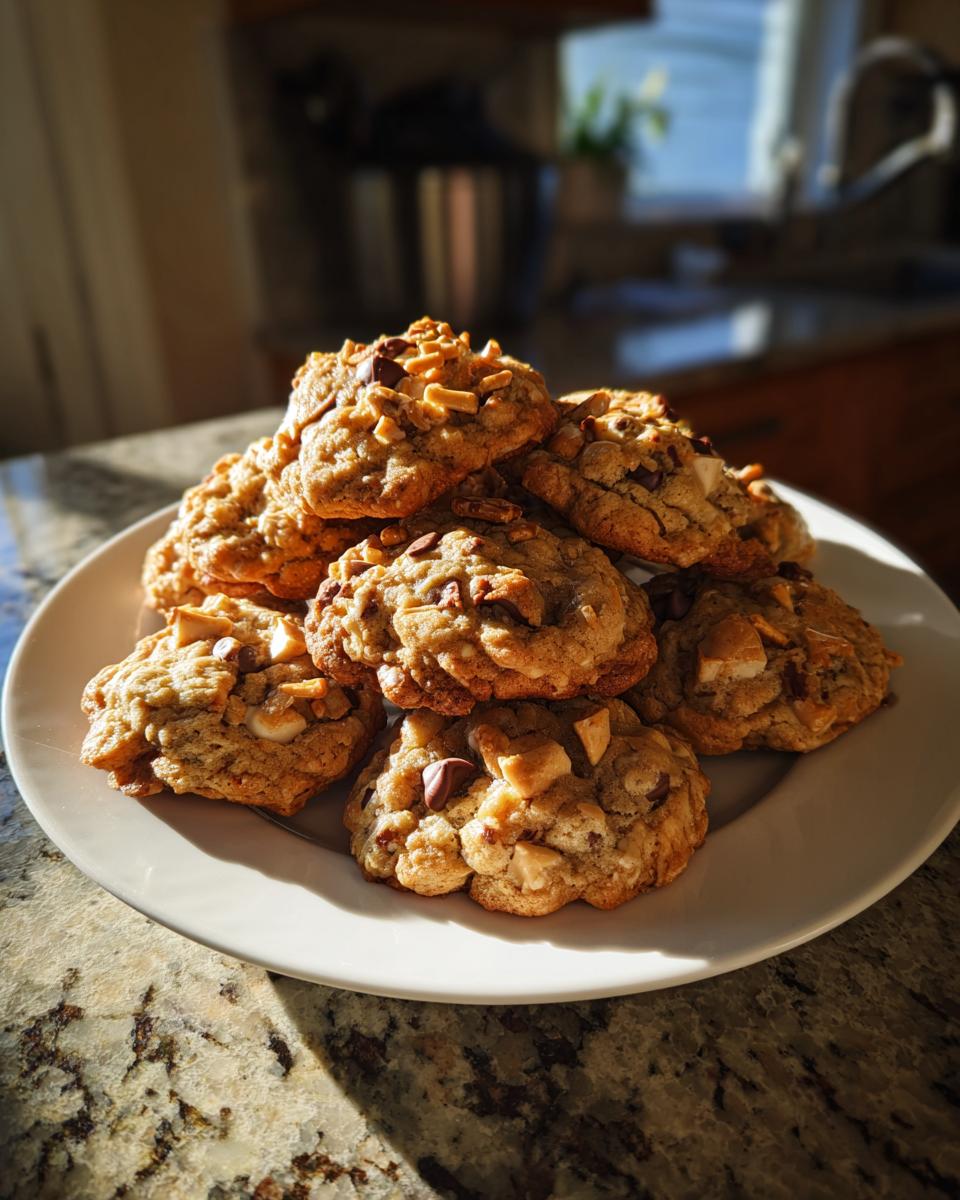
Look closely at the pile of mix-ins you’ve gathered! The crunch and flavor that scream sweet and salty cookies come directly from those crushed pretzels and potato chips. Make sure your chips aren’t overly seasoned—you control the salt here.
Because this is such a fun, customizable cookie recipe, feel free to swap things out, but keep an eye on the volume. If you omit the nuts, maybe add a little more chocolate! Speaking of chocolate, don’t skimp! The moment you use high-quality chocolate chips (the kind you love eating on their own!), the entire flavor profile of the kitchen sink cookies elevates dramatically. Think about bar chocolate chopped roughly instead of just using standard chips if you want to get fancy!
Step-by-Step: How to Prepare the best kitchen sink cookies
Alright, time to get messy! Making the best kitchen sink cookies is surprisingly fast, but those first few minutes are crucial for setup. First thing: get your oven preheated to 375 degrees Fahrenheit. While that’s warming up, grab your baking sheets and line them with parchment paper—this step saves your cleanup time, I promise!
Now for the magic foundation. In a big bowl, we’re creaming that softened butter with both the brown and white sugars. You need to beat this mixture until it’s light and fluffy, which takes a solid three minutes of steady mixing. After that, knock in the eggs one by one, followed by that glorious vanilla extract. You want this wet base creamy and cohesive before moving on.
Mixing the Dough and Incorporating Mix-ins
In a separate bowl, whisk your flour, baking soda, and salt together quickly. When you add this dry mix to the wet, go easy! Mix on low speed just until you see the last streak of white flour disappear. This is vital! If you overmix once the flour is in, your cookies turn tough, and we want gooey, not grumpy.
Once just combined, bring in the heavy artillery! Fold in your chocolate chips, white chips, crushed pretzels, potato chips, M&M’s, and any nuts. Use a spatula here and fold gently, making sure every last corner of the dough gets a piece of the action. That thorough folding ensures you get the “everything but the kitchen sink cookies” experience in every single bite.
Baking for Perfect kitchen sink cookies
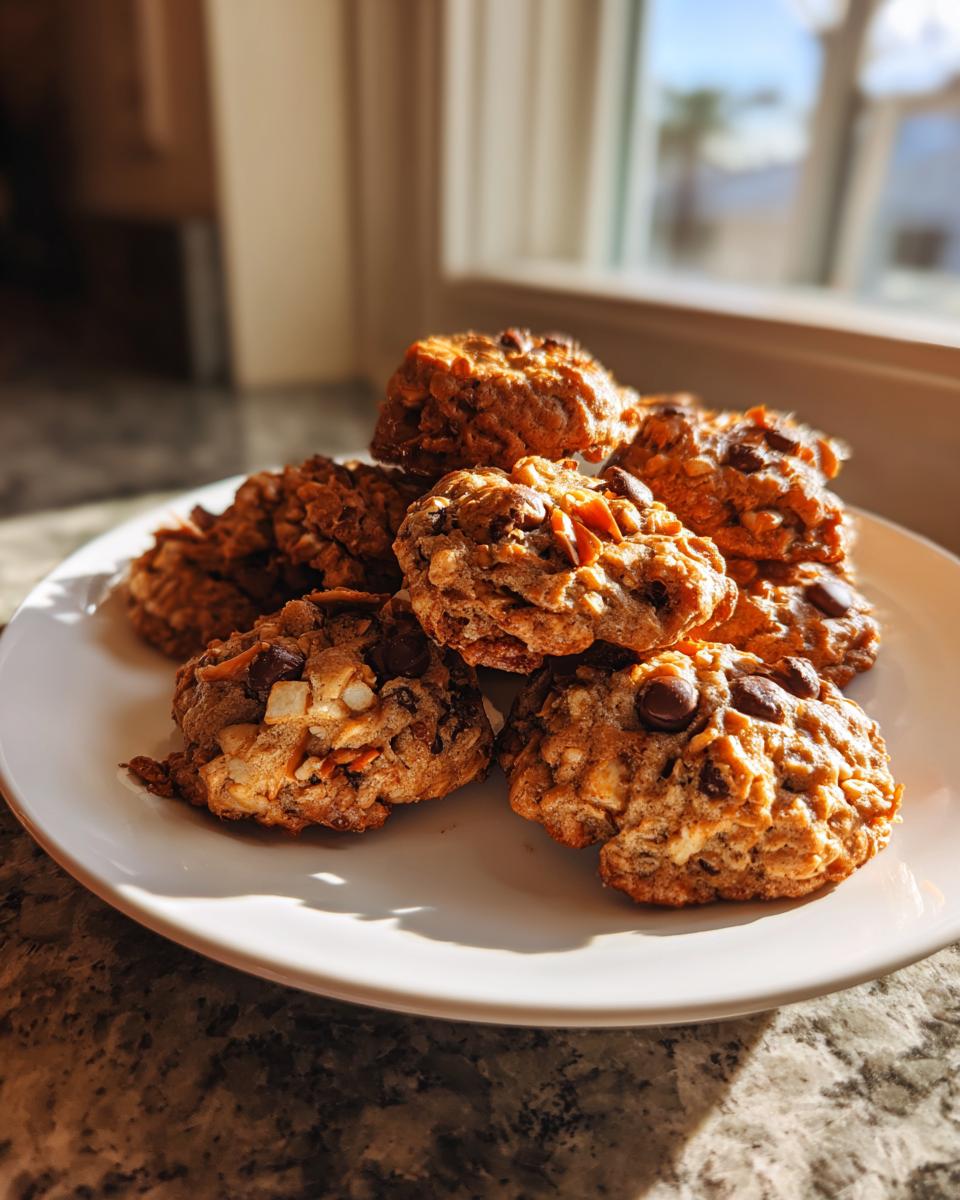
Scoop rounded tablespoons of that loaded dough onto your prepared sheets, leaving about two inches between them. For that professional look—that irresistible bakery style look—take a few extra M&M’s or chocolate pieces and gently press them right onto the top of each dough ball. It’s purely cosmetic, but boy, does it pay off visually!
Bake them for about 9 to 12 minutes. When they look golden around the edges but still seem a little too soft in the very center, pull them out! Let them chill on that hot baking sheet for five minutes—this keeps them from collapsing—before moving them to a wire rack to finish cooling down. If you’re looking for other quick baking projects, I have a great guide on easy breakfast cookie oatmeal recipes too!
Holiday Variation: Festive kitchen sink cookies
Now, as much as I love these cookies year-round, I have to admit that the sheer abundance of mix-ins makes them perfect for the holidays! If you are looking for incredible Christmas cookie ideas or just need something wildly festive, we just need to tweak the standard recipe slightly. These become my go-to festive baking recipes!
To transform this into your new favorite batch of holiday cookie recipes, we are making a few key swaps based on what looks brightest and tastes most seasonal as you assemble your kitchen sink cookies:
- For the M&M’s, swap out the standard colors for the classic red and green assortment. Seeing those pops of color in the dough makes all the difference!
- If you can find them, take out those white chocolate chips and use peppermint baking chips instead. The subtle mint flavor mixed with the saltiness of the chips and pretzels is just divine. It’s a flavor combination that screams winter comfort.
- And here’s my favorite trick for visual impact: toss in a small handful of festive sprinkles! I love using those long, colorful jimmies mixed into the dough right before folding. They bake up a little crunchy and add instant holiday cheer.
These small changes give you those bright, unique Christmas cookie ideas folks always ask for at parties. You can see one of my inspirations for the festive look over at In Bloom Bakery!
If you love these spiced-up holiday flavors, you absolutely must try my recipe for the best classic spiced persimmon cookies next—they are incredible for winter.
Tips for Success with this customizable cookie recipe
I want you to have the absolute best experience making these kitchen sink cookies, so let’s talk about a couple of things I learned the hard way! First up: chilling. Because this recipe has a higher amount of butter and loads of mix-ins, I actually *don’t* recommend chilling the dough for hours. We want that slight spread to help reveal all those incredible fillings, so stick to baking them right after you mix them for that gooey center.
For consistent results, use a standard cookie scoop—the rounded tablespoon size works perfectly to keep them uniform. That even size ensures your sweet and salty cookies are all done at the same time. If you want that ultimate salty kick, make sure your crushed pretzels and chips are lightly salted; using heavily seasoned varieties can make them taste almost too savory. For more tips on getting that perfect shape every time, check out how I handle my lemon crinkle cookies recipe!
Storage and Keeping your kitchen sink dessert Fresh
Once you’ve successfully baked 24 of the most glorious kitchen sink dessert cookies you’ve ever seen, the next challenge is making sure they taste just as good tomorrow!
The biggest enemy here is air. If you leave these beauties out on a plate, those salty, crunchy elements—the pretzels and chips—will start to get soft or stale awfully fast. We need airtight protection to keep that crunch intact.
My absolute best advice is to store them in a sturdy, truly airtight container. I usually layer them with a piece of parchment paper between the layers. This stops them from smashing together, which is important when you’ve got all those chunks sticking out!

Keep the container on your counter at room temperature. Don’t put them in the fridge unless you have to! Refrigeration can sometimes make cookies, especially those loaded with butter like ours, a bit harder than you want. Properly stored, these kitchen sink cookies hold onto that fantastic texture for a good five days. If you’re looking for a make-ahead bake that lasts, you know what to do! And if you need a recipe that stays moist for days, my chocolate banana bread recipe is perfect for that!
Serving Suggestions for kitchen sink cookies
Okay, you’ve made the ultimate cookie, and now you have to decide how to serve these gorgeous, overloaded treats. Honestly, they are fantastic all by themselves, standing up as a rich, standalone kitchen sink dessert. They’re so packed with flavor—you get the chocolate, the caramel notes from the brown sugar, the salt—that they don’t really *need* anything else!
But if you’re setting up a cookie platter or just sitting down for a quiet afternoon snack, I have a few ways I love to enjoy them:
- The Classic: You absolutely cannot beat grabbing one of these thick cookies and dunking it into a tall, ice-cold glass of whole milk. Seriously, it’s the nostalgic perfection we all grew up on.
- For the Coffee Lovers: If you need that afternoon energy boost, these pair perfectly with a strong cup of black coffee. The bitterness of the coffee cuts right through the sweetness of the chips and creamy bits wonderfully.
- Holiday Harmony: If you went with the festive version we talked about earlier, you have to pair them with something warm and rich. My favorite pairing is definitely a mug of my best rich and creamy homemade hot chocolate. The melted chocolate swirls together, making the whole snack feel extra indulgent!
They are sturdy enough that you can even use them as the base for mini ice cream sandwiches if you bake them just slightly smaller. That adds another layer of temperature contrast that is just stunning.
Frequently Asked Questions about kitchen sink cookies
I know when you find a recipe this fun, you probably have a million little questions bouncing around! I always do when I try something new, even if I’ve been baking forever. Here are a few things folks often ask me about making these perfect, loaded-up kitchen sink cookies.
Can I make these easy kitchen sink cookies ahead of time?
Oh, absolutely! I love having dough ready to go for surprise treats. You can scoop the dough balls just like they are, place them on a parchment-lined tray, and flash freeze them until they are solid. Then, transfer those frozen balls to a zip-top freezer bag. When you want a quick batch of easy kitchen sink cookies, just pull out as many as you need and add about 2 to 3 minutes onto your baking time. If you keep them refrigerated, they’ll last about three days; frozen, they’re good for up to three months!
What is the best way to ensure my kitchen sink cookies are sweet and salty?
This is my favorite part because it’s all about layering those contrasting flavors! To get the sweet and salty cookies experience dialed in, you need to control the salt content of your crunch factors. I always use standard, lightly salted pretzels and plain, lightly salted potato chips. You want the saltiness to enhance the chocolate and caramel from the brown sugar, not overpower it. If you use heavily seasoned chips (like sour cream and onion, heaven forbid!), you won’t get that clean, satisfying sweet-salty interplay.
Are these considered one of the best holiday desserts?
In my book? Hands down, yes! Because you can customize them so easily with colors, peppermint, or toffee bits, they automatically become star players on any holiday platter. They have that wonderful, slightly crunchy edge but stay soft in the middle, which is exactly what people crave when they are sampling best holiday desserts. When I bring these to a party, they are always the first thing gone because everyone loves digging through to see what treat they got!
If you want to dip these beauties into something extra rich once they cool, try making a little pot of my easy creamy chocolate fondue!
Nutritional Estimate for kitchen sink cookies
Now, let’s be real: when you pile this many delicious things into a single cookie, it isn’t exactly a kale salad! But knowing what’s in your food is important, so here is a rough idea of what you’re looking at per serving for these amazing kitchen sink cookies. Remember, this is just an estimate, and it changes wildly depending on whether you use peanut butter chips or toffee pieces!
For one cookie, baked according to the recipe above:
- Serving Size: 1 cookie
- Calories: 220
- Fat: 12g
- Saturated Fat: 7g
- Carbohydrates: 28g
- Sugar: 18g
- Protein: 3g
- Sodium: 180mg
It’s really important to remember that the sodium number is going up thanks to those salty chips and pretzels, which is what makes them so addictive! If you are focused on healthier sides later in the week, my sweet potato salad with roasted Dijon vinaigrette is a fantastic, lighter option.
As always, since we are adding so many variables, this nutrition estimate is based on standard ingredient packages and should be used as a general guideline only.
PrintUltimate Kitchen Sink Cookies (Customizable & Holiday Ready)

Create the best kitchen sink cookies, packed with sweet, salty, and crunchy mix-ins. This ultimate cookie recipe is easily customizable for any season, including a festive holiday variation.
- Prep Time: 20 min
- Cook Time: 12 min
- Total Time: 32 min
- Yield: 24 cookies 1x
- Category: Dessert
- Method: Baking
- Cuisine: American
- Diet: Vegetarian
Ingredients
- 1 cup (2 sticks) unsalted butter, softened
- 1 cup packed light brown sugar
- 1/2 cup granulated sugar
- 2 large eggs
- 1 tablespoon vanilla extract
- 2 1/4 cups all-purpose flour
- 1 teaspoon baking soda
- 1/2 teaspoon salt
- 1 cup semi-sweet chocolate chips
- 1 cup white chocolate chips
- 1 cup crushed pretzels
- 1 cup potato chips, lightly crushed
- 1 cup M&M’s candies (or holiday mix-ins)
- 1/2 cup chopped nuts (optional)
Instructions
- Preheat your oven to 375 degrees Fahrenheit. Line baking sheets with parchment paper.
- In a large bowl, cream together the softened butter, brown sugar, and granulated sugar until light and fluffy. This takes about 3 minutes.
- Beat in the eggs one at a time, mixing well after each addition. Stir in the vanilla extract.
- In a separate medium bowl, whisk together the flour, baking soda, and salt.
- Gradually add the dry ingredients to the wet ingredients, mixing on low speed until just combined. Do not overmix the dough.
- Fold in all your mix-ins: semi-sweet chocolate chips, white chocolate chips, crushed pretzels, crushed potato chips, M&M’s, and nuts if using. Mix until evenly distributed.
- Drop rounded tablespoons of dough onto the prepared baking sheets, spacing them about 2 inches apart. For a bakery style cookie, press a few extra chips or candies onto the tops of the dough balls.
- Bake for 9 to 12 minutes, or until the edges are golden brown and the centers are set but still look slightly soft.
- Let the cookies cool on the baking sheet for 5 minutes before transferring them to a wire rack to cool completely.
Notes
- For a chewy bakery style cookie, slightly underbake them. The residual heat will finish the cooking process.
- To make the Holiday Cookie Variation: Substitute the standard M&M’s with red and green M&M’s or festive holiday sprinkles. You can also swap the white chocolate chips for peppermint baking chips.
- This is a highly customizable cookie recipe. Feel free to swap out any chips or candies for your favorites, like butterscotch or peanut butter chips.
- For a sweet and salty cookies experience, ensure your pretzels and potato chips are lightly salted.
Nutrition
- Serving Size: 1 cookie
- Calories: 220
- Sugar: 18g
- Sodium: 180mg
- Fat: 12g
- Saturated Fat: 7g
- Unsaturated Fat: 5g
- Trans Fat: 0g
- Carbohydrates: 28g
- Fiber: 1g
- Protein: 3g
- Cholesterol: 35mg