
Oh, that poor little jar of sourdough discard sitting in the fridge, staring at you, silently judging your busy schedule! We all have that moment, right? You feed your starter because you love the ritual, but then life happens, and you’re left mourning the waste or dreading trying to fit a 12-hour fermentation project into a Tuesday night. Well, listen up, because I’ve cracked the code on turning that leftover starter into something truly spectacular, and fast!
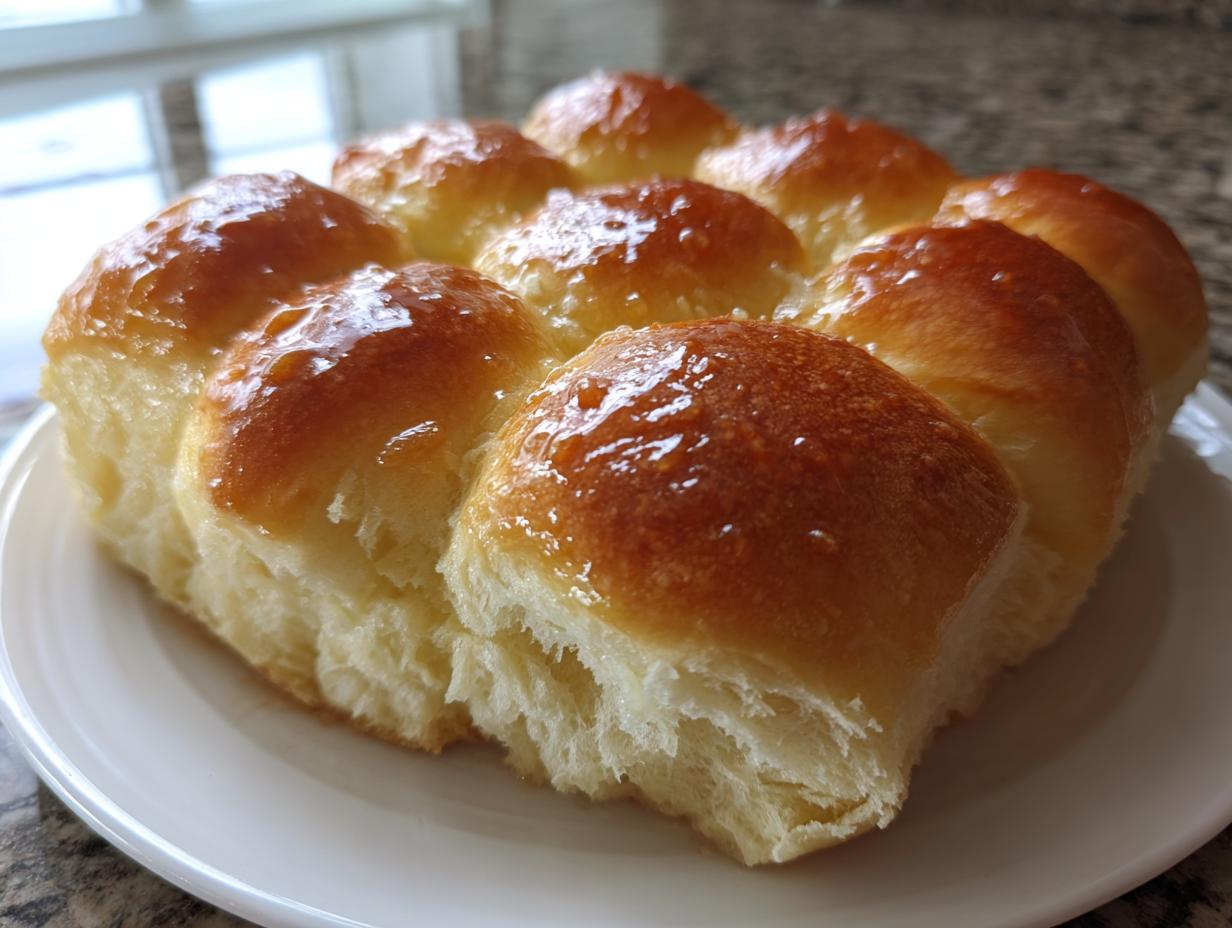
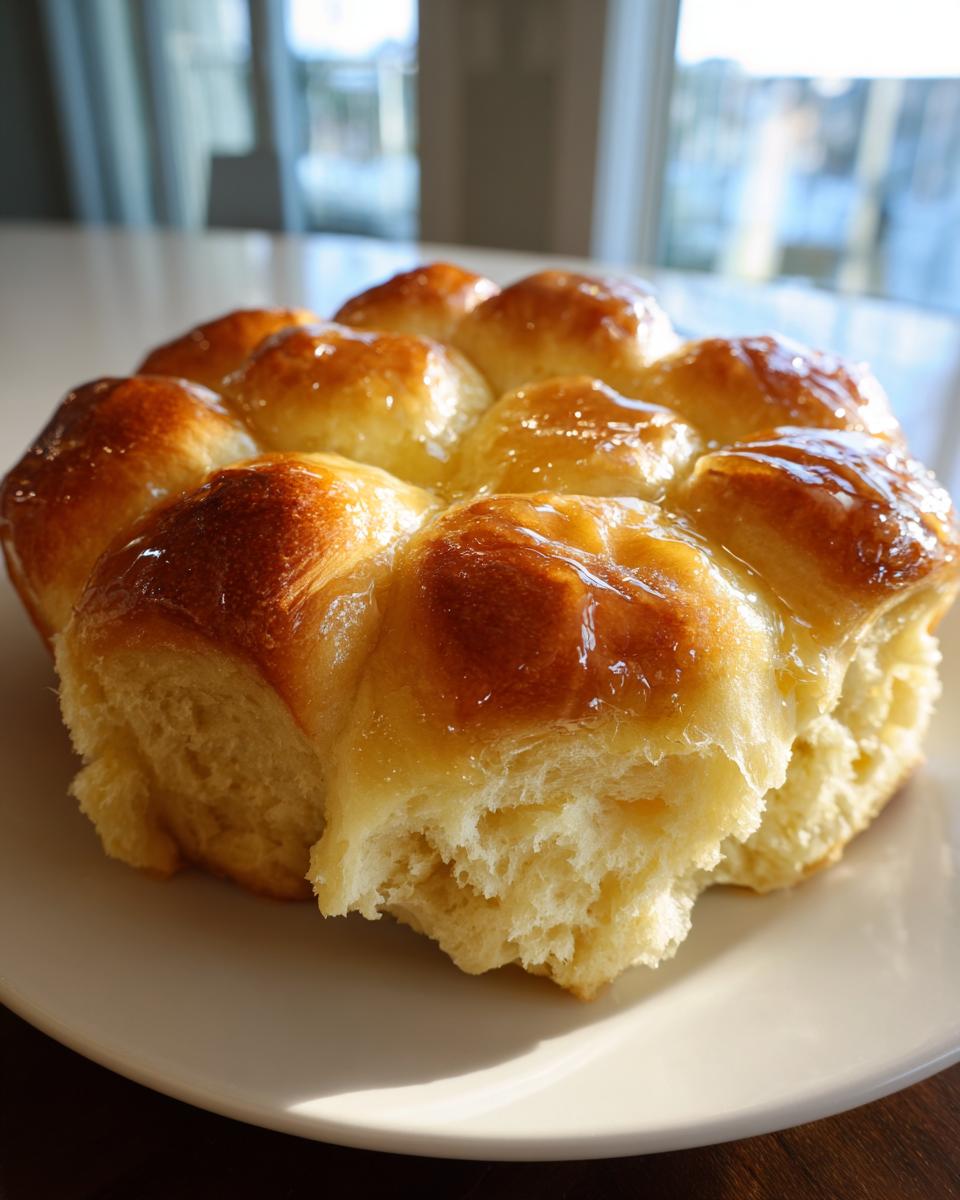
If you’re looking for that incredible, fluffy texture you crave in homemade bread but need it done *tonight*, you have to try my One-Hour Fluffy Sourdough Discard Dinner Rolls. Seriously, these sourdough discard rolls are the secret weapon Aria Thompson—our founder here at Cooking Zenith—developed for when she wanted that deep, comforting bread flavor without waiting two days for it to happen. They come together faster than store-bought, and trust me, the smell alone will make your weeknight dinner feel like a celebration. We’re talking soft, yeasty, slightly tangy rolls ready in about an hour. No mixer required, just pure home-cooking joy!
- Why You Will Love These Quick Sourdough Discard Rolls
- Essential Ingredients for Fluffy Sourdough Discard Rolls
- Step-by-Step Instructions for Perfect Sourdough Discard Rolls
- Tips for Success with Your Weeknight Bread Recipe
- Ingredient Notes and Substitutions for Sourdough Discard Rolls
- Storing and Reheating Your Homemade Rolls
- Frequently Asked Questions About Discard Baking Ideas
- Estimated Nutritional Data for Sourdough Discard Rolls
- Share Your Experience Making These Sourdough Discard Rolls
Why You Will Love These Quick Sourdough Discard Rolls
I know what you’re thinking: sourdough usually means waiting. Forever. But that’s the beauty of these! They are such an easy dinner rolls solution when you’re pressed for time. Forget complicated schedules; these are pure weeknight bread magic. We made sure everything about this recipe hits that sweet spot of amazing flavor and minimal effort.
- Ready in About One Hour: That’s right, from the moment you start mixing to the moment you pull that golden tray out of the oven, you are looking at about 60 minutes total time. It’s the quickest way to get homemade rolls on the table, bar none.
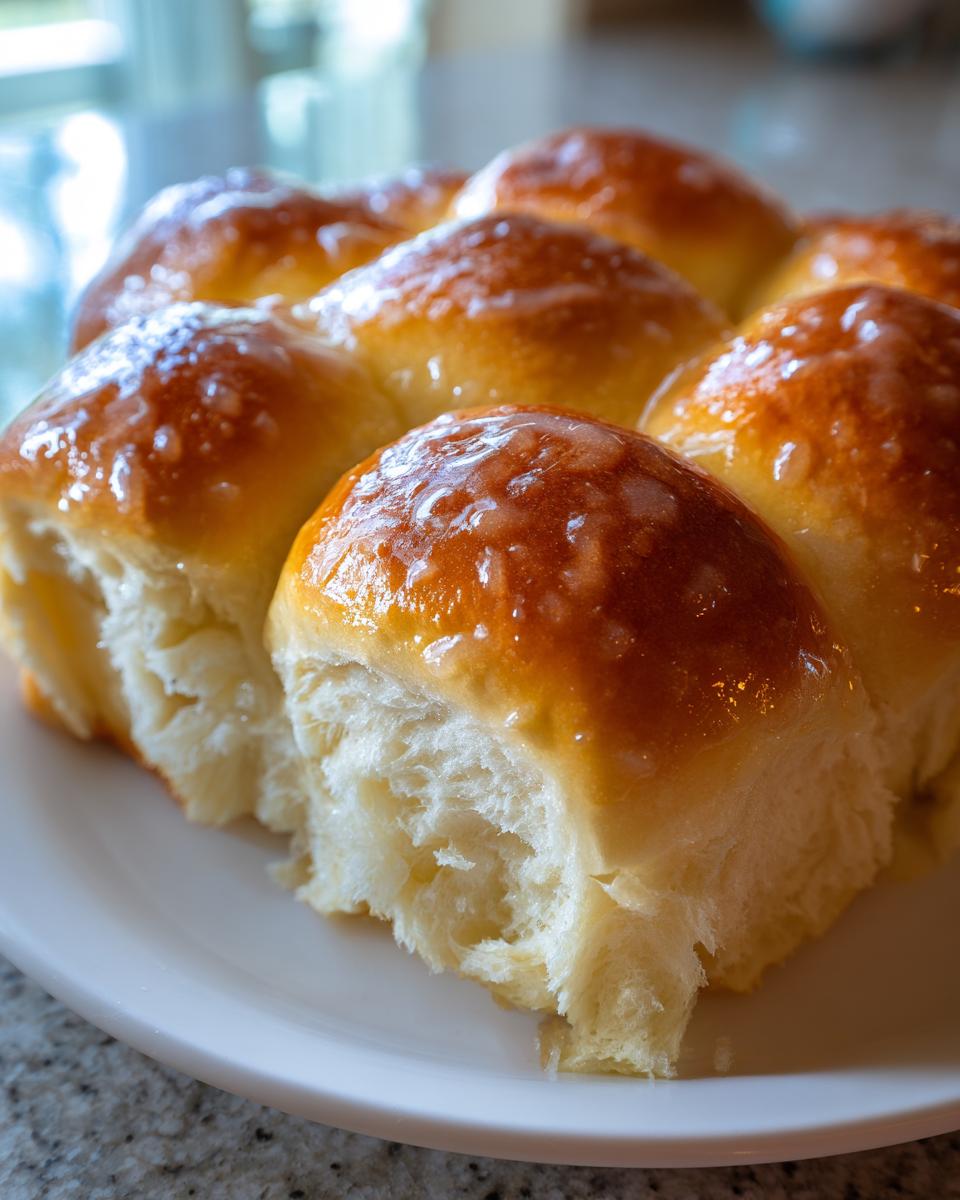
- Insanely Soft Texture: These aren’t those tough, overly chewy sourdoughs you sometimes get. Thanks to the quick yeast boost and the discard, they bake up incredibly fluffy and tender inside. They rival any good yeast roll you’ve ever had!
- Perfect for Beginners: If you’ve been scared to tackle actual sourdough loaves, this is your gateway drug! It’s the best of the sourdough discard recipes because you’re using the leftover starter as a flavor enhancer, not the sole leavening agent that needs nurturing.
- Flavor without the Wait: You get that lovely, subtle tang from the discard reacting with the yeast, giving you a depth of flavor that standard white rolls just can’t touch. It tastes complex, even though the process is anything but!
Essential Ingredients for Fluffy Sourdough Discard Rolls
When we’re making something this quick, ingredient quality really counts, even though we’re whipping this up on a Tuesday night! You don’t need anything fancy, but precise measurements are what keep these from turning into sad, dense hockey pucks. Remember, we want that fluffy yeast roll texture. Good news: everything on this list is probably already in your pantry!
For the Sourdough Discard Rolls Dough
These are the building blocks for your soft baked goods. Make sure that water is warm—we need that yeast happy and active since we aren’t waiting hours for the starter to do all the heavy lifting!
- 1 cup active sourdough discard
- 1 cup warm water (aim for that 105-115°F sweet spot)
- 2 1/4 teaspoons active dry yeast
- 1/4 cup granulated sugar
- 1/2 cup whole milk, warmed
- 1/4 cup unsalted butter, melted
- 1 teaspoon salt
- 3 1/2 cups all-purpose flour, plus extra for dusting
- 1 large egg, lightly beaten (this is just for the optional egg wash on top)
For the Garlic Butter Topping
This topping is the final touch that takes these from good to “why didn’t I make these sooner?” It goes on hot, so have this ready to go right when the rolls come out of the oven. Don’t skip this step if you want amazing garlic butter rolls!
- 2 tablespoons unsalted butter, melted
- 1 clove garlic, minced (totally optional, but highly recommended)
- A tiny pinch of dried parsley (another optional splash of pretty color!)
Step-by-Step Instructions for Perfect Sourdough Discard Rolls
This is where the actual magic happens, and I promise it moves fast! Because we’re relying on yeast to get us to the finish line, timing is key, but nothing about this is stressful. Think of this as your ultimate fast baking project for an amazing weeknight bread. Grab your favorite mixing bowl, and let’s get baking those sourdough discard rolls!
Activating Yeast and Mixing the Sourdough Discard Rolls Base
First things first: we wake up the yeast! Pour that lukewarm water—not hot, not cold, just cozy warm—into a small bowl and sprinkle the yeast right on top. Let it sit untouched for five minutes. If you see foam, fantastic! That means your yeast is alive and ready to party with the dough. If nothing happens, toss that water and try again!
Once you have foam, mix that yeast liquid into your large bowl with your sourdough discard, sugar, warm milk, melted butter, and salt. Give it a quick whisk until everything looks combined. Now, start adding that trusty all-purpose flour slowly. Keep mixing until it looks shaggy—you know, like it’s *almost* dough but still a messy puddle of potential. Don’t try to mix everything perfectly yet!
Kneading and Initial Rise for Your Fast Baking Project
Flour your counter lightly—just a whisper! Turn that shaggy mess out onto the surface. Now, we knead. Don’t worry, it’s not a marathon; just 5 to 7 minutes of folding and pushing until the dough feels smooth, elastic, and much less sticky. It will still feel a tiny bit tacky compared to standard yeast bread, but trust me, that sticky discard dough is our goal for incredible texture.
Oil up a clean bowl, pop the dough right in, and turn it once to coat it completely. Cover it tightly—I use plastic wrap, but a clean kitchen towel works too. Find the warmest spot in your kitchen and leave it alone for just 30 minutes. That’s it! This quick rise is what makes these rolls a true same day sourdough dream.
Shaping and Final Rest Before Baking Sourdough Discard Rolls
After 30 minutes, the dough should look noticeably puffier, maybe even doubled. Gently punch it down—it’s very satisfying! Now, you need 12 roughly equal pieces. I usually eyeball them and then quickly use a bench scraper or knife to trim off uneven bits. Roll each piece into a tight, smooth little ball. That tightness is key to getting those perfect rounded tops!
Grease up a 9×13 pan. Nestle those 12 rolls inside, leaving a little space between them so they have room to grow and hug each other while baking. Pop a towel over the pan and let them rest for a final 15 minutes. While they’re chilling out, crank your oven up to 375°F (190°C). That quick 15-minute rest lets them relax before the heat hits them!
Baking and Applying the Garlic Butter Rolls Finish
If you want that picture-perfect golden sheen, brush the tops of the rested rolls with your lightly beaten egg now. It’s optional, but why skip easy beauty, right? Into the preheated oven they go for about 15 to 18 minutes. Keep an eye on them; you want that lovely golden brown color on top.
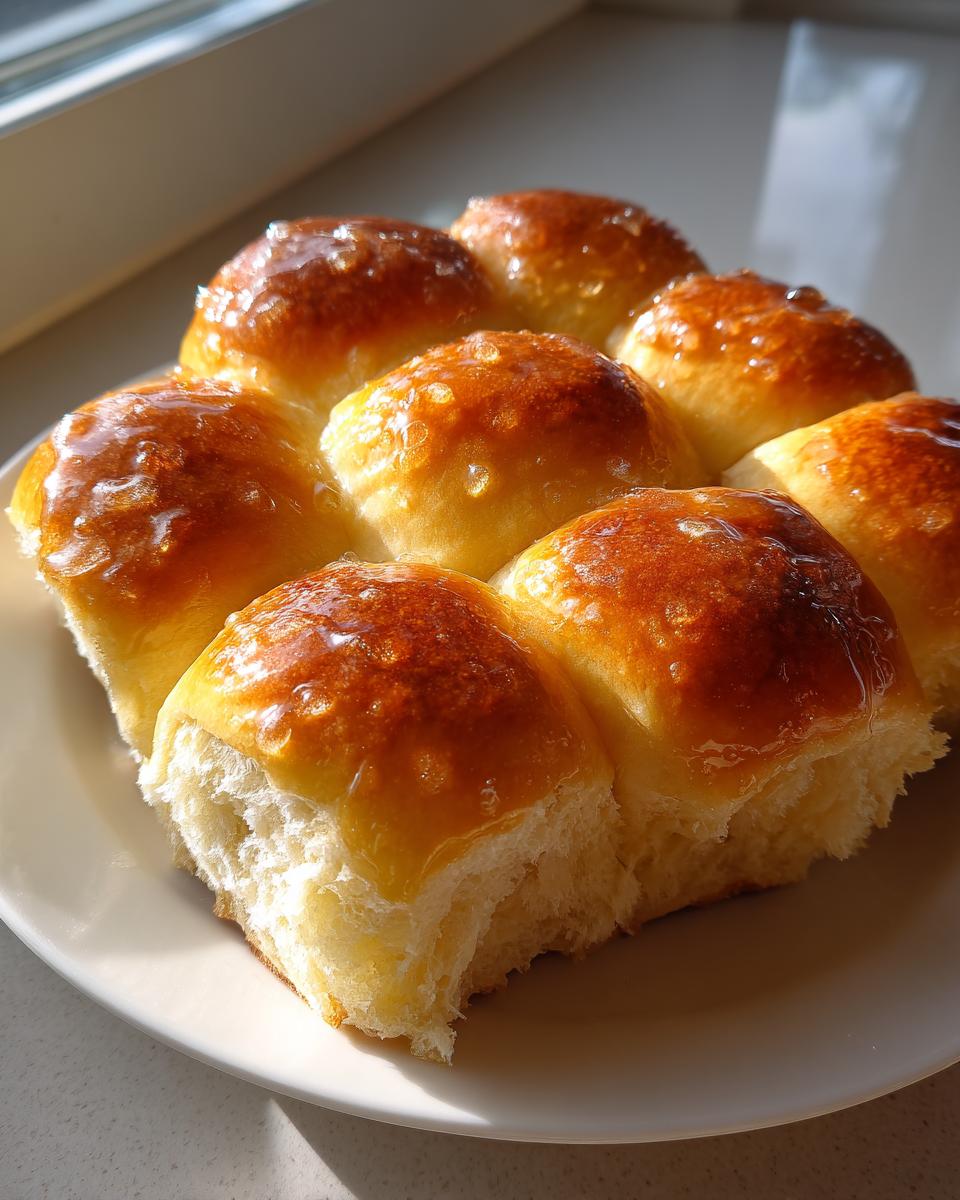
The absolute most important step for these garlic butter rolls happens the second they come out of the oven. Melt that extra 2 tablespoons of butter. If you’re making the garlic version, mix in your minced garlic and parsley right now! Immediately brush that glorious melted butter all over the hot tops. The heat melts the butter right down into the cracks between the rolls. Serve them warm, right out of the pan, for the best homemade rolls experience!
Tips for Success with Your Weeknight Bread Recipe
Honestly, these sourdough discard rolls are pretty forgiving, but if you want them to be *ethereally* soft—the kind that practically float away—there are a few little home-cook secrets I always swear by. Since this is a faster recipe, we have to manage our expectations a little, but we can definitely maximize fluffiness!
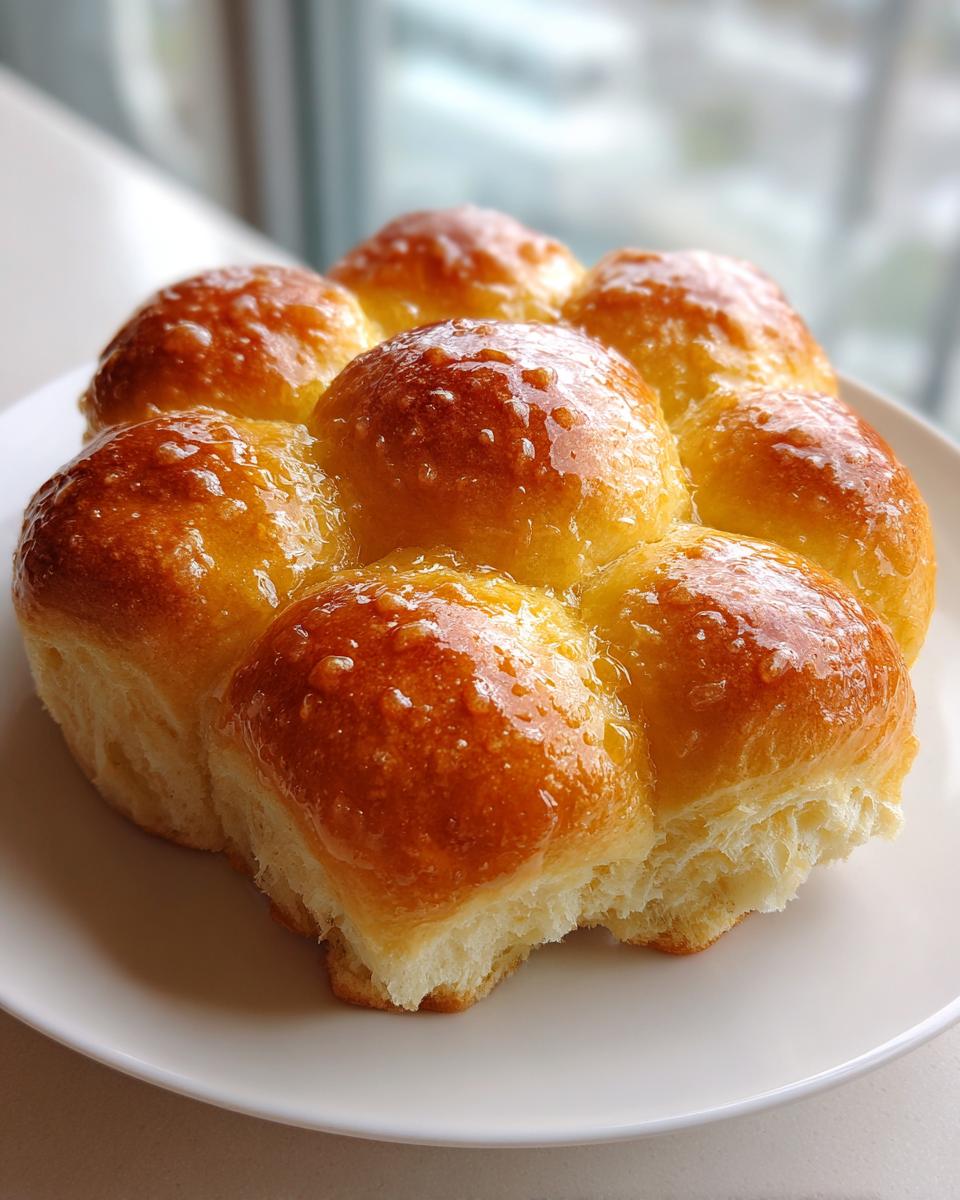
My biggest tip for achieving that perfect pull apart rolls outcome is all about how you place them in the pan. If you want beautiful separation so people can easily grab a single roll, make sure they are touching lightly, maybe just kissing edges. But if you want those truly gorgeous, cloud-like rolls that bake together into one big yummy mass, push them slightly closer together in the 9×13 pan. They’ll spread into each other during that final 15-minute rest and finish baking. It’s a small adjustment, but it totally changes the finished look!
Also, don’t over-knead! Because we added that yeast for speed, the gluten structure sets up much faster than traditional sourdough. If you knead past that 7-minute mark, you risk the rolls becoming tighter and less soft. I stop kneading the minute the dough feels smooth enough that it doesn’t stick excessively to my hands. It’s better to have a slightly sticky dough after mixing than an overworked, tough dough after baking. Knowing when to stop is half the battle in these quick bread recipes.
When it comes to the sourdough discard, make sure it’s active but not *over* active. If your discard is super bubbly and smells intensely sour, it might overpower the subtle yeast flavor we are relying on here. Room temperature discard mixes in so much smoother than straight-from-the-fridge discard, which can cool down your milk and yeast mixture. A happy, room-temp discard contributes just the right amount of tang without making these easy dinner rolls overly sour!
Ingredient Notes and Substitutions for Sourdough Discard Rolls
I always get so many questions about this part because we’re using discard, which isn’t a controlled ingredient like regular flour or yeast. Don’t stress, though! These rolls are designed to forgive you, but knowing what each ingredient does helps if you need to pivot on the fly.
First, let’s talk about that star, the sourdough discard. Its main job here is flavor, not lift. Since we add plenty of commercial yeast, the discard acts like a natural flavor enhancer, giving the final product that lovely, comforting taste of real bread, even though it’s a sourdough discard recipe you can make in an hour. It adds a tiny bit of acidity and complexity to these otherwise simple easy dinner rolls.
What if you’re out of milk or need to make these dairy-free? You can absolutely swap the warm whole milk for warm water. You might lose a tiny bit of the richness and softness that the milk fat provides, but the result is still going to be wonderfully soft baked goods. Just ensure the water temperature is right to activate that yeast!
Flour substitutions can be tricky when you’re aiming for fluffiness. I strictly recommend sticking to all-purpose flour for this batch. If you try substituting too much whole wheat or rye, the density increases quickly, and it might fight against the fast rise time we are relying on. If you *must* swap, use no more than half a cup of bread flour mixed in with the all-purpose. Bread flour has higher protein and will give you a slightly chewier result, which isn’t bad, but it changes that cloud-like texture we aim for in these baking with leftover starter projects.
Lastly, about the butter: please, please use real butter for the topping! The flavor payoff when brushing those homemade rolls right out of the oven is massive. Margarine just doesn’t spread, absorb, and taste the same way when it hits hot bread.
Storing and Reheating Your Homemade Rolls
So you managed to make a whole batch of these incredible sourdough discard rolls, and now you have leftovers because you are *way* more responsible than I am! These soft baked goods are best eaten the day they are made, naturally. But if you’re lucky enough to have any remaining—or if you want to save some for a future homemade chicken soup night—here’s how to keep that fresh-out-of-the-oven softness!
The biggest enemy of these homemade rolls is air. As soon as they cool down completely, transfer them right into an airtight container or a zip-top bag. Make sure there isn’t too much air trapped inside. They’ll happily sit on your counter at room temperature for a good two, maybe three days and still be remarkably soft. Don’t refrigerate them unless your kitchen is wildly humid, though; the cold air is notorious for making soft bread stale faster.
Now, let’s talk reheating, because this is crucial for recapturing that first-bite experience. If they’ve been sitting on the counter, you need a little burst of heat to wake up the crumb and refresh that buttery topping. I find the best way to resurrect my easy dinner rolls is quick and dirty.
Here are my two favorite ways to reheat:
- The Oven Flash (Best for a Crowd): If you have a few rolls left, wrap them loosely in aluminum foil—just enough to keep them from drying out, but not sealed tight. Pop them into the oven at 350°F (175°C) for about 5 to 7 minutes. They come out steamy and soft, just like they were fresh.
- The Microwave Quick Fix (Best for One Roll): For a single roll, wrap it in a barely-damp paper towel—seriously, just a little bit of moisture is all you need. Microwave it on medium power for 10 to 15 seconds. Don’t blast it on high, or you’ll end up with a tough, chewy roll instead of a fluffy one. This method is great for a quick side boost when you’re eating dinner in a hurry!
Honestly, these quick bread recipes are so easy to make that sometimes I just bake half the dough and freeze the unbaked balls. You can freeze the raw dough balls on a baking sheet, and once they are solid, toss them into a freezer bag. Then, on a night you really can’t deal, just pull out as many as you need, let them sit on the counter while the oven preheats, and bake them according to the original instructions, just adding an extra 5 minutes to the bake time!
Frequently Asked Questions About Discard Baking Ideas
I get asked about these lightning-fast sourdough discard rolls all the time! People are usually amazed that they can get great bread texture without waiting a whole day. Since this recipe is designed to skip the long fermentation, a few questions pop up constantly about how we manage that speed. Here are the answers to the most common curiosities I hear about these discard baking ideas!
Can I skip the yeast in this sourdough discard rolls recipe?
Oh, I wish you could! But no, you really can’t skip the yeast here if you want those fluffy results in only an hour. This recipe isn’t a true, long-ferment sourdough; we are using the discard mostly for flavor and structure. The commercial yeast is what does the heavy lifting to get these quick bread recipes to puff up beautifully during that short 30-minute rise. If you ditch the yeast, you’ll end up with dense, slightly sour crackers, which is definitely not what we are going for in these easy dinner rolls!
What temperature should my sourdough discard be?
This is actually a really smart question that shows you’re thinking like a baker! You absolutely want your sourdough discard to be at room temperature before you mix it in. If you pull it straight from the fridge, it’s going to be cold enough to shock the yeast and cool down your warm milk, which messes up that crucial activation step we do first.
Just pull the discard out when you start gathering your other ingredients, usually about 30 minutes before you mix. It should feel cool, but not icy cold, when you scoop it. This helps everything mix together smoothly and gives that yeast the warm, cozy environment it needs to start working its magic so we can have those amazing homemade rolls so quickly.
Are these beginner sourdough baking friendly?
They are the perfect entry point! If you’re looking into beginner sourdough baking but are scared of the actual starter maintenance, these are for you. Why? Because the bulk of the rise is managed by reliable, fast-acting commercial yeast. You get the amazing flavor notes associated with sourdough—that slight tang and depth—but without any pressure on your starter to perform a triple rise. This recipe lets you practice kneading, resting, and shaping without the commitment of a 24-hour timeline. Truly, if you can bake cookies, you can nail these fluffy yeast rolls!
Estimated Nutritional Data for Sourdough Discard Rolls
Okay, now let’s talk numbers! We are whipping up these incredibly fluffy sourdough discard rolls because they taste amazing and are great for using up that starter, but I know sometimes we still want a rough idea of what we are putting on the table. Since these are rich with melted butter and milk, they certainly pack a punch of cozy comfort!
Keep in mind that because we are dealing with sourdough discard—which varies wildly from batch to batch depending on what *you* fed your starter—these numbers are the best estimate based on standard ingredient amounts. Think of this as guidance, not gospel, okay? If you’re serving these as perfect easy dinner rolls alongside your main course, here is what you can generally expect per roll:
- Serving Size: 1 roll
- Calories: Around 210
- Fat: About 6 grams (a decent chunk of that is that lovely butter topping!)
- Carbohydrates: Roughly 35 grams
- Sugar: About 4 grams (mostly from the sugar we added to feed the yeast)
- Protein: 5 grams
- Sodium: Somewhere near 280mg
We also have 1.5 grams of fiber, which is great for a white-flour-based bread. They have very little cholesterol, and the saturated fat comes mostly from the butter we brush on top at the end—that’s what makes these homemade rolls so delicious! If you’re watching your diet or counting macros, these are surprisingly reasonable for a bread item, especially considering how quickly they come together. I just try not to think about the calories too much when I’m eating three of them smothered in garlic butter!
Share Your Experience Making These Sourdough Discard Rolls
Now that you’ve seen how simple it is to turn that forgotten discard into hot, incredible sourdough discard rolls, I absolutely need to hear about it! I develop every recipe here from my own kitchen, just like yours, and the absolute best part of sharing these guides with you is seeing your results—or hearing how you tweaked things to fit your family’s tastes.
Did you dust them with Everything Bagel seasoning instead of garlic butter? Did you use whole milk, or did you switch to oat milk during the mixing phase? Did you manage to get them even fluffier than I did? Don’t be shy! Drop a comment below with your star rating and let me know everything! Pictures are always welcome because I love seeing these beautiful homemade rolls come out of ovens all over the country.
Your feedback helps other folks who might be nervous about trying a weeknight bread recipe for the first time. Knowing that someone else—a real home cook just like them—had success makes all the difference. So pull those buttery, warm easy dinner rolls out of the pan, grab a fork, and tell me how they tasted. I can’t wait to chat with you!
PrintOne-Hour Fluffy Sourdough Discard Dinner Rolls

Make soft, fluffy dinner rolls quickly using your sourdough discard. These rolls are ready in about one hour and are perfect for weeknight meals.
- Prep Time: 15 min
- Cook Time: 18 min
- Total Time: 63 min
- Yield: 12 rolls 1x
- Category: Side Dish
- Method: Baking
- Cuisine: American
- Diet: Vegetarian
Ingredients
- 1 cup active sourdough discard
- 1 cup warm water (about 105-115°F)
- 2 1/4 teaspoons active dry yeast
- 1/4 cup granulated sugar
- 1/2 cup whole milk, warmed
- 1/4 cup unsalted butter, melted, plus 2 tablespoons for topping
- 1 teaspoon salt
- 3 1/2 cups all-purpose flour, plus more for dusting
- 1 large egg, lightly beaten (for egg wash, optional)
Instructions
- In a small bowl, combine the warm water and yeast. Let it sit for 5 minutes until foamy.
- In a large bowl, whisk together the sourdough discard, sugar, warm milk, 1/4 cup melted butter, and salt. Add the yeast mixture and stir to combine.
- Gradually add the flour, mixing until a shaggy dough forms.
- Turn the dough out onto a lightly floured surface. Knead for 5 to 7 minutes until the dough is smooth and elastic. It will be slightly sticky.
- Place the dough in a lightly oiled bowl, turning to coat. Cover the bowl with plastic wrap or a clean towel. Let the dough rise in a warm spot for 30 minutes, or until it has nearly doubled in size. This is your fast baking project step.
- Gently punch down the dough. Divide it into 12 equal pieces. Roll each piece into a smooth ball.
- Arrange the dough balls in a greased 9×13 inch baking pan, leaving a small space between them for them to touch as they bake.
- Cover the pan loosely and let the rolls rest for 15 minutes while the oven preheats to 375°F (190°C).
- If using an egg wash, brush the tops lightly with the beaten egg.
- Bake for 15 to 18 minutes, or until the tops are golden brown.
- While the rolls are hot, melt the remaining 2 tablespoons of butter. Brush the melted butter over the tops of the warm rolls.
- Serve immediately as easy dinner rolls or a side dish.
Notes
- For a garlic butter topping, mix the melted butter with 1 clove of minced garlic and a pinch of dried parsley before brushing over the hot rolls.
- If you want pull apart rolls, place them closer together in the pan.
- This recipe works well for beginner sourdough baking as it uses discard and requires no long fermentation.
Nutrition
- Serving Size: 1 roll
- Calories: 210
- Sugar: 4
- Sodium: 280
- Fat: 6
- Saturated Fat: 3.5
- Unsaturated Fat: 2.5
- Trans Fat: 0
- Carbohydrates: 35
- Fiber: 1.5
- Protein: 5
- Cholesterol: 25