

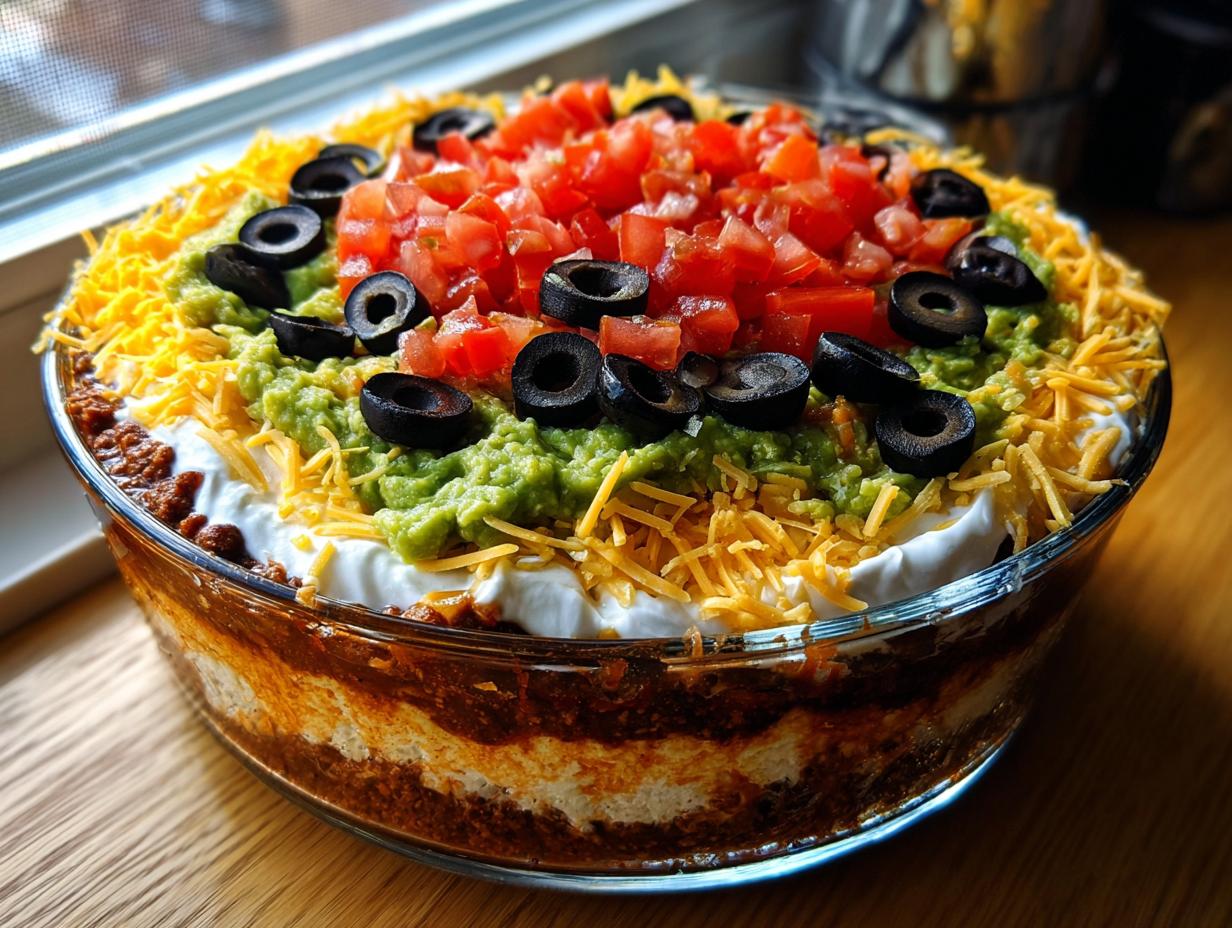
If you bring this to a party, I promise you it will disappear before the main course arrives! There’s just something magical about perfect party food, right? I’m Aria, and trust me when I say that learning how to put together a truly magnificent, foolproof seven layer dip is one of the best skills you can master for any gathering. Forget soggy messes! My guide ensures every single layer stays distinct, colorful, and absolutely delicious when scooped up with a chip. This simple Tex-Mex appetizer has been the guaranteed star at every single potluck I’ve attended since I started cooking. You can learn a little more about my philosophy over on the About page. Ready to build the best dip ever?
- Why This Seven Layer Dip is the Ultimate Party Layered Dip
- Gathering Ingredients for Your Seven Layer Dip
- Essential Equipment for Assembling the Seven Layer Dip
- Step-by-Step Instructions: How to Make Seven Layer Dip Perfectly
- Making Your Party Layered Dip Ahead of Time
- Serving Suggestions for Your Tex-Mex Appetizer
- Troubleshooting Common Seven Layer Dip Issues
- Frequently Asked Questions About the Seven Layer Dip
- Estimated Nutritional Data for This Classic Seven Layer Dip
- Share Your Experience Making This Crowd Pleaser
Why This Seven Layer Dip is the Ultimate Party Layered Dip
When you’re worried about what to take to a bash, you need reliability, and honestly, this dip delivers every single time. It’s the definition of a crowd pleaser because it caters to everyone! We aren’t just throwing things into a bowl here; we are building a flavor skyscraper, and I’ve figured out the secrets to make sure they don’t collapse. This is truly the easiest seven layer dip you will ever make, and it looks so much fancier than the effort it requires.
- It Stays Put! Unlike some dips that turn into soup after sitting out for ten minutes, ours holds its structure beautifully. The dryness of the top layers prevents the beans underneath from getting sloppy.
- Flavor Impact: Every scoop guarantees you hit multiple textures and tastes—the creamy, the spicy, the fresh, and the cheesy!
- Make-Ahead Confidence: You can get all the heavy layering done the day before, which saves so much scrambling right before guests arrive.
- Visual Appeal: When you use a clear glass dish, the layers look incredible. It’s practically a centerpiece!
Key Components for the Best 7-Layer Dip
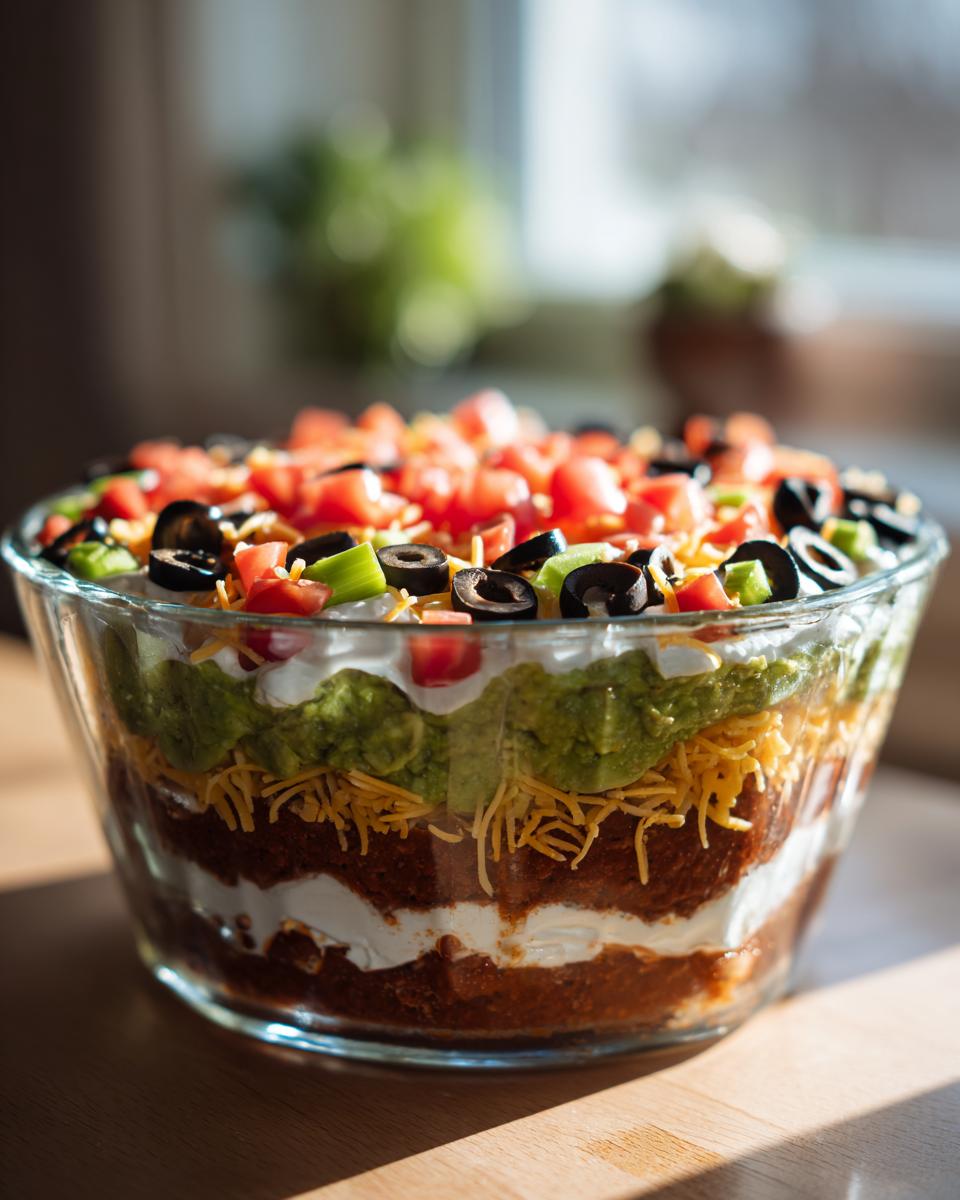
The structure is everything here. If you skip one, it’s not really the ultimate layered dip, is it? Knowing the order matters because you don’t want sharp, wet ingredients sitting right against the creamy elements. We build from the bottom up based on density and moisture control!
Our seven core layers are always:
- Spiced Refried Beans (The solid base)
- Guacamole (The green cushion)
- Seasoned Sour Cream (The separator)
- Drained Salsa (The moisture barrier!)
- Shredded Cheese
- Diced Tomatoes
- Black Olives (The lovely dark topping)
Gathering Ingredients for Your Seven Layer Dip
Okay, you saw the structure, and now we tackle the goods! Getting the right ingredients assembled is half the battle. Remember, precision here really pays off later when you’re trying to spread things smoothly. I’ve listed exactly what I use for the absolute best flavor combination. Don’t skimp on the draining steps; I promise that’s where the waterlogged disappointments happen!
- 1 (16 ounce) can refried beans, and please make sure they are room temperature! Trust me on this one.
- 1 teaspoon ground cumin
- 1/2 teaspoon chili powder
- 1 cup guacamole—homemade is always better, but use good quality stuff!
- 1 cup sour cream
- 1/2 teaspoon taco seasoning mix
- 1 cup salsa, and this needs to be well drained—seriously, drain it over a fine-mesh sieve for 15 minutes if you need to!
- 1 cup shredded cheddar or Mexican blend cheese
- 1/2 cup diced Roma tomatoes
- 1/4 cup sliced black olives, drained
- Optional: Chopped green onions for garnish
Ingredient Notes and Substitution Tips
Since this recipe relies on layering, the texture of your starting components is key. Let’s talk about the most important prep work. First, those refried beans? If they are cold straight from the can, you will tear up your next layer when you try to spread them. Let them sit out on the counter for at least an hour until they are spreader-friendly, like thick peanut butter!
The salsa drainage is non-negotiable. Excess liquid seeps down and ruins the flavor profile of the beans below. If your salsa looks watery, just dump it into a sieve over the sink. You’ll be shocked how much juice comes out.
As for substitutions, feel free to swap out the cheese! Monterey Jack melts beautifully and has great flavor, or you can use Pepper Jack if you want an extra subtle kick built into the cheese layer. For the olives, don’t sweat it if you only have whole ones—just give them a quick rough chop before sprinkling them on top. That’s the beauty of cooking at home; you adjust just a little bit to make it your own!
Essential Equipment for Assembling the Seven Layer Dip
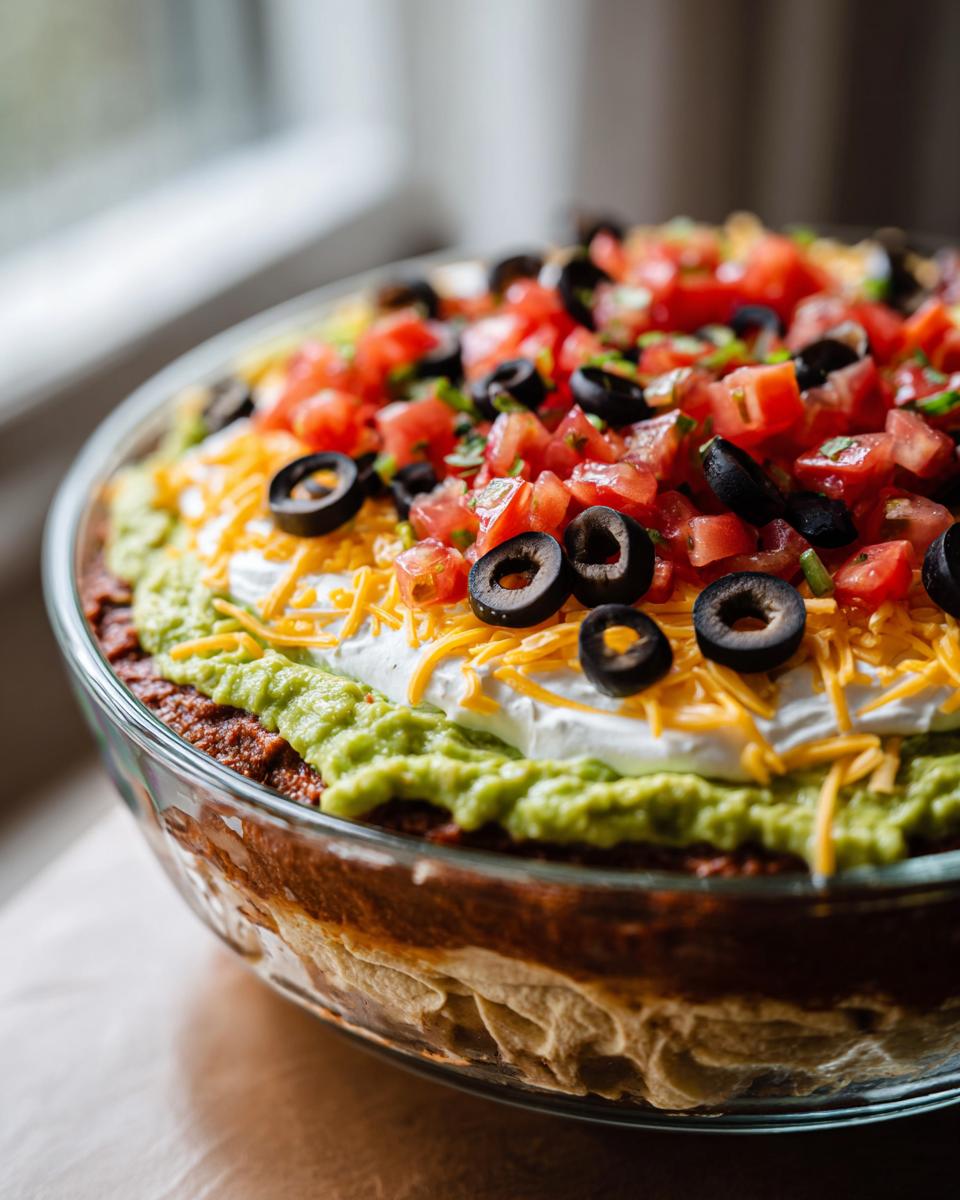
You don’t need a million fancy tools for this one, which is another reason I love it as an easy seven layer dip! The equipment list is short, but there’s one item that is absolutely crucial if you want your dip to look as jaw-dropping as it tastes: you need a clear serving dish.
Honestly, a glass dish isn’t just aesthetic; it’s part of the presentation! Guests want to see those beautiful stripes of green guacamole, dark beans, and white sour cream. An opaque ceramic bowl just hides all your hard work layering everything perfectly.
Here’s what you’ll need:
- A clear serving dish: A 9-inch pie plate works perfectly because the sides are slightly sloped, showing off the depth of the layers. A shallow glass casserole or even a clear glass punch bowl turned upside down works too!
- Two small mixing bowls for component prep (one for the beans and one for seasoning the sour cream).
- A rubber spatula or offset spatula: This is your secret weapon for spreading the beans and guacamole without digging into the layer beneath. Patience and a gentle touch with the spatula make all the difference!
- A fine-mesh sieve or colander: Remember that crucial draining step for the salsa? This is how we make sure that runny juice stays out of our beautiful dip structure.
That’s really it! Simple tools for an impressive result. As long as you have something clear to showcase your work, you’re golden!
Step-by-Step Instructions: How to Make Seven Layer Dip Perfectly
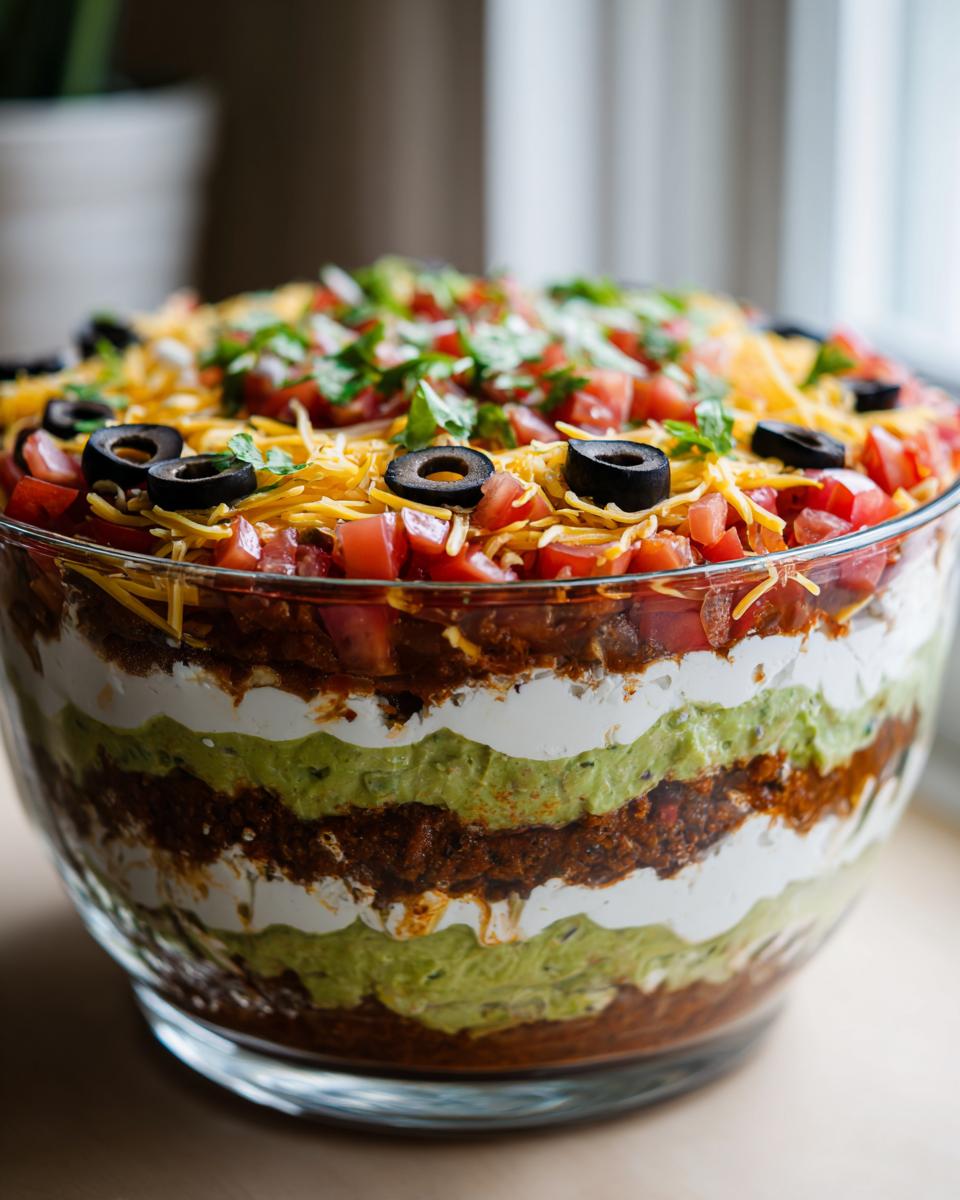
Now we get to the fun part! Knowing how to make seven layer dip perfectly is all about patience and gravity—we need those lower layers to stay firmly in place. Think of yourself as an architect building a gorgeous, edible tower. You need a solid foundation and gentle hands for every subsequent level. We are going to take this slow and steady so your presentation is flawless when it hits the party table.
First things first, grab that seasoned bean mixture we talked about. Spread about half an inch thick across the bottom of your clear dish. Use the back of a spoon or a small spatula and work slowly from the center outwards to get an even coat. Don’t press too hard, or you’ll end up clearing a path down to the glass!
Next up is the guacamole. Gently spread that lovely green layer right on top of the beans. If you’re making this ahead, pause right here—we’ll talk about keeping it green in a minute. Then, mix your sour cream with the taco seasoning, and spread that white layer evenly over the guac. This acts like the perfect separator layer!
After that, we layer on the flavor finishers: the well-drained salsa, a nice sprinkle of cheese, the diced tomatoes, and finally, those lovely black olives scattered across the top like confetti. Once everything is stacked, cover the whole thing gently and you *must* chill it for at least 30 minutes. This chilling time is essential; it lets the layers firm up so they don’t slide into each other when people start digging in.
Layering Tip: Preventing Guacamole Browning
This is the moment where home cooks often panic, especially if you’re making this Tex-Mex appetizer a few hours before you need to serve it. Nobody wants brown guacamole—it looks instantly sad! I have two foolproof methods that Aria swears by, and you only need to implement one. If you are serving immediately, squeeze a tiny bit of fresh lime or lemon juice right over the guacamole layer before adding the sour cream. That acid does the trick beautifully!
But if the dip is going to hang out in the fridge for a while, I swear by the plastic wrap shield. Take a piece of plastic wrap and gently press it down directly onto the surface of the guacamole. Seriously, press it down so there are no air bubbles trapped between the plastic and the green layer. Air is the enemy! Once that plastic wrap is kissing the guac, you can proceed happily with your sour cream layer on top, totally safe from oxidation. It’s a little extra step, but it guarantees bright green goodness when it’s time to serve!
Making Your Party Layered Dip Ahead of Time
This is honestly my favorite thing about putting together this easy seven layer dip: you can totally win the party preparation game by making it ahead! Planning ahead is everything when you have a house full of guests coming over, and this dip lets you cross one big item off your list the day before.
The structure we worked so hard to build needs a little nap in the fridge to really set up properly. If you cover the whole thing gently with plastic wrap—and make sure the wrap isn’t touching the cheese or tomatoes if you can help it—you can keep the assembled dip in the refrigerator for up to 24 hours. Any longer than that, and I start to worry about the fresh components, especially the tomatoes losing their crispness.
But here’s a pro-tip for maximum freshness, especially if you are busy the morning of your get-together: you can prep the base layers separately. The refried beans (spiced and spread) and the seasoned sour cream can be made up to two days ahead and kept in their containers in the fridge. Just spread them in the dish later.
The layers you want to hold off on until the very last minute are the guacamole, the salsa, and the fresh toppings (tomatoes and olives). Why? Because no matter how much lime juice you use, guacamole loses its sparkle after 12 hours. And the salsa, even when drained, just feels better when spooned on fresh!
So, my ideal schedule for pulling off the best 7-layer dip is making the beans and sour cream mixture the night before. Then, about 2 hours before everyone shows up, I pull out the pre-mixed components, layer the guacamole, add the rest, and let it chill for that mandatory 30 minutes. It makes party day so calm, and you look like a culinary genius!
Serving Suggestions for Your Tex-Mex Appetizer
You’ve built this amazing structure—all seven distinct layers are set, chilled, and ready to go! Now we talk about how to get this Tex-Mex appetizer from the fridge to the coffee table without a disaster. Presentation matters just as much as the perfect spice blend here. You want guests to grab a chip and confidently scoop right down to the bottom layer.
Of course, the number one companion for any layered dip is a ridiculously big bowl of tortilla chips. My only advice regarding chips is volume! Seriously, have more chips than you think you need on hand, because people will go back for seconds, thirds, and maybe even try to sneak a few leftover crumbs while you’re cleaning up!
But don’t stop at just chips! Having some veggie options is great for those friends who are trying to watch their crunch intake, or just need something less salty alongside the richness of the cheese and bean layers. Here are my favorite serving accompaniments:
- Sturdy Tortilla Chips: Go for the thick, restaurant-style chips. Wavy chips are fun, but sometimes they can break when they hit that firm bean layer!
- Bell Pepper Strips: Red, yellow, or orange peppers are naturally sweet and sturdy enough to handle the weight of all those layers. Cut them lengthwise into spears.
- Jicama Sticks: If you want something really crisp and refreshing, peel some jicama and slice it into thick sticks. It adds a great earthy crunch that cuts through the richness.
- Carrot Sticks: Simple, classic, and everyone always has them on hand.
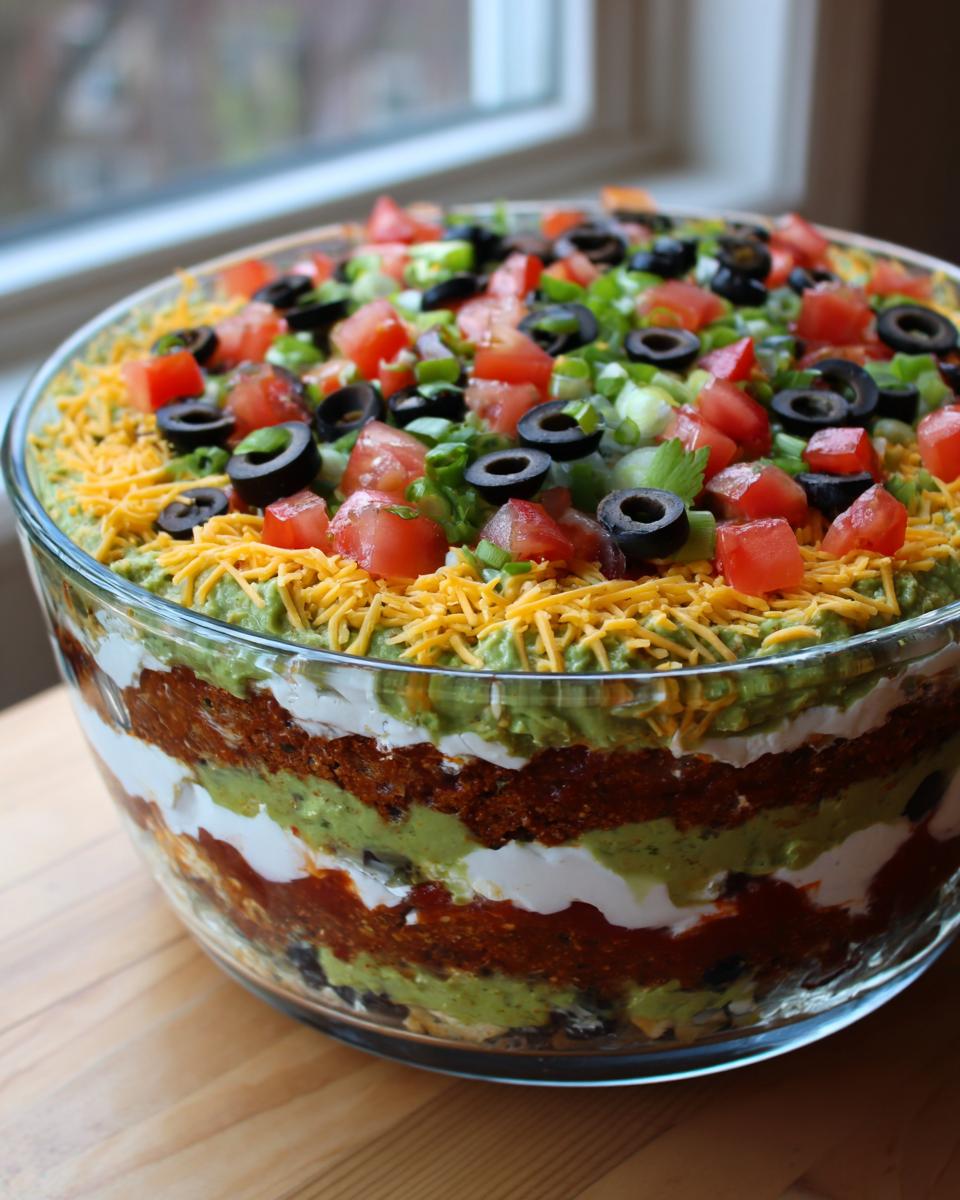
One last presentation tip for serving this beautiful classic Tex-Mex appetizer: Keep the dip as centered as possible. Don’t spread the serving chips right up against the edge of the dish. Leaving a little clear space around the perimeter makes the different colored layers really pop against the white platter. People eat with their eyes first, and when they see those seven clear stripes, they know they’re about to eat something special!
Troubleshooting Common Seven Layer Dip Issues
Even when you follow the roadmap perfectly, sometimes things go a little sideways in the kitchen—that’s just real life! When it comes to the best 7-layer dip, there are usually two major stress points I hear people run into, but honestly, they are usually super easy to fix if you know the secret. Don’t stress if your dip isn’t looking perfect on the first try; we’ll get it sorted out right now so you can serve that guaranteed crowd pleaser!
The most common issue I see, which absolutely ruins the structure we worked so hard to build, is that dreaded watery seep. You go to scoop a chip, and suddenly, you’re fishing in pinkish bean juice instead of thick, satisfying layers. This almost always comes down to one culprit: the salsa.
If your salsa wasn’t drained properly, that liquid has nowhere to go but down, right? It just washes over the sour cream and starts dissolving the top of your bean layer, turning everything into an unintentional soup. My solution is what I mentioned earlier: when in doubt, strain it longer! If you used a jarred salsa, let it sit in a fine-mesh sieve over the sink while you prep literally everything else. If there is liquid left, it shouldn’t be added to the dip. That well-drained salsa is critical for keeping the lower layers firm.
Then, of course, there’s the dreaded browning guacamole. This happens if you’re assembling the dip a little too early, and air manages to sneak in. If you didn’t use the plastic wrap trick—which presses directly onto the surface to eliminate air pockets—your green layer might look a little sad by party time. If you catch it before it gets too dark, sometimes stirring the very top edge of the guacamole gently with a spoon can bring some of the greener interior up, but honestly, for this easy seven layer dip, prevention is key.
If you’re worried about the fresh tomatoes looking dull by the time you serve, try adding them right before you put the plastic wrap on for chilling. They’ll be protected by the final olives, and trust me, chilling them slightly helps them keep their beautiful, firm shape until the moment you serve. It’s all about managing moisture and air!
Frequently Asked Questions About the Seven Layer Dip
I get so many questions about this recipe because everyone wants their seven layer dip to come out picture-perfect for their get-togethers. It’s natural to worry when you have so many components stacked up! These are the things I hear most often when folks are planning how to make this easy seven layer dip.
Can I skip a layer in this seven layer dip?
You certainly *can* skip a layer if you’re missing an ingredient or just don’t love olives, for instance! But if you’re aiming for the best 7-layer dip experience, I always recommend keeping all seven. Each layer serves a structural or flavor counterpoint role. For example, the sour cream layer isn’t just yummy; it’s the necessary barrier between the damp salsa and the creamy guacamole below it. If you skip a barrier layer, you might find your dip getting a little messy faster. So yes, feel free to adjust for taste, but know that skipping layers impacts the beautiful visual effect and the textural complexity we aim for!
What is the best temperature to serve this dip?
This dip absolutely loves being chilled! Because three of the layers (sour cream, guacamole, and cheese) taste so much better when they are cold, we need that chill time. The instructions call for chilling for at least 30 minutes, and that’s the bare minimum to let the layers just kiss and stick together. For the absolute best flavor and texture—when the layers are firm but not rock-hard—I like to pull it out of the fridge about 15 minutes before serving. This slightly softens the beans just enough without letting the creamy elements get warm and runny. So, serve it cold, but not ice-cold is the sweet spot!
Can I use store-bought guacamole for this easy seven layer dip?
Oh, honey, yes! I make homemade guacamole whenever I have an extra 20 minutes, but let’s be real—sometimes party prep is frantic! Store-bought guacamole works just fine, especially if you buy the kind that comes in sealed tubs which usually contains a little extra acid to keep it stable. If you use store-bought, just give it a quick sniff check, and if you have any lime juice left over, brush a little bit on top before you start Layer 3, just in case those manufacturers didn’t use enough stabilizers. It keeps your dip looking fresh for hours!
Why is draining the salsa so important for a party layered dip?
This is probably the most important tip I can give you to ensure your party layered dip doesn’t turn into a swamp! Salsa usually has a lot of free water in it from the tomatoes and onions. If you spoon that wet salsa straight onto the sour cream, the water will slowly seep down through the cheese and sour cream layers over time. When that liquid hits the bean layer, it mixes in, and boom—you have a runny, soupy mess at the bottom of your beautiful dish. Draining it thoroughly ensures that the salsa just sits nicely on top of the sour cream, allowing all your layers to remain perfectly separate and firm right up until the last chip dive!
Estimated Nutritional Data for This Classic Seven Layer Dip
When we talk about bringing this amazing Tex-Mex appetizer to a gathering, I always get asked about the stats. While I focus almost entirely on flavor and crowd satisfaction here at home, I know some of you are counting things up! So, I ran the numbers based on standard ingredient sizes for the whole batch of seven layer dip.
Please remember, this is just an estimate, because let’s face it, if you use a slightly bigger dollop of sour cream or a thicker layer of cheese, those numbers shift! But this gives you a good ballpark idea of what you’re looking at based on the recipe as written.
Here are the estimated details per serving (which we figure is 1/8 of the dip), assuming you serve about 8 hungry people:
- Calories: 210
- Fat: 16g (And yes, 7g of that is Saturated Fat—it’s worth it for the flavor, trust me!)
- Carbohydrates: 12g
- Protein: 7g
- Sodium: 350mg (This is usually where the salt from the beans and seasoning adds up!)
- Fiber: 3g
This wonderful seven layer dip is vegetarian, which is great for catering to a wider group at your potluck! Like I always say, every amazing meal is about balance, and this dip certainly brings all those wonderful, satisfying layers into an easy, enjoyable package. Now go enjoy the party!
Share Your Experience Making This Crowd Pleaser
Honestly, the best part of sharing these recipes with you all isn’t making the dip myself—it’s hearing about how much fun everyone had eating it at your gatherings! I truly hope this easy seven layer dip steals the show at your next potluck or game night. Did it disappear first? Did someone ask you to send them the recipe right there at the snack table?
I absolutely live for those success stories! So please, don’t be shy—I want to know everything!
Take a moment to leave a star rating right down below. Even better, drop a comment sharing your party success story! Tell me what chips you used, or maybe if you tried a little extra hot sauce in the bean layer. Did you manage to keep that guacamole green? I love reading all the little tweaks you home cooks make to my basic roadmap.
And if you snapped a picture of that stunning presentation before everyone dove in, I’d be thrilled if you shared it online and tagged me! Seeing your beautifully layered Tex-Mex appetizers really makes my day and builds this amazing community we have here. If you run into any last-minute snags or need clarification on any step, the contact page is always open too! You can reach out right here if anything comes up.
Thank you for trusting my recipe. Go forth and enjoy the compliments that are surely coming your way!
PrintClassic Seven Layer Dip
Make this Tex-Mex inspired seven layer dip for your next gathering. It features distinct, flavorful layers that are easy to assemble.
- Prep Time: 20 min
- Cook Time: 0 min
- Total Time: 20 min
- Yield: 8 servings 1x
- Category: Appetizer
- Method: Layering
- Cuisine: Tex-Mex
- Diet: Vegetarian
Ingredients
- 1 (16 ounce) can refried beans, room temperature
- 1 teaspoon ground cumin
- 1/2 teaspoon chili powder
- 1 cup guacamole
- 1 cup sour cream
- 1/2 teaspoon taco seasoning mix
- 1 cup salsa, well drained
- 1 cup shredded cheddar or Mexican blend cheese
- 1/2 cup diced Roma tomatoes
- 1/4 cup sliced black olives, drained
- Optional: Chopped green onions for garnish
Instructions
- In a small bowl, mix the refried beans with cumin and chili powder. Spread this mixture evenly over the bottom of a 9-inch pie dish or clear serving platter. This is your first layer.
- Spread the guacamole evenly over the bean layer. If you are making this ahead of time, brush the top lightly with lime juice to slow browning.
- In a separate bowl, mix the sour cream with the taco seasoning. Spread this seasoned sour cream mixture over the guacamole layer.
- Spoon the well-drained salsa evenly over the sour cream layer.
- Sprinkle the shredded cheese over the salsa layer.
- Top the cheese with the diced Roma tomatoes.
- Finish the dip by scattering the sliced black olives over the tomatoes.
- If using, sprinkle with chopped green onions.
- Chill the dip for at least 30 minutes before serving to allow the layers to set. Serve with tortilla chips.
Notes
- Use a clear glass dish so guests can see all seven layers.
- Drain your salsa very well; excess liquid will make the lower layers watery.
- To prevent the guacamole from browning, press a piece of plastic wrap directly onto the surface of the guacamole before adding the next layer.
Nutrition
- Serving Size: 1/8 of dip
- Calories: 210
- Sugar: 4
- Sodium: 350
- Fat: 16
- Saturated Fat: 7
- Unsaturated Fat: 9
- Trans Fat: 0.5
- Carbohydrates: 12
- Fiber: 3
- Protein: 7
- Cholesterol: 25