
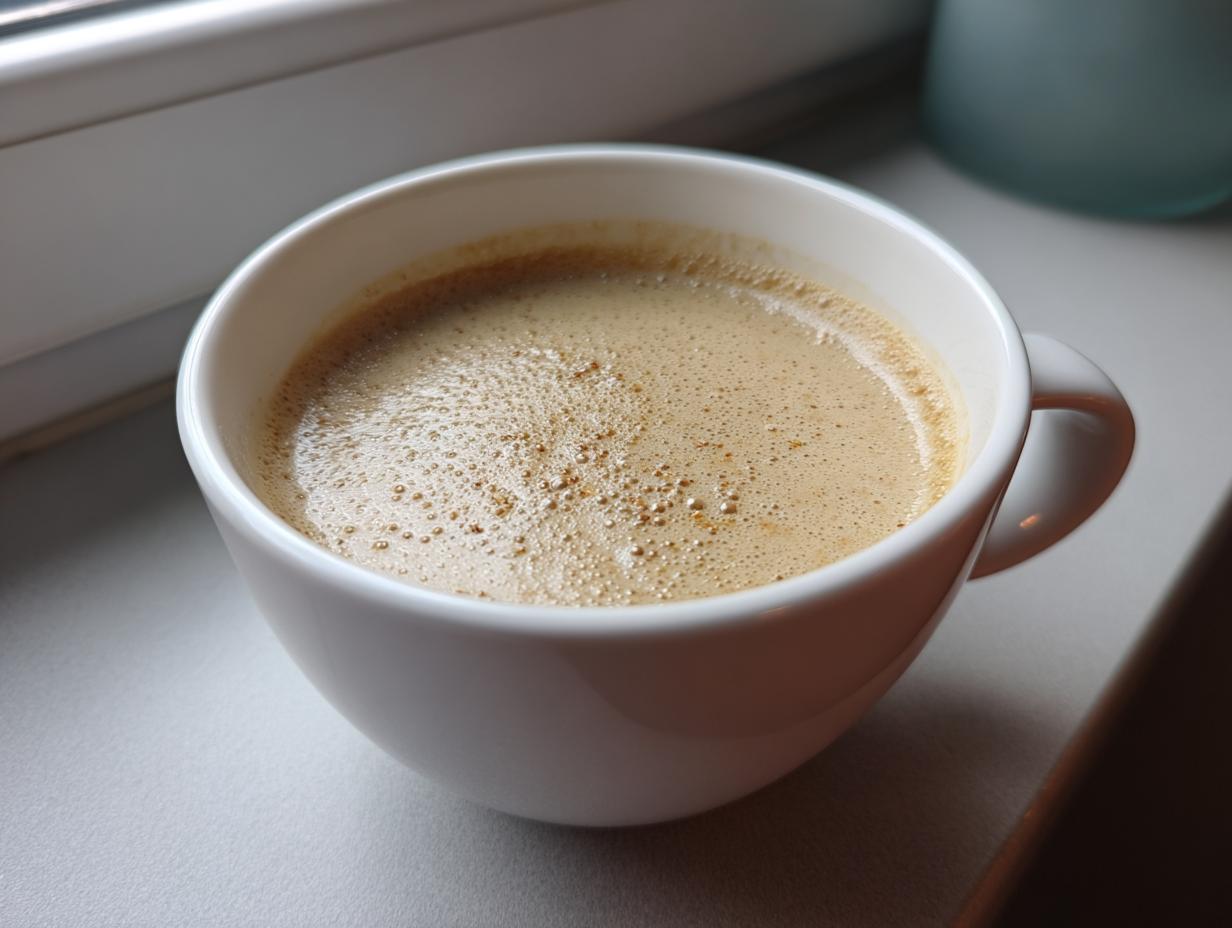
When the weather turns chilly, let’s be honest—nothing beats a bowl of pure, soul-warming comfort. That’s exactly what this roasted cauliflower soup delivers! Forget watery, bland vegetable purees; this recipe is about taking simple ingredients and coaxing out this deep, nutty flavor that only happens in a hot oven. My favorite part is that you get this incredible, velvety texture that feels so luxurious, but it truly comes together so easily. It’s my go-to cozy dinner idea when I want something impressive without spending all evening in the kitchen. Trust me, if you loved my recipe for creamy roasted butternut squash soup, you are going to fall in love with how rich this turns out!
- Why This Roasted Cauliflower Soup Recipe Works So Well
- Ingredients for Your Velvety Roasted Cauliflower Soup
- Step-by-Step Instructions for Perfect Roasted Cauliflower Soup
- Tips for the Best Roasted Cauliflower Soup Results
- Dietary Variations for This Comfort Food Soup
- Serving Suggestions for Your Easy Roasted Vegetable Soup
- Storage and Reheating Instructions for Roasted Cauliflower Soup
- Frequently Asked Questions About This Velvety Cauliflower Soup Recipe
- Understanding the Nutrition in This Healthy Cauliflower Dinner
Why This Roasted Cauliflower Soup Recipe Works So Well
I’ve made a lot of soups in my time, and I can tell you right now that the difference between a good soup and an absolutely unforgettable one is all about building those deep flavor layers. That’s why we’re roasting everything first! It’s better than boiling the flavor out of our veggies. If you want to see how this method compares to other classics, check out my advice on making potato leek soup; the principle of browning first holds true there, too.
The Magic of Roasting Cauliflower for Flavor
When you roast cauliflower, you are basically coaxing out its hidden sugars. They caramelize, giving that beautiful brown exterior that translates directly into a nutty, savory flavor in your final dish. This is what truly defines a great roasted cauliflower soup. And don’t even get me started on the garlic! Roasting the whole head turns those pungent raw cloves into sweet, buttery little bursts of flavor that melt right into the broth. It’s completely transformative.

Achieving a Velvety Texture Without Heavy Cream
The best part? You don’t need a ton of heavy cream to get that luxurious, smooth mouthfeel people expect from a really good bowl of soup. Cauliflower, when cooked until tender and then pureed thoroughly, releases natural starches that thicken everything beautifully. That high-powered blend turns it into a velvety cauliflower soup recipe. It still tastes rich and satisfying, making this a powerhouse easy weeknight dinner option that feels fancy but skips the heavy lifting!
Ingredients for Your Velvety Roasted Cauliflower Soup
Alright, let’s talk ingredients! You’ll notice we keep this list short and sweet because the roasting is doing most of the heavy lifting for flavor. When you use amazing fresh ingredients, you don’t need a pantry full of spices to make magic happen. These are the heavy hitters that make our roasted cauliflower soup taste so deeply satisfying.
- 1 large head cauliflower, cut into nice, even florets
- 1 whole head garlic (yes, the whole thing!)
- 2 tablespoons olive oil, plus a little extra just for drizzling
- 1 medium yellow onion, chopped up roughly
- 4 cups good quality vegetable broth
- 1/2 teaspoon salt (we’ll adjust this later, of course)
- 1/4 teaspoon black pepper
- 1/4 teaspoon ground nutmeg (this is my secret weapon—don’t skip it!)
- 1 tablespoon fresh lemon juice
- Optional: 1/4 cup heavy cream or full-fat coconut milk for a little extra silkiness
Keep everything measured out before you start, and you’ll find the whole process, from chopping to blending, goes incredibly smoothly. It’s my favorite way to keep things organized, especially when I’m trying to get dinner on the table fast!
Step-by-Step Instructions for Perfect Roasted Cauliflower Soup
Okay, now for the fun part! Even though roasting sounds fancy, this method is really about setting it and forgetting it for a little while, which makes it perfect for almost any night of the week. If you’re new to making soup from scratch, this recipe—and my general guide on simple soup making—will give you so much confidence. We’re breaking this down into three manageable phases so you can’t go wrong.
Roasting the Cauliflower and Garlic
First things first, get that oven blazing hot—we need 400 degrees Fahrenheit (200 Celsius) to get the browning we’re after. Take your baking sheet and load up the cauliflower florets on one side. Now for the garlic head; you need to take a tiny slice right off the top, exposing those little cloves underneath. Drizzle that exposed top with just a touch of olive oil, wrap the whole head loosely in foil, and set it on the other side of the sheet. Toss your cauliflower with just one tablespoon of oil, salt, and pepper. Roast them both for 25 to 30 minutes. You want that cauliflower tender and showing some nice brown spots!
Building the Soup Base on the Stovetop
While that’s happily roasting away, grab a big pot. Heat your remaining tablespoon of oil over medium heat and toss in your chopped onion. Let it soften up nicely for about 5 to 7 minutes until it’s translucent. Once the veggies are ready, carefully pull the garlic out of the foil—be careful, it’s hot! Squeeze that delicious, soft garlic pulp right out of its skin into the pot with the onions and give it a quick stir. Then, dump in all of your roasted cauliflower and pour in the 4 cups of vegetable broth. Bring it all up to a gentle simmer for about 10 minutes so all those amazing roasted flavors start mingling.
Blending for a Velvety Finish
This step is where the texture magic happens! You have two choices here: use your immersion blender right in the pot, or carefully transfer the soup mixture in batches to a standard blender. I have to warn you: If you use a standard blender, PLEASE make sure you vent the lid slightly and cover that opening with a kitchen towel. Hot liquids create a ton of steam, and you do not want that lid blowing off! Blend until it is completely smooth and velvety. Return that beautiful puree to the pot, stir in your nutmeg and that bright hit of lemon juice, and gently warm it through. Taste it, and add more salt if you think it needs it. That’s it! Dinner is served!
Tips for the Best Roasted Cauliflower Soup Results
I’ve learned a few tricks over the years making this roasted cauliflower soup—little things that take the flavor from ‘good’ to ‘wow, what is your secret?’ Since we are going for that deep, roasted flavor profile, technique matters just as much as the ingredients themselves. You want that comforting depth without any bitterness creeping in. These tips are exactly what I use when I’m making a pot to freeze for later, because let’s face it, this soup is perfect for meal prepping!
Maximizing Caramelization During Roasting
This one is non-negotiable if you want true caramelization: do not crowd your baking sheet! When florets are piled high, they end up steaming each other instead of roasting. You need space for the hot air to circulate all around them. I always use two baking sheets if I’m making a big batch, even if it means the onions have to roast separately for a bit. Browning equals flavor, and you can’t rush browning. You want those edges nice and dark. This ensures we get the best depth possible for our soup base.

Flavor Boosters for Your Roasted Cauliflower Soup
While the recipe itself is simple, sometimes you just want to kick the flavor up an extra notch! If you’re looking for a bit of warmth—especially if you’re planning on skipping the optional cream—try adding just a small pinch of turmeric when you season your cauliflower before roasting. It gives the soup this gorgeous golden color and a background earthiness that pairs wonderfully with the garlic. Also, don’t underestimate that lemon juice at the end! I know we add it late, but that little acid is what cuts through the richness of the roasted vegetables, making the whole bowl taste brighter and cleaner. It keeps the soup from tasting too heavy, even when you add extra richness. I use similar flavor layering when I’m trying to make my favorite dips extra irresistible!
Dietary Variations for This Comfort Food Soup
I absolutely love that this base recipe for roasted cauliflower soup is super flexible! It’s naturally fantastic for a healthy cauliflower dinner right off the bat, but we can make a few tiny tweaks to ensure everyone at the table can enjoy this cozy meal. It checks so many boxes, whether you’re aiming for something lighter or plant-based.
Making the Roasted Cauliflower Soup Vegan
If you’re leaning toward a fully vegan soup, that optional heavy cream needs swapping. Honestly, you can just omit it! The pureed cauliflower gives you a wonderfully thick texture already. But, if you really miss that decadent mouthfeel, substitute it with full-fat coconut milk. It blends in beautifully! Another great trick for adding that savory, almost cheesy background flavor without any dairy—especially if you’re making a vegetarian winter soup—is adding about 1/4 cup of nutritional yeast when you blend everything. It’s magic, I promise. You can see how I handle creamy vegan swaps in my pumpkin curry recipe too!
Keeping This a Low Carb Cauliflower Soup
This is one of my favorite aspects of this dish: it’s inherently a fantastic low carb cauliflower soup! Cauliflower is naturally low in starches compared to, say, potato soup. As long as you stick to the core ingredients—cauliflower, onion, broth, and aromatics—you are golden. Just be sure that if you decide to thicken it up later, you avoid adding things like flour or cornstarch, as those will suddenly turn our clean, quick cauliflower recipe into something much higher in carbs.
Serving Suggestions for Your Easy Roasted Vegetable Soup
Now that you have this incredibly smooth, flavorful bowl of soup, we can’t just leave it hanging there plain, can we? Part of the joy of a simple soup base is treating it like a blank canvas for garnishes. We want texture contrast! That velvety texture is divine, but it needs something crunchy to play against.
For texture, you absolutely have to make homemade croutons. They stay crispier longer than the packaged ones, and you already know how to roast vegetables, so roasting some bread cubes with a little garlic powder and oil is a breeze! A nice hard-baked sourdough crouton gives the best audible crunch when you bite into it. Trust me, skip the soggy ones from the bag.

To bring everything back to life after the richness of the roasting and blending, you need something green and bright. A little shower of fresh dill on top is fantastic—it pairs so well with the mild sweetness of the cauliflower. If you’re feeling fancy, grate a little salty Parmesan right over the top so it melts just slightly into the hot soup.
And if you’re serving this anytime near the holidays, or just feel like treating yourself, dunking a biscuit in this makes the whole meal feel complete. I always bake a batch of my ultra-flaky buttermilk biscuits when I make this soup because they are perfect for soaking up every last drop! It turns a simple dinner into a real event.
Storage and Reheating Instructions for Roasted Cauliflower Soup
One of the best things about making a great batch of roasted cauliflower soup is knowing you have leftovers ready for a quick lunch or an impromptu cozy dinner later in the week. This soup holds up incredibly well, which is why I always encourage people to double the recipe! It’s proof that healthy eating doesn’t have to mean hours of cooking every single day.
For the refrigerator, you want to make sure the soup is completely cooled down before you pop it in the fridge. Store that beautiful, velvety liquid in an airtight container. It’ll stay perfectly good for about 4 to 5 days. Honestly, I think it tastes even better on day two once all those roasted garlic and nutmeg notes have had a chance to really settle into the broth!

Now, if you’re planning ahead—and you should be!—freezing is the way to go. I always cool mine completely, then portion it out into single-serving, freezer-safe containers or heavy-duty freezer bags. If you’re using bags, lay them flat on a baking sheet in the freezer until they’re solid, then you can stack them up like soup bricks in your freezer drawer! This soup freezes beautifully for up to three months.
When it’s time to reheat, please don’t blast it on high heat! That can sometimes affect the texture if it had any cream added. For the best results, let the frozen soup thaw in the fridge overnight if you can. Then, reheat it gently on the stovetop over medium-low heat, stirring occasionally until it’s warmed through. If it seems a little thick after sitting, just stir in a splash of extra broth or water until you reach that perfect, luxurious consistency again. Easy peasy!
Frequently Asked Questions About This Velvety Cauliflower Soup Recipe
It’s totally normal to have questions when trying a new recipe, especially one that relies on roasting for its flavor! I try to cover everything in the instructions, but sometimes those little lingering thoughts pop up right before you start cooking. Don’t worry, I’ve got the answers to keep your experience smooth and ensure you end up with the best cauliflower soup!
Can I use frozen cauliflower for this roasted cauliflower soup?
Oh, that’s a great question about shortcuts! While I love quick meals—this is an easy dinner favorite, after all—for this specific process, I really stress using fresh cauliflower. Frozen cauliflower has already been blanched, which means it holds a ton of extra water inside those florets. If you toss frozen cauliflower in the oven, it’s going to steam itself way before it roasts and caramelizes. You won’t get that deep, nutty flavor that makes this whole dish work! Stick with fresh for the best result.
How long does this creamy cauliflower soup last in the refrigerator?
Because we get such a great pureed texture, this creamy cauliflower soup lasts beautifully! Once it’s cooled down and stored in a tightly sealed container, it keeps wonderfully in the fridge for about 4 to 5 days. I actually find that the nutmeg and the roasted garlic flavor deepen a tiny bit overnight, making leftovers truly fantastic. It’s perfect for meal prepping those quick healthy lunch ideas!
What is the best way to make this soup ahead of time?
If you’re looking to prep a massive batch, the absolute best thing you can do is let the fully blended soup cool completely to room temperature before transferring it to airtight containers for storage (either the fridge or the freezer). When you reheat it later, remember to be gentle. Use low to medium-low heat on the stovetop and stir frequently. If it seems a little too thick once it’s hot—which sometimes happens when it cools—just thin it out with a half-cup of warm broth until you reach that perfect, luxurious consistency again. Easy, right?
Understanding the Nutrition in This Healthy Cauliflower Dinner
I know so many of you are counting macros or just trying to keep things relatively light while still eating something incredibly flavorful. That’s the beauty of a healthy cauliflower dinner like this soup! Because we are letting the vegetables do the heavy lifting and keeping the heavy cream optional, the nutrition profile is marvelous. It’s packed with fiber and wonderfully low in saturated fat.
Remember, these numbers are estimates based on the recipe using vegetable broth and omitting that optional cream or coconut milk, just to keep things clean. It shows just how much goodness we pack into one bowl from something as simple as a whole head of cauliflower and some broth!
- Serving Size: 1.5 cups
- Calories: 180
- Sugar: 6g
- Sodium: 350mg
- Fat: 10g (Mostly healthy unsaturated fats!)
- Saturated Fat: 1.5g
- Trans Fat: 0g
- Carbohydrates: 18g
- Fiber: 6g (Hello, fullness!)
- Protein: 7g
- Cholesterol: 0mg
Isn’t that great? You get a super satisfying, low carb cauliflower soup that’s not only delicious but genuinely good for you. It proves you never have to sacrifice taste for good nutrition when you roast your veggies first!
PrintVelvety Roasted Cauliflower Soup with Roasted Garlic

Make this creamy roasted cauliflower soup for a comforting, easy dinner. Roasting the cauliflower and garlic deepens the flavor, creating a velvety texture without heavy cream.
- Prep Time: 15 min
- Cook Time: 35 min
- Total Time: 50 min
- Yield: 4 servings 1x
- Category: Dinner
- Method: Roasting and Simmering
- Cuisine: American
- Diet: Vegetarian
Ingredients
- 1 large head cauliflower, cut into florets
- 1 whole head garlic
- 2 tablespoons olive oil, plus more for drizzling
- 1 medium yellow onion, chopped
- 4 cups vegetable broth
- 1/2 teaspoon salt
- 1/4 teaspoon black pepper
- 1/4 teaspoon ground nutmeg
- 1 tablespoon fresh lemon juice
- Optional: 1/4 cup heavy cream or full-fat coconut milk for extra richness
Instructions
- Preheat your oven to 400 degrees Fahrenheit (200 degrees Celsius).
- Place the cauliflower florets on one side of a large baking sheet. Slice the top off the head of garlic to expose the cloves, drizzle lightly with olive oil, wrap in foil, and place on the other side of the baking sheet.
- Toss the cauliflower florets with 1 tablespoon of olive oil, salt, and pepper.
- Roast the cauliflower and garlic for 25 to 30 minutes, or until the cauliflower is tender and lightly browned at the edges.
- While the vegetables roast, heat 1 tablespoon of olive oil in a large pot or Dutch oven over medium heat. Add the chopped onion and cook until soft, about 5 to 7 minutes.
- Squeeze the softened, roasted garlic from its skin directly into the pot with the onions. Stir to combine.
- Add the roasted cauliflower florets and vegetable broth to the pot. Bring the mixture to a simmer.
- Reduce the heat to low, cover, and cook for 10 minutes to allow the flavors to meld.
- Carefully transfer the soup mixture to a blender (or use an immersion blender directly in the pot). Blend until completely smooth and velvety. Work in batches if using a standard blender, ensuring the lid is vented to allow steam to escape.
- Return the pureed soup to the pot. Stir in the nutmeg and lemon juice. If you want a richer texture, stir in the optional heavy cream or coconut milk now. Heat through gently, but do not boil.
- Taste and adjust salt and pepper as needed before serving.
Notes
- For a vegan version, skip the optional cream or use full-fat coconut milk.
- If you want a cheesy flavor without dairy, add 1/4 cup of nutritional yeast when blending.
- This soup freezes well for up to three months; cool completely before storing in airtight containers.
Nutrition
- Serving Size: 1.5 cups
- Calories: 180
- Sugar: 6
- Sodium: 350
- Fat: 10
- Saturated Fat: 1.5
- Unsaturated Fat: 8.5
- Trans Fat: 0
- Carbohydrates: 18
- Fiber: 6
- Protein: 7
- Cholesterol: 0