
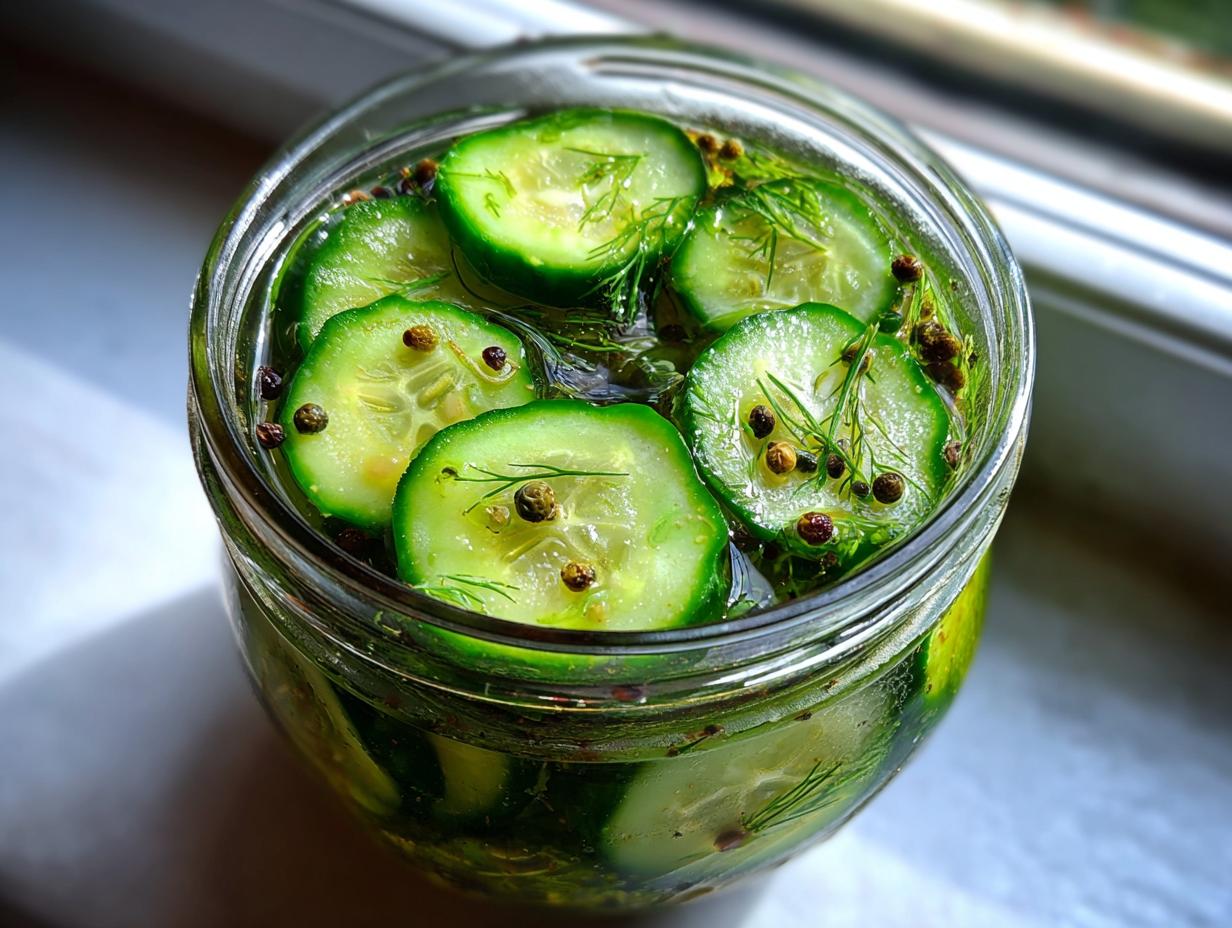
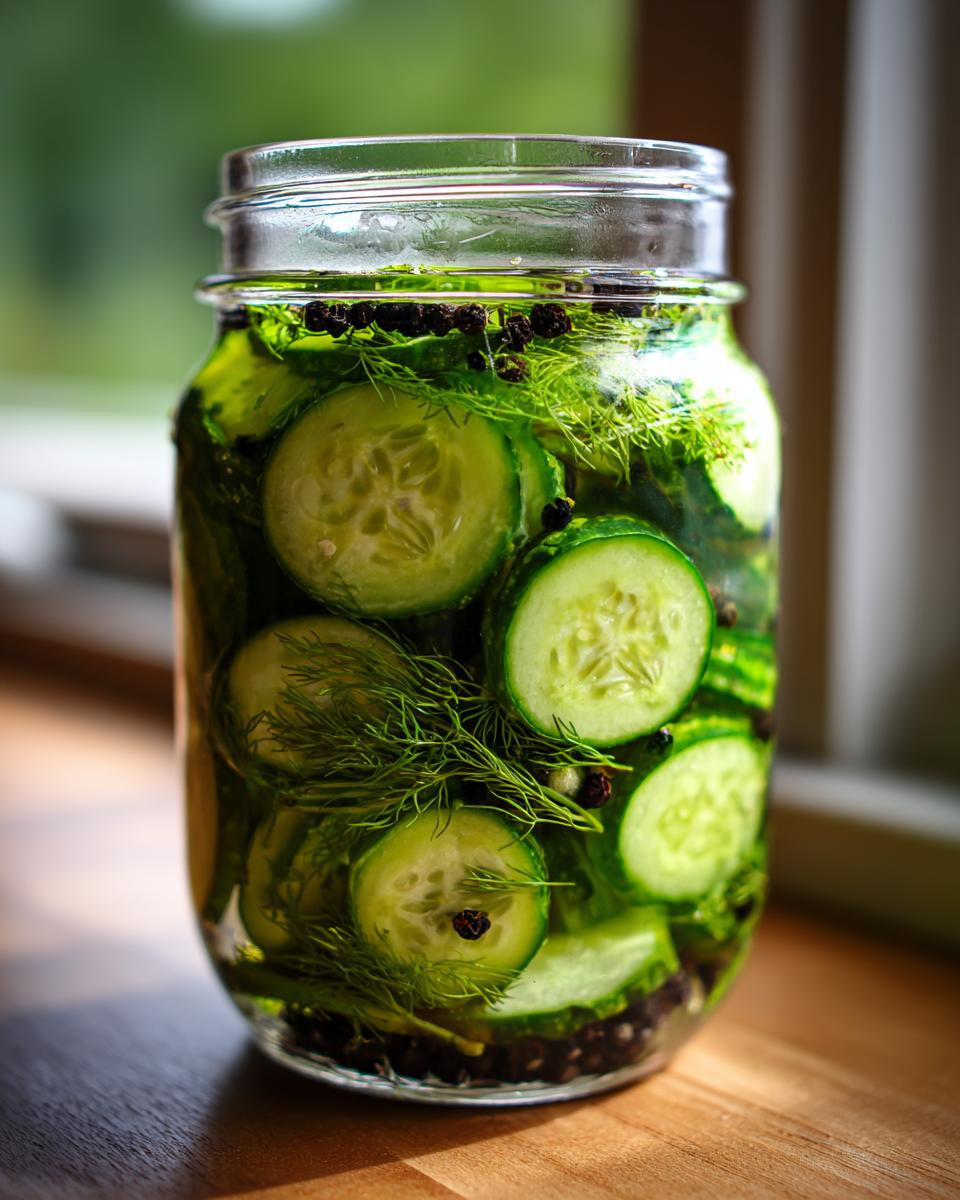
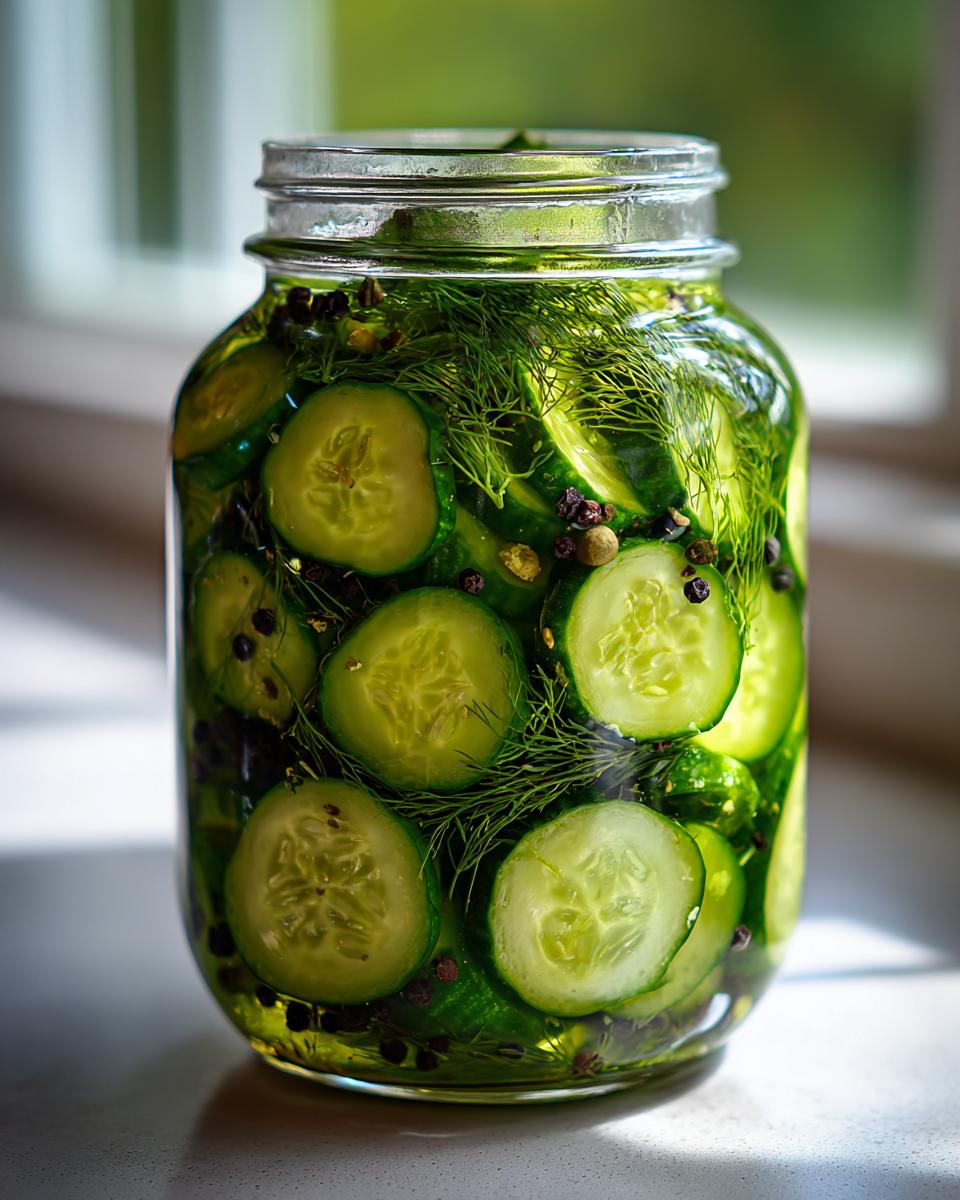
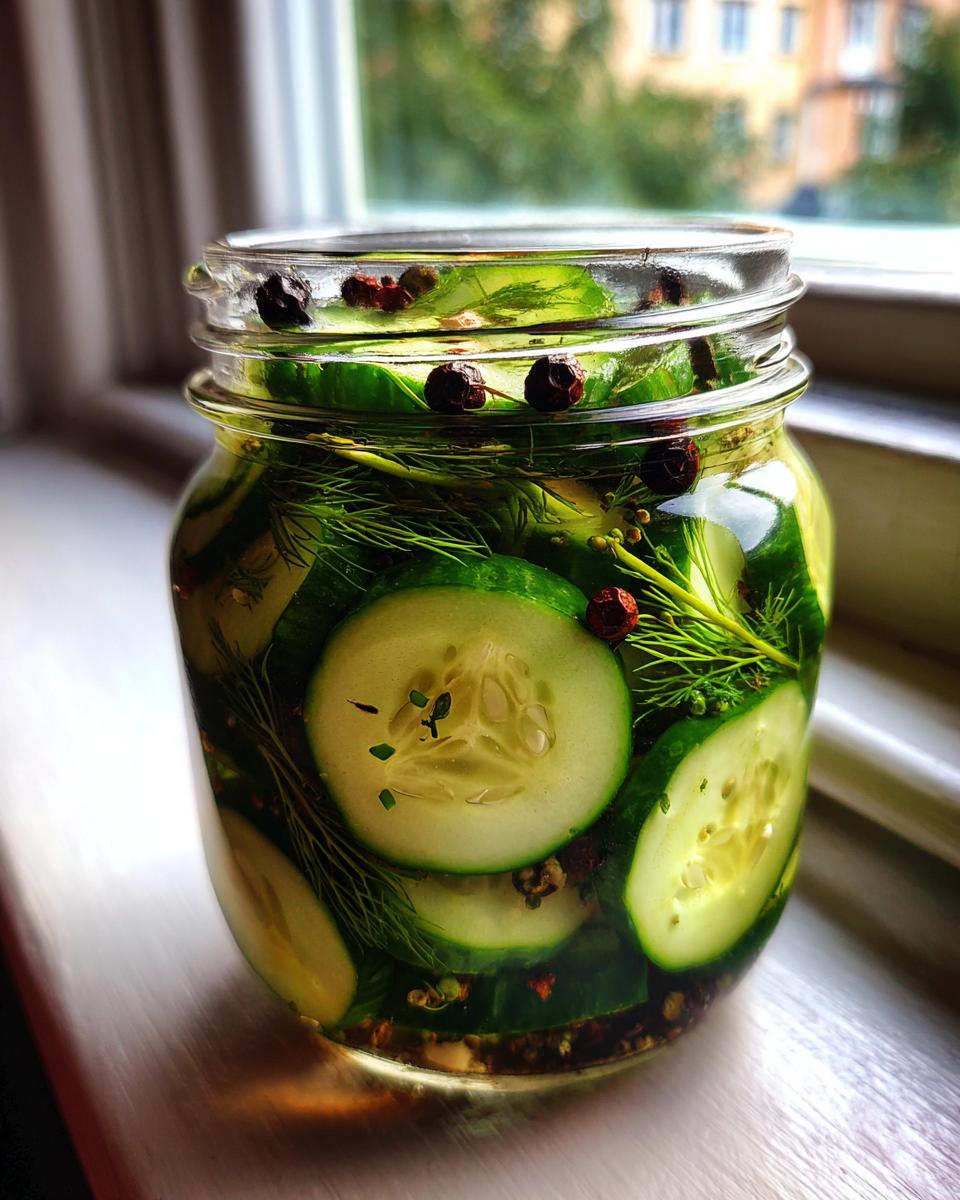
Oh, that craving! You know the one—that irresistible desire for that sharp, vinegary snap of a really good pickle, but you need it now, not next week. Well, let me tell you, you’ve come to the right place because I’m sharing my absolute favorite recipe for refrigerator pickles that put store-bought jars to shame. These aren’t intimidating water-bath canning projects; these are quick, easy homemade pickles ready for tasting in just 24 hours! When I was working crazy hours developing recipes for Cooking Zenith, having a batch of Crispy Garlic Dill Refrigerator Pickles in the fridge meant I always had the perfect crunchy addition for a quick, healthy lunch. Trust me, once you try these flavorful garlic dill pickles, you’ll never look back.
- Why These are the Best Refrigerator Pickles You Will Make
- Gathering Ingredients for Crispy Garlic Dill Refrigerator Pickles
- How to Prepare Your 24 Hour Pickles: Step-by-Step Instructions
- Tips for Making Truly Crunchy Cucumber Pickles
- Storage and Shelf Life of Your Homemade Refrigerator Pickles
- Serving Suggestions for Your Flavorful Refrigerator Pickles
- Frequently Asked Questions About Refrigerator Pickles
- Estimated Nutrition for These Easy Homemade Pickles
- Share Your Crispy Refrigerator Pickles Experience
Why These are the Best Refrigerator Pickles You Will Make
I’ve tried just about every pickling trick out there, and these specific refrigerator pickles absolutely win for weeknight enthusiasm. Why? Because they hit the sweet spot between zero effort and maximum flavor payoff. They are genuinely foolproof, which is exactly what you need when you’re craving that sour snap immediately.
- They offer an incredible, satisfying crunch that lasts longer than most quick pickle recipes.
- They are truly ready in 24 hours—you just need to practice a little patience overnight!
- There is zero complicated sealing or processing involved. It’s just mix, pour, and chill.
Achieving Maximum Crunch in Your Refrigerator Pickles
The biggest complaint I hear about quick pickles is that they turn out floppy. Ew! That’s a texture crime, in my book. The secret to super crunchy refrigerator pickles starts before the brine even hits the jar. You must trim off the blossom end of the cucumber—that little brown nub on the end. That end has enzymes that actively work to soften your pickle while it sits. Use firm Kirby or Persian cucumbers, too; thin-skinned ones work best for keeping that snap!
Speed and Simplicity: The No Canning Pickles Recipe Advantage
This is where we truly shine compared to those giant recipes that require you to process jars in boiling water. This is a genuine no canning pickles recipe! We aren’t preserving these for long shelf life—we’re flavoring them fast for immediate eating. Prep takes less than 15 minutes, and the brine comes together while you slice. You pour the warm brine over your cucumbers, and that’s genuinely it. It’s the definition of easy homemade pickles because the cold temperature of the fridge is doing all the curing work slowly, but surely.
Gathering Ingredients for Crispy Garlic Dill Refrigerator Pickles
Alright, now that we’ve established that this is the best way to make refrigerator pickles, let’s talk ingredients! The beauty here is that the ingredient list is short and sweet. You need firm cucumbers, fresh dill, garlic, some basic spices like peppercorns and mustard seeds, and the brine base: water, vinegar, and salt. Remember, since this is a quick recipe, we aren’t relying on long curing times, so using flavorful additions like garlic cloves and fresh dill sprigs is key to that amazing garlic dill pickle flavor we are chasing.
Ingredient Notes and Substitutions for Your Refrigerator Pickles
A quick word on quality really matters here. I always recommend using Kirby or Persian cucumbers because they are generally smaller, firmer, and denser than standard slicing cucumbers. Don’t stress about the salt, though! You can absolutely use kosher salt if you don’t have dedicated pickling salt, just make sure you measure it the same way. And if you can’t find those gorgeous, feathery fresh dill sprigs? Don’t panic! You can swap them out for about a teaspoon of dried dill seed; it just won’t have that bright, fresh profile.
How to Prepare Your 24 Hour Pickles: Step-by-Step Instructions
Okay, deep breath! Even though these are beginner-friendly, following the sequence for our perfect refrigerator pickles ensures that signature crunch. We are looking specifically for those beautiful, crisp cucumber spears, not sad, soggy slices. The process is fast—you can have everything prepped for the fridge in under 20 minutes before you go about your day while they chill up.
Prepping Cucumbers and Jars for Perfect Refrigerator Pickles
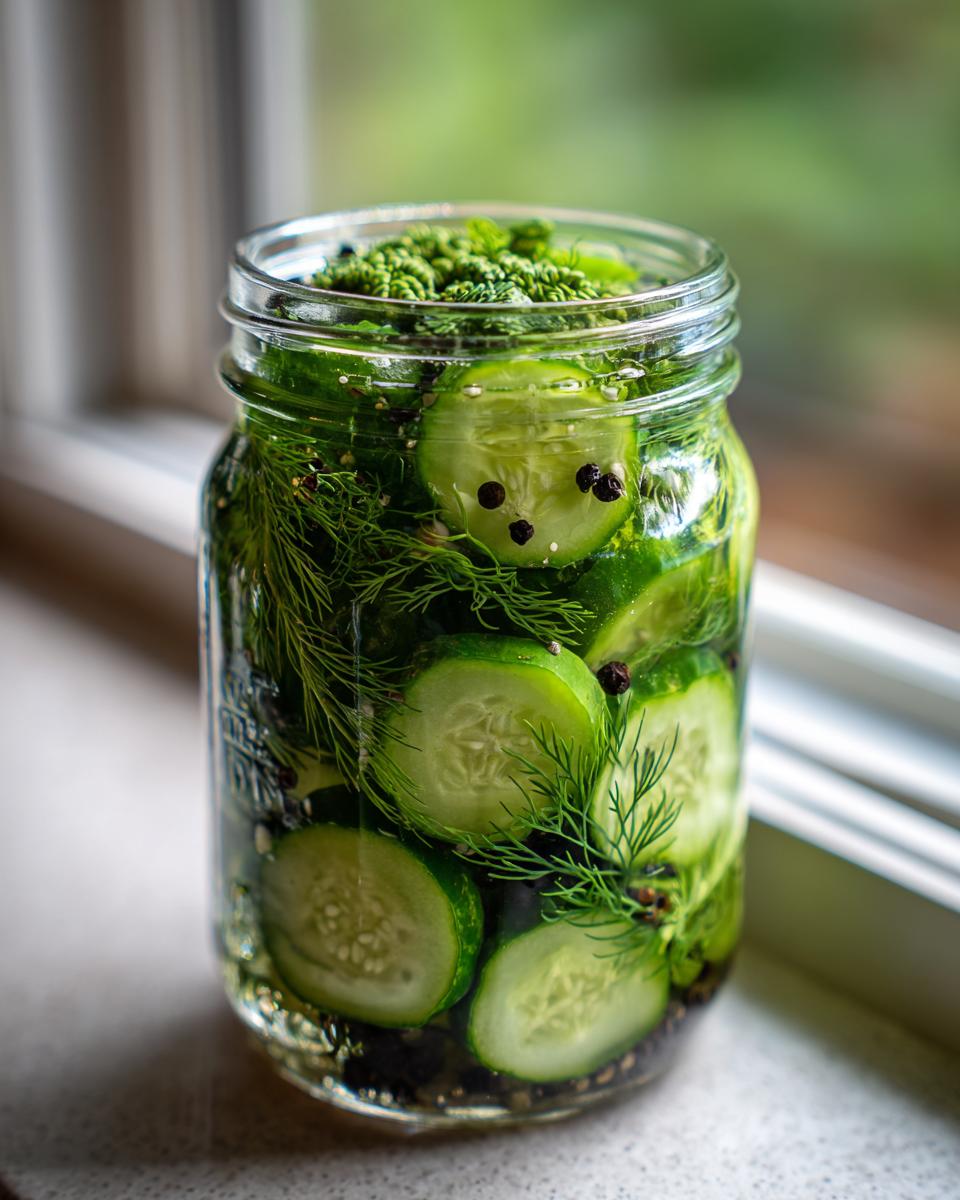
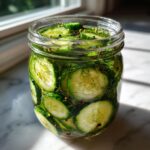
First things first, we have to trick those cucumbers into staying crisp! Wash the cucumbers really well. Then, find that little brown, funny-looking end—that’s the blossom end. You have to trim it off because it holds those softening enzymes we talked about earlier. I slice mine into spears, but rounds are fine if you prefer! Pack those slices tightly into your clean pint jars. Don’t cram so hard that you break them, but snug is good. Toss in your smashed garlic cloves, dill sprigs, peppercorns, and mustard seeds right on top of the cucumbers.
Making the Simple Pickling Brine
Next up is the brine, which comes together in minutes. In a small pot, you’ll combine the water, vinegar, and salt. You need just enough heat to dissolve that salt completely. I mean it—stir it until you can’t see any grains clinging to the bottom of the pan. However, you absolutely don’t need to bring this to a serious rolling boil for these quick refrigerator pickles. Warm is enough to integrate everything perfectly for coating those cucumbers!
Curing Time for Flavorful Garlic Dill Pickles
Now for the slightly agonizing part! Carefully pour that warm (not scorching hot!) brine over your packed cucumbers until everything is covered and you leave about half an inch of space at the very top of your jar. Give the jars a gentle tap on the counter—that helps free up any trapped air bubbles hiding in there. Once sealed, let them sit on the counter for about an hour to cool down slightly. Then, move them straight into the fridge. Remember, these are true refrigerator pickles, so they must stay cold. While you can sneak one after 12 hours, I swear by waiting a full 24 hours before digging in for the best flavor.
Tips for Making Truly Crunchy Cucumber Pickles
The basic recipe gets you 90% of the way there, but if you are serious about that beautiful, satisfying *snap*, you need to obsess over three small things. Trust me on this; my friends mock me for caring this much about texture, but that’s why my pickles are always the star of the plate!
First up: water quality. If your tap water is heavily chlorinated, it can actually interfere with the pickling process and lead to softer results. I use filtered water whenever possible for my brine. It sounds fussy, but it makes a difference, especially in delicate quick-pickle recipes.
Second, let’s talk about temperature shock. Though we use warm brine to dissolve the salt, we never want to pour boiling liquid over our chilled cucumbers. That sudden temperature change is cruel to the vegetable structure! Always let the brine cool for a solid five minutes off the heat before pouring it. If they’ve been sitting on the counter for an hour, you are safe to pour right over them.
Finally, the cucumber itself! I mentioned Kirby or Persian above, but a great hack I picked up from a Pennsylvania Dutch recipe is chilling the cucumbers in ice water for about 30 minutes before you even start slicing. This extreme cold helps tighten up their structure right before they meet the brine. Drain them well, slice them immediately, and get them into those spiced jars. It’s an extra step, but it guarantees that beautiful, crisp result, perfect for topping a burger after you make a great creamy soup!
Storage and Shelf Life of Your Homemade Refrigerator Pickles
Okay, here’s the real talk about enjoying these beauties. Since these are what we lovingly call my refrigerator pickles—meaning we didn’t can them—they rely entirely on that cold environment to keep things safe and delicious while they marinate.
The most important storage rule? They must stay cold! As soon as they’ve cooled down on the counter (that hour after pouring the brine), pop them straight into the main body of your fridge. Don’t hide them in the door, because the temperature there fluctuates too much when the door opens and closes. We want consistent, deep cold to slow down that pickling process.
Now, keeping them crunchy is job one, but how long can you actually enjoy them? Because we haven’t processed these jars, the shelf life is naturally shorter than store-bought pickles. You’ll find they are absolutely perfect—flavorful, tangy, and still wonderfully crisp—for about two to three weeks. After that, they usually start getting a little softer. And trust me, you will likely eat them all long before the three-week mark anyway! If you notice any sliminess or off-smells, toss that jar immediately, but honestly, the vinegar does a fantastic job of protecting them for that sweet spot.
Serving Suggestions for Your Flavorful Refrigerator Pickles
So you’ve successfully waited 24 hours (or maybe 48—good for you!) and now you have this stunning jar of bright, flavorful, crunchy goodness. What do you do with them? Honestly, you could sneak into the kitchen and eat them straight over the sink with your hands, and I wouldn’t judge! But if you want to elevate your meals, these **refrigerator pickles** are the secret weapon in your arsenal.
First, they are non-negotiable on a burger. Forget those flimsy, sad discs you get at the drive-thru. Our thick spears add the perfect acidic counterpoint to rich beef and cheese. I even love piling them high on pulled pork sandwiches; that sharp flavor really cuts through the richness of the meat.
But they aren’t just for sandwiches! I chop mine up finely and fold them right into chicken salad or tuna salad. It adds moisture, tang, and texture all at once without needing to add extra celery! For a simple, healthy snack, just serve them alongside a slice of sharp cheddar cheese. They are such a versatile way to use fresh cucumbers, and a jar of these makes any meal feel instantly more special. If you’re looking for more ways to utilize them in sandwiches, I have a whole list of ideas over at my sandwich topping resource!
Frequently Asked Questions About Refrigerator Pickles
How long do I really have to wait before eating these refrigerator pickles?
I know, I know, waiting is the hardest part! While the recipe says 24 hours is the minimum, you will get a decent, tangy flavor after about 12 hours if you really can’t wait. But for the absolute best flavor profile—where the garlic and dill have truly seeped into the cucumber and you get that perfect balance—you should aim for 48 hours. After 24 hours, they are fantastic additions to your quick blackened salmon tacos, but 48 hours gives them time to marry all those spicy notes.
Can I use regular slicing cucumbers if I can’t find pickling varieties?
You can, but you’re taking a risk on texture! Regular slicing cucumbers have much higher water content and thinner skin, which means they often break down and go soft much faster in the brine. If that’s all you have, that’s fine—just know you should eat those batch quickly, maybe within a week, because they won’t hold that glorious crunch like the firm Kirby or Persian types will.
What is crucial to know when making quick refrigerator pickles for the first time?
The most crucial step for success with **quick refrigerator pickles** is trimming that blossom end off first! I mentioned it before, but I want to shout it from the rooftops. That enzyme activity happens there, and if you skip trimming that one tiny nub, you might end up with bendy pickles instead of crunchy ones. Also, make sure that salt is 100% dissolved in your warm brine before you pour it over the cucumbers. Undissolved salt leads to uneven seasoning and sometimes soft spots!
Can I adjust the brine to make them slightly sweet?
Absolutely! That’s another great thing about this flexible recipe. If you like that salty-sweet profile, you can add about a teaspoon of plain white sugar right into your brine mixture when you are dissolving the salt. It offsets the vinegar just a touch without turning them into full-blown bread-and-butter style pickles. It makes them dangerously addictive, so watch out!
Estimated Nutrition for These Easy Homemade Pickles
Now, I know many of you are watching your intake—and honestly, one snack wonder is usually pretty light on the numbers! Since these are essentially cucumbers flooded with salty vinegar water, the calories are wonderfully low. However, because we are using salt and vinegar for preservation, the sodium content is what you need to keep an eye on. Remember, this information is based on my recipe breakdown for a small serving (about four slices), so consider this a general guideline, not a hard and fast rule for your specific batch!
For a 4-slice serving, here is what you can typically expect:
- Calories: Just 5—yes, five! These are seriously snack-friendly.
- Fat: Nearly zero—we aren’t frying or adding any oil here, thank goodness.
- Carbohydrates: A small bump at 1.2 grams, mostly from the cucumbers themselves.
- Sodium: This is where the pickling comes in, usually around 180mg. Keep that in mind if you are watching your salt intake!
- Protein and Fiber: A tiny bit, hovering around 0.2g and 0.3g respectively.
See? So easy to fit into almost any healthy eating plan. If you want to cut the sodium a bit for future batches, you can gently reduce the pickling salt by about a quarter teaspoon when you make your next batch of dip! It’s great to know you can satisfy that sour craving without derailing your day.
Share Your Crispy Refrigerator Pickles Experience
That’s it! You’ve made the best, easiest batch of flavorful **refrigerator pickles**, and I am so excited for you.
Now it’s your turn! Did you get that amazing crunch we aimed for? Please jump down to the comments section below and give this recipe a star rating. I want to see your jars! If you snapped a picture of those beautiful garlic dill pickles on your sandwich, head over to social media and tag me—I absolutely love seeing your kitchen wins. Happy pickling, friends!
If you ever have trouble or questions, don’t hesitate to reach out through my contact page!
PrintCrispy Garlic Dill Refrigerator Pickles Ready in 24 Hours
Make quick, crispy refrigerator pickles without canning. This easy recipe uses simple ingredients to create flavorful garlic dill pickles ready to enjoy in just 24 hours. They are perfect for sandwiches or as a snack.
- Prep Time: 15 min
- Cook Time: 5 min
- Total Time: 1 hour 20 min (plus 24 hours chilling)
- Yield: About 2 pints 1x
- Category: Side Dish
- Method: Refrigerator Pickling
- Cuisine: American
- Diet: Vegetarian
Ingredients
- 2 pounds fresh pickling cucumbers (Kirby or Persian), washed
- 4 cloves garlic, smashed
- 1/2 cup white vinegar or apple cider vinegar
- 1 1/2 cups water
- 1 tablespoon pickling salt (or kosher salt)
- 1 tablespoon fresh dill sprigs
- 1 teaspoon black peppercorns
- 1/2 teaspoon mustard seeds
Instructions
- Wash the cucumbers thoroughly. Trim off the blossom end of each cucumber, as this end contains enzymes that can soften the pickles.
- Slice the cucumbers into spears or rounds, depending on your preference. Aim for uniform thickness for even pickling.
- Pack the sliced cucumbers tightly into one or two clean pint-sized glass jars, leaving about 1 inch of headspace at the top.
- Add the smashed garlic cloves, fresh dill sprigs, peppercorns, and mustard seeds evenly among the jars.
- In a small saucepan, combine the water, vinegar, and salt. Heat the mixture over medium heat, stirring until the salt dissolves completely. Do not boil the brine.
- Carefully pour the warm brine over the cucumbers in the jars, ensuring the cucumbers are fully submerged. Leave 1/2 inch of headspace.
- Tap the jars gently on the counter to release any trapped air bubbles. Add more brine if necessary to cover the vegetables.
- Seal the jars with lids. Let the jars cool on the counter for about one hour.
- Transfer the sealed jars to the refrigerator. Allow the pickles to chill and cure for a minimum of 24 hours before eating. For best flavor and crunch, wait 48 hours.
Notes
- For the best crunchy refrigerator pickles, use very fresh, firm cucumbers.
- You can substitute the dill sprigs with 1 teaspoon of dried dill seed if fresh dill is unavailable.
- These are quick pickles and must remain refrigerated. They last about 2 to 3 weeks in the fridge.
- If you prefer a slightly sweeter profile, add 1 teaspoon of sugar to the brine mixture.
Nutrition
- Serving Size: 4 slices
- Calories: 5
- Sugar: 0.1
- Sodium: 180
- Fat: 0.1
- Saturated Fat: 0.0
- Unsaturated Fat: 0.1
- Trans Fat: 0.0
- Carbohydrates: 1.2
- Fiber: 0.3
- Protein: 0.2
- Cholesterol: 0