
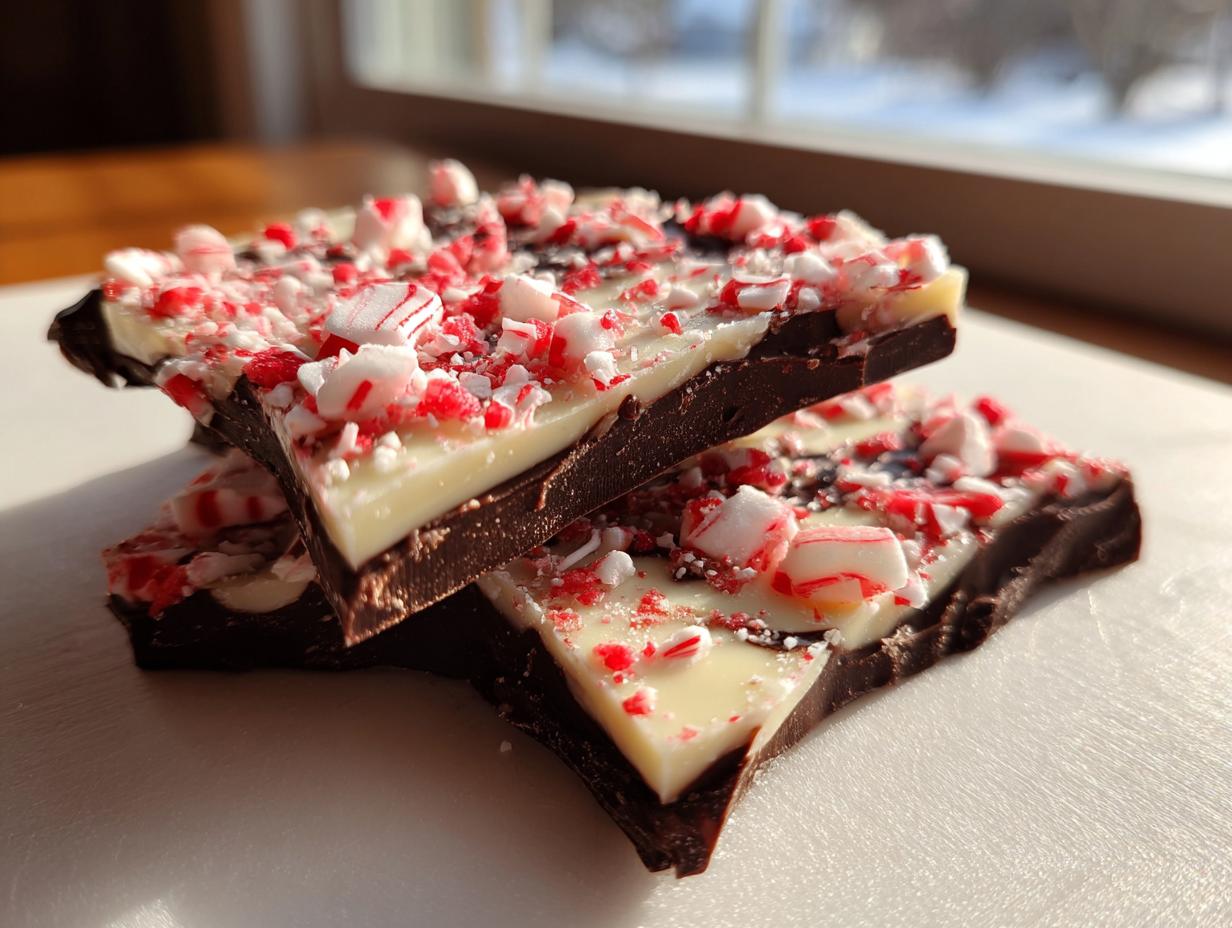
Oh, the holidays! There’s just something magical about that snap of cool mint mixed with rich, melting chocolate, isn’t there? Forget those expensive tins you buy every year, because I’m going to share the simplest, no-bake peppermint bark recipe you will ever try. My name is Aria, and as someone who believes making incredible food shouldn’t rely on hours of technical work, this recipe is my absolute holiday secret weapon. It’s foolproof, requires almost zero effort, and delivers that picture-perfect, crisp, layered look every single time. If you want to make beautiful, homemade holiday chocolate that impresses everyone, stick with me—I promise this method is tried, tested, and loved in my home!
- Why This Easy Peppermint Bark Recipe Works Every Time
- Gather Your Ingredients for the Classic Peppermint Bark Recipe
- Step-by-Step Instructions for Your Peppermint Bark Recipe
- Tips for the Best Peppermint Bark Recipe Results
- Making Variations of the Festive Chocolate Recipe
- Serving Suggestions for Your Homemade Holiday Chocolate
- Storage & Reheating Instructions for the Peppermint Bark Recipe
- Frequently Asked Questions About This Best Peppermint Bark Recipe
- Estimated Nutrition for This Peppermint Bark Recipe
- Share Your Homemade Holiday Chocolate Creations
Why This Easy Peppermint Bark Recipe Works Every Time
When it comes to holiday baking distractions, we need recipes that deliver maximum impact for minimum fuss. This is why you need this specific no-bake Christmas candy in your arsenal. It’s truly the easiest way to get that gorgeous layered look.
- It’s hands-down one of the fastest Quick Winter Sweets you can make.
- Zero oven time required means less mess and less stress during the busy season.
- The structure is naturally sturdy, making it perfect for breaking and packaging.
Quick Winter Sweets Ready Fast
Seriously, you only need about 15 minutes of actual hands-on time. Once the dark chocolate hits the pan, it’s just layering and waiting! Chilling time takes care of most of the work for you, which is exactly what I look for in essential Christmas dessert ideas.
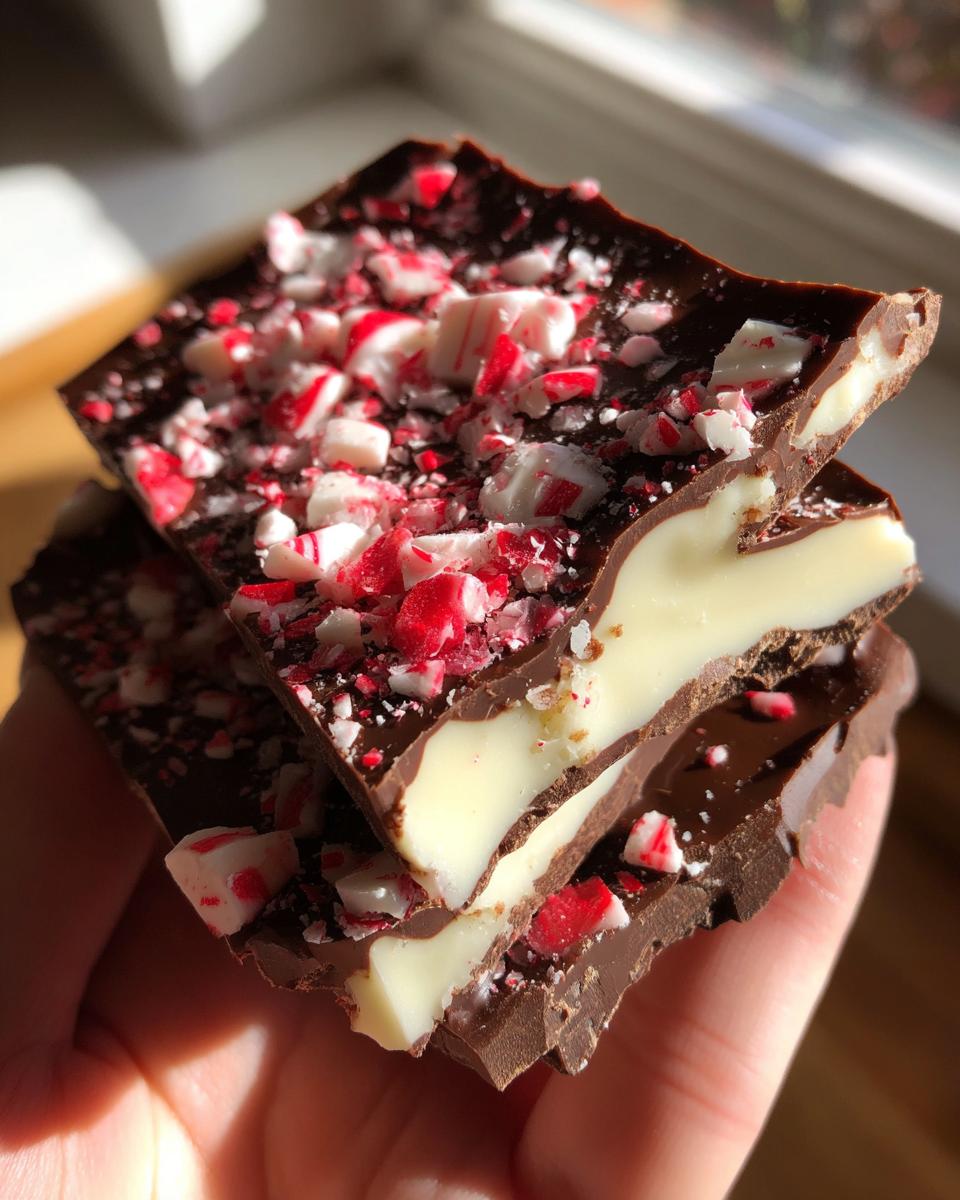
The Secret to Perfect Chocolate Layer Bark
The most important thing for achieving that clean, crisp break between layers, rather than a messy swirl, is temperature control when melting. My number one tip is this: melt your chocolate slowly, and when you think it’s ready, pull it off the heat! A slightly under-melted batch that you stir gently will always set up cleaner than chocolate that gets too hot and burns.
Gather Your Ingredients for the Classic Peppermint Bark Recipe
I love that this is one of those amazing Festive Chocolate Recipes that uses hardly anything! You are looking at just three main components here, which keeps this peppermint bark recipe super budget-friendly and fast. Honestly, shopping for this is basically just grabbing three things, and you’re set for holiday snacking!
Ingredient Notes and Substitutions
Because there are so few moving parts, quality matters here! For the best snap, I really suggest using good quality chocolate bars—chop them yourself rather than relying on standard chips. Chips often have stabilizers that keep them from melting quite as smoothly. If you prefer a slightly richer flavor than what semisweet offers, feel free to swap that layer out for simple dark chocolate! Trust me, the texture is just superior when the melt is clean.
Step-by-Step Instructions for Your Peppermint Bark Recipe
Alright, let’s conquer this! This is where we turn simple chunks of chocolate into holiday magic. Don’t worry if you think melting chocolate is scary; we’re keeping it easy and safe so you get that beautiful, smooth base for your peppermint bark recipe. Just follow my lead, and you’ll have perfect layers ready for the fridge in minutes.
Preparing the Pan and Dark Chocolate Layer
First things first: grab an 8×8 inch pan and line it with parchment paper! Leaving an overhang on the sides is my trick—it lets you lift the whole slab out later, saving you a huge headache. Now for the dark chocolate. I prefer the microwave for speed, but you have to be cautious. Melt your 8 ounces of semisweet chocolate in short, 30-second bursts. You absolutely must stir it thoroughly between each burst. If you don’t stir, the edges will scorch before the middle even begins to melt, and nobody wants bitter chocolate base!
Layering the White Chocolate and Toppings
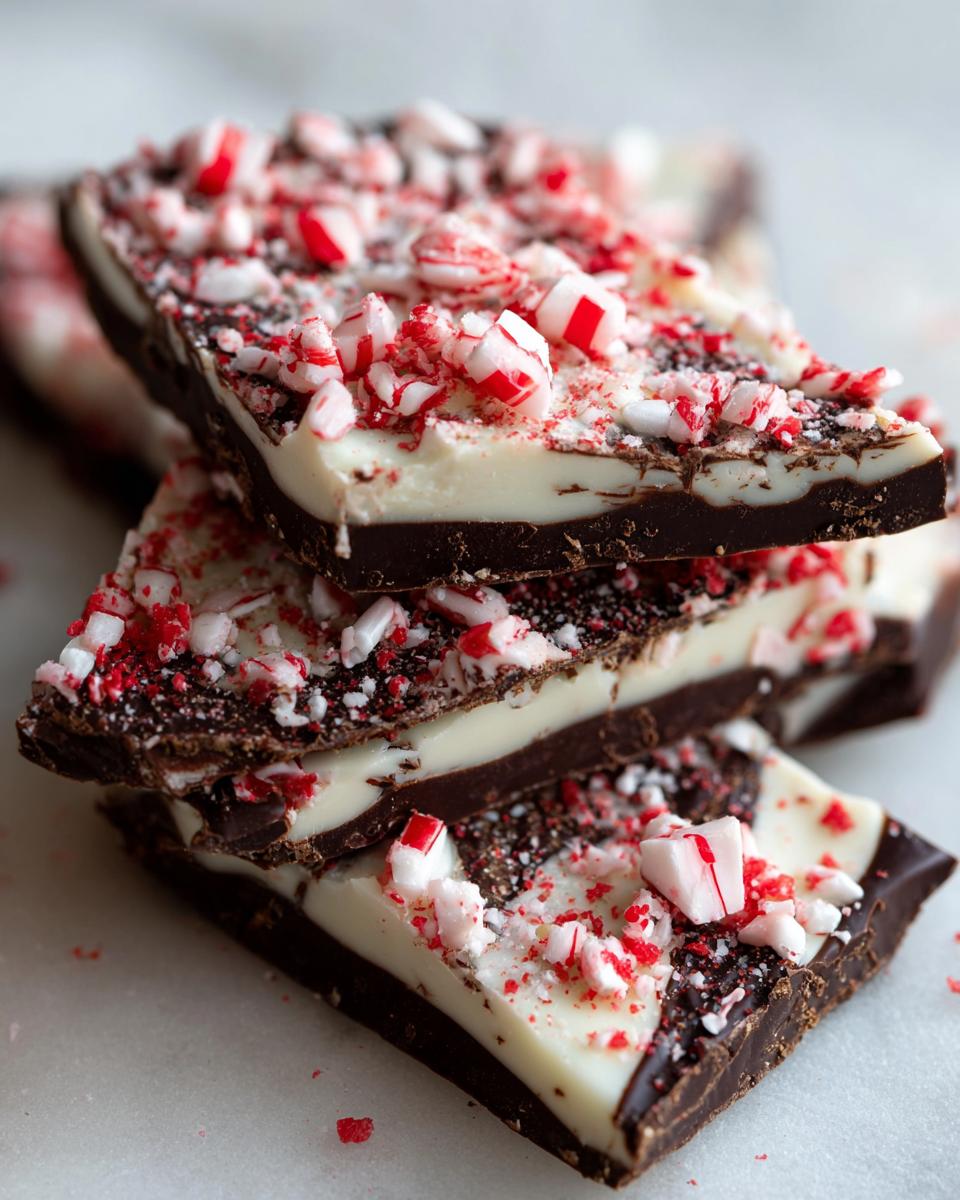
Once that dark layer is smooth, pour it into your ready pan and quickly spread it out evenly. Now, sprinkle half of your crushed candy canes right on top and press them in just a little. Next, melt your white chocolate following the same gentle method. When you pour the white chocolate over the dark layer, you must be extremely gentle! Use your spatula gingerly to spread it just to the edges—if you stir or press too hard, you risk smearing the layers, and we want that clean line of Chocolate Layer Bark!
Chilling and Breaking the Simple Mint Chocolate Bark
Sprinkle the rest of those colorful minty bits on top of the white layer. That’s it, you’re done with the messy part! Pop the whole thing into the fridge for at least an hour until it’s rock solid. To crack it, lift the whole thing out using those parchment paper handles. You just snap it apart into irregular, beautiful pieces. If you haven’t crushed your candy canes yet, just toss them into a sturdy Ziploc bag and tap them with the bottom of a heavy pot—super easy!
Tips for the Best Peppermint Bark Recipe Results
Even with an easy recipe like this, sometimes chocolate throws a tiny tantrum. Don’t panic if your chips decide to seize up and turn grainy on you! That’s part of learning the dance of Homemade Holiday Chocolate, and I’ve got the fix. My goal here is to make sure every batch you make looks as luxurious as that famous bark you see around—maybe even as elegant as the one they make over at Joanna Gaines’ recipe. I want your chocolate layers crisp and stunning!
Troubleshooting Common Issues with Your Peppermint Bark Recipe
If your melted chocolate looks thick, dull, or suddenly won’t spread (that’s seizing!), don’t throw it out! Just stir in a tiny teaspoon of vegetable oil or shortening—it sounds weird, but it brings the fat back into the mixture and makes it perfectly smooth again in seconds. Remember what I said about spreading gently? That’s key for keeping the layers distinct. If your white chocolate layer starts pulling up the dark layer, stop pushing it around! Just use the back of your spoon to gently nudge it out from the center and let the chocolate settle naturally before chilling.
Making Variations of the Festive Chocolate Recipe
Now that you’ve mastered this simple peppermint bark recipe, it’s time to play around a little bit! I love taking a classic base and making it my own, especially when it comes to holiday sweets. Even though we’re keeping this recipe quick, there are so many fun ways you can customize your creation.
If you want to try elevating the flavor profile, I highly recommend sprinkling a little flaky sea salt right on top of the white chocolate layer before it sets. That little burst of salt perfectly balances the intense sweetness. I saw a fantastic salted version over at Julie Blanner’s site that shows how great salt can be!
Or, maybe you’re looking for a crunch besides candy canes? Try tossing some mini pretzels or even mini marshmallows in there! You could also experiment with the chocolate itself—try using milk chocolate for the bottom layer instead of semisweet, or even trying a slightly bitter 70% cacao dark chocolate for a richer contrast. My chocolate caramel toffee crunch cake recipe uses lots of textures, and you can bring that idea here too!
Serving Suggestions for Your Homemade Holiday Chocolate
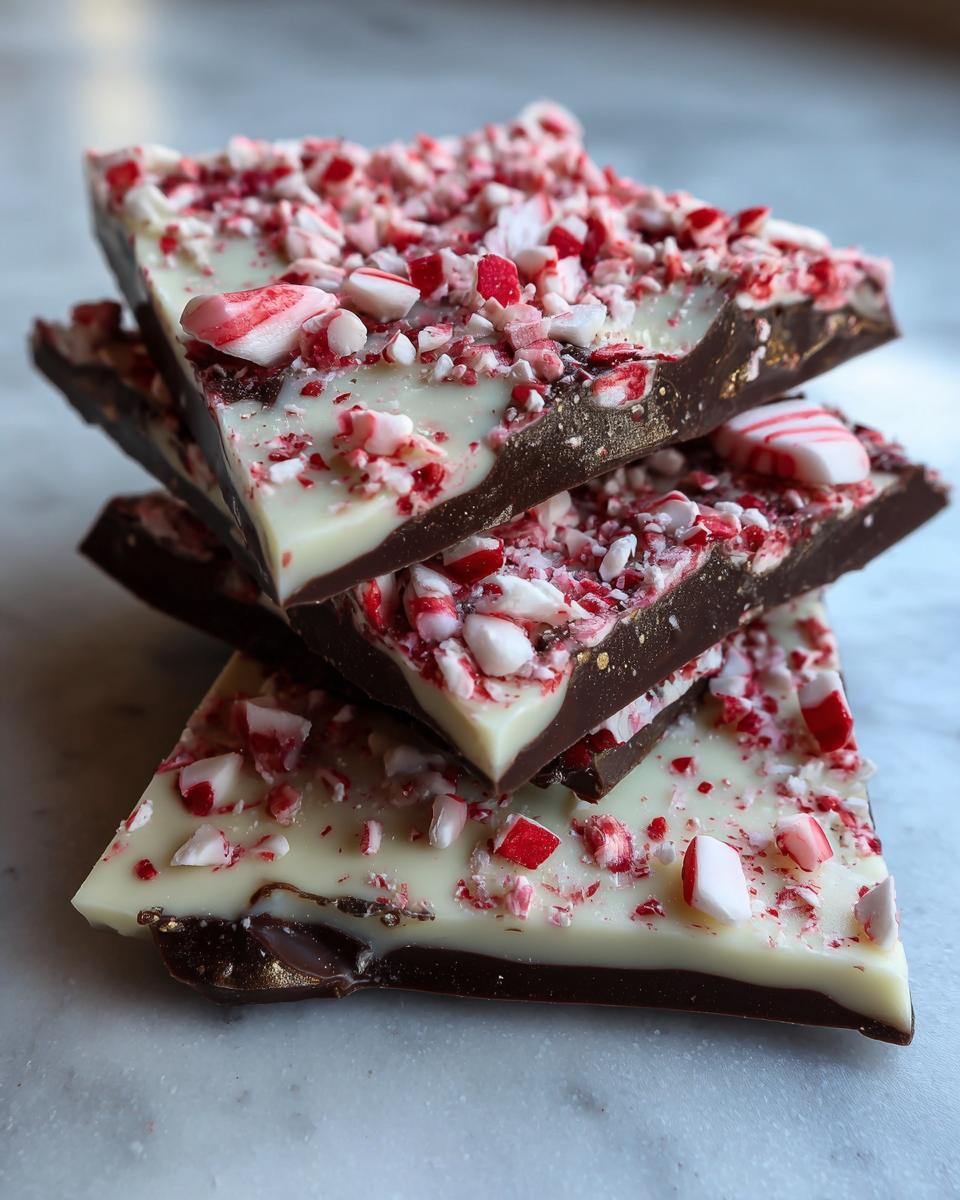
Once your beautiful Christmas treat has set up perfectly and you’ve broken it into satisfying chunks, the real fun begins: getting it ready for the party or packaging it up for gifting! Since this is such a visually stunning candy, you want the presentation to shine just as much as the taste. This is where those extra touches really step up your simple peppermint bark recipe.
If you are planning on serving this at a holiday gathering, don’t just leave it in a pile! Place the irregular pieces beautifully arranged on a simple white pedestal tray. It looks so much more elegant than just putting it on a paper plate, trust me. If you want to get extra fancy, you can use small, festive holiday cookie cutters—like little stars or snowflakes—to punch shapes out of the larger, flatter pieces before they fully set in the fridge. Just press the cutter down firmly and then lift the remaining chocolate away.
For gifting, which, let’s be honest, is half the fun of making this stuff, treat it like gourmet candy. Scoop the pieces into clear cellophane bags and tie them off with a bright red or green ribbon. You can also layer the bark pieces between sheets of wax paper inside a cute tin—this keeps the layers from sticking together and looks professional. If you’re already making a batch of Christmas sprinkle sugar cookies for gifts, this bark tucks in next to them perfectly!
Storage & Reheating Instructions for the Peppermint Bark Recipe
Since this is pure chocolate and peppermint, the fantastic news is that this peppermint bark recipe is incredibly stable. You don’t have to worry about reheating anything because, honestly, who could wait that long? The key here is maintaining that satisfying, crisp “snap” when you break off a piece, which mostly comes down to keeping it cool and away from humidity.
The best place to keep your finished chocolate is actually right on the counter, provided your kitchen isn’t overly warm. Store the pieces close together in a truly airtight container. I usually alternate layers of bark with sheets of wax paper or parchment paper (the stuff you used to make it is perfect!). This prevents the crushed candy canes from melting into the chocolate below them.
If you live somewhere really hot, or if you’re making this way ahead of a big holiday event, the refrigerator is a safe bet. However, I always urge caution with chocolate in the fridge. It can sometimes absorb odors from other things in there, so make sure that airtight container is really sealed tightly! Also, if you use the fridge, try to let the bark sit out on the counter for about 10 minutes before serving. That little bit of warmth brings the absolute best flavor out of the chocolate and helps it regain that perfect snap.
This stuff lasts forever, comparatively speaking. Kept cool and dry, you should easily have perfect homemade holiday chocolate for two weeks, maybe even three! If you find it tastes a little dull after a week, don’t worry—it’s just the peppermint fading a tiny bit, but the chocolate base will still be delicious.
Frequently Asked Questions About This Best Peppermint Bark Recipe
Can I use peppermint extract instead of candy canes?
You absolutely can! If you want a bolder, cleaner mint flavor, especially in the white chocolate layer, you can replace the physical candy canes with a few drops of pure peppermint extract. Just be careful—peppermint extract is super strong! I recommend melting the white chocolate, taking it off the heat, smelling it, adding one drop, stirring hard, and then smelling it again. You want minty, not toothpaste-y! If you use extract in the white layer, you still need the crushed candy canes on top for that famous crunch and festive look.
Is tempering the chocolate necessary for this beginner recipe?
That is such a great question for anyone working with chocolate! For this specific Easy Peppermint Bark recipe, no, you don’t need to go through the full tempering process. Because we rely on the quick chill in the refrigerator, a controlled, slow melt (like the microwave method I described) is perfectly fine. Tempering is really just for professional gloss and shelf stability at room temperature, but for holiday treats that you eat quickly, our method works just beautifully.
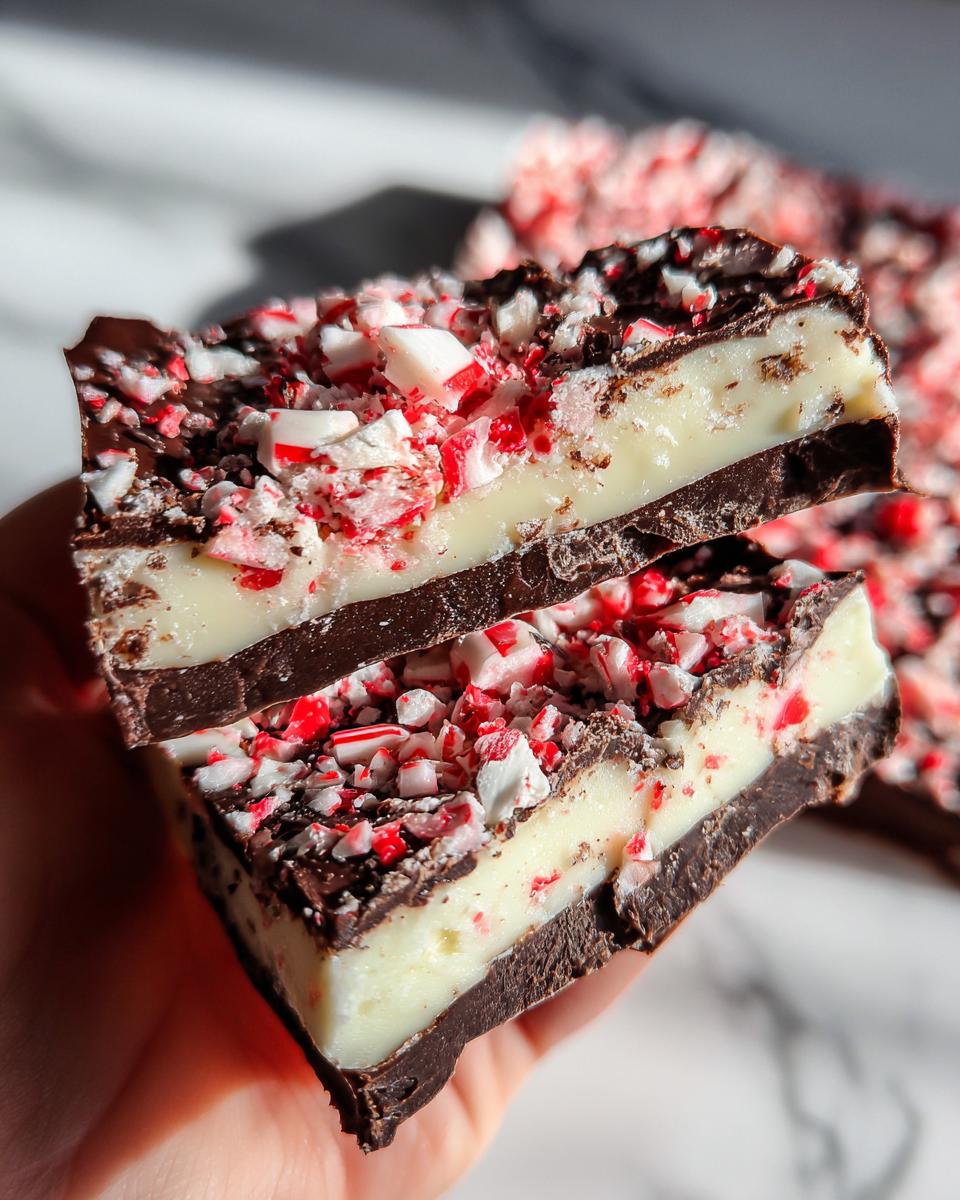
What’s the trick for getting those super clean breaks?
The reason the breaks are so clean, honestly, comes down to two things: making sure that first dark layer is spread super thinly and evenly, and then ensuring the bark is totally, completely firm—like rock hard! Seriously, don’t rush the chilling time. If the chocolate is even slightly soft when you try to snap it, it will just bend and smudge. Also, scoring the bark lightly with a knife right before you put it in the fridge can give you guides for where to break it later!
How do I make a marbled look instead of distinct layers?
If you want that pretty, swirled look—which is also gorgeous for a Simple Mint Chocolate Bark—you skip the setting time between layers! Melt both chocolates. Pour the dark chocolate into the pan and spread halfway. Pour the white chocolate right on top, and use a butter knife or skewer to gently swirl them together 2 or 3 times. Don’t overmix! Then, sprinkle the candy canes on top immediately before it chills. It gives a stunning effect!
Estimated Nutrition for This Peppermint Bark Recipe
Now, I always say that when you make something this delicious at home, you probably aren’t whipping out a calculator, right? But for transparency, because we value knowing what we’re putting into our bodies, here is the estimated nutritional breakdown for one serving of this Homemade Holiday Chocolate. Keep in mind this is calculated using the listed ingredients and standard serving sizes, so it is just an estimate!
This recipe yields about 16 perfect pieces, so one piece is a nice little indulgence.
- Serving Size: 1 piece
- Calories: 180
- Sugar: 18g (That’s the fun part!)
- Fat: 12g
- Saturated Fat: 7g
- Total Carbohydrates: 19g
- Protein: 2g
- Sodium: 15mg
Honestly, for the amount of joy one piece of this Simple Mint Chocolate Bark brings, I think those numbers are pretty fantastic. If you’re looking to cut down on sugar, remember that using a higher percentage dark chocolate on the bottom layer will naturally lower that sugar count a little bit!
Share Your Homemade Holiday Chocolate Creations
I’ve shown you all my secrets for making the dreamiest, crispiest peppermint bark recipe, now I want to see yours! Cooking is always better when we share what we make, and I genuinely love seeing how this recipe comes to life in kitchens all over the place.
Did you stick to the classic dark and white layers, or did you sneak in some salty pretzels? Please hop down to the comments section below and tell me how it turned out! Did you have any silly mishaps? Did it set up easily for you? Your feedback helps me know that I’m giving you truly foolproof guidance.
Don’t be shy! Take a picture of your beautifully broken pieces—maybe while they are bundled up for a gift, or just piled high on your holiday dessert spread—and tag me on social media! Using the hashtag #CookingZenithBark lets me know you stopped by. I can’t wait to celebrate your success with this absolutely simple, yet show-stopping, holiday chocolate!
PrintEasy 3-Ingredient Peppermint Bark Recipe
Make this classic Christmas candy at home. This no-bake peppermint bark uses simple layers of dark and white chocolate topped with crushed candy canes. It is quick to prepare and perfect for holiday gifting.
- Prep Time: 15 min
- Cook Time: 5 min
- Total Time: 80 min
- Yield: About 16 servings 1x
- Category: Dessert
- Method: No-Bake
- Cuisine: American
- Diet: Vegetarian
Ingredients
- 8 ounces semisweet chocolate, chopped
- 8 ounces white chocolate, chopped
- 1 cup crushed candy canes
Instructions
- Line an 8×8 inch baking pan with parchment paper, leaving an overhang on the sides for easy removal.
- Melt the semisweet chocolate. You can use a double boiler or microwave in 30-second intervals, stirring well after each interval until smooth. Avoid overheating the chocolate.
- Pour the melted semisweet chocolate into the prepared pan. Spread it into an even layer using an offset spatula.
- Sprinkle half of the crushed candy canes evenly over the melted dark chocolate layer. Gently press them into the chocolate with the back of a spoon.
- Melt the white chocolate using the same method as the dark chocolate.
- Carefully pour the melted white chocolate over the dark chocolate layer. Spread it gently to cover the surface. Do not mix the layers.
- Sprinkle the remaining crushed candy canes over the white chocolate layer.
- Place the pan in the refrigerator and chill for at least 1 hour, or until the bark is completely firm.
- Once set, lift the bark out of the pan using the parchment paper overhang. Break the bark into irregular pieces.
- Store the peppermint bark in an airtight container at room temperature or in the refrigerator.
Notes
- For the smoothest layers, ensure your chocolate is melted slowly. If the chocolate seizes or becomes thick, add a teaspoon of vegetable oil or shortening and stir until smooth again.
- To crush candy canes easily, place them in a sturdy zip-top bag and crush them with a rolling pin or the bottom of a heavy pan.
- For a more luxurious finish, use high-quality chocolate bars instead of chips.
- If you want a slightly thinner bark, use a 9×13 inch pan instead of an 8×8 inch pan.
Nutrition
- Serving Size: 1 piece
- Calories: 180
- Sugar: 18g
- Sodium: 15mg
- Fat: 12g
- Saturated Fat: 7g
- Unsaturated Fat: 5g
- Trans Fat: 0g
- Carbohydrates: 19g
- Fiber: 1g
- Protein: 2g
- Cholesterol: 5mg