

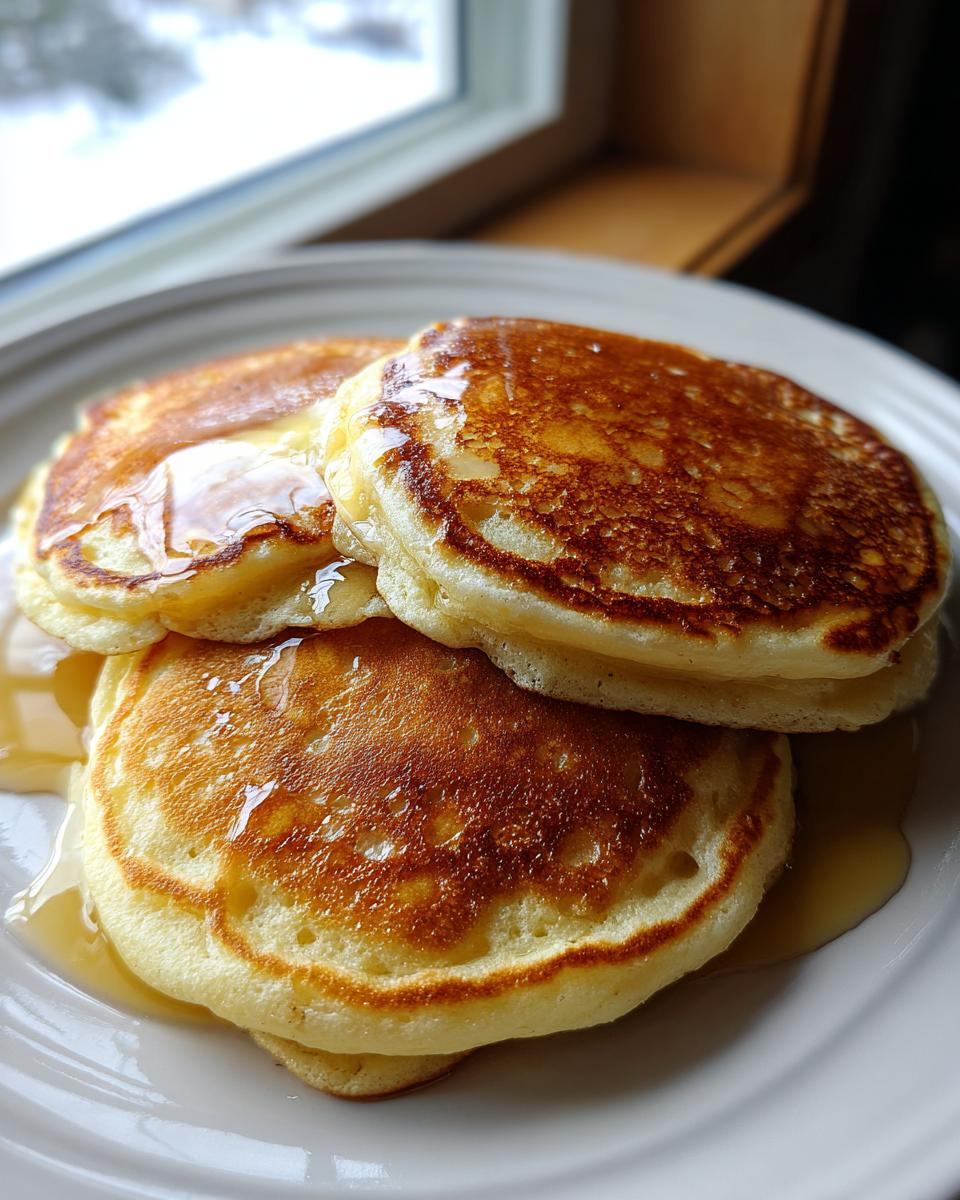
There are few things better than that slow, quiet Saturday morning when you know the biggest job ahead of you is delivering a giant stack of perfect, fluffy pancakes. Forget the box mixes that promise much and deliver little! We’re digging deep into technique here to show you how to make incredible old fashioned pancakes using just what you probably already have in the cupboard. This recipe is all about simplicity and mastering the fundamentals, which is exactly what Aria Thompson believes in. She built Cooking Zenith because she knows that the best food—like these melt-in-your-mouth *classic pancakes*—comes from home-cook intuition, not fancy gadgets. Trust me, once you nail this technique, you won’t look back. You can read a little more about Aria and our philosophy over on the About page if you’re curious!
- Why This is the Best Old Fashioned Pancakes Recipe
- Gathering Ingredients for Classic Pancakes
- Crafting the Perfect Easy Pancake Batter
- Griddle Mastery for Diner Style Pancakes
- Step-by-Step Instructions for Homemade Pancakes
- Tips for Success with Your Old Fashioned Pancakes
- Storing and Reheating Your Weekend Breakfast Stack
- Frequently Asked Questions About Old Fashioned Pancakes
- Estimated Nutritional Data for Old Fashioned Pancakes
Why This is the Best Old Fashioned Pancakes Recipe
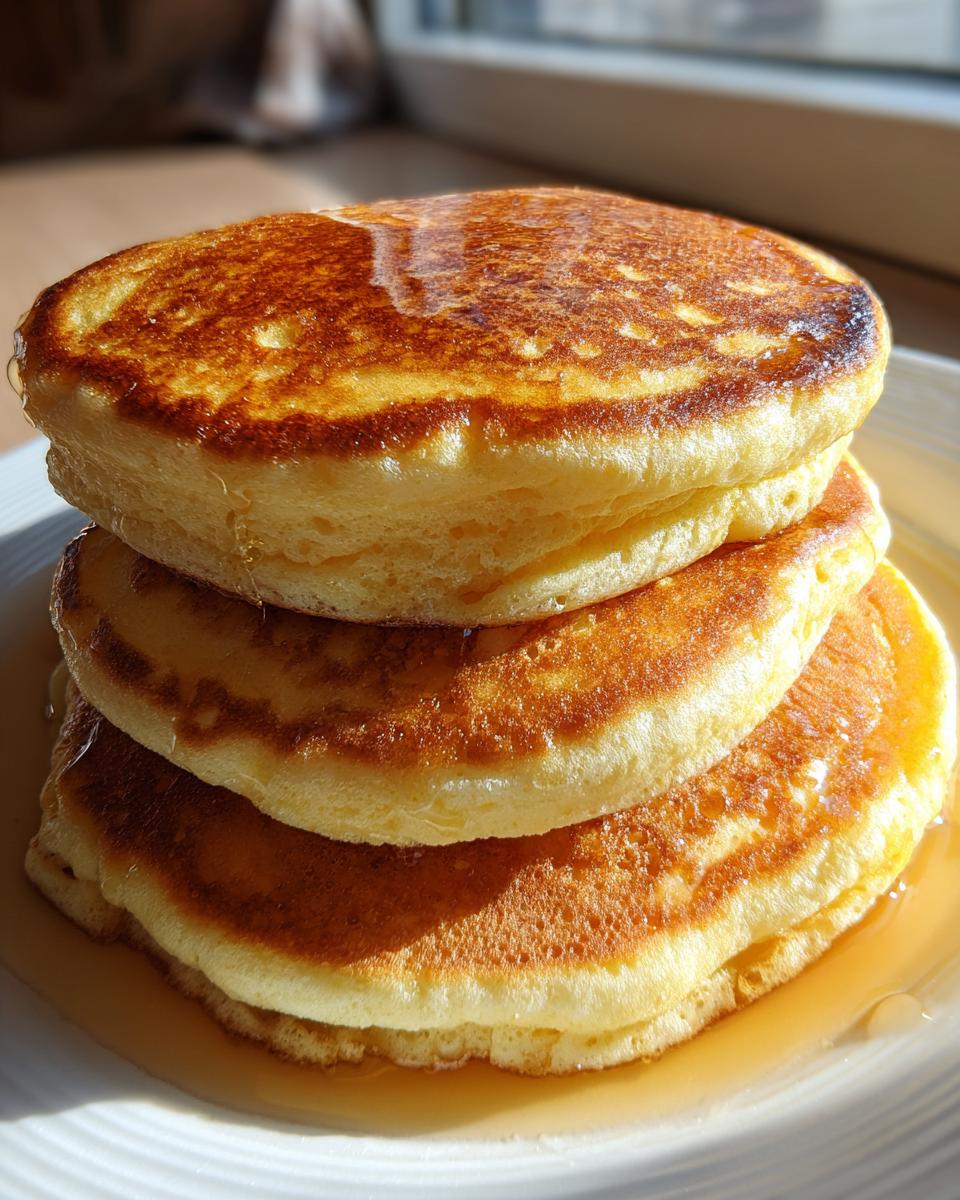
I truly believe this is the ultimate recipe for anyone craving that authentic, thick, diner-style breakfast from their childhood. You don’t need fancy sour cream or high-end ingredients hiding in the back of the fridge. We focus on maximizing what baking powder does and minimizing mixing effort. That’s our secret weapon here!
- It delivers genuine, incredible fluffiness every single time.
- It relies entirely on basic pantry staples you likely have right now.
- It’s fast! You’ll be eating your perfect *weekend breakfast* in under 25 minutes total.
Achieving True Fluffy Pancake Recipe Results
So, what gives us the loft without being complicated? It boils down to two things we’re extremely careful about. First, we use a generous amount of fresh baking powder—it does the heavy lifting when it hits that warm griddle. Second, and this is crucial, we are gentle! We don’t spend any time worrying about lumps. Those little pockets of flour are actually necessary scaffolding for a properly light and airy pancake.
Gathering Ingredients for Classic Pancakes
Okay, let’s look at what you need. This is the best part of making old fashioned pancakes: you probably don’t need to run to the store! We’re keeping it simple, which lets the technique really shine through. Grab your mixing bowls and let’s check the measurements against the list below. These precise amounts are what build the structure for true diner-style fluffiness.
- 1 1/2 cups all-purpose flour (nothing fancy needed!)
- 3 1/2 teaspoons baking powder (make sure it’s fresh!)
- 1 teaspoon salt
- 1 tablespoon white sugar
- 1 1/4 cups milk (any kind will do, see below!)
- 1 large egg
- 3 tablespoons butter, melted (don’t forget to melt this ahead of time!)
Ingredient Notes and No Buttermilk Pancakes Swaps
I get asked all the time about buttermilk. Here’s the scoop: If your fridge is empty of buttermilk, you are absolutely fine! We can create perfect substitutes for making no buttermilk pancakes. Measure out your 1 1/4 cups of regular milk right into a little bowl. Then drop in one teaspoon of white vinegar or fresh lemon juice. Give it a tiny stir, and just let it sit on the counter for five minutes while you measure your dry ingredients. See? It curdles just enough to give us that necessary slight acidity for the fluffiest results.
Crafting the Perfect Easy Pancake Batter
Now we are getting into the real heart of why these turn out like the best easy pancake batter you’ve ever handled. The combination of wet and dry ingredients needs your complete respect here. You want to mix these components together until they *just* come together—and I mean *just*! Resist the urge to keep stirring until everything looks perfectly smooth like cake mix.
When I first started, I always stirred until everything disappeared, and my *classic pancakes* came out tasting a little tough, almost chewy. When Aria explained that leaving some lumps was actually a sign of good things to come, it changed my whole breakfast routine. Those lumps are your friends; they are pockets of unmixed flour that will hydrate during the resting phase, preventing you from developing too much stubborn gluten.
The Critical Step: Do Not Overmix Your Old Fashioned Pancakes Batter
Listen to me on this: you must stop mixing early. When you pour the wet ingredients into the dry, use a spatula or a wooden spoon, and stir only until you see streaks of flour disappearing. If you see small lumps, put the spoon down immediately! If you stir too long trying to eliminate those lumps, you activate the flour’s gluten structure, and that’s how you get flat, rubbery discs instead of a beautiful fluffy pancake recipe.
Griddle Mastery for Diner Style Pancakes
You’ve got the batter ready, and honestly, that’s half the battle won, but now we talk about the heat—this is where you turn your *easy pancake batter* into actual diner style pancakes. Too cold, and they soak up all your precious melted butter and spread out thin. Too hot, and you’ve got burnt bottoms and raw centers, which is just tragic.
Set your burner to medium heat. I know everyone runs their stove differently, but medium is the safest starting point for these old fashioned pancakes. How do you know when it’s perfect? You test it! Flick a tiny drop of water onto the hot cooking surface. If it immediately sizzles loudly and vanishes, you’re ready to pour. If it just sits there looking nervous, give it another minute. If it leaps off like a frightened squirrel, turn the heat down a notch!
Now, pour your 1/4 cup of batter onto the hot spots. Don’t crowd the griddle—give those babies room to breathe. You need patience here to watch for the flip cue. You know it’s time when you see bubbles forming all over the surface, and crucially, those bubbles *don’t pop* right away; they start to set, and the edges of the pancake look a little dry and firm. That’s your signal to slide that spatula underneath and flip them over for that final golden kiss.
Step-by-Step Instructions for Homemade Pancakes
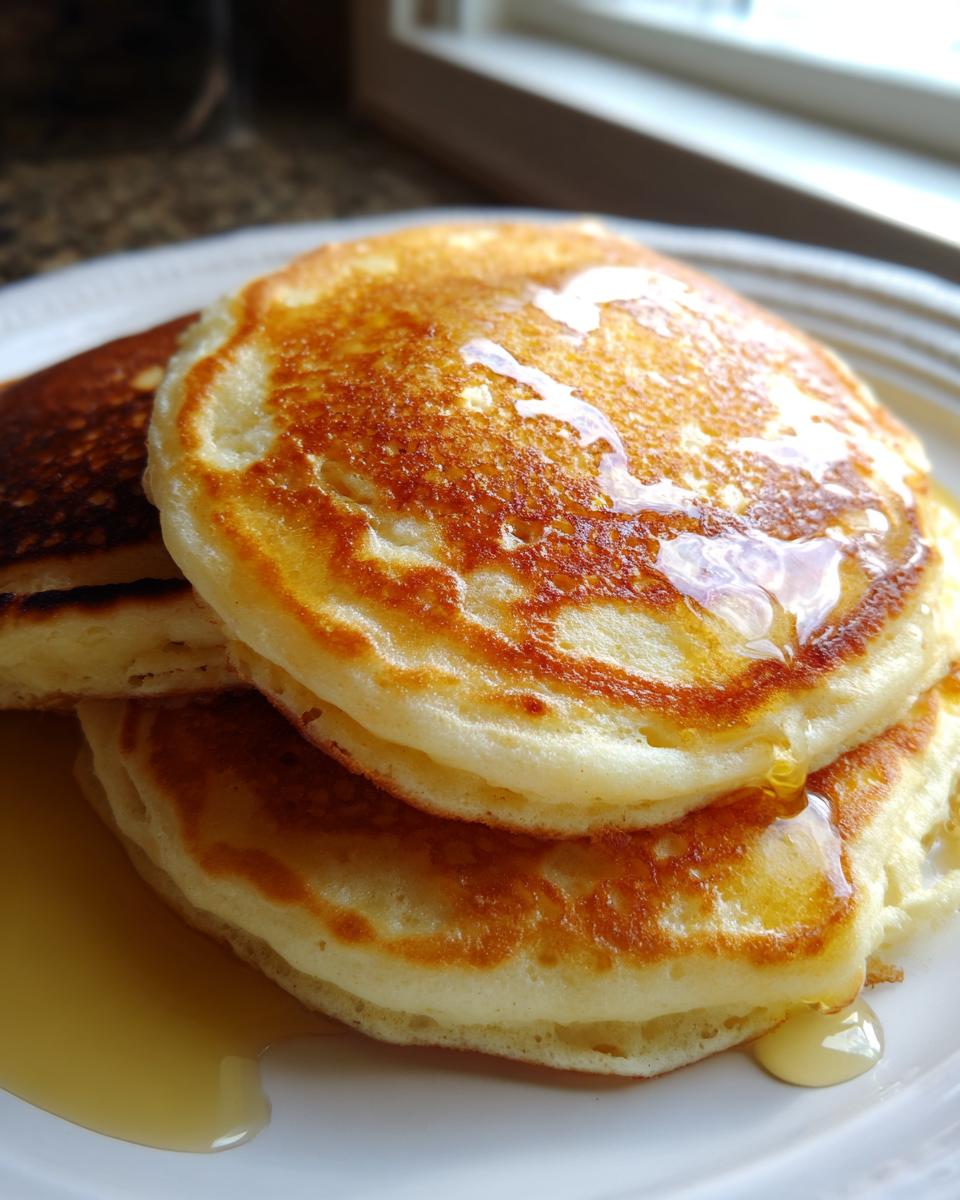
Alright, now that we have respected the batter and heated our griddle just perfectly, let’s get these beauties cooked! This entire process moves pretty quickly, so make sure you have your syrup warmed and ready to go. Remember, the goal here is beautifully golden-brown homemade pancakes that rise high on your plate, not those flat sad things you sometimes get.
- First things first: make sure your dry ingredients are already whisked well in your big bowl. We always start with the dry stuff so the baking powder is evenly distributed.
- In a separate bowl, give your milk and egg a fast whisk together before you mix in that melted butter.
- Time to combine! Pour all those lovely wet ingredients right into the dry bowl you prepared.
- Mix gently, and I mean gently! Stop stirring the moment you don’t see large, white dusty clouds of flour remaining. Lumps are okay! Trust me on this one. Give the batter about five minutes to rest right near the stove while the griddle warms up.
- Once the griddle sizzles perfectly, pour out 1/4 cup for each pancake. Keep them spaced out—don’t let them touch, or you’ll have one giant breakfast sheet instead of individual cakes!
- Watch them closely for color and bubbles. They need about 2 to 3 minutes on the first side. You are waiting for those bubbles to bloom on top and for the edges to look dry and set.
- Slide your spatula under and flip! Cook the second side for just another minute or two until it’s richly golden brown. Serve instantly and enjoy!
Tips for Success with Your Old Fashioned Pancakes
We’ve covered the mixing, but there are a couple of tiny finishing touches that really elevate these *classic pancakes* from good to absolutely legendary. Trust me, these little professional secrets are what your mom or dad probably did without ever telling you! It makes a huge difference in the final texture, especially if you are trying to nail that perfect, high stack.
First, if you have the patience (which you should, it’s the weekend!), let your *easy pancake batter* rest for a full five minutes after you finish the gentle mixing. This tiny break lets the flour fully hydrate and allows the baking powder to start doing its work before it even hits the heat. You’ll notice the batter thickens up slightly, and that translates directly to a higher rise on the griddle.
Also, use the 1/4 cup measure every single time! Consistency in size means consistency in cooking time. If you have one tiny pancake next to a massive one, the small one will burn before the big one is ready. Use that measure for every pour, and you will have the most beautifully uniform stack of *old fashioned pancakes* imaginable.
Storing and Reheating Your Weekend Breakfast Stack
I love making a huge batch of these *classic pancakes* on Sunday morning because, frankly, who has time to cook from scratch again during the week? The good news is that these stack up beautifully for leftovers, which means you get to enjoy that amazing taste again without doing all the work.
You can absolutely freeze these. They freeze much better than people think, provided you use the right layering technique. You don’t want them turning into one giant, sticky pancake brick, although that’s certainly happened at my house once or twice! For the best results, let any cooked pancakes cool completely on a wire rack first. This stops condensation, which is the enemy of good freezing.
Once they are totally cool, lay them out in a single layer on a rimmed baking sheet. Pop that sheet right into the freezer for about an hour until they are solid little discs. After they’ve hardened up, you can dump them all into a large, sturdy freezer bag. That initial freeze keeps them from sticking together later on. They’ll last great in the freezer for about a month!
When you need a quick fix, reheating is super simple. You can toss them right into your toaster slots—this works amazingly well for getting that slightly crisp edge back. If you’re heating a huge pile for the family, I actually prefer setting my oven racks to medium and laying the frozen pancakes directly on the rack. Set the oven to about 350 degrees, and they heat through perfectly in about 8 to 10 minutes. They come out nearly as good as fresh off the griddle!
Frequently Asked Questions About Old Fashioned Pancakes
I know whenever I nail a recipe, I always have a few lingering questions, especially when it comes to turning ingredients into that perfect *weekend breakfast* stack. Don’t worry if you’ve got questions swirling about size or texture—I covered my favorite troubleshooting tips here!
Aria and I have tested these dozens of ways, so you can feel confident moving forward. If you have a question that isn’t covered here, feel free to shoot us a message over on the Contact page, and we’ll get back to you!
Why are my pancakes coming out flat instead of fluffy?
If you’re struggling to get that towering lift in your old fashioned pancakes, chances are you’re accidentally developing too much gluten. Remember what I said about the *easy pancake batter*? You must stop mixing just when the lumps disappear! Too much stirring makes them heavy and tough. Also, check your baking powder—if it’s old, it won’t create those necessary bubbles to lift the batter on the griddle.
Can I use whole wheat flour in this fluffy pancake recipe?
Yes, you certainly can, but it changes the texture a bit! Whole wheat flour creates a heavier crumb, so your pancakes won’t be quite as light as the *diner style pancakes* we are aiming for here. If you swap, I recommend doing a 50/50 split: use half all-purpose flour and half whole wheat. You might need an extra splash of milk, too, as whole wheat absorbs moisture differently.
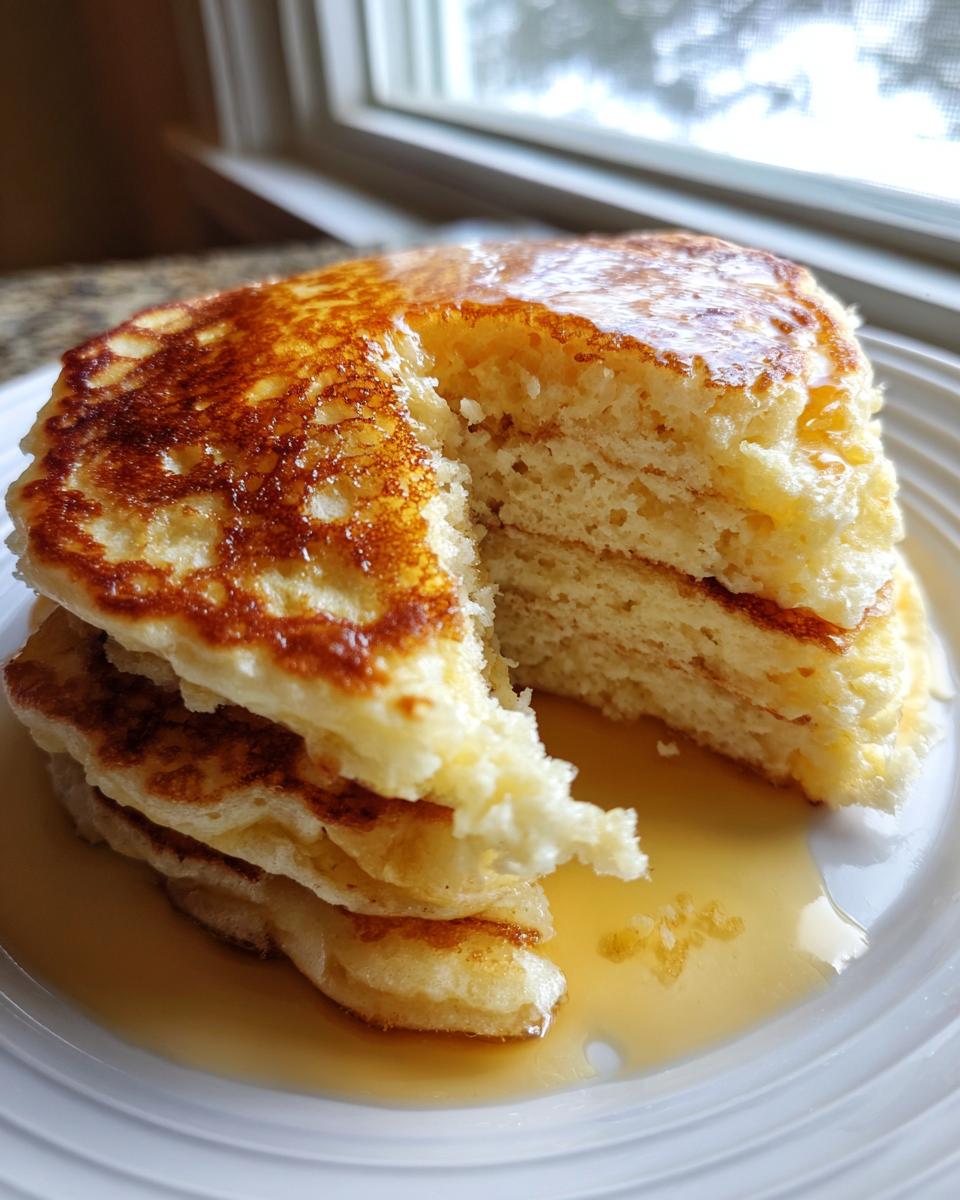
How do I make the pancakes even thicker, almost like a cake?
To get even more height for those incredible *classic pancakes*, focus on two things: resting the batter (we talked about the five-minute rest!) and reducing the liquid slightly. For a thicker batter, try cutting the milk down by just two tablespoons to start. This thickens the mixture so it holds its shape when it hits the heat, giving you a higher stack.
What is the best way to reheat these classic pancakes?
If you’re reheating leftovers, you want them crispy on the outside but soft inside, right? The absolute best way is using a toaster. Just pop the frozen pancakes right in the toaster slot for one cycle—it crisps them up beautifully without drying them out. If you have a huge batch, place them on a middle rack in an oven set to 350 degrees Fahrenheit for about 8 to 10 minutes. They come out warm all the way through!
Estimated Nutritional Data for Old Fashioned Pancakes
Now, I know some of you want to know the numbers behind the stacks, and that’s totally fair, especially when you’re making a big batch for the family or meal prepping for the week! Remember, since this is a *homemade pancakes* recipe, these values are just estimates based on the standard ingredients listed. If you use whole milk instead of 2%, or add extra sugar to your syrup, those numbers are definitely going to shift.
This data breaks down what’s inside one standard 1/4-cup pancake, without any toppings like butter or syrup. It shows you that these *classic pancakes* are actually quite simple nutritionally, letting you feel good about including them in your next big *weekend breakfast*!
- Serving Size: 1 pancake
- Calories: 180
- Fat: 6g (with 3g saturated)
- Carbohydrates: 27g
- Protein: 5g
- Sugar: 4g
- Fiber: 1g
- Sodium: 350mg
So, there you have it! A delicious, honest breakdown of what you’re putting on the plate. It proves you can make something incredibly satisfying without loading up on unnecessary extras when you start with the right foundation.
PrintOld Fashioned Fluffy Pancakes
Make classic, diner-style pancakes from scratch using basic pantry ingredients. This recipe focuses on technique for a light, fluffy result.
- Prep Time: 10 min
- Cook Time: 15 min
- Total Time: 25 min
- Yield: About 8 pancakes 1x
- Category: Breakfast
- Method: Griddling
- Cuisine: American
- Diet: Vegetarian
Ingredients
- 1 1/2 cups all-purpose flour
- 3 1/2 teaspoons baking powder
- 1 teaspoon salt
- 1 tablespoon white sugar
- 1 1/4 cups milk (whole or 2%)
- 1 egg
- 3 tablespoons butter, melted
Instructions
- Combine the dry ingredients: flour, baking powder, salt, and sugar, in a large bowl. Whisk them together well.
- In a separate bowl, whisk together the milk and egg.
- Pour the wet ingredients into the dry ingredients. Add the melted butter.
- Mix the batter gently until just combined. Stop mixing when you still see a few lumps; overmixing develops gluten and makes pancakes tough.
- Heat a lightly oiled griddle or large non-stick skillet over medium heat. The griddle is ready when a drop of water sizzles and evaporates quickly.
- Pour 1/4 cup of batter onto the hot griddle for each pancake.
- Cook for 2 to 3 minutes per side. You know it is time to flip when bubbles appear on the surface and the edges look set.
- Flip the pancakes and cook for another 1 to 2 minutes until golden brown.
- Serve immediately with your favorite toppings.
Notes
- If you do not have buttermilk, add 1 teaspoon of white vinegar or lemon juice to the 1 1/4 cups of regular milk and let it sit for 5 minutes before using. This creates a good substitute.
- For extra fluffy pancakes, let the finished batter rest for 5 minutes before cooking.
- You can freeze cooked pancakes. Place cooled pancakes in a single layer on a baking sheet, freeze until solid, then transfer to a freezer bag. Reheat in a toaster or oven.
Nutrition
- Serving Size: 1 pancake
- Calories: 180
- Sugar: 4
- Sodium: 350
- Fat: 6
- Saturated Fat: 3
- Unsaturated Fat: 3
- Trans Fat: 0
- Carbohydrates: 27
- Fiber: 1
- Protein: 5
- Cholesterol: 35