
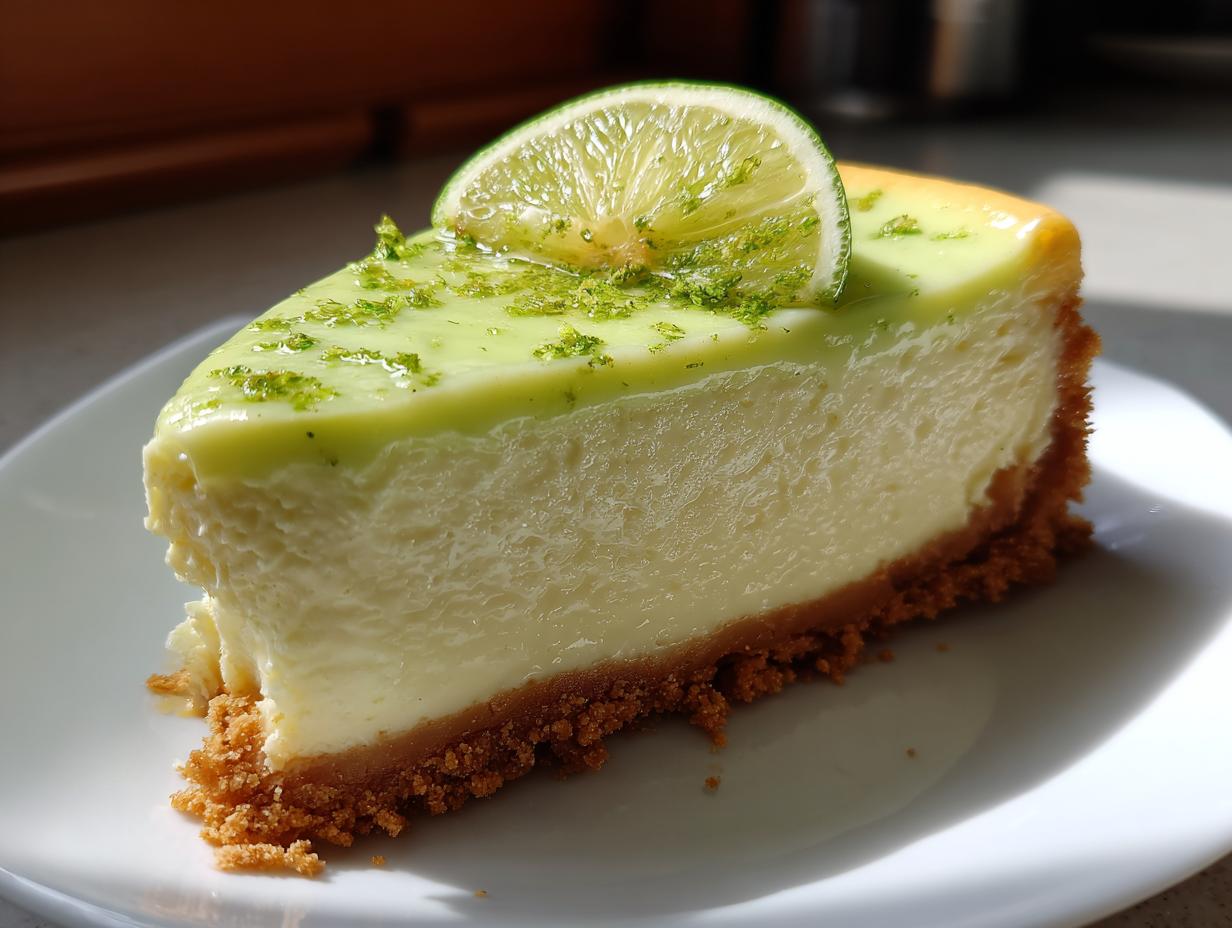
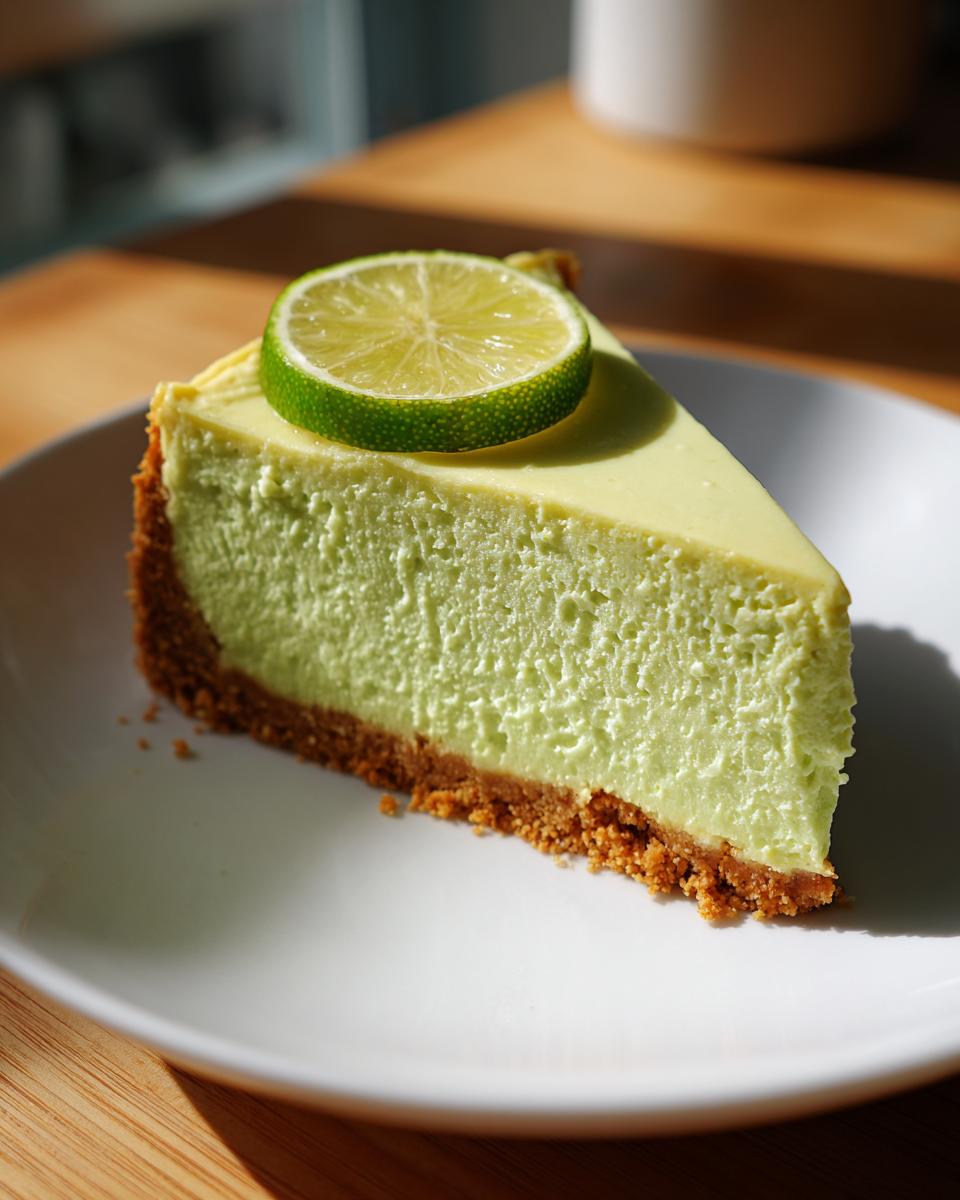
When the heat hits, I crave something bright! Forget heavy chocolate or plain vanilla; summer demands a zing that cuts right through the humidity, and nothing does that better than lime. I know cheesecake sounds fancy—like something reserved for professional bakers—but that’s where I push back! Here at Cooking Zenith, we believe in elevating your everyday, and that means mastering the classics without all the fuss. This recipe for a thick, wonderfully creamy key lime cheesecake with a stunning, tangy finish is proof. I spent years perfecting this method so you get that unforgettable, melt-in-your-mouth texture, just like the best spots serve, but right in your own kitchen. If you want to see where this whole journey started—it all began in a simple home kitchen, just like yours—you can read more on our About Us page. Trust me, you’re going to conquer this one.
- Why This Baked Key Lime Cheesecake is Your New Favorite Summer Citrus Dessert
- Ingredients for the Best Key Lime Cheesecake
- Step-by-Step Instructions for Homemade Key Lime Cheesecake
- Tips for a Perfect Cheesecake Factory Inspired Recipe
- Make Ahead Cheesecake and Storage Instructions
- Key Lime Cheesecake Variations: No Bake Lime Cheesecake and Mini Versions
- Serving Suggestions for Your Refreshing Cheesecake
- Frequently Asked Questions About Key Lime Cheesecake Recipe
- Estimated Nutritional Data for Key Lime Cheesecake
- Share Your Tangy Lime Dessert Masterpiece
Why This Baked Key Lime Cheesecake is Your New Favorite Summer Citrus Dessert
You might be thinking about key lime pie, but hang on! This baked key lime cheesecake is in a league of its own. We’re aiming for supreme stability and that rich, creamy texture that just sings next to the sharp, tangy lime. It’s cool, it’s refreshing, and honestly, it beats any pie when you want something seriously decadent for a party.
- It delivers unmatched richness compared to a standard pie filling.
- The slow bake in a water bath guarantees that velvety smooth top.
- It uses a sturdy, absolutely delicious buttery graham cracker crust.
Achieving That Velvety Lime Filling
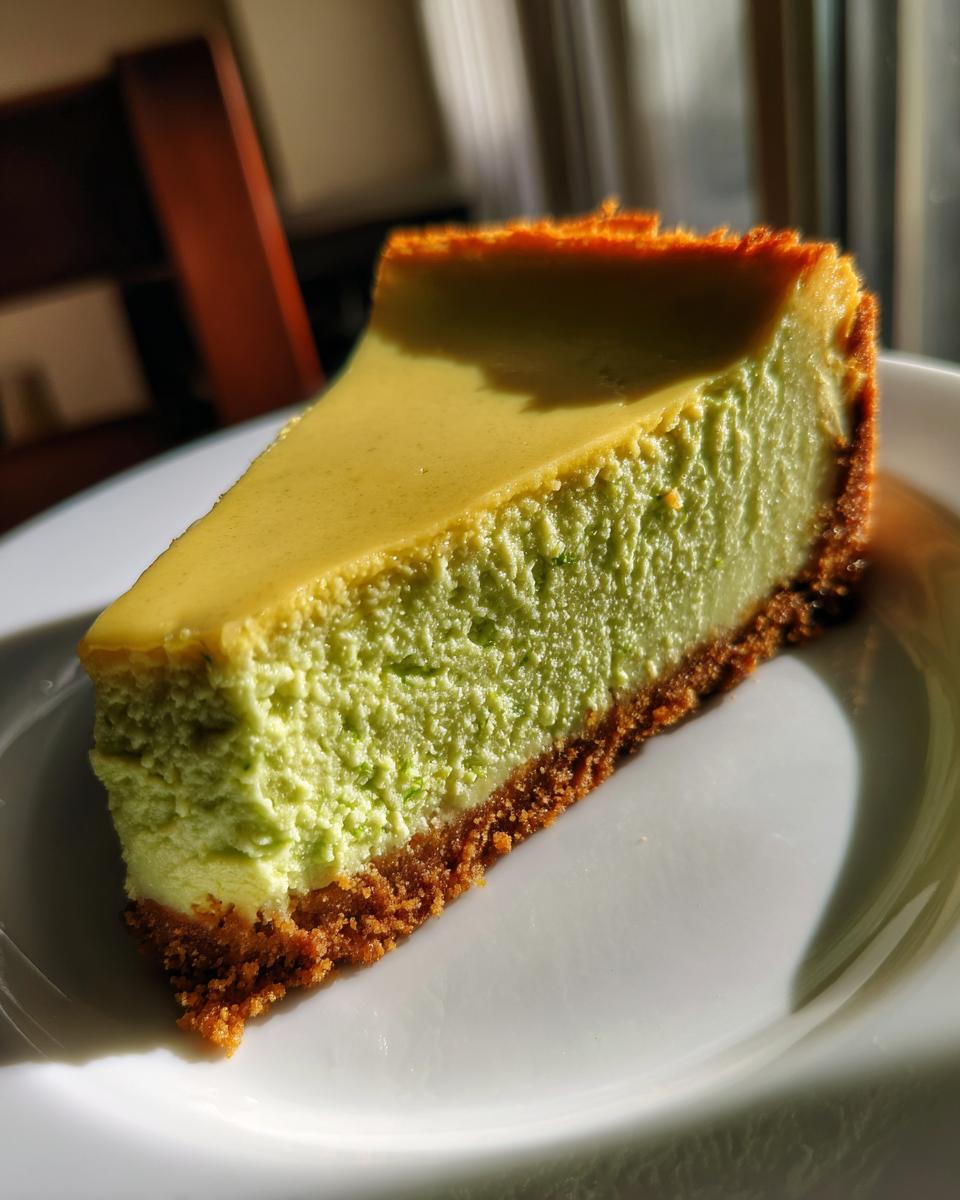
Wow, the texture here is everything! You absolutely must make sure your cream cheese and those eggs are fully room temperature. That gets us most of the way there for that gorgeous velvety lime filling. Then, we use that gentle water bath during baking—it keeps the oven steamy so the delicate eggs cook evenly, leading to zero cracks and maximum creaminess.
The Perfect Buttery Graham Cracker Crust
This crust is my absolute weakness. It has to be sturdy enough to hold all that filling, right? That’s why we use plenty of melted butter for flavor and press it down firmly into the pan. Crucially, we give it a quick 10-minute pre-bake before pouring in the filling. Trust me, that step locks in the moisture and makes it perfectly crisp against the creamy filling!
Ingredients for the Best Key Lime Cheesecake
When you’re aiming for that incredible, thick texture, you can’t skimp or guess on the ingredients. I always lay everything out on the counter before I start mixing because precision is how we get that perfect, creamy key lime cheesecake result every time. This list is broken down so you know exactly which parts go where. Trust me, using fresh juice is non-negotiable for that punchy flavor!
For the Buttery Graham Cracker Crust
This is the foundation, so make sure your butter is melted and ready to go!
- 1 1/2 cups graham cracker crumbs
- 1/4 cup granulated sugar (for crust)
- 6 tablespoons unsalted butter, melted
For the Creamy Key Lime Cheesecake Filling
Pay close attention to the room temperature notes here—it’s the secret to avoiding lumps! We need those eggs perfectly incorporated for that smooth finish.
- Three (8 ounce) packages cream cheese, softened
- 1 1/2 cups granulated sugar (for filling)
- 1/4 cup all-purpose flour
- 1 teaspoon vanilla extract
- 1/2 cup fresh key lime juice (about 10-12 limes—you need the fresh stuff!)
- Zest of 3 key limes
- 4 large eggs, room temperature
- 1/4 cup sour cream, room temperature
Step-by-Step Instructions for Homemade Key Lime Cheesecake
Okay, this is where the magic really happens! Don’t let the baking part scare you; we’re using a few tricks to keep everything smooth and prevent any dreaded cracks in your beautiful homemade key lime cheesecake. Follow these steps exactly, especially around the temperature changes at the end, and you’ll get that superior texture you are looking for.
Preparing the Crust and Oven Setup
First things first, get that 9-inch springform pan ready! Preheat your oven to 325 degrees Fahrenheit. Now, this next part is crucial for the water bath later: wrap the outside bottom of that pan TIGHTLY with heavy-duty aluminum foil. You want a good seal so no water seeps in! Mix up your crust ingredients—crumbs, sugar, and melted butter—and press that mixture right into the bottom and up the sides. Pop that into the oven for just 10 minutes until it smells toasted, then take it out to cool while you tackle the filling.
Mixing the Tangy Lime Dessert Filling
Grab your big bowl and mixer! We start by beating the softened cream cheese until it’s totally smooth—no lumps, please! Then, you slowly beat in the 1 1/2 cups of sugar and the flour until it just comes together. Vanilla, lime juice, and zest go in next. The eggs are added one by one, and I mean *one by one*. You only mix until the yellow disappears before adding the next one. Seriously, do NOT overmix once the eggs are in! Finally, gently stir in that sour cream for extra body.
Baking and Slow Cooling the Key Lime Cheesecake
Pour that lovely filling over your cooled crust. Now, for the water bath: place your foil-wrapped springform pan inside a larger roasting pan. Carefully pour hot water into the roasting pan until it comes halfway up the sides of your cheesecake pan. Bake this setup for about 55 to 65 minutes. It’s done when the edges look set but the center still has a little wiggle, like jello. Then, turn the oven OFF, prop the door open just a crack, and let it sit in there for a full hour. This slow cool is the secret weapon for a perfectly smooth, truly amazing texture!
Tips for a Perfect Cheesecake Factory Inspired Recipe
If you’re chasing that thick, rich, melt-in-your-mouth feeling you get from those giant slice places, that’s totally doable! Getting that restaurant-quality texture in our creamy key lime cheesecake isn’t magic; it’s just technique. We already talked about that slow cooling process, which is huge for keeping things crack-free. But the real game-changer comes way before the oven even turns on.
Ingredient Temperature Matters for Creamy Key Lime Cheesecake
Listen to me on this: room temperature ingredients are your best friends! If your cream cheese is cold, or worse, your eggs didn’t sit out long enough, they won’t blend properly. Cold ingredients lead to lumps, and lumps mean you’ll over-mix trying to smooth them out. Over-mixing means air, and air means cracks! So, let that cream cheese get soft enough to barely dent with a finger, and make sure those four eggs are happy sitting on the counter for an hour or so before you start. It’s the key to that unbelievably luxurious, smooth incorporation.
Make Ahead Cheesecake and Storage Instructions
Here’s the best part about this phenomenal key lime cheesecake: it is absolutely designed to be a make ahead cheesecake! Honestly, I think it tastes even better the next day once all those bright, tangy flavors have had time to really marry together. You can’t rush perfection, especially with cheesecake.
You must let it chill for a minimum of six hours after it comes out of the oven and finishes cooling on the rack, but truly, overnight is what I recommend. That long chill time transforms that creamy filling into something firm, dense, and perfectly sliceable. Don’t even think about cutting into it early, or you’ll have a puddle!
Once it’s fully chilled, you want to keep it covered well in the refrigerator. I usually leave it right in the springform pan, perhaps covering the top loosely with plastic wrap, but make sure the wrap isn’t touching the surface if you plan on topping it with whipped cream later. It keeps beautifully for about four or five days, making it an absolute life-saver when you have guests coming over!
Key Lime Cheesecake Variations: No Bake Lime Cheesecake and Mini Versions
I get it! Sometimes you want that beautiful, rich cheesecake, but maybe you don’t want to mess with the oven, or perhaps you’re hosting a massive party and need little grab-and-go treats. Don’t worry, we can still get that amazing zing! This recipe is surprisingly flexible, even if the baked version is my gold standard for that thick texture.
If you absolutely need a shortcut, we can pivot to an No Bake Lime Cheesecake. You simply skip all the eggs and the water bath, which is fantastic for quick summer fixes! Instead of eggs, you whip up one cup of heavy cream until it gets stiff, and then gently fold that into your lime cream cheese base before chilling. That method gives you a slightly lighter, mousse-like texture, but it’s so refreshing!
Creating Easy Key Lime Cheesecake Bites
For those times when you need something cute and manageable—hello, Mini Key Lime Cheesecakes! These are perfect for potlucks or when you just want one perfect slice without committing to the whole big cake. Grab a standard muffin tin and line it with paper liners. You divide your standard batter evenly among the cups. Now, because they’re small, they bake much faster! Keep an eye on them, because they only need about 18 to 22 minutes at 325 degrees F. They cool down fast too, which means you get to taste your amazing tangy lime dessert sooner!
Serving Suggestions for Your Refreshing Cheesecake
Once your glorious key lime cheesecake has spent the night chilling—and trust me, it needs that time—it’s time to think about presentation! This dessert is already so vibrant and flavorful thanks to all that fresh lime, so you don’t need a huge, complicated topping. Keep it light and elegant to match that wonderful, refreshing cheesecake vibe.
My go-to topping when I’m serving this for a casual family dinner is a big, fluffy cloud of homemade whipped cream. It’s so much better than the stuff in the can! You just whip heavy cream with a touch of powdered sugar and maybe a teeny tiny drop of vanilla until you get soft, dreamy peaks. Dollop that right on top just before serving!
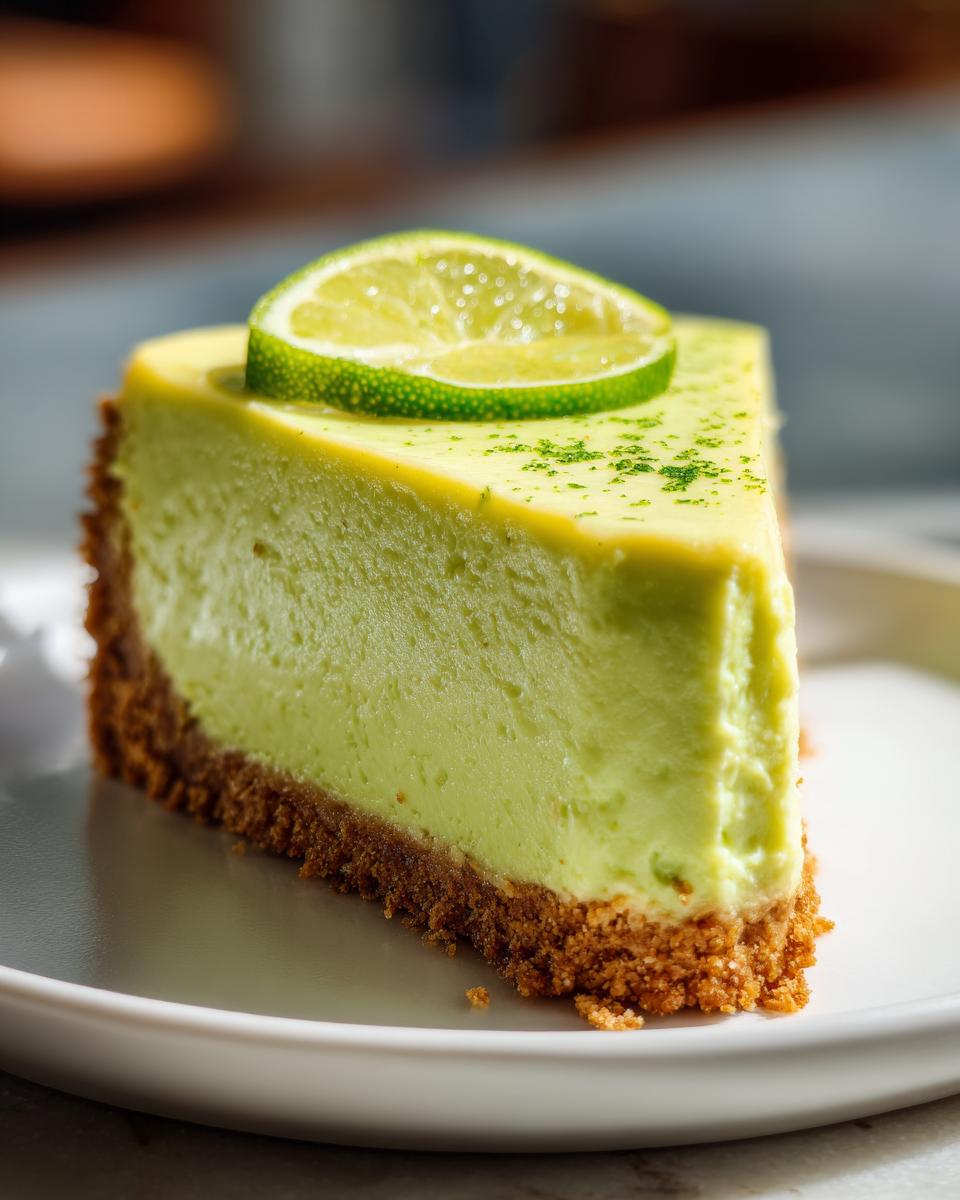
But if you want a little more color that really plays up that citrus, fresh fruit is the answer. Raspberries are fantastic because their slight tartness complements the lime perfectly. You can also thinly slice some fresh lime wheels or zest a little bit more key lime right over the top using a microplane grater. That final burst of green zest looks professional and smells incredible, reminding everyone that this is a truly zingy, tangy lime dessert!
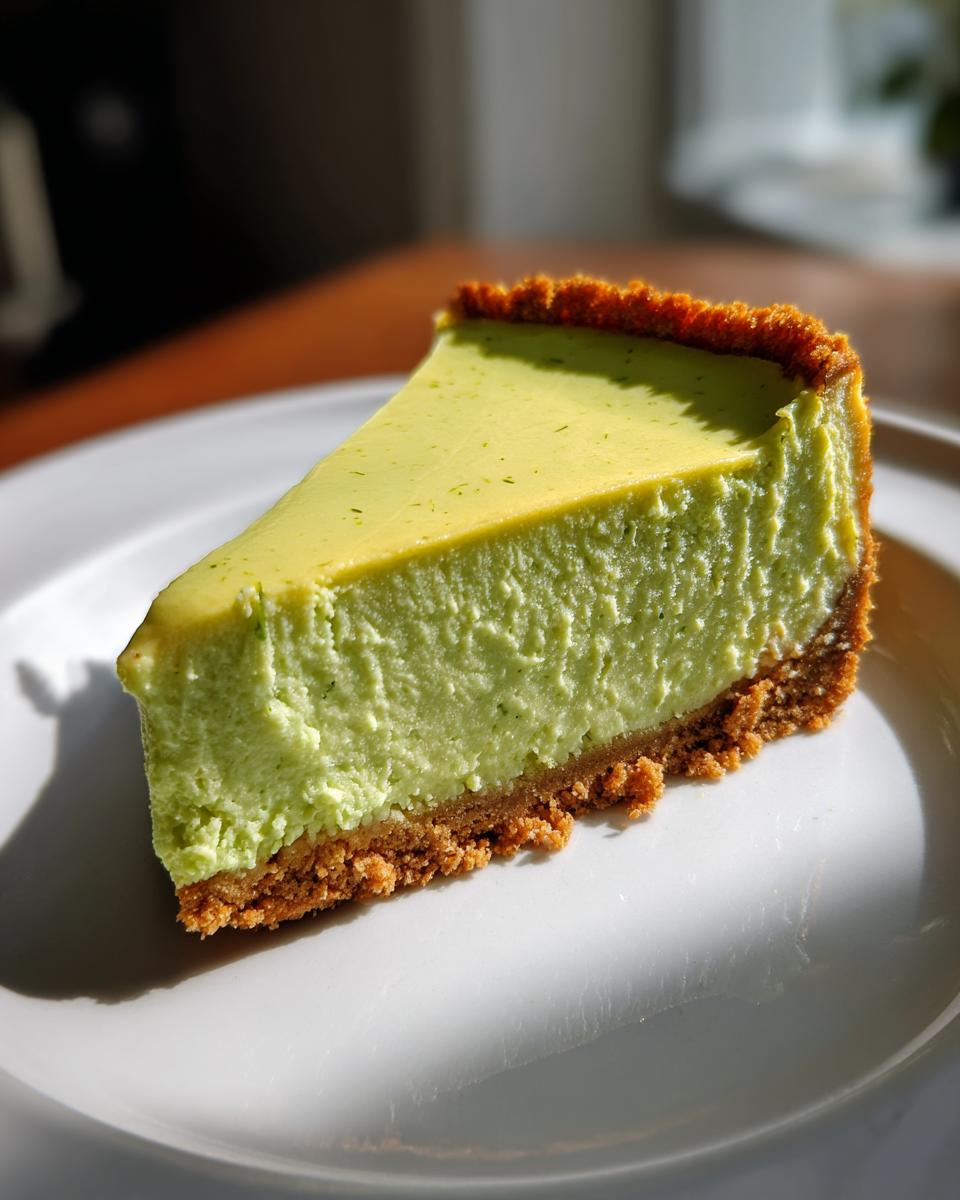
If you went heavy on the cream cheese glaze, you might skip heavy toppings, but a scattering of toasted, shredded coconut is also magical. It adds just a little bit of crunch that pairs beautifully with the smooth filling and the crispy crust. Seriously, once you pull the springform ring off, just step back and admire that smooth, pale green top for a second—then start decorating!
Frequently Asked Questions About Key Lime Cheesecake Recipe
I totally get it—sometimes after you bake something amazing, a few last little questions crop up! We’ve all been there, staring at a beautiful dessert wondering if we missed a step or if there’s a sneaky trick we overlooked. I’ve pulled together the top things people always ask me about this key lime cheesecake recipe so you feel 100% confident serving up this incredible tangy lime dessert.
Can I use bottled key lime juice instead of fresh for this key lime cheesecake?
Oh, gosh, I really wish I could say yes, but for this recipe? No, not if you want the true pop of flavor! Bottled juice is often pasteurized and just doesn’t have that bright, zesty punch that fresh key limes give you. If you absolutely have to use bottled because fresh key limes are impossible to find, you might need to add a little extra lime zest to compensate for the dullness. But honestly, seeking out those tiny, fragrant key limes is part of the fun when baking with key lime!
How do I prevent my homemade key lime cheesecake from cracking?
This is the biggest stressor for everyone, but stick to the plan, and you’ll be fine! Remember those three golden rules we covered. One: Make absolutely sure your cream cheese and eggs are at true room temperature. Two: You must use a water bath when baking with key lime filling; the steam keeps things gentle. And final and most important: Never just yank the cake out of the hot oven! Turn the heat off, crack that door, and let it sit in there for an hour. That slow, gradual cooling prevents the sudden temperature change that causes shrinkage and cracking. That’s the trick for a super smooth, thick surface!
What is the difference between this recipe and a traditional Key Lime Pie?
It all comes down to luxury, honey! A traditional Key Lime Pie is usually a custard filling made with eggs, condensed milk, and heavy lime juice, often baked in a flaky pastry crust or sometimes a simple graham crust. It’s lighter and silkier—more jiggly, really. This, on the other hand, is a true creamy key lime cheesecake. We rely on that high volume of cream cheese and sour cream to give it density and richness. Plus, our buttery graham cracker crust is thicker and more substantial. It’s basically the perfect marriage between a classic cheesecake and that bright citrus punch!
Estimated Nutritional Data for Key Lime Cheesecake
Listen, nobody is making this glorious key lime cheesecake because they’re counting macros, right? Let’s be real! But, since people always ask, I’ve pulled the estimated numbers based on standard ingredients for one generous slice. Remember, these are just ballpark figures, not a guarantee, because how much butter *I* use versus how much *you* use can change things dramatically. For the full details on how data is calculated, you can always check out our policy page.
- Serving Size: 1 slice
- Calories: 450
- Sugar: 35g
- Fat: 30g
- Protein: 8g
Share Your Tangy Lime Dessert Masterpiece
Now that you have conquered the recipe for the best key lime cheesecake, I am dying to hear all about it! Seriously, seeing your creations is my favorite part of running this cooking space. Did you manage to get that super smooth, velvety lime filling? Did your buttery graham cracker crust come out perfectly crisp?
Jump down into the comments below and give this recipe a rating! I love seeing what you all think. It helps new cooks feel confident trying out this spectacular summer citrus dessert.
And if you took photos—and you totally should have, because this thing looks gorgeous!—please share them on your favorite social media platform. Tag us and use the relevant hashtags so I can gush over them! We thrive on seeing your successes. If you have any burning last-minute questions that this whole guide didn’t cover, don’t hesitate to shoot us a note via the Contact page. Happy baking, you culinary star!
PrintThick and Creamy Baked Key Lime Cheesecake with Buttery Graham Cracker Crust
Make a thick, creamy, and tangy key lime cheesecake with a buttery graham cracker crust. This recipe delivers bright citrus flavor perfect for summer gatherings.
- Prep Time: 25 min
- Cook Time: 65 min
- Total Time: 7 hours 30 min
- Yield: 12 servings 1x
- Category: Dessert
- Method: Baking
- Cuisine: American
- Diet: Vegetarian
Ingredients
- 1 1/2 cups graham cracker crumbs
- 1/4 cup granulated sugar (for crust)
- 6 tablespoons unsalted butter, melted
- 3 (8 ounce) packages cream cheese, softened
- 1 1/2 cups granulated sugar (for filling)
- 1/4 cup all-purpose flour
- 1 teaspoon vanilla extract
- 1/2 cup fresh key lime juice (about 10–12 limes)
- Zest of 3 key limes
- 4 large eggs, room temperature
- 1/4 cup sour cream, room temperature
Instructions
- Preheat your oven to 325 degrees Fahrenheit. Wrap the outside bottom of a 9-inch springform pan tightly with heavy-duty aluminum foil.
- Prepare the crust: Mix graham cracker crumbs, 1/4 cup sugar, and melted butter until combined. Press the mixture firmly into the bottom and about 1 inch up the sides of the prepared springform pan. Bake for 10 minutes. Remove from oven and let cool slightly.
- Prepare the filling: In a large bowl, beat the softened cream cheese with an electric mixer until smooth. Gradually beat in 1 1/2 cups sugar and flour until just combined. Mix in vanilla extract, key lime juice, and lime zest.
- Beat in the eggs one at a time, mixing only until each egg is incorporated. Do not overmix. Gently stir in the sour cream.
- Pour the filling over the cooled crust in the springform pan.
- Bake using a water bath: Place the foil-wrapped springform pan inside a larger roasting pan. Carefully pour hot water into the roasting pan until it reaches about halfway up the sides of the springform pan.
- Bake for 55 to 65 minutes, or until the edges are set but the center still has a slight jiggle.
- Turn off the oven, crack the oven door open slightly, and let the cheesecake cool inside the oven for 1 hour. This slow cooling prevents cracking.
- Remove the cheesecake from the water bath and foil. Cool completely on a wire rack, then chill in the refrigerator for at least 6 hours, or preferably overnight, before serving.
Notes
- For a texture similar to Cheesecake Factory recipes, ensure your cream cheese and eggs are fully at room temperature before mixing.
- If you prefer a no bake key lime cheesecake, substitute the eggs and baking steps with 1 cup heavy cream whipped to stiff peaks, folded in at the end. Chill for 8 hours.
- For mini key lime cheesecakes, use a muffin tin lined with paper liners and reduce the baking time to 18-22 minutes.
- This recipe is excellent for make ahead preparation, as chilling overnight improves the flavor and texture.
Nutrition
- Serving Size: 1 slice
- Calories: 450
- Sugar: 35g
- Sodium: 300mg
- Fat: 30g
- Saturated Fat: 18g
- Unsaturated Fat: 12g
- Trans Fat: 0.5g
- Carbohydrates: 40g
- Fiber: 1g
- Protein: 8g
- Cholesterol: 120mg