
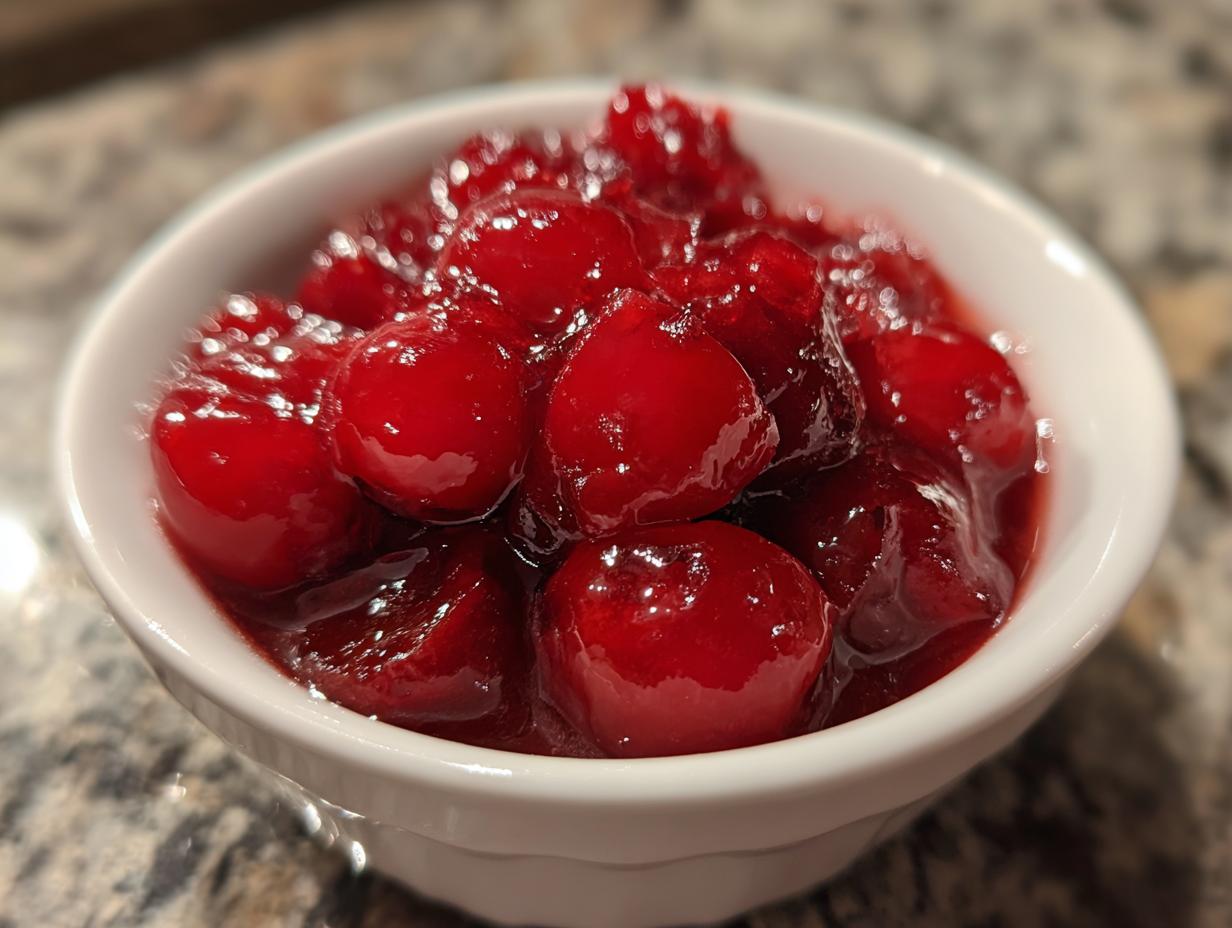
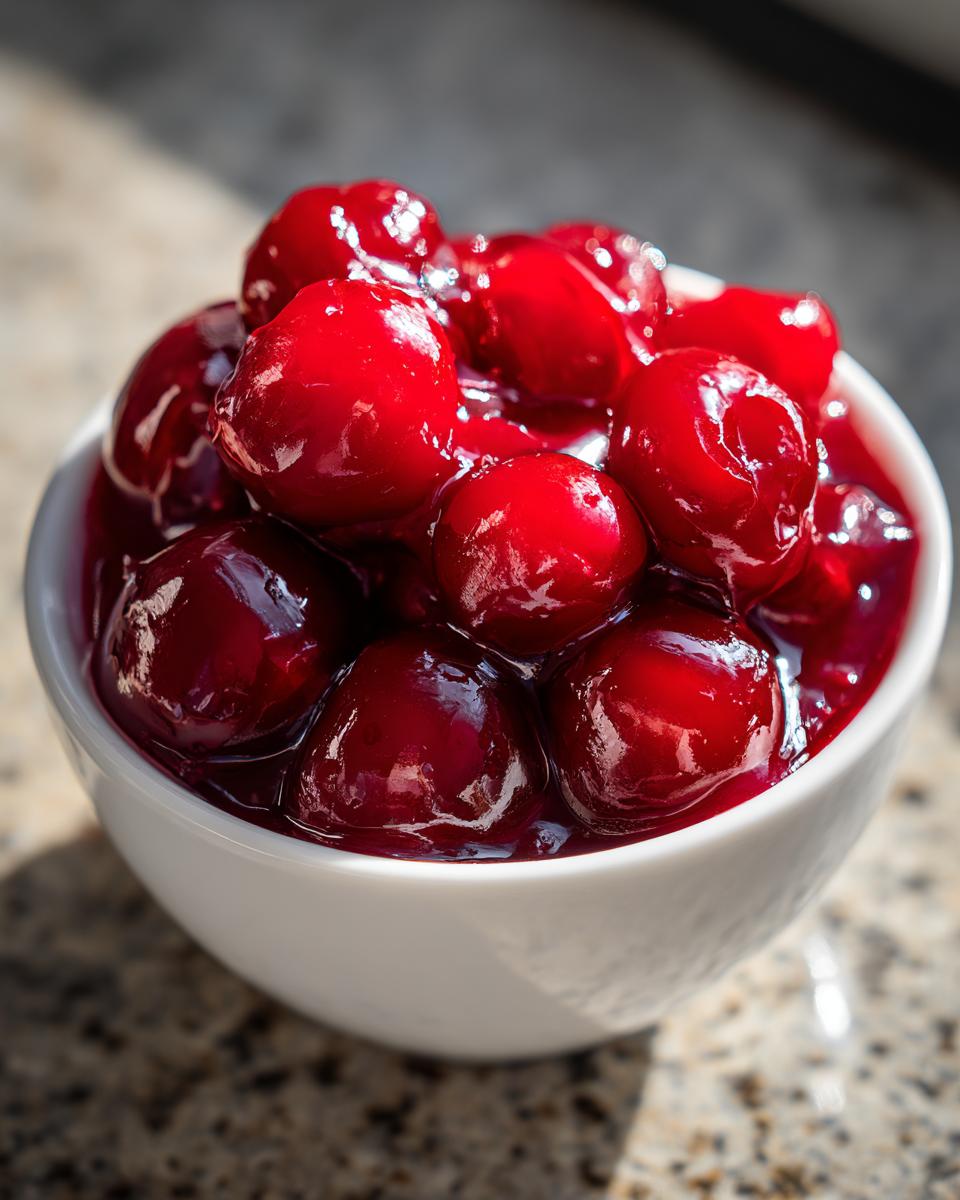
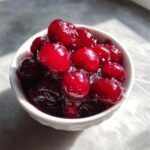
Oh my goodness, have you ever cracked open a store-bought can of cherry pie filling and been greeted by a sad, runny, vaguely pink liquid that just pools sadly in your beautiful crust? It’s the worst, isn’t it? I absolutely refuse to subject my family to that watery tragedy anymore! That’s why making your own **cherry pie filling** from scratch is a game-changer, and trust me, this version using frozen cherries gives you the ultimate thick, juicy satisfaction.
I spent ages trying to nail the consistency before I finally cracked the code. It’s so much easier than you think, and the depth of flavor you get is just miles beyond anything you buy pre-made. As a home cook focused on elevating the everyday, getting this component right means you can save time but never sacrifice taste. This easy frozen cherry filling is my secret weapon for winning every dessert competition at family potlucks!
- Why This Is The Best Cherry Pie Filling From Frozen Cherries Recipe
- Ingredients for Your Thick Cherry Pie Filling Recipe
- How To Make Cherry Filling Faster: Step-by-Step Instructions
- Mastering Your Cherry Pie Filling From Scratch
- Versatile Cherry Sauce Recipe: Beyond the Pie Crust
- Storage and Reheating Instructions for Homemade Cherry Pie Filling
- Frequently Asked Questions About Cherry Pie Filling
- Understanding the Nutrition in This Cherry Pie Filling
- Share Your Homemade Cherry Pie Filling Creations
Why This Is The Best Cherry Pie Filling From Frozen Cherries Recipe
Forget those cans forever! This recipe proves you can have the absolute best cherry pie filling whenever cherries are in season—or out of season—by relying on the magic of frozen fruit. It’s my go-to for an Easy Homemade Cherry Pie Filling because it hits all the right notes.
- We use frozen sweet cherries straight from the freezer! No thawing mess, no extra water needed.
- The texture is incredible! We nail that gorgeous, thick consistency that clings perfectly to the pastry or ice cream.
- It’s stunningly fast. Seriously, you won’t believe how quickly this comes together.
- The flavor is so much brighter and fresher than anything you can buy pre-made.
Quick Cherry Dessert Filling: Time Breakdown
When I tell you this is fast, I mean it! You barely have time to wash your measuring cups before it’s ready.
Prep Time: Just 5 minutes. That’s if you count whisking the cornstarch as prep, which I do!
Cook Time: Ten minutes on the stove, tops. Honestly, most of that time is waiting for it to simmer gently.
Total Time: Fifteen minutes from bag-to-bowl. That means a Quick Cherry Dessert Filling is genuinely achievable on a busy Tuesday night!
Ingredients for Your Thick Cherry Pie Filling Recipe
Okay, let’s talk ingredients! This recipe actually relies on just a handful of pantry staples, but their combination is what delivers that gorgeous texture. The absolute non-negotiable here is using 4 cups of frozen sweet cherries straight from the freezer. Do not thaw them! They release their liquid perfectly when combined with the sugar, which feeds right into our thickening process.
The secret weapon for that perfect texture—that’s where the cornstarch comes in. We mix it with water to create a slurry. When you pour that slurry into the simmering fruit, the cornstarch molecules swell up and grab all that beautiful cherry juice, turning it instantly into that substantial, spoon-coating thickness we crave.
Quick Cherry Dessert Filling: Time Breakdown
While this is truly a Simple 5 Ingredient Cherry Filling recipe at its core—cherries, sugar, cornstarch, water, and lemon juice—I always add a tiny dash of almond extract at the very end. It’s optional, but wow, does it make the cherry flavor pop! It adds this lovely, subtle background warmth that makes everyone ask, “What is that secret ingredient?”
Regarding the sugar, remember that tartness matters. If your frozen cherries lean slightly tart, stick to the standard amount. If they are very sweet, you might want to dial back the sugar just a touch. The lemon juice isn’t just for flavor balance; it helps brighten everything up and keeps the color vibrant. Don’t skip it!
How To Make Cherry Filling Faster: Step-by-Step Instructions
Alright, let’s get this show moving! Making phenomenal cherry pie filling doesn’t require hovering over the stove all afternoon. We’re using those frozen cherries straight from the bag, which is the genius part of this whole process. Pay close attention to these first couple of steps—timing is everything!
First up, combine your frozen cherries and the granulated sugar right in your saucepan. Let that sit for about five minutes—don’t skip this! It gives the sugar a little head start to pull out some of that lovely, colorful juice from the pits. While that’s resting, quickly mix your cornstarch and water in a separate little bowl until you have what I call a ‘smooth river’—no lumps allowed!
Next, put the pot over medium heat and bring those cherries and sugar up to a gentle simmer. Once they’re just starting to bubble gently around the edges, slowly drizzle in your cornstarch slurry while you stir constantly. Keep going, stirring steadily, for about two to four minutes. That’s all it takes! You’ll notice it transforming right before your eyes.
When it’s ready, pull it off the heat immediately. We’re going to stir in the lemon juice and that beautiful almond extract for the finish. Now, I know it looks a little loose right now, but trust me on this—you’ll want to check out the next secret!
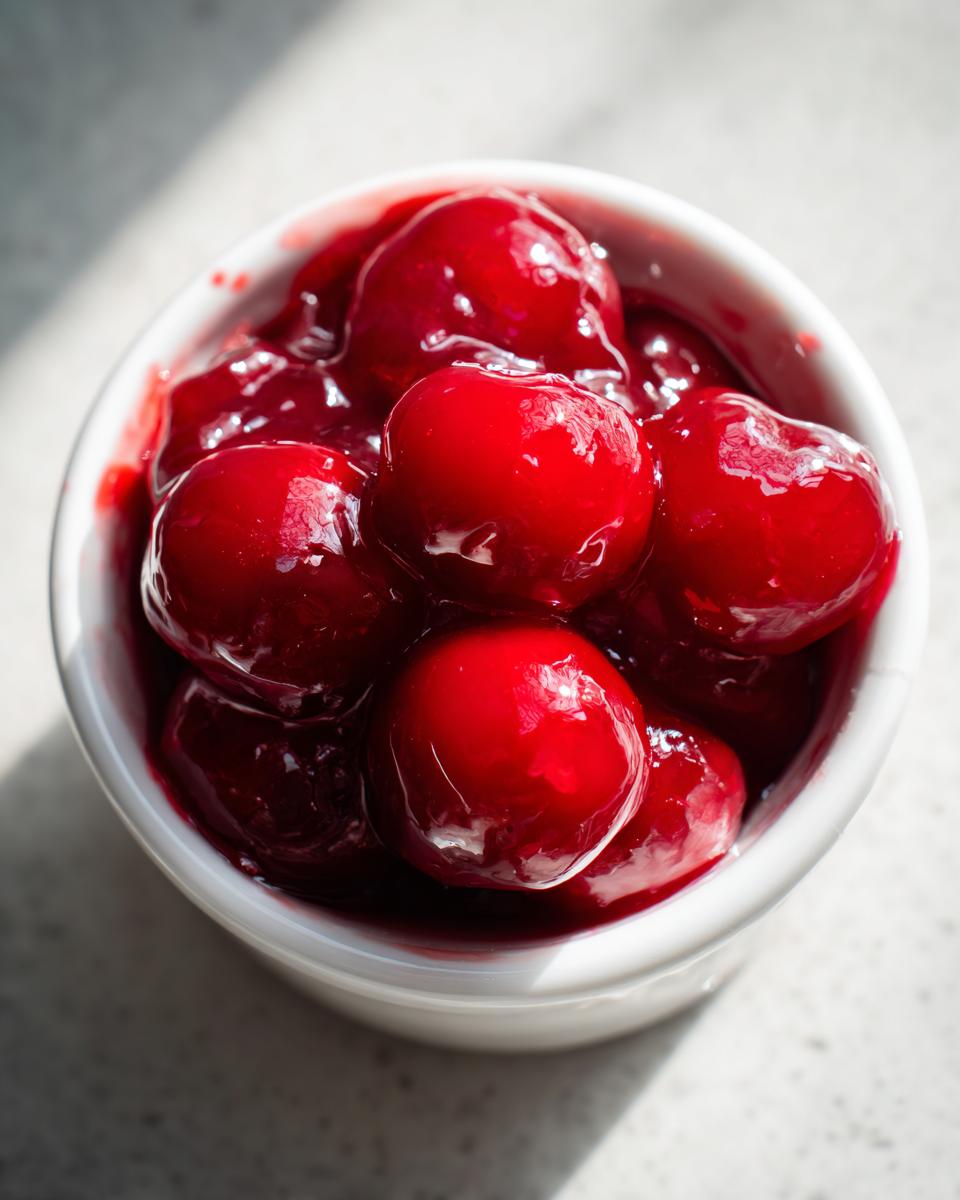
Juicy Cherry Filling Secrets: Achieving the Right Consistency
This is where most people panic, but don’t you dare add more cornstarch! That little bit of simmering time is just enough for the thickener to activate, but the magic of a truly perfect filling happens off the heat. You’re looking for a texture that will cling to the back of your spoon, leaving a clean trail when you draw a line through it with your finger. If you can easily wipe that line away, it’s perfect for now.
Here’s the biggest secret: cooling time! As this glorious cherry pie filling cools down on the counter, those starches tighten up and set. If you put it straight into a pie shell while it’s hot, you might end up with soup. Allow it to cool completely—it becomes beautifully thick, luscious, and ready to hold its rich shape. If you are using it as a topping for something cold, like cheesecake, it needs to be totally chilled first. You can learn more about our general site use policies here: General Site Use Policies.
Mastering Your Cherry Pie Filling From Scratch
Now that you have the basic technique down for your wonderful cherry pie filling from scratch, let’s talk about handling different types of cherries, because not all cherries are created equal, right? This is where you start feeling like a real culinary genius, adjusting things based on what you have on hand.
If you happen to be using fresh cherries instead of frozen—lucky you!—you’ll need to pit them, which is a bit of work, but so worth it. The main difference is you need to give them a head start by adding about 1/4 cup of water to your saucepan initially. The frozen ones handle this part for you, bless their frosty little hearts!
Also, remember those notes I mentioned about flavor? You absolutely control the final taste profile. If your cherries are naturally very sweet, don’t be afraid to reduce the sugar slightly. For a real punch of flavor that rivals the best summer harvests, sneak in a little extra lemon juice. It really cuts through the sweetness. If you’re curious about other beautiful ways people are making their fillings, check out this great resource on making homemade cherry filling!
Versatile Cherry Sauce Recipe: Beyond the Pie Crust
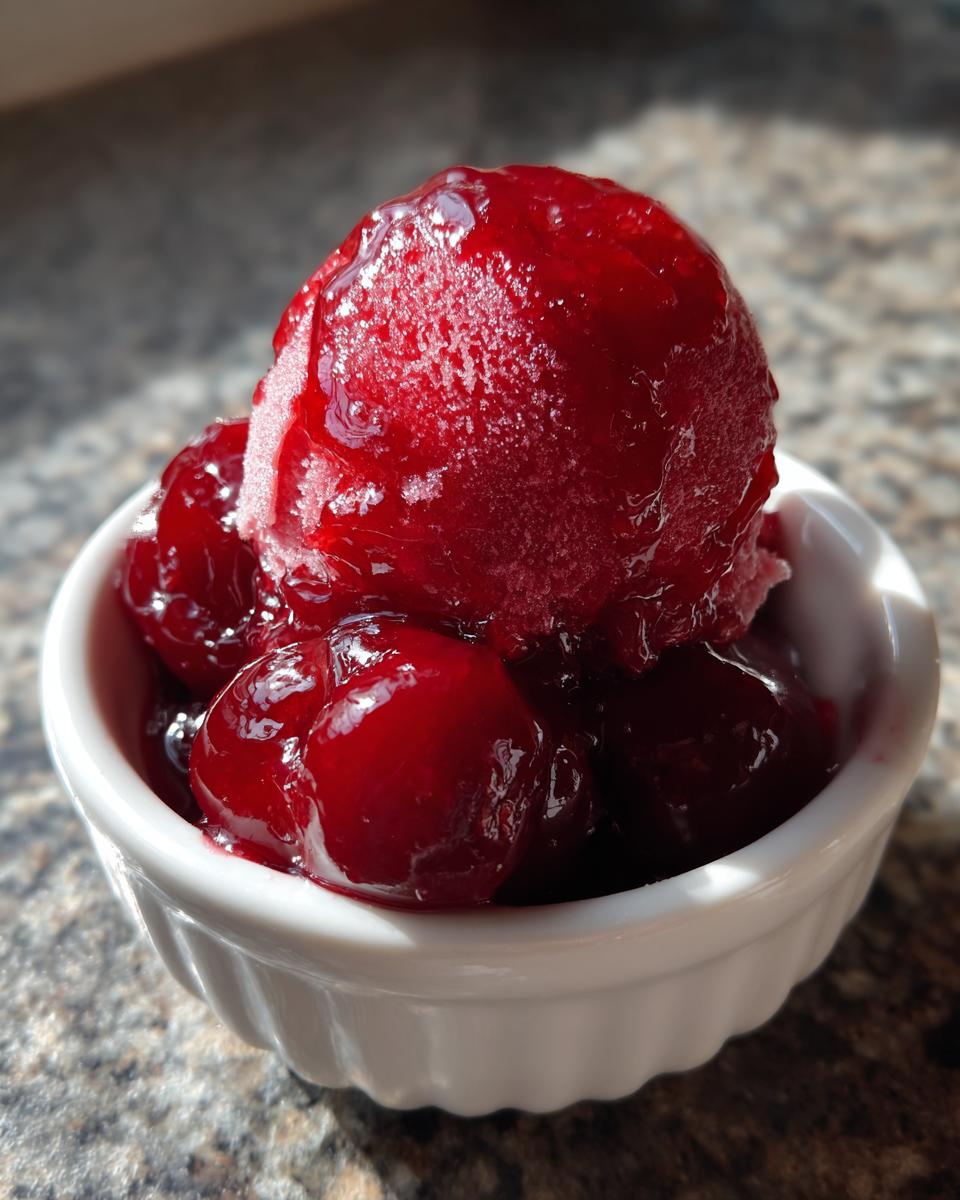
This recipe isn’t just for baking, friends! Once you master this thick, glorious mixture, you realize you’ve basically made the Best Cherry Topping for Desserts known to mankind. Seriously, why box up the flavor when you can pour it on everything? We end up with about 5 cups of incredible sauce, which is plenty to dress up several treats throughout the week.
Pies are great, sure, but imagine spooning this homemade goodness over a slice of creamy cheesecake. Or maybe it’s drizzled generously over vanilla ice cream? I even love swirling it into plain Greek yogurt for a surprisingly fancy breakfast. It’s fantastic on pancakes or waffles too! If you want even more ideas on how to use versatile sauces like this, take a peek over here for some inspiration: Versatile Cherry Sauce Recipe Ideas.
Homemade Cherry Topping for Cheesecake: Cooling Tips
Now, this is where I need you to listen closely, especially if cheesecake or ice cream is involved! You absolutely must let this cherry sauce cool completely, preferably until it’s chilled in the fridge. If you try to dollop this warm cherry mixture onto something cold and delicate like a no-bake cheesecake, guess what happens? It melts the dairy base, and you just end up with a runny, pink puddle instead of a beautiful topping.
When it’s fully cool, the sauce sets up perfectly—it’s firm enough to stack nicely for visual appeal but still soft enough to spoon easily. Patience after cooking is the final step to achieving the best dessert topping!
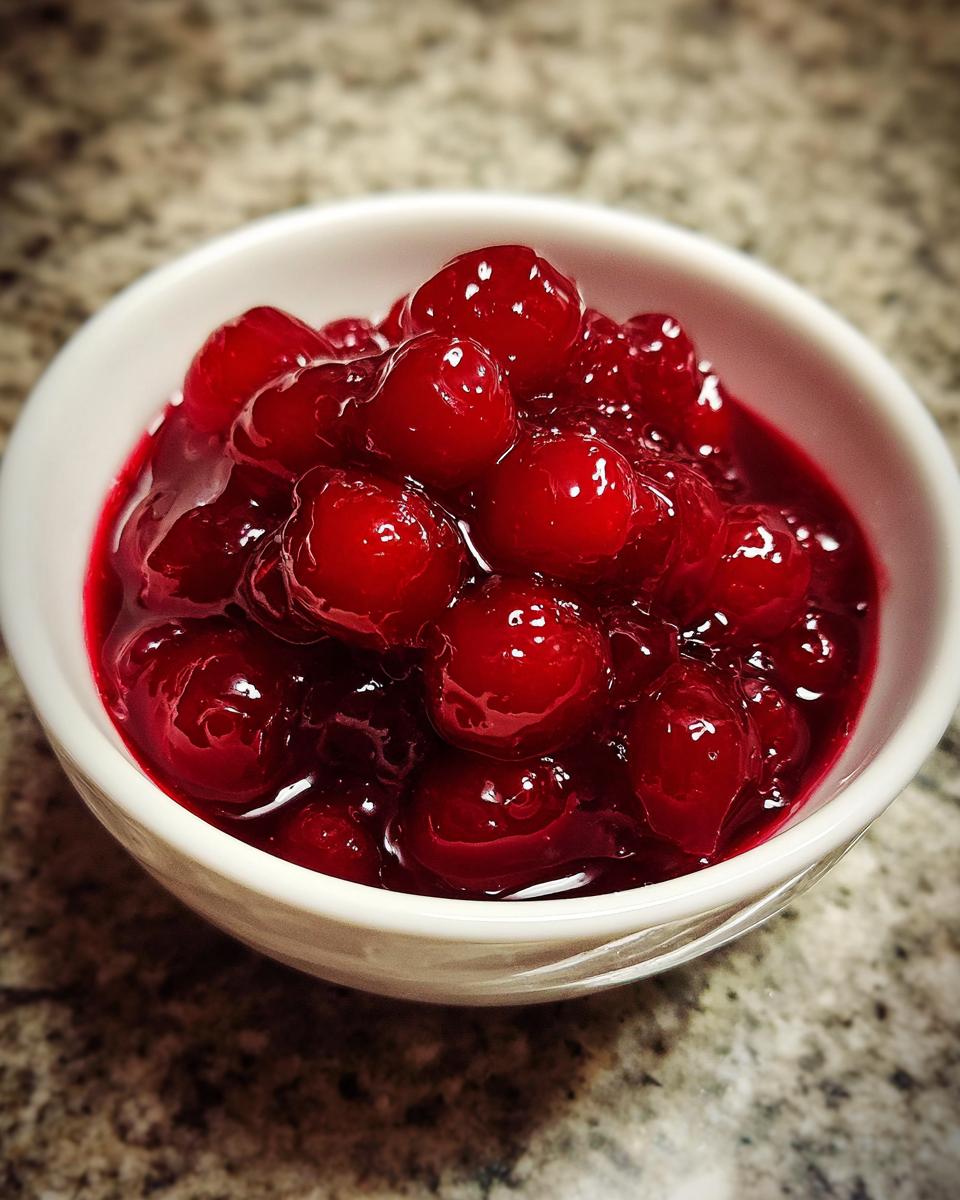
Storage and Reheating Instructions for Homemade Cherry Pie Filling
One of the best things about making this stellar **cherry pie filling** yourself is that you get to control its destiny! Unlike the stuff in a can that forces you to use it all right now, we can save this sweet treasure for later. Don’t worry; this gorgeous filling keeps really well, so you aren’t pressured to eat three pies in one week.
For the immediate future, storing it in the refrigerator is simple. Just make sure the filling has cooled down completely first—we don’t want condensation building up inside the container! Transfer the cooled filling into an airtight container. I usually grab one of my glass Pyrex containers because they seal so nicely. If you keep it chilled and covered, it stays perfectly fresh and ready to use for up to one full week. That’s enough time to fill a pie, top some toast, and still have some left!
Now, if you really went overboard (which, let’s be honest, I usually do), freezing is your friend! While the recipe notes only mentioned refrigeration, I always portion out any excess into freezer-safe zip-top bags or small, sturdy containers. Just remember to leave a little headspace at the top of the container because, like everything when frozen, that filling will expand slightly.
When freezing, I try to flatten the bags out before sealing them; they thaw much faster that way, usually overnight in the fridge. When you’re ready to use the thawed filling, give it a good stir. It might look a tad looser than when you put it in the freezer, but reheating it gently on the stove for just a minute or two will bring back that perfect, thick consistency we worked so hard to achieve. It’s seriously like cooking it fresh all over again!
Frequently Asked Questions About Cherry Pie Filling
I know you’re going to love making this **cherry pie filling from scratch**, but I always get a few questions popping up when people first try it. Since we want everyone to find success, let’s clear up some of the common concerns right now so you can move straight to dessert heaven!
Can I use canned cherries to make this cherry pie filling?
You absolutely can, though I cheer loudest for the frozen ones! If you are using canned cherries, the technique changes slightly because they’ve already been sitting in sugar water. First, drain them really well—keep that liquid, though! You’ll substitute that liquid for most of the water in the original recipe. You might need to slightly decrease the sugar, too, since canned fruits are often sweeter. Just remember the goal is a thick cherry pie filling, so be ready to adjust the cornstarch slurry up or down based on how much liquid you keep!
How do I make this a Canning Cherry Pie Filling Recipe?
That’s a fantastic thought for making this to last all year! However, I have to be honest: this specific recipe is calibrated for stovetop thickening for immediate use or refrigeration—it’s designed to be a quick cherry dessert filling that tastes fresh. Canning is a whole different beast that requires specific processing times and pressures to make sure everything is shelf-stable and safe, usually involving a pressure canner for low-acid foods. If you want to safely can this, you’ll need to find a recipe specifically developed and tested for safe home canning; I wouldn’t want you taking chances with your preserves! You can see a great example of a dedicated canning recipe outside of my kitchen here: Canning Cherry Pie Filling guide.
I always suggest making a fresh batch using my recipe, enjoying some now, and freezing the rest if you don’t plan to eat it within a week. That way, you get the absolute best, freshest flavor without needing specialized canning equipment. If you have any other questions about making this recipe, don’t hesitate to reach out through my Contact Page!
Understanding the Nutrition in This Cherry Pie Filling
I know some of you lovely bakers keep a close eye on the details, so I always like to share what’s in the bowl! Remember, since we’re cooking from scratch, these numbers are based strictly on the ingredients listed in this recipe and the serving size we mentioned—about half a cup.
For that generous half-cup serving, you’re looking at roughly 210 calories, with about 35 grams of sugar and 53 grams of carbs. It’s naturally very low in fat and protein, as expected from a fruit filling! This is a treat, for sure, but it’s made with real fruit, not chemical fillers. If you want to dive deeper into my philosophy on cooking and ingredients, check out my About Page!
Share Your Homemade Cherry Pie Filling Creations
Alright, that’s it! We’ve gone from frozen bag to show-stopping, thick, beautiful homemade **cherry pie filling**. I am so excited for you to try this because it really doesn’t take much effort for such a massive flavor payoff. Once you taste that vibrant, sweet-tart flavor, I promise you’ll never look back at the canned stuff!
Seriously, I put my heart into making sure this recipe works perfectly for you, whether you’re topping a cheesecake or building the ultimate double-crust pie. So please—give it a whirl!
When you do bake up your masterpiece, I just adore hearing what you made! Did you stick to a classic pie? Did you use it as a **Homemade Cherry Topping for Cheesecake**? Head down to the comments below and let me know. Don’t forget to leave a star rating when you leave your thoughts; those ratings really help other home cooks know this recipe is the real deal!
And just one last friendly reminder: while I hope you share your delicious creations, please remember my site policies when using the content here. You can check out the full Terms of Use if you have any specific questions about sharing my recipes, although sharing a link is always encouraged!
PrintEasy Homemade Cherry Pie Filling From Frozen Cherries
Make thick, juicy cherry pie filling from scratch using frozen cherries. This recipe yields a versatile topping perfect for pies, cheesecakes, or ice cream.
- Prep Time: 5 min
- Cook Time: 10 min
- Total Time: 15 min
- Yield: About 5 cups 1x
- Category: Dessert Component
- Method: Stovetop Cooking
- Cuisine: American
- Diet: Vegetarian
Ingredients
- 4 cups frozen sweet cherries (do not thaw)
- 1 cup granulated sugar
- 1/4 cup cornstarch
- 1/2 cup water
- 1 tablespoon lemon juice
- 1/2 teaspoon almond extract
Instructions
- Combine the frozen cherries and granulated sugar in a medium saucepan. Let this mixture sit for 5 minutes to draw out some liquid.
- In a small bowl, whisk together the cornstarch and water until the cornstarch is completely dissolved. This creates a slurry.
- Place the saucepan over medium heat. Bring the cherry mixture to a gentle simmer, stirring occasionally.
- Slowly pour the cornstarch slurry into the simmering cherries while stirring constantly.
- Continue to cook, stirring, until the filling thickens significantly, about 2 to 4 minutes. It should coat the back of a spoon.
- Remove the saucepan from the heat. Stir in the lemon juice and almond extract.
- Allow the cherry pie filling to cool completely before using it in a pie crust or as a topping. The filling will thicken more as it cools.
Notes
- For a sweeter filling, increase the sugar to 1 1/4 cups. For a tarter flavor, use tart cherries or increase the lemon juice slightly.
- If you use fresh cherries, pit them first and add 1/4 cup of water to the initial mixture.
- This filling can be stored in an airtight container in the refrigerator for up to one week.
Nutrition
- Serving Size: 1/2 cup
- Calories: 210
- Sugar: 35
- Sodium: 2
- Fat: 0.5
- Saturated Fat: 0
- Unsaturated Fat: 0.1
- Trans Fat: 0
- Carbohydrates: 53
- Fiber: 3
- Protein: 1
- Cholesterol: 0