
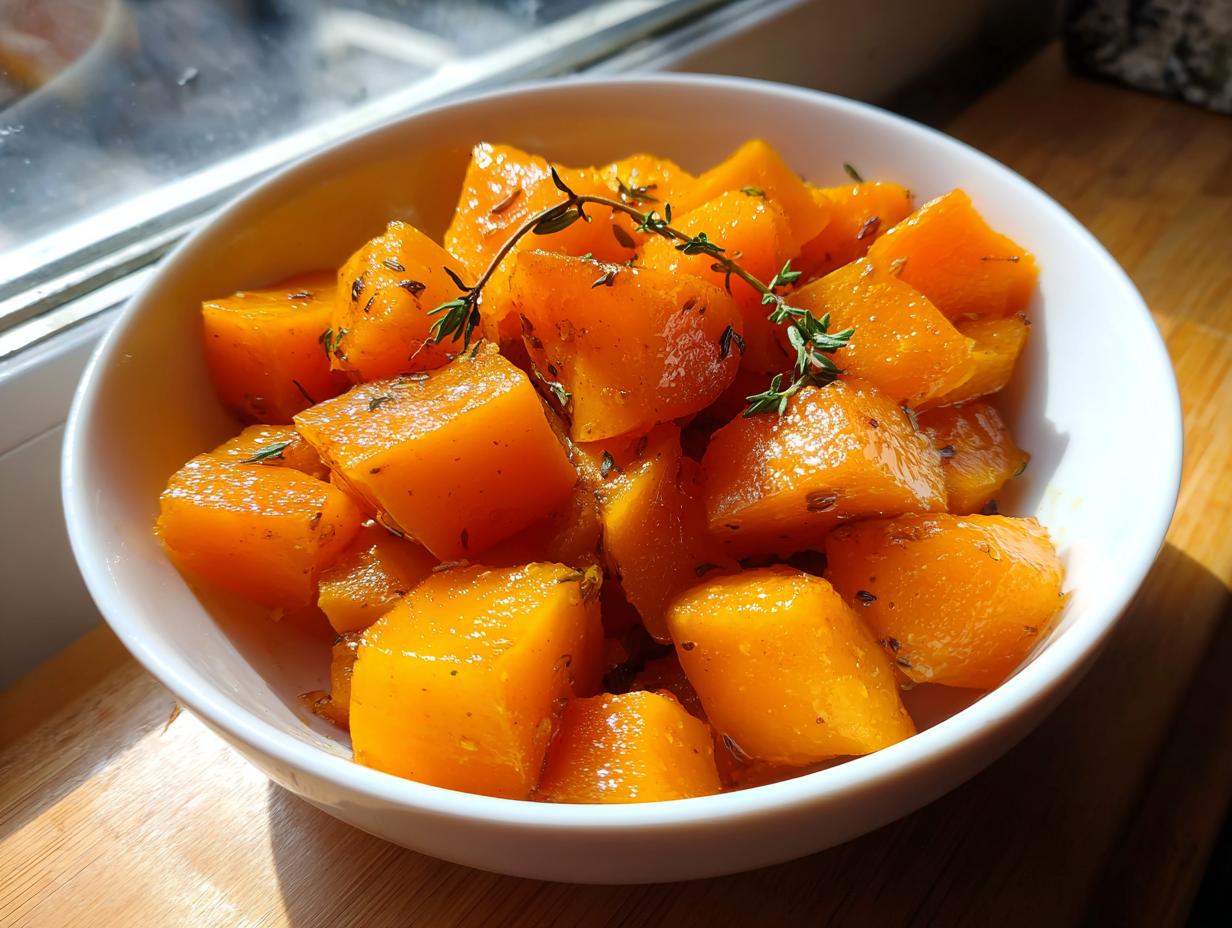
It really bothers me when people think winter squash, like butternut, has to be a complicated affair, usually involving hours in the oven until it’s dry around the edges. Trust me, we can achieve that stunning, unbelievably tender texture without turning your kitchen into a sauna! That’s why I’m obsessed with this simple stovetop method for **braised butternut**. It locks in all the savory, sweet goodness right on the hob, giving you a hearty fall side dish that tastes like you fussed over it for hours.
When I was figuring out my go-to comfort food recipes, I wanted something that felt special but respected the busy weeknights we all have. This approach is my secret weapon. Mastering the right **Butternut Squash Cooking Techniques**, even simple ones like braising, is about confidence. And this recipe delivers unbeatable results every single time. If you’re ever curious about quick kitchen staples, check out how I whip up easy homemade mayonnaise—it shows that simple basics are often the best!
- Why This Stovetop braised butternut Recipe Works (E-E-A-T)
- Ingredients for Perfect braised butternut
- Step-by-Step Instructions for Stovetop braised butternut
- Tips for Achieving the Best braised butternut Texture
- Variations on Savory braised Vegetables
- How to Serve Your Tender Butternut Side Dish
- Storage and Reheating Instructions for braised butternut
- Alternative Cooking Methods for Slow Cooked Squash
- Frequently Asked Questions About braised butternut
Why This Stovetop braised butternut Recipe Works (E-E-A-T)
When you roast squash, you’re fighting evaporation, which often leaves you with chewy edges before the center is truly soft. Not here! Braising is the absolute **Easy Butternut Squash Method** because it cooks the cubes immersed in flavorful liquid. This guarantees a result that is unbelievably moist and melt-in-your-mouth soft. It’s perfect for anyone asking for a genuinely **Tender Butternut Side Dish**.
- We start by searing the cubes in oil. This little trick builds deep, slightly sweet flavor notes—think of it as starting your **Caramelized Butternut Squash** journey early!
- The liquid (broth and maple syrup!) prevents sticking and steams the squash simultaneously, ensuring even cooking all the way through.
- It’s fast! Unlike slow oven baking, this stovetop method gets you that cozy fall flavor on a weeknight. You’ll find I use similar confidence-building techniques for my maple bacon goat cheese crostini, always aiming for maximum flavor with minimal fuss.
Ingredients for Perfect braised butternut
When it comes to **braised butternut**, the prep steps are just as important as the cooking itself. Don’t rush the cutting! For this recipe, we are using rich maple syrup and aromatic thyme, so we want quality ingredients that can stand up to that robust flavor. Everything needs to be measured precisely because we are cooking based on liquid ratios here.
- 1 medium butternut squash (about 3 lbs), peeled, seeded, and cut into 1-inch cubes
- 2 tablespoons olive oil
- 1 medium yellow onion, chopped
- 2 cloves garlic, minced
- 1 cup low-sodium chicken or vegetable broth
- 1/4 cup pure maple syrup (the real stuff, please!)
- 1 tablespoon apple cider vinegar
- 1 teaspoon dried thyme
- 1/2 teaspoon salt
- 1/4 teaspoon black pepper
If you’re planning on trying my balsamic honey roasted beets next week, get your winter squash shopping done now! Having quality ingredients stocked makes cooking so much less stressful.
Selecting Your Butternut for braised butternut
Choosing the right squash is crucial if you want that perfect, firm-but-tender bite in your final **Tender Butternut Side Dish**. You absolutely need a squash that is dense and heavy for its size. Avoid any that have soft spots or dark blemishes; those can break down too quickly in the braising liquid and turn into mush instead of holding that lovely 1-inch cube shape.
I look for ones with a long, thick neck and a smaller bulb at the bottom. The density of the neck meat is usually more consistent. Think about it: if it’s soft going in, it’s guaranteed to fall apart when simmering!
Step-by-Step Instructions for Stovetop braised butternut
Okay, here is where the magic happens! This isn’t complicated, but we take just a couple of extra minutes at the start to build a flavor foundation that roasting just can’t match. Trust me on the initial browning step; it makes all the difference in our final **braised butternut**!
Building Flavor: Searing the Squash and Aromatics
First things first, get a good, heavy pot—a Dutch oven is ideal—over medium heat and let that olive oil get nice and shimmering. Toss in your squash cubes. You want them to sit there and sigh for about five minutes. Stir them occasionally so they get little kissed brown edges. That browning is pure flavor payoff! Once they start looking golden, toss in your chopped onion and cook until they soften up, maybe three more minutes. Then, bam! Garlic goes in for just sixty seconds until you can really smell it. Don’t burn the garlic; that ruins everything!
The braised butternut Simmering Process
Now we introduce the cozy elements. Pour in your chicken or vegetable broth, the maple syrup, and that little kick of apple cider vinegar. Sprinkle in your thyme, salt, and pepper. Give it a good stir to get everything acquainted. Bring this mixture just up to a gentle simmer—you don’t want a rolling boil churning away. As soon as it’s bubbling softly, drop the heat right down to LOW, pop that lid on super tight, and let the **braised butternut** do its thing for about 20 to 25 minutes. Set a timer! When the time is up, stick a fork in a piece. If it slides in easily, you’re done! If it feels tough, cover it back up for five more minutes, but usually, that sweet spot hits right around 25 minutes.
If you happen to be wondering about quick appetizers while this simmers, I promise my smashed carrot bites use some similar savory aromatic techniques!
Tips for Achieving the Best braised butternut Texture
We’ve got the main cooking time covered, but sometimes the science of evaporation needs a little *nudge*. The goal for our **braised butternut** is tender squash swimming in a slightly thick, clinging sauce—not soup! If, after that 25 minutes, you check your pot and there seems to be a lot of thin liquid left over, don’t panic. This is normal, especially if your squash was particularly watery.
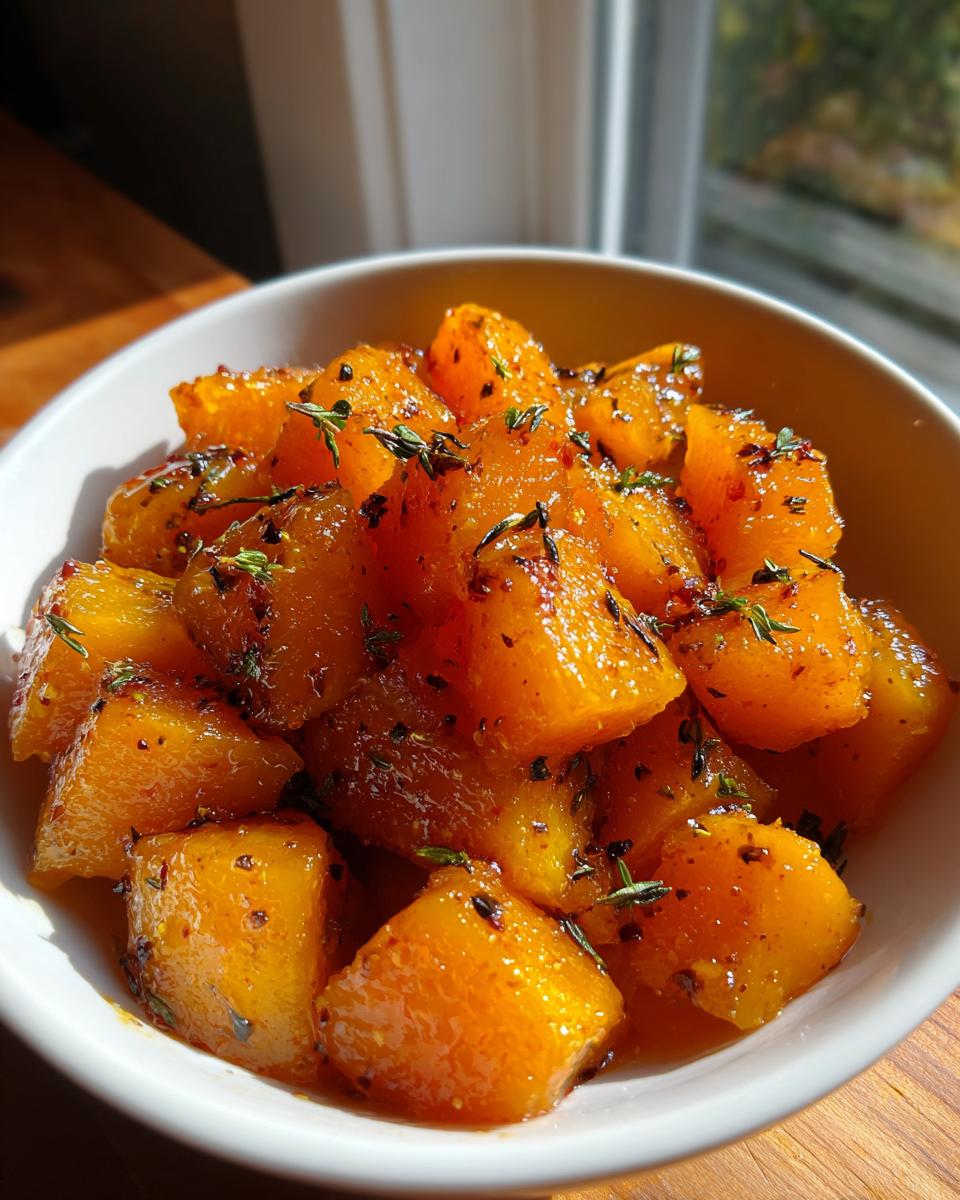
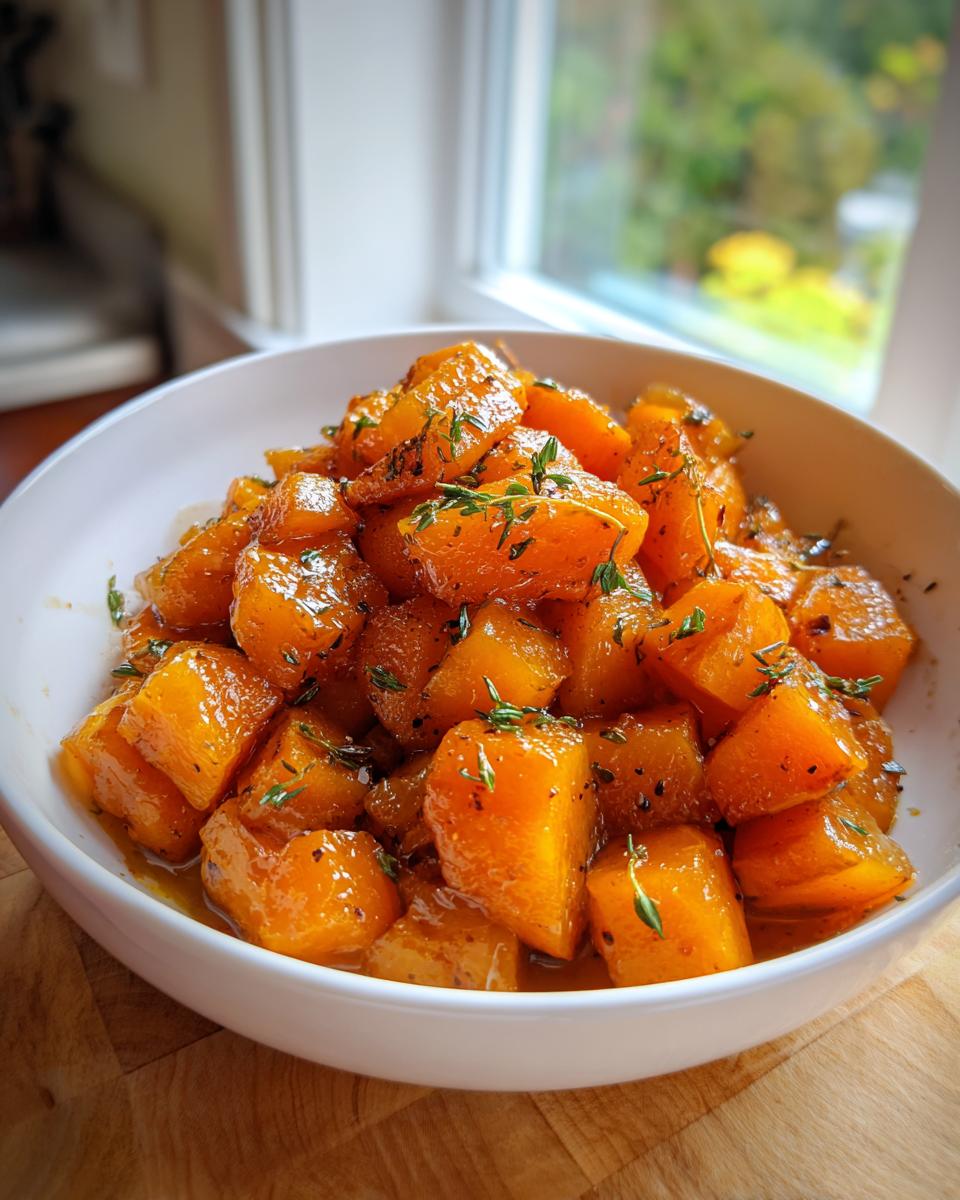
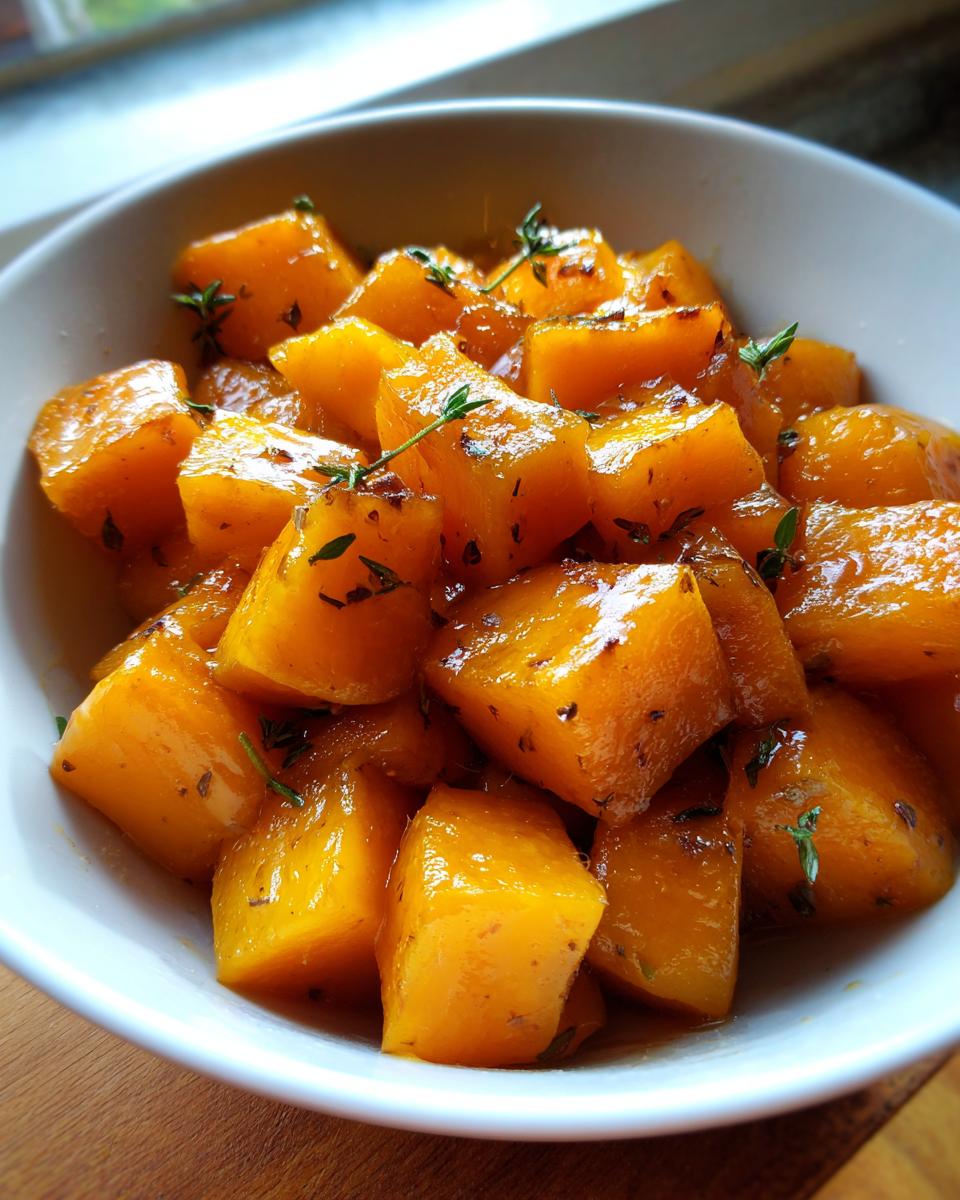
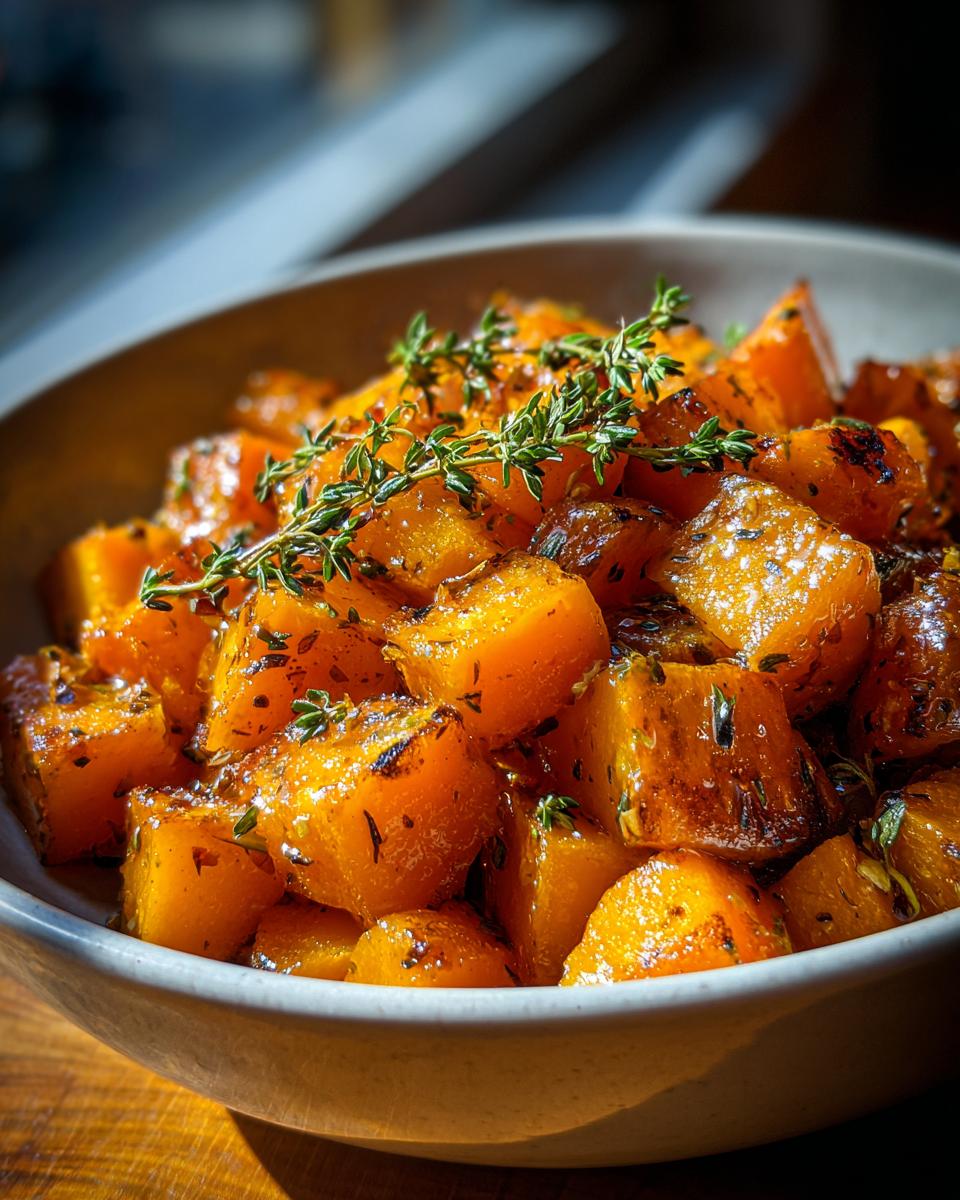
This is where we turn it into incredible **Caramelized Butternut Squash**. Simply grab that lid, take it off, and gently bump the heat up to medium-low. Let it bubble gently. You don’t want to stir constantly, just let it reduce for about 4 or 5 minutes. As the water evaporates, that lovely maple syrup mixes with the onion sugars and starts coating those squash pieces beautifully. You’ll notice the sauce looks glossy and starts clinging to the cubes instead of running off when you tilt the pot. That’s perfection!
Also, remember that hint about finishing it uncovered for the last few minutes? If you want that slightly deeper color and a bit more chew on the exterior—what I call that ‘caramelized finish’—uncover it for those final five minutes. It really concentrates the sweetness without drying out the interior, which is the magic balance we are always aiming for in **Comfort Food Squash Recipes**.
If you’re looking for other ways to amp up sauces in your kitchen, maybe check out my tips on making homemade avocado oil mayonnaise. Understanding how fats and liquids interact is key to every great cooking technique, whether you’re making a side dish or a condiment!
Variations on Savory braised Vegetables
Once you master this simple braising structure, you’ve unlocked a whole category of **Savory Braised Vegetables**, not just winter squash! The beauty of this method is how adaptable it is to whatever herbs or spices you have lingering in your spice rack. I encourage you to treat this **braised butternut** recipe as a fantastic template.
For example, if you’re tired of the maple/thyme combo, try swapping them out! Instead of thyme, grab some fresh rosemary. Rosemary brings a piney, almost Mediterranean note that pairs beautifully with the earthy butternut. If you want to pivot this to be a little more savory and less sweet, skip the maple syrup entirely, use low-sodium broth for your full cup, and amp up the aromatics. Add a teaspoon of smoked paprika right when you add the garlic.
For heat lovers, which I totally am sometimes, I just toss in a pinch or two of cayenne pepper along with the salt and pepper. It warms everything up without making it overtly spicy. Or, if you want that slow-building heat, use half of the cayenne in the initial searing stage and save the other half for the final reduction step. You can apply this exact stovetop braising technique to robust root vegetables like carrots or parsnips when they are in season, using vegetable stock and maybe some fresh dill instead of thyme.
If you’re experimenting with the heat element, you might also enjoy tasting the fantastic sweet-spicy balance in my cranberry jalapeno cowboy candy recipe. It’s a totally different dish, but it shows how balancing sweet, heat, and acid turns simple ingredients into something addictive!
How to Serve Your Tender Butternut Side Dish
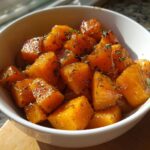
Once you have that perfectly softened, slightly glossy **braised butternut**, figuring out what to put it next to is the fun part! Because this dish carries a wonderful balance of sweet maple and savory thyme, it plays beautifully with leaner proteins. It’s honestly one of my favorite **Hearty Fall Side Dishes** because it feels both rustic and refined.
I always serve this alongside simple roasted pork loin or baked chicken breasts. The acidity from the vinegar in the braise cuts right through the richer meat, balancing the whole plate perfectly. It’s also amazing spooned directly over wild rice or quinoa if you’re looking for a vegetarian-forward main dish. And if you need a quick poultry pairing, serve it alongside my grilled chicken pesto sandwich filling on a nice roll—it’s surprisingly delicious!
Storage and Reheating Instructions for braised butternut
Even though this **braised butternut** is so good I doubt you’ll have leftovers, life happens! Storing and reheating properly is key, because we don’t want to lose that beautiful tenderness we worked hard to create. Mushy squash is the enemy here, right?
First, make sure the squash has cooled down completely before you put it away. Don’t try to seal a hot container, or you’re just inviting condensation, which equals sogginess the next day. Once cool, transfer your **Tender Butternut Side Dish** into an airtight container. It keeps wonderfully in the fridge for about three to four days. Those flavors actually deepen a bit overnight, which is why leftovers are sometimes even better!
When it comes time to reheat, forget the microwave blasting it on high power—that tends to turn soft vegetables instantly soft and watery. The best way to reheat **braised butternut** is low and slow. Pop the leftovers back into a small, covered saucepan over very low heat. Add just a tiny splash—maybe a teaspoon—of water or broth if it looks dry. Gently warm it through, stirring minimally until it’s heated. This gentle steam bath maintains that lovely, just-cooked texture.
If you’re planning a big event and want to make this ahead, you can even freeze it! Cool it completely, then freeze it in flat, zipped plastic bags. When you reheat, just add that splash of liquid and warm it gently on the stove. It’s a great make-ahead option for my quick Italian pasta salad gatherings when you need lots of components ready!
Alternative Cooking Methods for Slow Cooked Squash
So, what if you’re having one of those days where you just can’t babysit a pot on the stovetop, even for 25 minutes? Good news! Because this is such a reliable recipe, it translates perfectly into **Slow Cooked Squash** territory. This is my go-to alternative when I have a busy morning and want to walk into a kitchen that already smells like fall comfort.
You can utilize the slow cooker and turn this into an incredibly hands-off experience. I consider this another version of the **Easy Butternut Squash Method**, honestly, because once it’s in, you forget about it until dinner time. Just follow the setup steps—you still want to do that initial quick sear on the stovetop if you can manage it for the flavor build, but you can totally skip that part too if time is screaming at you.
If you skip the stovetop sear, you’ll just toss everything—squash, onion, garlic, broth, maple syrup, spices—straight into your slow cooker insert. Then, cover it and set it low for about three to four hours. You are looking for that perfect fork-tender stage, which usually hits right around the three-hour mark in a standard slow cooker. Remember, slow cookers vary wildly, so start checking early!
If you find the liquid seems too thin at the end—and it often is when slow cooking because there’s very little evaporation—carefully scoop out about a cup of the liquid and boil it down vigorously on the stove for a few minutes until it thickens up nicely. Then pour that thick, intensely flavored sauce right back over your **braised butternut**. It brings the flavor back into focus! This method is amazing for prepping ahead, and it would be fantastic alongside a big bowl of my one-pot wild rice soup when the weather gets truly chilly.
Frequently Asked Questions About braised butternut
I get so many wonderful messages about this **braised butternut** recipe, and I love hearing where you’re using it! Most questions usually revolve around ingredients or technique adjustments, which makes total sense when you’re learning a new method. Here are the ones I get asked most often about ensuring you get that perfect, soft texture for your **Hearty Fall Side Dishes**.
Can I use frozen butternut squash for braising?
Oh, sweetie, please don’t! I know it sounds convenient, but frozen squash is already partially broken down because it holds so much water. If you try to braise it, it’s just going to turn into a watery, sad pile of mush before the flavors even have a chance to soak in properly. You want that firm 1-inch cube shape, remember? For this recipe, you really need to start with fresh squash so you can control the tenderness yourself!
What liquid is best for braised butternut?
The liquid is honestly the foundation of the flavor here! We use a mix of broth, maple syrup, and vinegar, which sounds like an odd blend, but it pulls everything together. The broth provides that deep, savory undertone—that’s why I love using low-sodium chicken or veggie broth, as it acts as a fantastic base for your **Butternut Squash in Broth**. The vinegar is super important; it cuts through the sweetness of the maple so you don’t end up with something that tastes like dessert.
How do I make this recipe vegan/vegetarian?
This is the easiest swap you’ll ever make! First, make sure you use vegetable broth instead of chicken broth—that swaps it right over to vegetarian status. Since we specify pure maple syrup (not honey) in the ingredient list, the recipe is naturally vegan as written! You get amazing depth from the onions, garlic, and thyme, so you aren’t missing out on any rich flavor at all. If you’re doing a big spread for friends, this pairs perfectly with my creamy lemon chicken orzo recipe if you’re cooking for omnivores!
PrintSimple Stovetop Braised Butternut Squash
Learn how to make tender, flavorful braised butternut squash on the stovetop. This easy method results in a hearty fall side dish perfect for any weeknight meal.
- Prep Time: 15 min
- Cook Time: 30 min
- Total Time: 45 min
- Yield: 6 servings 1x
- Category: Side Dish
- Method: Stovetop Braising
- Cuisine: American
- Diet: Vegetarian
Ingredients
- 1 medium butternut squash (about 3 lbs), peeled, seeded, and cut into 1-inch cubes
- 2 tablespoons olive oil
- 1 medium yellow onion, chopped
- 2 cloves garlic, minced
- 1 cup low-sodium chicken or vegetable broth
- 1/4 cup pure maple syrup
- 1 tablespoon apple cider vinegar
- 1 teaspoon dried thyme
- 1/2 teaspoon salt
- 1/4 teaspoon black pepper
Instructions
- Heat the olive oil in a large, heavy-bottomed pot or Dutch oven over medium heat.
- Add the cubed butternut squash and cook, stirring occasionally, for 5 minutes until the edges begin to lightly brown. This step builds flavor.
- Add the chopped onion to the pot and cook for 3 minutes until softened.
- Stir in the minced garlic and cook for 1 minute until fragrant.
- Pour in the broth, maple syrup, and apple cider vinegar. Add the thyme, salt, and pepper. Stir to combine.
- Bring the liquid to a gentle simmer. Once simmering, reduce the heat to low, cover the pot tightly, and let the squash braise for 20 to 25 minutes.
- Check the squash; it should be fork-tender. If the liquid is too thin, remove the lid and increase the heat slightly to medium-low for the last 5 minutes to allow some liquid to reduce.
- Remove from heat and serve warm as a tender butternut side dish.
Notes
- For a richer flavor, substitute the broth with dry white wine for the first 1/2 cup, then add 1/2 cup of broth.
- If you prefer a slightly caramelized butternut squash finish, uncover the pot for the last 5 minutes of cooking and allow the sugars to thicken slightly around the squash pieces.
- This recipe works well for slow cooked squash; transfer all ingredients to a slow cooker and cook on low for 3-4 hours.
Nutrition
- Serving Size: 1 cup cooked
- Calories: 190
- Sugar: 18
- Sodium: 250
- Fat: 5
- Saturated Fat: 1
- Unsaturated Fat: 4
- Trans Fat: 0
- Carbohydrates: 35
- Fiber: 6
- Protein: 3
- Cholesterol: 0