
Are you having one of those days where you just need a sweet fix, but you absolutely do not want to drag out the big ice cream maker or deal with tons of dairy and sugar? Oh, trust me, I’ve been there! That’s exactly why here at Cooking Zenith, we test our recipes through the lens of a busy home cook, not a fancy pastry chef. I’m Aria Thompson, and I promise you can achieve true dessert bliss with minimal effort. Forget everything you thought you knew about needing specialty equipment; we are going straight for the gold standard of quick, healthy desserts: the Ultra Creamy 3-Ingredient Banana Nice Cream (No Machine Needed). This isn’t just healthy fruit puree; this is genuine, scoopable, satisfying banana ice cream, made the simple way.
- Why This Ultra Creamy Banana Ice Cream Recipe Works for Everyone
- Ingredients for Ultra Creamy Banana Ice Cream
- Step-by-Step Instructions for Banana Ice Cream Without Machine
- Expert Tips for the Best Homemade Banana Ice Cream Texture
- Flavor Variations for Your Simple Fruit Ice Cream
- Storage and Serving Suggestions for Banana Ice Cream
- Frequently Asked Questions About Making Banana Ice Cream
- Nutritional Estimate for This Guilt Free Sweet Treat
- Share Your Culinary Confidence
Why This Ultra Creamy Banana Ice Cream Recipe Works for Everyone
I just love showing people how easy it is to make delicious frozen treats right in their own kitchen. This recipe cuts out all the fuss while still delivering the kind of texture that normally requires loads of heavy cream and churning time. You get that amazing flavor without the effort, which is why I keep coming back to it.
- It’s hands-down the easiest homemade banana ice cream you will ever whip up.
- It’s naturally sweet, making it a fantastic, guilt free sweet treat after dinner.
- You can easily whip this up using things you probably already have in your freezer right now!
If you’re looking for healthy snack ideas that feel indulgent, keep reading. This is my go-to solution.
Perfect Banana Ice Cream Texture Without Churning
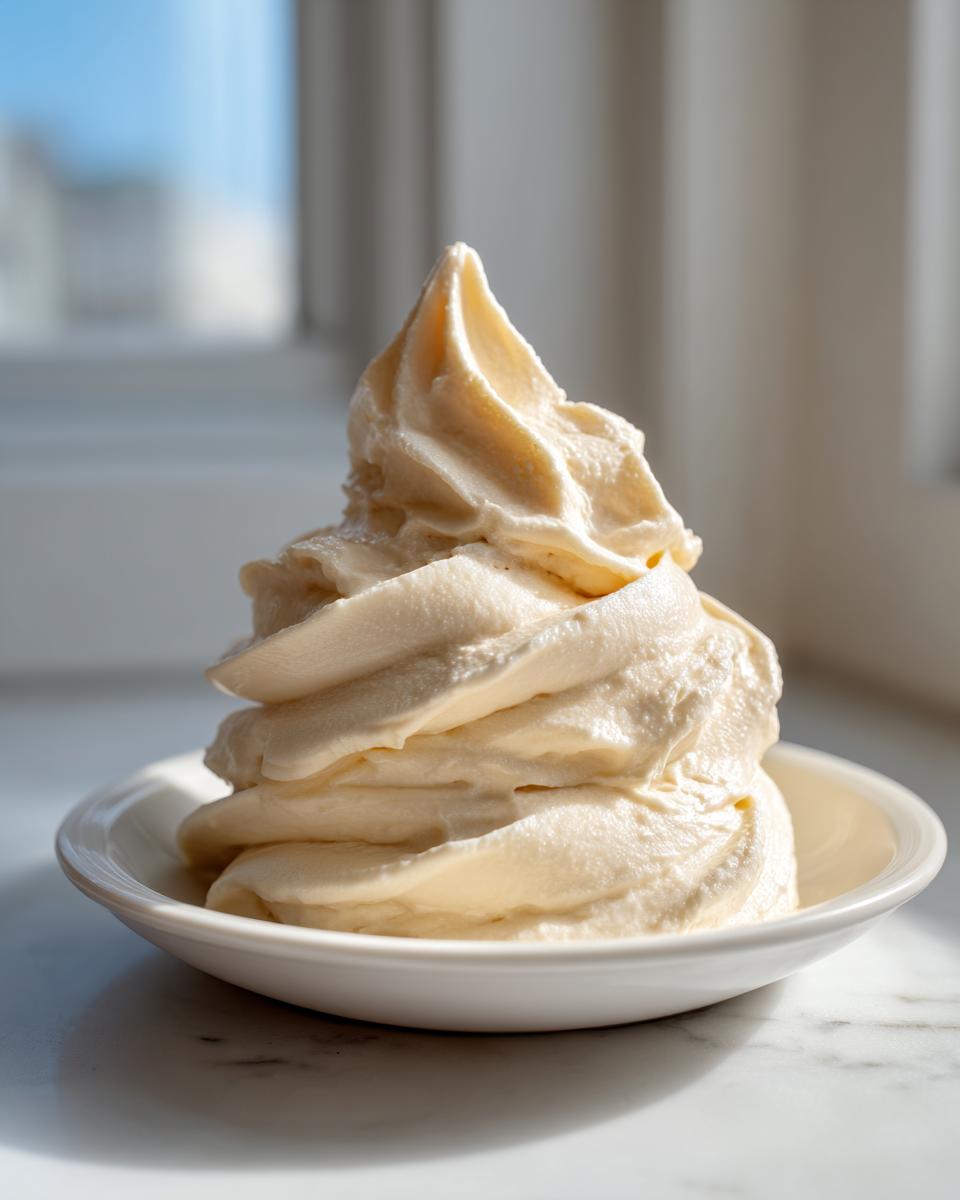
The real secret lives in that frozen banana. When you blend rock-solid frozen slices, the natural pectin and sugars emulsify in a way that mimics softened butterfat. Believe it or not, this is how we achieve that beautiful, smooth, soft-serve like quality that normally requires an expensive machine. We are skipping the churn entirely and letting physics do the hard work for us!
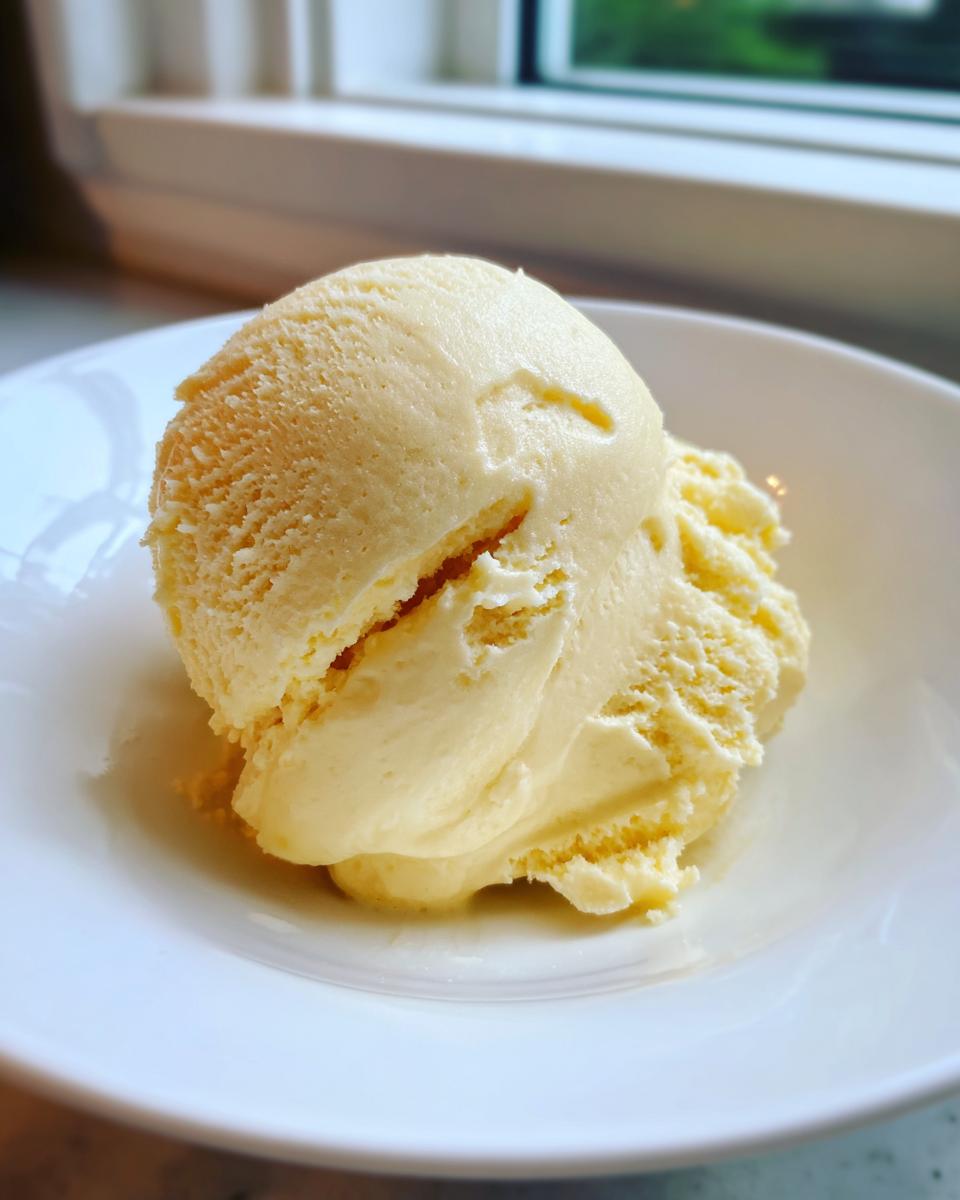
Making Healthy Nice Cream Recipe Fast
When I say fast, I mean it. Once the bananas are frozen—and that’s the only real waiting involved—you blend, and you are done. This is such a perfect quick healthy dessert for those unexpected cravings. It tastes incredibly rich, yet it’s just fruit. It’s the quickest answer when you need banana ice cream instantly, and the flavor is pure and sweet.
Ingredients for Ultra Creamy Banana Ice Cream
Okay, let’s talk about what goes into this magic. For this banana ice cream, the ingredient list is incredibly short, which is part of why it’s so popular among my friends. But just because the list is short doesn’t mean you can slack off on quality! The success of this dish totally hinges on having spot-on ingredients, especially the right bananas, which I touch on more in the FAQ later.
Essential Components for Perfect Banana Ice Cream
You only need four things total to make the base, and two of those are just for helping things move along smoothly in the blender. Remember, the riper the banana, the sweeter and creamier your final product will be!
- 4 large ripe bananas, peeled, sliced, and frozen solid
- 1 tablespoon milk or dairy-free alternative (optional, for blending ease)
- 1/2 teaspoon pure vanilla extract (optional, for flavor depth)
Step-by-Step Instructions for Banana Ice Cream Without Machine
Okay, now that we have our perfectly ripe, frozen heroes ready to go, it’s time to make some magic happen! This is where you need a strong machine—a sturdy standard blender sometimes struggles, so if you have a high-powered one or a food processor, pull that baby out. Remember, we are aiming for that fantastic banana ice cream without machine texture, so patience during the blend is key!
You can check out some of my favorite quick breakfast recipes while you wait for the bananas to freeze, because that’s the hardest part of this whole process, I swear!
Preparing and Freezing Your Bananas for Creamy Banana Ice Cream
This first step is non-negotiable if you want the best texture. You have to start with bananas that are ripe—meaning they should have those sweet brown spots all over them. Peel them up, slice them into coins, and get them into a zip-top bag or sealed container. Next, they need quality time in the deep freeze. I insist on at least six solid hours. If you try to rush this and they are just “chilly,” your final banana ice cream will end up soupy. We want rock-solid bricks of frozen fruit for this to work!
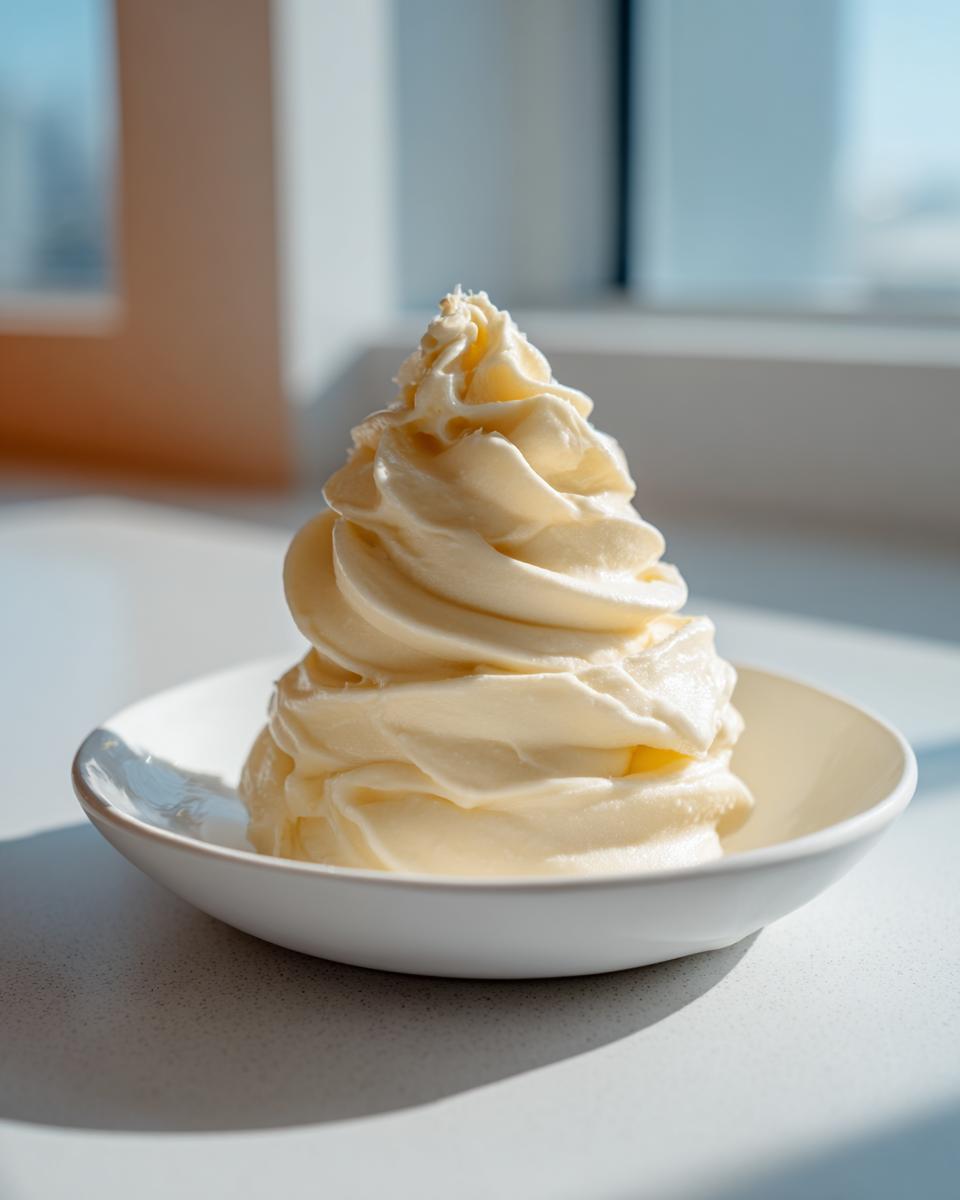
Achieving Soft Serve Consistency in Your Banana Ice Cream
Once they are totally solid, dump those frozen slices right into your processor. At first, they look like frozen crumbs—don’t panic! Stop it frequently to scrape down the sides. Seriously, stop, scrape, start again. You need to keep working those pieces until they start to clump up and look like coarse sand. This is the turning point! If the machine sounds like it’s fighting for its life, go ahead and add your optional tablespoon of milk—but only one tablespoon at a time. We want to treat this like a creamy banana ice cream recipe competition, and liquids are the enemy of creaminess here! Keep blending until that sand smooths out into something beautifully soft and swirl-able that looks exactly like soft serve.
Expert Tips for the Best Homemade Banana Ice Cream Texture
I know we just made this fantastic, easy dessert, but I always want to make sure you know how to troubleshoot or evolve the recipe if you’ve got different equipment hanging around. Cooking Zenith is all about giving you options that still result in the best homemade ice cream results possible, even if you’re trying something new. My goal is that you finish up feeling like a total kitchen rockstar, no matter what appliance you use!
I actually spent a whole weekend testing things in the Ninja Creami because honestly, some people just love their countertop gadgets! You can find some other great gadget-friendly ideas over on my cookie oatmeal recipe post if you’re into optimizing kitchen tools.
Adapting This Banana Ice Cream for the Ninja Creami
If you own a Ninja Creami, you’ll be happy to hear this little recipe adapts beautifully, though you need to treat it slightly differently than the blending method above. First, don’t blend it straight away! You need to take your frozen bananas and mix them with just about 1/4 cup of milk or cream—just enough to make a very thick, almost wet mixture. Freeze that base solid in the Creami pint. Once it’s rock-hard, you run it on the ‘Lite Ice Cream’ setting. If it comes out powdery, don’t sweat it! Just add a tiny splash more liquid, put it back in, and hit ‘Re-spin.’ That’s usually the trick to perfect banana ice cream when using this machine.
Making Dairy Free Banana Ice Cream Variations
One of the coolest things about our 3-ingredient base is that it is inherently a dairy free banana ice cream option! We only suggested dairy milk as an optional splash to help pull the mixture through the blender blades if your machine struggles. If you want to lean fully into the vegan frozen dessert category, just make sure that optional liquid you add is almond milk or even a rich coconut cream instead of regular milk. That little bit of coconut cream really amps up the fattiness, making it feel extra luxurious without adding any actual dairy.
Flavor Variations for Your Simple Fruit Ice Cream
Listen, while the three-ingredient version is my weeknight hero, sometimes you just want something a little more decadent, right? Or maybe you have an old-school ice cream maker collecting dust that you finally want to use! This base recipe melts perfectly into other concepts, which is awesome because it shows how versatile frozen fruit can be in the world of desserts. Whether you’re sticking to the nice cream method or going traditional, we have a flavor fix for you.
It’s fantastic how easily this transforms from a healthy snack into a genuine dessert using just a few additions, turning our simple fruit ice cream into something totally different. You can even explore richer, decadent takes like my favorite chocolate banana bread recipe, but in frozen form!
Old Fashioned Banana Ice Cream with Cream
If you’re feeling nostalgic or just really love that dense, luxurious mouthfeel that only real cream can provide, you can absolutely pivot this recipe! This is for those days when you’re skipping the ‘nice cream’ route and want the real deal. Instead of just blending frozen bananas, you’re going to combine a cup of heavy cream, about a half cup of regular sugar (or to taste!), and one teaspoon of vanilla extract with two cups of those frozen banana coins. That mixture needs to go into your actual ice cream churner and be processed following the machine’s directions. It’s a different technique entirely, but wow, that rich creaminess is unbeatable when you want something closer to what you remember from childhood.
Peanut Butter Banana Ice Cream Addition
Now, if you want to keep it no-churn but boost the flavor profile for a serious craving hit, adding peanut butter is non-negotiable! This is seriously addicting. Once your banana mixture is about 80% blended—meaning it’s already smooth and looks like a thick smoothie, but hasn’t totally gone creamy yet—you stop the machine. Toss in about two generous tablespoons of your favorite creamy peanut butter. Just make sure it’s smooth, not crunchy, unless you love surprises! Blend it those last few seconds until it’s fully incorporated. The peanut butter cuts through the sweetness perfectly and gives the whole bowl of banana ice cream this amazing nutty depth. Trust me; you’ll want to try this PB swirl!
Storage and Serving Suggestions for Banana Ice Cream
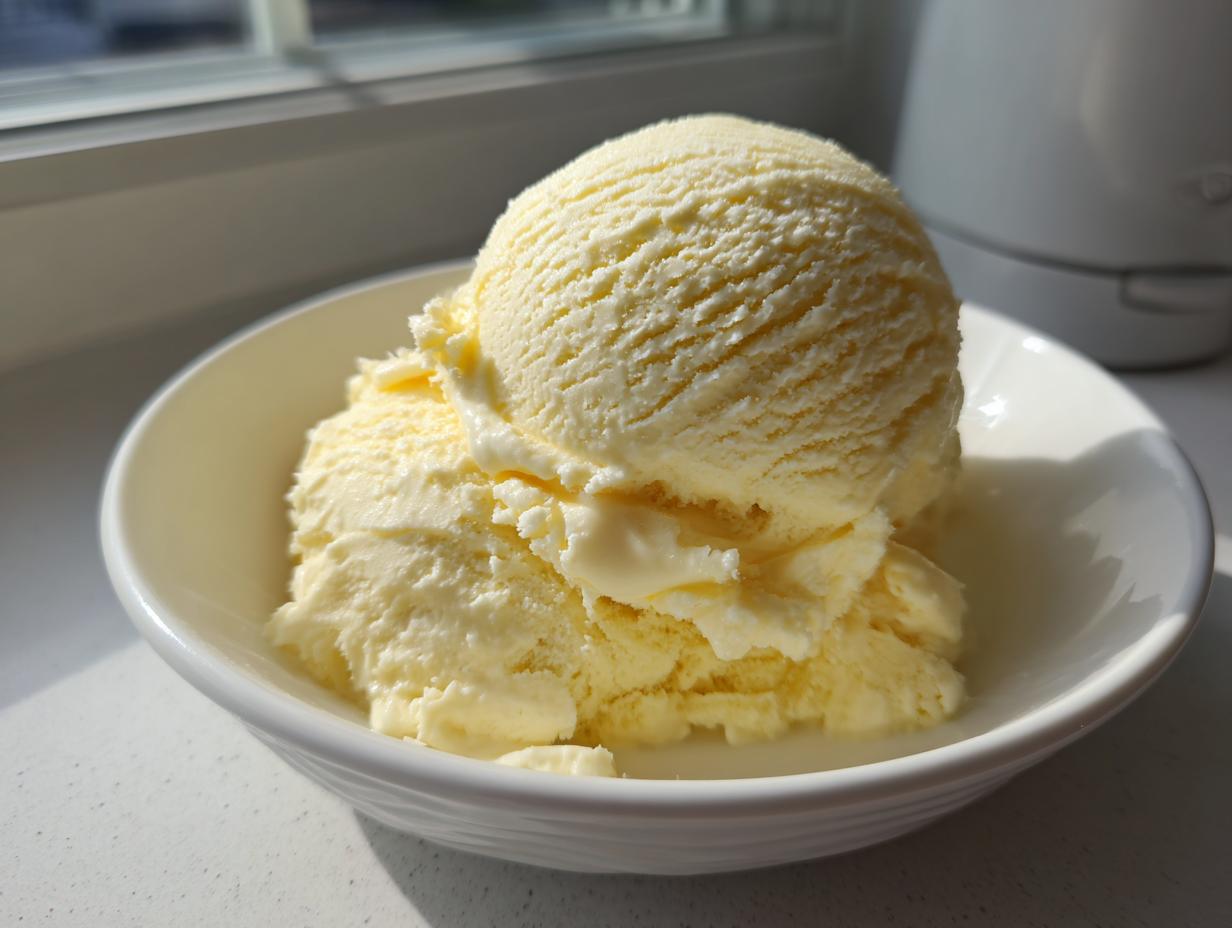
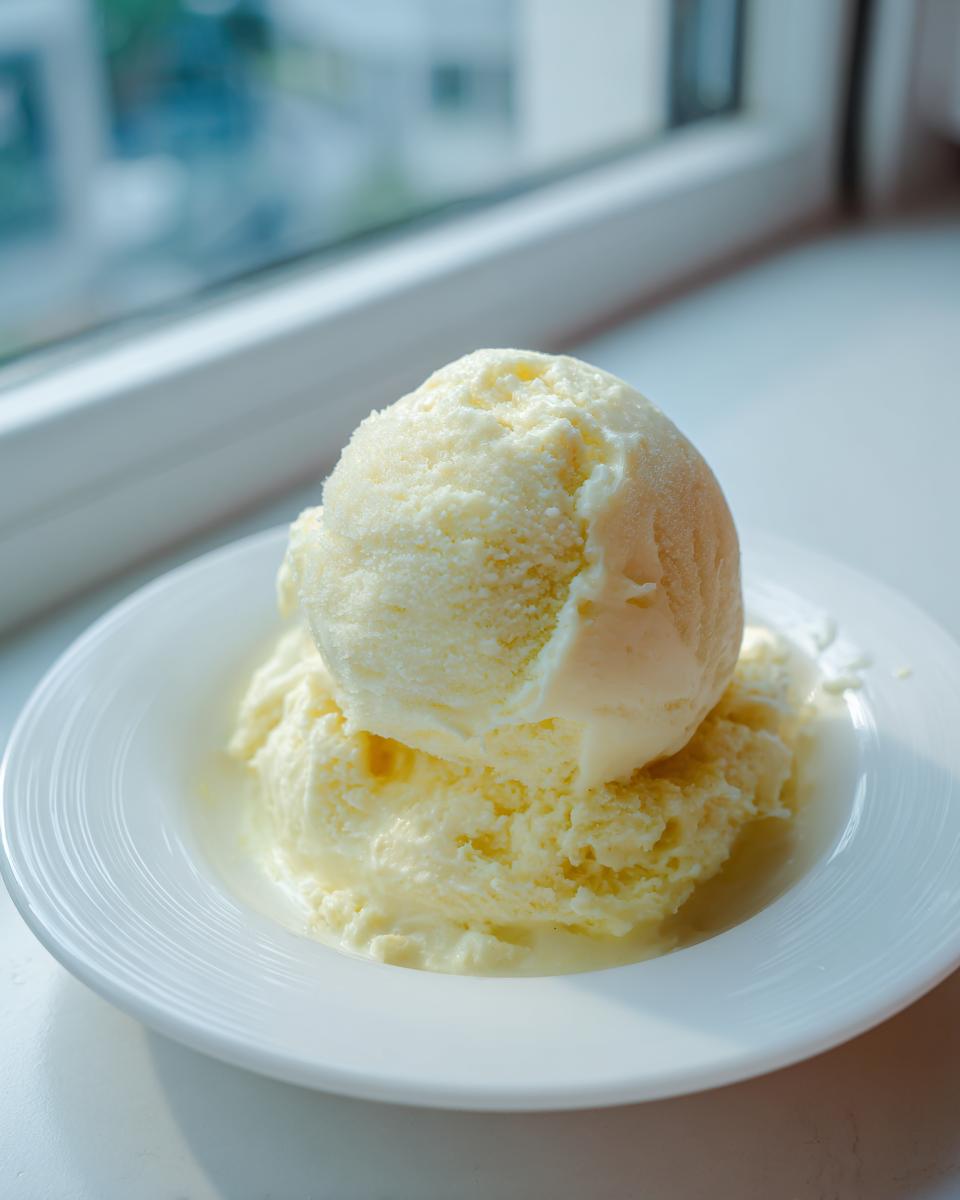
So, you’ve made the perfect batch! Congrats! Now, the big decision: do you eat it immediately like a luscious soft serve heaven, or do you want to save some for later so it’s firm enough to scoop onto a cone? Honestly, when it looks that good, fighting the urge to eat it all right then and there can be tough, but I have a couple of pointers to make sure your leftover banana ice cream stays amazing.
If you are looking for other ways to enjoy bananas in a flash, check out my guide on making a great creamy banana smoothie while this batch is chilling!
Tips for Freezing Banana Ice Cream Firmly
The texture we end up with right out of the machine—freshly blended—is pure soft serve, which is heavenly, but sometimes you need it to hold its shape. If you want that firm, scoopable texture that feels like the carton stuff, you absolutely need a little more chill time in a deep freeze. Don’t just put it in the freezer and walk away!
Transfer your soft-serve right into an airtight, freezer-safe container. Here’s the trick for preventing ice crystals: press a layer of plastic wrap or wax paper right down against the surface of the ice cream before you seal the lid. This blocks out all that nasty fridge air that causes hardening and graininess. Then, let it rest for about one to two hours. Any longer than two hours, and you might find it gets a little too hard because there were no stabilizers added like commercial brands use!
Frequently Asked Questions About Making Banana Ice Cream
This is where I clear up all the little doubts that pop up when you’re trying a new technique! Even though this banana ice cream is so incredibly simple, people always have questions about texture, especially since we skip the dairy and the machine. I’ve answered the top three things I always hear from folks trying this out.
If you’re looking for other quick meal ideas after you’re done enjoying your dessert, swing by my turkey pot pie recipe for next time!
Can I use bananas that are not fully ripe for this banana ice cream recipe?
Oh, please, don’t do this to yourself! If your bananas are still pale yellow with no brown spots, they are full of starch, not sugar. When you blend them, they will taste starchy, and you won’t get that lovely, sweet finish that makes this treat so good. You absolutely need bananas that are fully ripe—I love when they have brown spots or even look slightly bruised. That’s where the natural sweetness hiding inside those bananas lives, and that sweetness is what makes this a truly guilt free sweet treat without needing added sugar.
What is the difference between ‘nice cream’ and traditional ice cream?
That’s a fantastic question, especially since the term ‘nice cream’ is everywhere now! Simply put, traditional ice cream relies on churning a base mixture made of cream, milk, and sugar (sometimes eggs for custard-style) to incorporate air and keep ice crystals small. Our version, the ‘nice cream,’ uses almost entirely frozen fruit—in this case, the banana—as the base. It’s naturally going to be dairy-free and vegan, and it relies on powerful blending rather than churning to reach that smooth texture. It’s a much healthier swap, but the textures are slightly different; typically, nice cream is softer unless you freeze it longer.
How do I prevent my banana soft serve from freezing rock hard?
This is the number one issue people face when they try to save leftovers! Commercial ice cream has stabilizers and emulsifiers that keep it scoopable right out of the freezer, and we don’t have that here. To prevent your homemade banana ice cream from turning into a rock, you need to be careful about adding liquid during the initial blend; the less liquid you add, the less ice forms later. If you do save leftovers, scoop out what you want to eat and let it soften on the counter for about 10 minutes before trying to scoop it again. For the best results, always store leftovers with plastic wrap pressed right down onto the surface—that barrier stops freezer burn and keeps the creaminess locked in.
Nutritional Estimate for This Guilt Free Sweet Treat
Since many of you come here looking specifically for ways to enjoy dessert without derailing your healthy eating goals, I always want to give you a look at what you’re diving into. This is why transparency matters here at Cooking Zenith—it helps you make informed choices that fit your whole lifestyle! Keep in mind these numbers are based strictly on the three core ingredients: the bananas, with no optional vanilla or milk added.
I used our standard testing measurements to calculate these averages. As always with food, these are estimates, but they give you a solid idea of why this is such a wonderful, guilt free sweet treat.
- Serving Size: 1 serving
- Calories: 180
- Sugar: 15g (all natural from fruit!)
- Fat: 1g
- Protein: 2g
- Carbohydrates: 45g
- Fiber: 5g
See? Naturally sweet, low in fat, and you’re getting fiber from those whole fruits! If you’re planning out your day, you might also want to check out some ideas over on my quick healthy lunch ideas guide to balance things out. Enjoying this wonderful banana ice cream is easy when you know you’re keeping things whole and simple!
Share Your Culinary Confidence
I really hope you give this Ultra Creamy 3-Ingredient Banana Nice Cream a try! Honestly, seeing your gorgeous photos and hearing your excitement in the comments is half the fun for me. This recipe is so straightforward, but every banana seems to behave a little differently, so I absolutely love hearing about your successes and any little twists you might try.
Did you add a secret spoonful of cocoa powder? Did you swap out the optional milk for creamy oat milk? Tell me everything! Don’t forget, if you’re loving this simple approach to dessert, please leave a rating for the recipe right below. Five stars means the world to me as I keep developing these kitchen-tested secrets just for you. If you ever run into a snag or have a question I didn’t cover, you can always reach out directly via my contact page. Happy scooping!
PrintUltra Creamy 3-Ingredient Banana Nice Cream (No Machine Needed)
Make this simple, naturally sweet banana ice cream without an ice cream maker. This recipe delivers a creamy, guilt-free sweet treat using only frozen bananas.
- Prep Time: 10 min
- Cook Time: 0 min
- Total Time: 10 min
- Yield: 2 servings 1x
- Category: Dessert
- Method: Blending/No-Churn
- Cuisine: American
- Diet: Vegan
Ingredients
- 4 large ripe bananas, peeled, sliced, and frozen solid
- 1 tablespoon milk or dairy-free alternative (optional, for blending ease)
- 1/2 teaspoon pure vanilla extract (optional, for flavor depth)
Instructions
- Peel and slice your ripe bananas into coin shapes. Place the slices in a freezer-safe bag or container and freeze them for at least 6 hours, or until completely solid.
- Place the frozen banana slices into a high-powered food processor or a strong blender.
- Begin processing. You will see the bananas go from crumbly to thick, resembling coarse sand. Stop and scrape down the sides as needed.
- Add the optional milk or dairy-free alternative, one tablespoon at a time, only if the mixture refuses to blend further. You want to add as little liquid as possible to maintain creaminess.
- Continue processing until the mixture transforms into a smooth, soft-serve consistency. This takes several minutes of intermittent blending and scraping.
- Serve immediately for a soft serve texture, or transfer the mixture to a freezer-safe container and freeze for 1 to 2 hours for a firmer scoopable texture.
Notes
- For a richer, traditional flavor, try the Old-Fashioned Banana Ice Cream variation: Blend 2 cups of frozen bananas with 1 cup of heavy cream, 1/2 cup of sugar, and 1 teaspoon of vanilla extract. Churn this mixture in an ice cream maker according to the manufacturer’s directions.
- To adapt this for the Ninja Creami, freeze the base mixture (4 frozen bananas blended with 1/4 cup of milk/cream) until solid. Process on the ‘Lite Ice Cream’ setting, then add a splash more liquid and re-spin if the texture is powdery.
- For Peanut Butter Banana Ice Cream, add 2 tablespoons of creamy peanut butter during the final stage of blending.
- Use very ripe bananas for the best natural sweetness.
Nutrition
- Serving Size: 1 serving
- Calories: 180
- Sugar: 15
- Sodium: 5
- Fat: 1
- Saturated Fat: 0
- Unsaturated Fat: 1
- Trans Fat: 0
- Carbohydrates: 45
- Fiber: 5
- Protein: 2
- Cholesterol: 0