
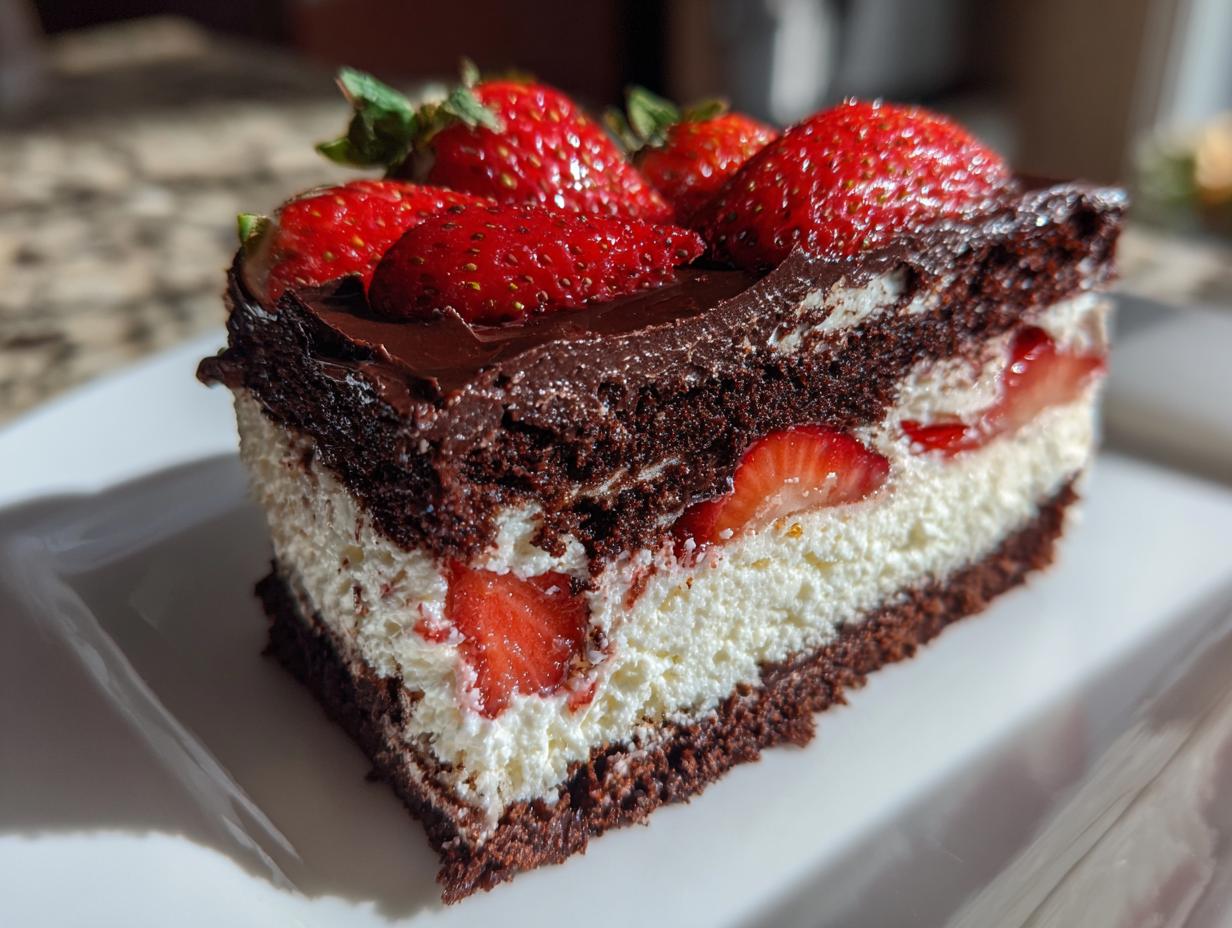
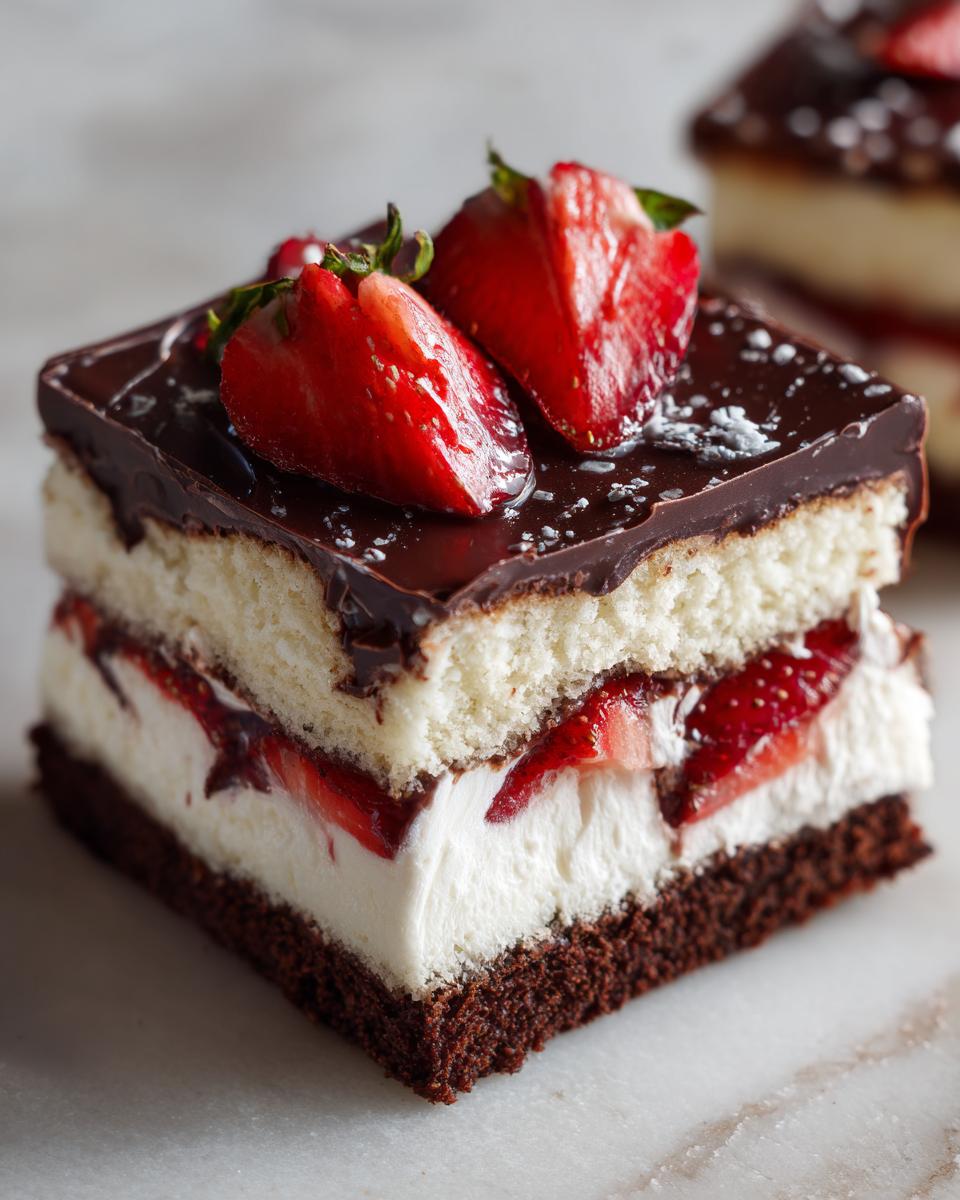
Okay, deep breath. Sometimes you just need a dessert that makes everyone stop talking the second it hits the table, right? I totally get that urge to create something visually stunning—a real showstopper. That’s exactly where this strawberry chocolate shell cake comes in. Forget those grocery store cakes that look good but taste like cardboard cardboard. We’re talking about a masterpiece with layers of fluffy vanilla cake, sweet fresh strawberries nestled in light cream, and the absolute star of the show: the crisp, shattering chocolate shell.
Now, when I say “chocolate shell,” I know what you’re thinking: That’s an ice cream cone topping! How am I supposed to manage that? Trust me, I spent a solid month in my kitchen experimenting with chocolate-to-oil ratios until I perfected this homemade magic shell recipe. It hardens instantly when it hits the cold cake, giving you that ridiculously satisfying crunch with every bite. It sounds fancy, but honestly, I wouldn’t share a recipe I couldn’t make perfectly after a long Tuesday. This technique is tested, foolproof, and ready for your next big celebration!
- Why This Strawberry Chocolate Shell Cake Recipe Works
- Gathering Ingredients for Your Strawberry Chocolate Shell Cake
- Step-by-Step Instructions for the Strawberry Chocolate Shell Cake
- Tips for a Perfect Breakable Chocolate Coating Cake Finish
- Serving Suggestions for Your Showstopper Strawberry Cake
- Storage and Reheating Instructions for Your Strawberry Chocolate Shell Cake
- Variations on the Strawberry Chocolate Shell Cake Recipe
- Frequently Asked Questions About This Recipe
- Share Your Impressive Celebration Cakes Experience
Why This Strawberry Chocolate Shell Cake Recipe Works
This isn’t just a pretty cake; it’s a perfect marriage of textures and flavors that truly sings on your palate. I wanted a dessert that delivered drama without requiring three days of intense labor. What makes this chocolate shell cake recipe so reliable is the balance we strike between elements. You get richness, freshness, and that incredible snap we all crave.
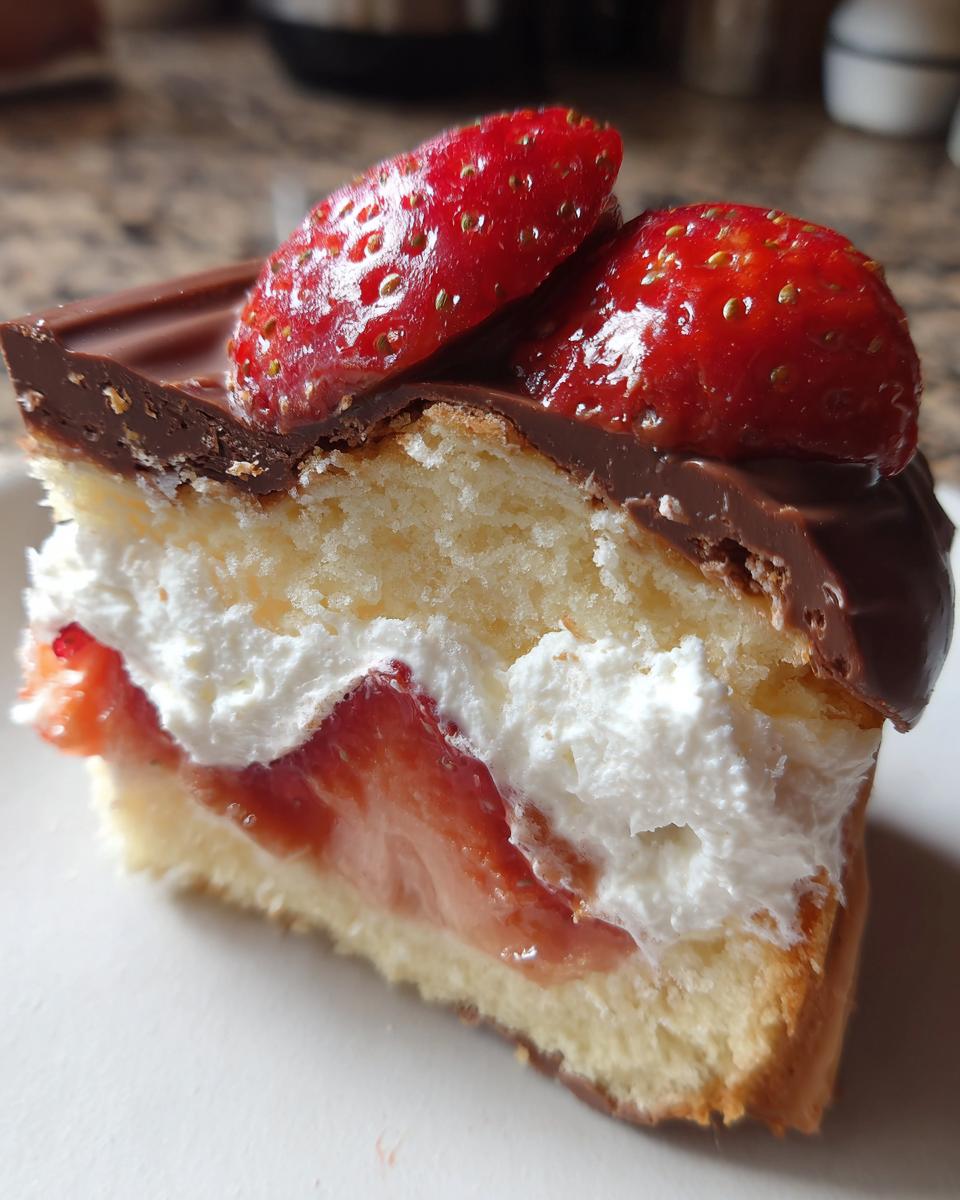
- Incredible Visual Impact: Seriously, when that chocolate shell fractures when you slice into it? Instant applause. It turns a simple layer cake into something magazine-worthy, which is why I love it for birthdays.
- Textural Contrast That Matters: We pair the hard, snappy chocolate coating with soft, airy whipped cream and delicate cake. It keeps every bite interesting.
If you love the foundational flavors here, you might also check out my classic strawberry cake recipe from scratch for a simpler, yet equally delicious, option!
The Perfect Crunch: Mastering the Breakable Chocolate Coating
This is the trickiest part, but I promise it’s easy once you know the secret. That satisfying crack you hear when you cut it? That comes down to the fat content. We use coconut oil for a reason: it solidifies incredibly fast when it hits cold surfaces. Getting that ratio of dark chocolate to oil just right is crucial for creating the perfect breakable chocolate coating cake. Too little oil, and it stays soft; too much, and it’s floppy. We nailed the sweet spot so you get that satisfying snap every single time.
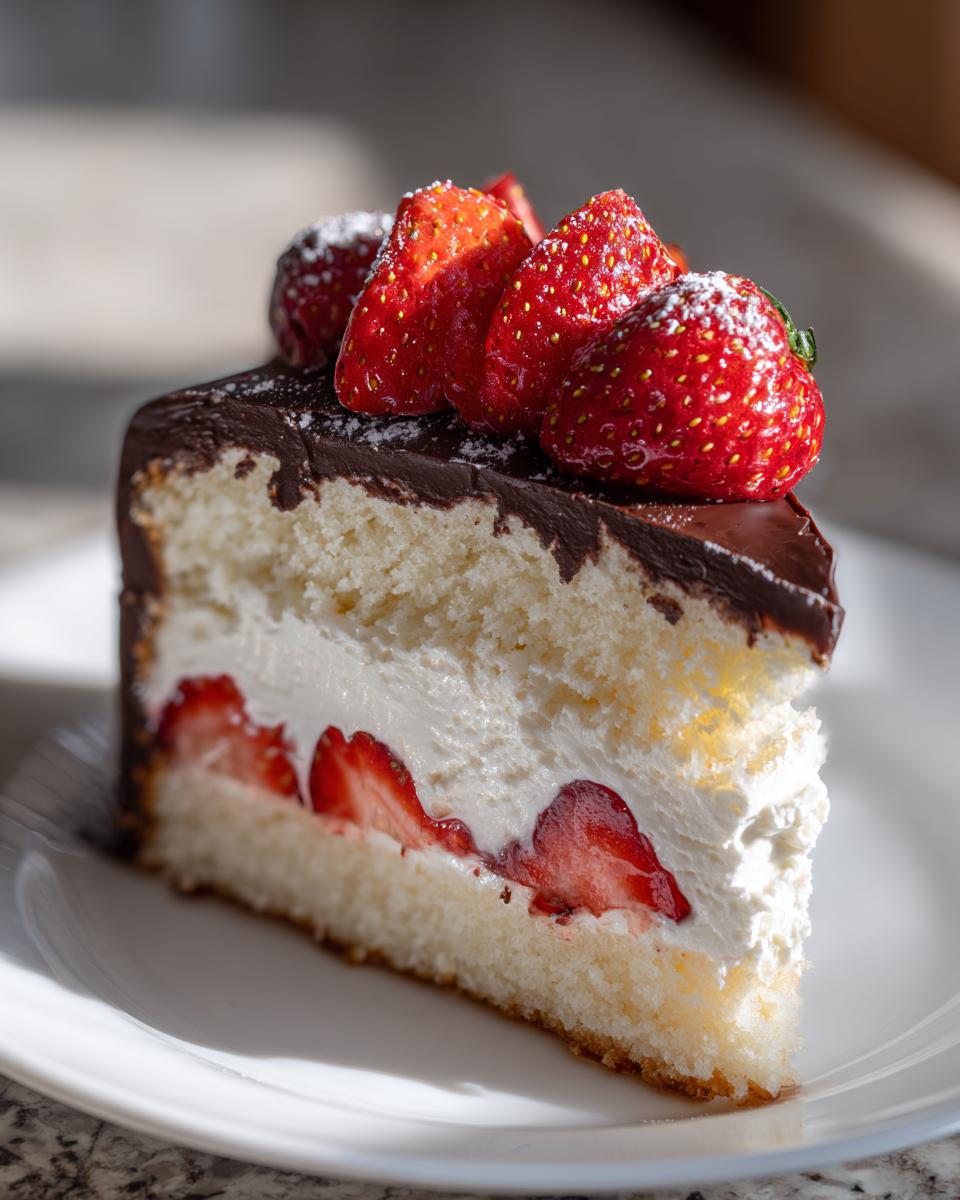
Fresh Strawberry and Cream Filling Balance
A heavy cake needs a light counterpoint, right? That’s where the filling comes in. We’re skipping heavy buttercream here. Instead, we use a light, freshly whipped cream stabilized just enough with powdered sugar. Folding in those vibrant, slightly tart fresh strawberries cuts right through the sweetness of the cake and the depth of the dark chocolate shell. It keeps the whole dessert from feeling too heavy.
Gathering Ingredients for Your Strawberry Chocolate Shell Cake
Okay, let’s get down to business. Ingredient quality is huge here, especially for the topping—don’t skimp on the chocolate! I spent ages testing this specific combination to ensure the shell hardens perfectly without tasting waxy. Think of this recipe in three distinct parts: the light cake, the fresh filling, and that show-stopping topping. Having everything measured out beforehand makes the assembly process so much smoother. You’ll feel like a pro when you pull this together!
For the Vanilla Cake Base
We need a simple, reliable base that won’t fight the strawberries. Grab your baking soda and powder ratios here; they are key for that fluffy lift. You’ll need 1 1/2 cups all-purpose flour, 1 cup granulated sugar, 1 1/2 teaspoons baking powder, 1/2 teaspoon salt, 1/2 cup softened unsalted butter, 2 good quality large eggs, 1/2 cup milk, 1 teaspoon vanilla extract, and 1/4 cup vegetable oil.
For the Strawberry Whipped Cream Filling
This is where we introduce that gorgeous fresh flavor! Make sure your pound of fresh strawberries are thoroughly hulled and sliced before you touch the cream. For the filling, you need 1 cup of heavy cream and 1/4 cup of powdered sugar. Whip them until they hold their shape—we need stiff peaks so the filling doesn’t ooze out once we assemble the layers.
For the Homemade Magic Shell Topping
This is where the magic happens! For the best contrast against the sweet cake, I insist on dark chocolate. You’ll need 8 ounces of dark chocolate, finely chopped—and I mean tiny pieces, trust me, they melt faster and smoother—and 2 tablespoons of coconut oil. This simple duo is the secret to your amazing homemade magic shell recipe for cakes.
Step-by-Step Instructions for the Strawberry Chocolate Shell Cake
Alright, here we go! This is the exciting part where everything comes together. Don’t rush the chilling spots, seriously. If you try to pour that chocolate on a warm cake, you’ll just end up with strawberry-chocolate soup instead of a perfect shell. We are going through this in four main chunks: baking, filling, assembling the base, and finally, the shell application.
Baking and Cooling the Cake Layers
First things first, get that oven warmed up! Preheat everything to 350°F (175°C). You need to grease and flour two 8-inch round cake pans really well—I’m talking make sure there are zero sticky spots. Then, get your dry ingredients—the flour, sugar, baking powder, and salt—whisked together in a big bowl. Next, add the softened butter, those two large eggs, milk, vanilla, and the oil right into the dry mix. Use your electric mixer on medium speed, but listen to me: beat it just until it’s smooth, maybe two minutes total. Overmixing at this stage is how you get tough cake, and we want fluffy cake! Divide that beautiful batter evenly between your two pans and bake them for about 25 to 30 minutes. Test them with a toothpick; if it comes out clean, you’re golden. Let them sit in those warm pans for exactly 10 minutes—no more, no less—then flip them out onto a wire rack to cool completely. They have to be totally cool before we move on!
Preparing the Strawberry Whipped Cream Filling
While the cakes are cooling down, we make the filling, which is delightfully simple. You want stiff peaks, so take your chilled heavy cream and powdered sugar and beat it until it looks structurally sound. It should stand up tall when you lift the whisk. Once that’s done, gently—and I mean gently—fold in about half of those sliced strawberries we prepared. You want them suspended in the cream, not totally mashed up throughout it. This folding technique keeps the air in the cream, which is crucial for a light filling.
Assembling the Layer Cake with a Smooth Base
Time to build! Place your first cooled cake layer on your serving plate or cake stand. Spread that lovely strawberry whipped cream mixture evenly over the top. Then, gently set the second cake layer on top. Now, for the secret weapon before the shell: we need a super smooth surface. Take any remaining *plain* whipped cream and spread a thin layer all over the top and sides of the entire cake. This is basically a crumb coat, but here, it’s our adhesion layer for the shell! It seals in all those crumbs and smooths everything out. Pop the whole thing into the refrigerator for a mandatory 30 minutes. It needs to be really cold!
Creating and Applying the Chocolate Shell Coating
This step is fast, so have everything ready! Melt your finely chopped dark chocolate and coconut oil together. I do this in the microwave in short bursts—30 seconds at a time—stirring really well between each burst until it’s perfectly smooth and glossy. Don’t let it get too hot! Take your super-cold cake out of the fridge. Pour that melted chocolate right into the middle of the top. Work quickly! Pour slowly enough for it to drip down the sides naturally, but fast enough that the cold cake doesn’t melt the chocolate instead of snapping it hard. As it starts to set, quickly arrange those last few fresh strawberries decoratively right on top before the chocolate hardens completely. Pop it back into the fridge for just 15 more minutes to lock that crunchy texture in. Congratulations, you’ve mastered the magic shell cake tutorial!
Tips for a Perfect Breakable Chocolate Coating Cake Finish
So, you’ve poured the shell, and maybe things didn’t snap quite as dramatically as you hoped? Don’t stress! This is where my months of kitchen mishaps turn into guarantees for you. Getting that perfect, glassy, shattering finish on your chocolate dipped cake design is purely about temperature control. If you follow the process, the result should be incredible, but here are the little tweaks that make all the difference when you’re finishing up this showstopper!
Temperature Control for the Chocolate Shell Application
I can’t stress this enough: your cake needs to be practically icy when that chocolate hits it. I mean it! If the shell doesn’t set up within about 45 seconds of pouring, your cake wasn’t cold enough. It needs that sharp temperature shock to instantly solidify the coconut oil mixture. If it’s taking longer, pop the whole thing back into the fridge for another 15 minutes and try again! Don’t attempt to pour until you’ve got solid, chilled frosting underneath.
Achieving a Glossy, Smooth Chocolate Shell
When you’re melting down your chocolate and coconut oil—I have you mixing those right now, by the way—you need to be relentless with your stirring. If you stop stirring before it’s completely silky, you’ll end up with streaks when it hardens, and we want a smooth mirror finish! Also, remember that lovely coconut oil we added? That’s what guarantees a brittle, snappy texture rather than just a thick fudge layer. Stir until you can see your reflection in that bowl!
If you need a refreshing palate cleanser after all that chocolate, you absolutely have to try my recipe for homemade classic lemonade. It’s incredible.
Serving Suggestions for Your Showstopper Strawberry Cake
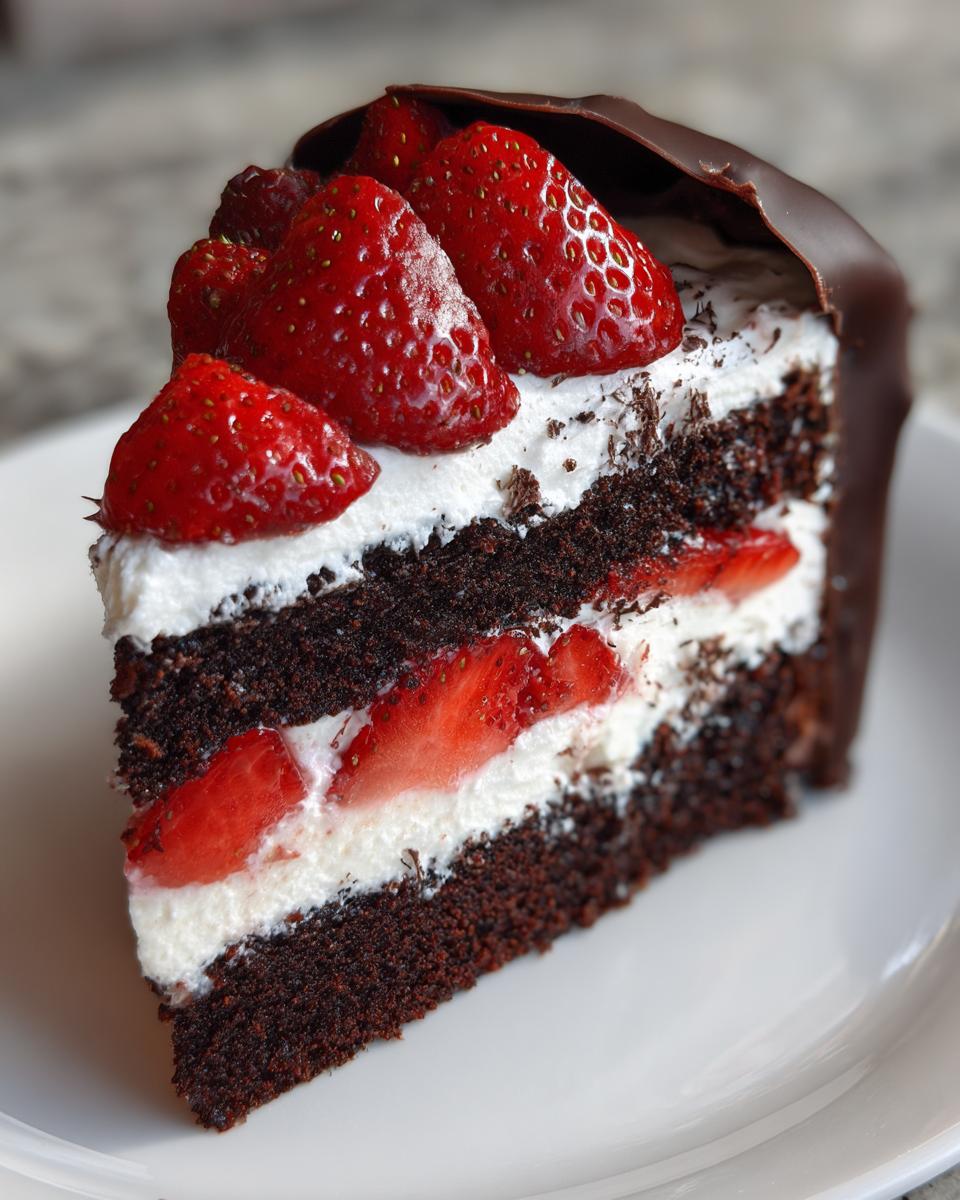
Now that you’ve created a true showstopper, presentation is everything! Because this visually stunning cake has such a unique texture, I like to keep the plating elegant and simple. Don’t try to cover up that amazing chocolate shell with giant dollops of cream; let it shine! I usually serve this right on a simple white cake platter so the red strawberries and dark chocolate really pop.
When it comes to pairing, this cake loves something light. Skip the heavy coffee and go for something clean. My favorite pairing, especially for a summer afternoon celebration, is a tall glass of my refreshing drink recipes collection—maybe that sparkling berry soda? The lightness completely balances the richness of the dark chocolate and the sweet cream. It’s just perfection, trust me!
Storage and Reheating Instructions for Your Strawberry Chocolate Shell Cake
This cake is definitely a looker, but it’s also one of those desserts that tastes even better the next day—provided you store it right! The biggest thing to remember is that filling. Because we used that lovely, light whipped cream, this cake demands refrigeration. Unlike a heavy buttercream cake that might sit out for an hour or two during a party, this one needs to be tucked in the fridge soon after serving, especially if your kitchen is warm.
Just wrap the fully assembled cake loosely in plastic wrap or place it gently under a large cake dome. Stick it in the fridge. Honestly, the cold temperature helps keep that chocolate shell nice and firm, too. It’ll stay fantastic for about three days this way. Don’t worry about the shell getting dull; it retains its shine nicely if it’s kept covered.
Now, here’s a big warning, and I learned this the hard way: Do NOT try to reheat any part of this cake! Seriously, reheating a cake with a delicate, brittle chocolate shell is a recipe for disaster. The heat will melt the shell, and you’ll end up with a puddle of chocolate instead of that satisfying crunch. If you want to serve slices that aren’t ice-cold, just take the portion you plan to eat out of the fridge about 20 minutes before serving. That gives the cake layers time to soften just a tad while keeping the shell perfectly snappy.
Variations on the Strawberry Chocolate Shell Cake Recipe
Just because this recipe is perfect as is doesn’t mean we can’t play with it a little bit! As a home cook, I love finding ways to adapt family favorites to suit whatever I have on hand or whatever mood strikes me. This cake is robust enough that it handles changes really well, and it still tastes amazing, even when you tweak the core components. It’s all about taking these fundamentals and making them your own. These small changes can turn it into a brand-new treat!
If you’re looking for a different foundational flavor, I highly recommend swapping out this vanilla base for a deep, rich chocolate cake. Imagine that crisp dark chocolate shell meeting a fudgy chocolate layer underneath—it’s intense, but magnificent! You can find my go-to recipe if you want to try a full chocolate cake recipe moist and easy base underneath all that strawberry goodness.
Here are a few easy swaps I’ve played around with when exploring different dessert ideas with fresh strawberries:
- White Chocolate Shell: If you want something sweeter and visually softer, use high-quality white chocolate chips instead of dark chocolate for the shell. You’ll usually need slightly less coconut oil because white chocolate can be a bit softer when melted. This looks incredible contrasted against the red strawberries!
- Add Nuts for Extra Texture: If you want *more* crunch besides the shell, try folding about half a cup of toasted, chopped pecans or almonds into the cake batter right before you pour it into the pans. They add a wonderful, earthy note that pairs well with the fruit.
- Infused Whipped Cream: Before whipping your heavy cream, try warming it gently with a vanilla bean pod for about 10 minutes, then let it cool completely before whipping. That little bit of extra vanilla depth really shines through the chocolate.
Remember, the best recipe is the one that excites you to bake! Don’t be afraid to experiment with these elements the next time you’re whipping up this stunning dessert.
Frequently Asked Questions About This Recipe
Can I use a different type of oil for the easy chocolate shell topping?
That’s a smart question because the oil choice really dictates the coating’s behavior! I strongly recommend sticking with coconut oil because its low melting point is what gives you that instant, snappy hardening when it hits the cold cake. It’s the secret to the crunchy chocolate topping dessert effect. However, if you don’t have coconut oil, you can try refined vegetable shortening or maybe even a lighter neutral oil like canola, but be warned: the texture won’t be quite the same. It might set up gooier or softer, so you will definitely lose some of that perfect breakable quality we are aiming for in this chocolate shell cake recipe.
How far ahead can I bake the cake layers for this layer cake with strawberries?
Cake layers are wonderful make-ahead components, and I highly encourage it for busy days! Once the two 8-inch layers are completely cool, you want to wrap them individually and tightly in plastic wrap. Not just one layer, but really wrap them twice to seal out all the air. You can keep them perfectly fine on the counter for up to two days, or even freeze them for a month! When you’re ready to assemble your beautiful layer cake with strawberries, just let them thaw on the counter for an hour or two before you start frosting and chilling. Don’t try to frost them warm, though—that’s a recipe for disaster!
Is the chocolate shell supposed to be completely hard?
Yes, absolutely! That is the single most important characteristic of this dessert. We are specifically going for that “magic shell” effect. If you slice it and the chocolate just bends or peels off softly, then the cake wasn’t cold enough when you poured the topping. When everything lines up—the cold cake, the fast-melting chocolate and coconut oil mixture—you get a layer that sets instantly firm. It should absolutely shatter slightly under the pressure of your knife when you cut into those slices. That’s the sign of success for your dessert ideas with fresh strawberries!
Share Your Impressive Celebration Cakes Experience
I am just so excited for you to try making this spectacular strawberry chocolate shell cake! Honestly, the best part of sharing these recipes, which I’ve tested until my kitchen looked like a chocolate disaster zone, is seeing your results. I truly believe everyone can make impressive desserts, and I want to see how yours turns out!
Did the chocolate shell snap perfectly? Did your strawberries shine beautifully on top? Let me know! Head down to the comments section and tell me all about your experience. Did you try the white chocolate variation, or stick to the dark? I love hearing about your little tweaks and successes. If you made this for a big event, tag me on social media so I can geek out over your handiwork!
Aria Thompson and the whole team here at Cooking Zenith are here to support your journey. If you’ve found that this recipe elevated your baking confidence, please leave a five-star rating—it helps other home bakers find these foolproof guides to creating their own impressive celebration cakes. Happy baking, everyone!
PrintStrawberry Chocolate Shell Layer Cake

Create a visually stunning layer cake featuring fresh strawberries and a crisp, breakable dark chocolate shell topping, perfect for any celebration.
- Prep Time: 35 min
- Cook Time: 30 min
- Total Time: 1 hour 40 min
- Yield: 10 servings 1x
- Category: Dessert
- Method: Baking and Chilling
- Cuisine: American
- Diet: Vegetarian
Ingredients
- 1 1/2 cups all-purpose flour
- 1 cup granulated sugar
- 1 1/2 teaspoons baking powder
- 1/2 teaspoon salt
- 1/2 cup unsalted butter, softened
- 2 large eggs
- 1/2 cup milk
- 1 teaspoon vanilla extract
- 1/4 cup vegetable oil
- 1 pound fresh strawberries, hulled and sliced
- 1 cup heavy cream
- 1/4 cup powdered sugar
- 8 ounces dark chocolate, finely chopped
- 2 tablespoons coconut oil
Instructions
- Preheat your oven to 350°F (175°C). Grease and flour two 8-inch round cake pans.
- In a large bowl, whisk together the flour, sugar, baking powder, and salt.
- Add the softened butter, eggs, milk, vanilla extract, and vegetable oil to the dry ingredients. Beat with an electric mixer on medium speed until the batter is smooth, about 2 minutes. Do not overmix.
- Divide the batter evenly between the prepared pans. Bake for 25 to 30 minutes, or until a toothpick inserted into the center comes out clean. Let the cakes cool in the pans for 10 minutes before inverting them onto a wire rack to cool completely.
- While the cakes cool, prepare the whipped cream: Beat the heavy cream and powdered sugar in a chilled bowl until stiff peaks form.
- Prepare the strawberry filling: Gently fold half of the sliced strawberries into the whipped cream.
- Once the cakes are completely cool, place one layer on your serving plate. Spread the strawberry whipped cream mixture evenly over the first layer. Top with the second cake layer.
- Frost the top and sides of the entire cake thinly with any remaining plain whipped cream to create a smooth base for the shell. Chill the cake in the refrigerator for at least 30 minutes to firm up the frosting.
- Prepare the chocolate shell: Combine the finely chopped dark chocolate and coconut oil in a microwave-safe bowl. Microwave in 30-second intervals, stirring well after each, until the mixture is completely smooth and melted. This creates your homemade magic shell recipe.
- Remove the chilled cake from the refrigerator. Pour the melted chocolate mixture over the top center of the cake, allowing it to drip naturally down the sides. Work quickly, as the cold cake will cause the chocolate to set fast.
- Arrange the remaining fresh strawberry slices decoratively on top of the chocolate shell before it fully hardens.
- Return the cake to the refrigerator for 15 minutes to allow the chocolate shell to become firm and breakable. Slice and serve this showstopper strawberry cake.
Notes
- For the best chocolate shell, ensure your cake is very cold before pouring the melted chocolate over it. The temperature difference causes the immediate hardening.
- If you want a thicker shell, increase the amount of coconut oil slightly in the topping mixture.
- You can substitute the vanilla cake base with a light chocolate cake for a double chocolate effect.
Nutrition
- Serving Size: 1 slice
- Calories: 410
- Sugar: 35
- Sodium: 150
- Fat: 24
- Saturated Fat: 14
- Unsaturated Fat: 10
- Trans Fat: 0.1
- Carbohydrates: 48
- Fiber: 2
- Protein: 5
- Cholesterol: 75