
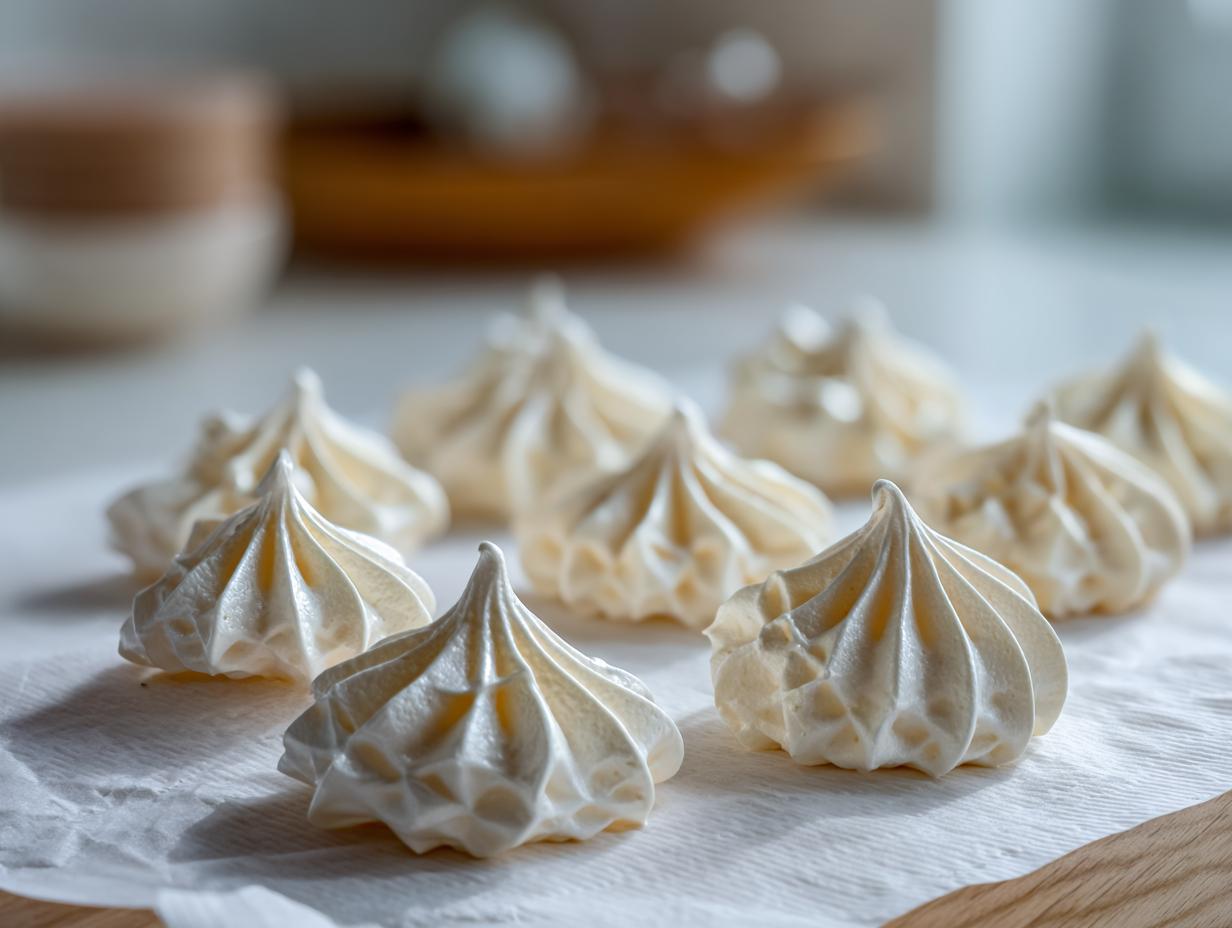
Oh, who doesn’t adore those little clouds of sweet magic? Sometimes you just need a dessert that tastes incredibly impressive but uses just the most basic ingredients. That’s why I am so thrilled to share what I truly believe is the best meringue cookies recipe out there, especially for those of you just starting out! Forget those recipes that make you nervous; this one is tried, tested, and designed to be foolproof. Here at Cooking Zenith, I, Aria Thompson, have spent ages breaking down the science so you can bake with total confidence. These meringue cookies are light, airy, and perfect.

- Why This is the No Fail Meringue Cookies Recipe You Need
- Gathering Your Ingredients for Perfect Meringue Cookies
- How to Make Perfect Meringue: Step-by-Step Instructions
- Tips for Success with Your Meringue Cookies
- Flavor Variations for Your Delicate Sweet Treats
- Storage and Keeping Your Meringue Cookies Crisp
- Troubleshooting Common Meringue Cookie Issues
- Frequently Asked Questions About Meringue Cookies
- Share Your Perfect Meringue Cookies Creations
Why This is the No Fail Meringue Cookies Recipe You Need
I know what you’re thinking: meringue sounds fancy and frankly, a little scary! Egg whites? Humidity? Forget all that nonsense. This specific technique—the French method—is my go-to because it’s so straightforward, giving you a genuine easy meringue cookies recipe that beginners can trust. We are aiming for that perfect contradiction: light and airy cookies on the outside, but with a satisfyingly soft center that just dissolves the second it hits your tongue.
If you’ve dealt with cookies that collapse or weep sticky syrup (we all have!), that’s usually due to high heat or undissolved sugar. This recipe fixes those problems right from the start so you can skip the heartbreak. Plus, since they’re just egg whites and sugar, these are wonderfully gluten free meringue cookies! For more tips on getting things right in the kitchen, check out my thoughts on making an easy crunchy cabbage salad recipe—the principle of getting texture right applies everywhere!
Achieving Crispy Meringue Cookies Texture
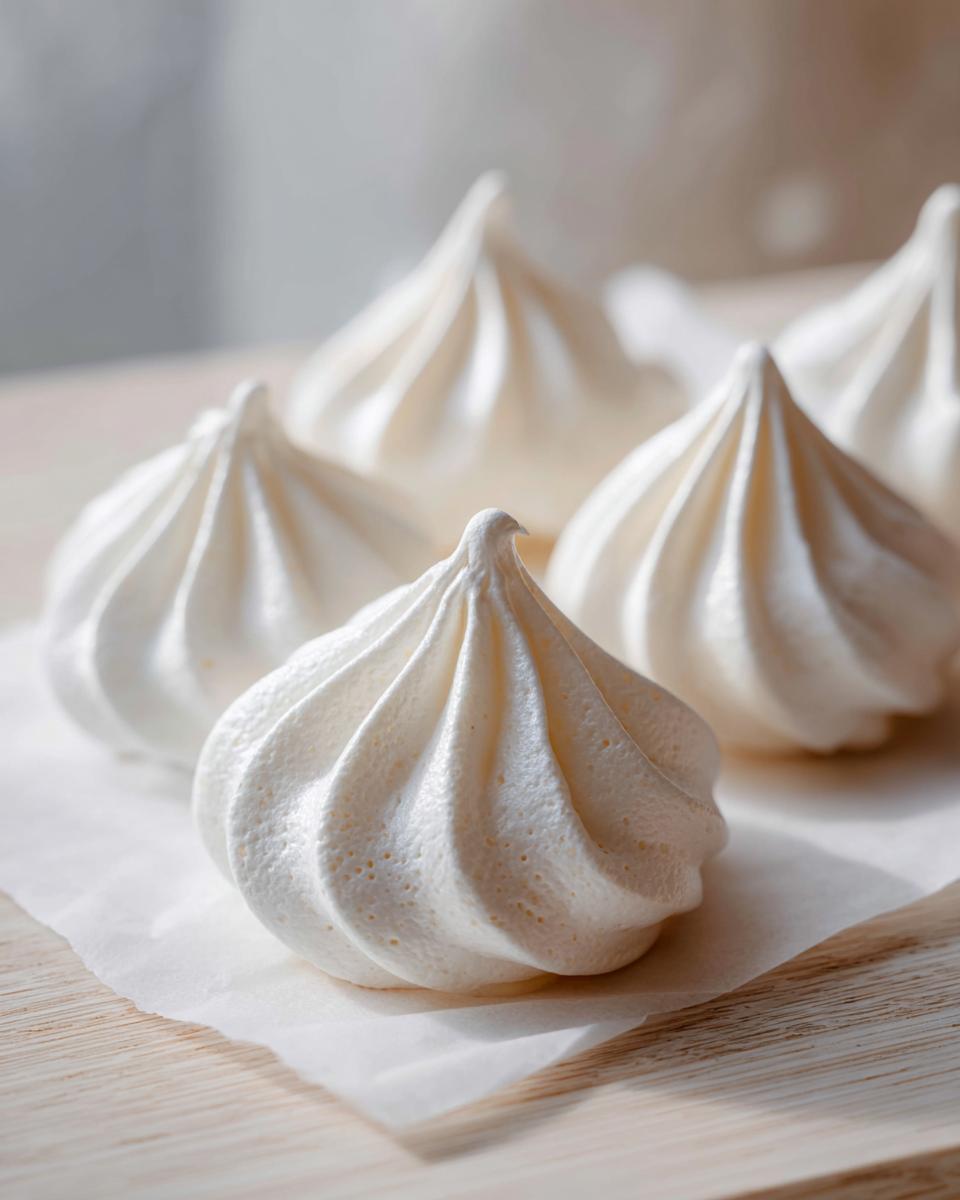
The absolute secret to making these melt in your mouth desserts is the baking time. Think of it less like baking and more like slow drying. We cook these low and slow—way down near the oven’s bottom temperature setting—for a long time. This gentle heat pulls out every bit of moisture. That’s what locks in that perfectly crisp exterior without coloring the cookies brown.
The result is unbelievable! You get the delicate sweetness and the airy structure we love, without that chewy, sticky middle that no one wants in a classic crisp meringue. I trust this process completely now, and you will too.
Gathering Your Ingredients for Perfect Meringue Cookies
Okay, let’s talk about what you need. When making meringue cookies, every component matters because there’s very little hiding the quality! You’ll need four large egg whites, cream of tartar, a pinch of salt, pure vanilla extract, and, critically, one cup of superfine granulated sugar. Yes, the recipe calls for superfine sugar, sometimes known as caster sugar. Trust me, this detail is important for the final texture of your vanilla buttercream frosting, and especially for these light cookies!
Essential Ingredient Notes and Substitutions
First things first: those egg whites have to be at room temperature. Cold whites just won’t whip up to the volume we need for our light and airy cookies. Second, about the sugar—we need that superfine stuff because it dissolves way faster, which prevents that awful gritty texture in your finished meringue cookies. If you only have regular sugar, pulse it in a food processor briefly, but be careful not to turn it into powder!
The cream of tartar is our little insurance policy here. It’s an acid that stabilizes the egg whites and helps them hold that incredibly stiff peak structure we’re chasing. Don’t skip it, or you risk your beautiful start collapsing later on!
How to Make Perfect Meringue: Step-by-Step Instructions
Alright, buckle up because this is where the magic happens! We’re using the French method, which is fantastic for our beginner meringue recipe. First, you need to make sure your oven is set as low as it can go—honestly, 200°F or 225°F is where we want to be. Line those baking sheets, and remember my note about humidity? If it’s raining outside, maybe wait! We’re working with incredibly delicate proteins here.
Get those room-temperature egg whites and the cream of tartar into your mixer bowl. Start beating them slowly until they get foamy. Now for the most important part for succeeding with our homemade meringue kisses: the sugar. You must add that superfine sugar slowly, about one tablespoon at a time. Don’t rush this! If you dump it all in at once, the sugar won’t dissolve, and you’ll end up with gritty meringue cookies.
Whipping the Meringue to Stiff Peaks
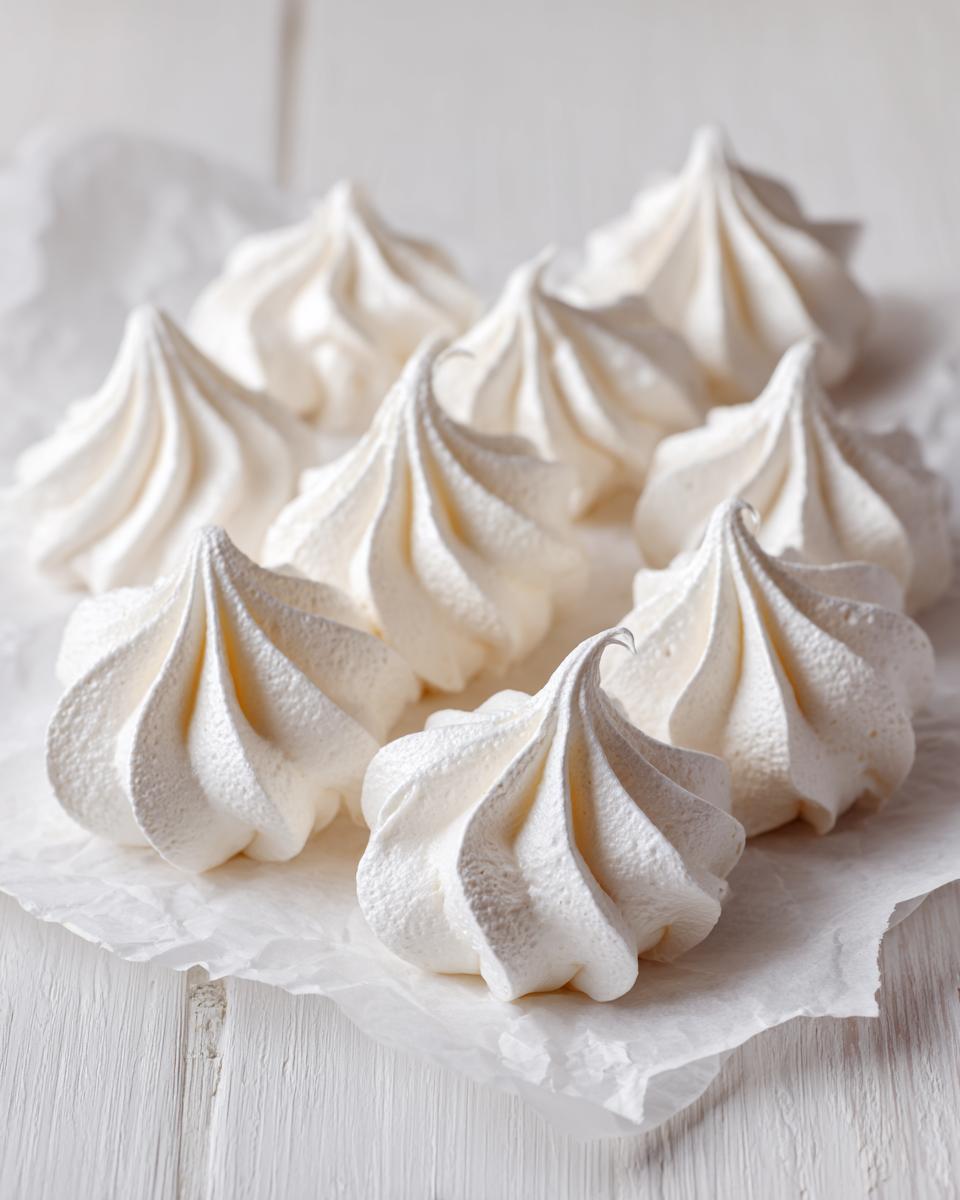
Once all the sugar is incorporated, crank that mixer up high! You need to whip until you reach that beautiful, stiff, glossy stage. How do you know when it’s perfect? When you lift the whisk, the peak should stand straight up—it shouldn’t flop over at all. If you rub a tiny bit between two fingers, it should feel smooth, not gritty at all. This stiff peak stage is what guarantees those light and airy cookies.
Just before you stop, mix in that vanilla extract on low speed. Then, it’s time to pipe! I love using a big star tip for those beautiful homemade meringue kisses, but honestly, two spoons work just fine if you prefer a rustic look. You can get more piping tips here if you want to practice your shapes for the holidays!
Baking and Cooling for Ultimate Meringue Cookies
Now we bake them, or rather, dry them out, for about an hour to an hour and a half. You’re checking if they lift easily off the parchment paper—that’s your cue. But don’t you dare pull them out yet! The key to texture that truly melts in your mouth desserts is cooling them slowly. Turn the oven off completely, prop the door open just a tiny bit with a wooden spoon, and just leave them in there. Seriously. Let them cool down inside for at least an hour, or even better, let them sit overnight.
This slow temperature decrease is what stops cracking and ensures those gorgeous crispy meringue cookies you worked so hard for don’t suddenly deflate or weep on you. Patience here pays off big time!
Tips for Success with Your Meringue Cookies
If you follow the recipe exactly, you should be golden, but since we want these to be the best homemade meringue kisses you’ve ever made, let’s go over the common pitfalls. My biggest advice for any baker trying to make these delicate sweet treats is this: check your tools!
Before you even crack an egg, wash your mixing bowl and whisk with hot, soapy water and ensure they are bone dry. Even one tiny speck of grease or water will completely sabotage your efforts to get those stiff peaks. I mean it—the bowl has to be spotless! If you struggle with bowl cleanliness, I sometimes swear by whipping up a quick easy one-bowl vegan banana bread recipe just to clear my head before I tackle the meringue!
And we already talked about humidity, but it bears repeating: moisture is the mortal enemy of meringue cookies. If you are baking on a rainy afternoon, you might find your cookies a bit stickier even after cooling. Save them for a drier day if you can!
Flavor Variations for Your Delicate Sweet Treats
Once you’ve mastered the base recipe for these wonderfully delicate sweet treats, you absolutely have to start playing around! Changing the flavor is so easy because we add flavors right at the end, after the meringue is perfectly stiff. If you want something slightly different from the basic vanilla meringue cookies, just swap out the vanilla extract for 1/2 teaspoon of pure almond extract instead. Wow, that tastes elegant!
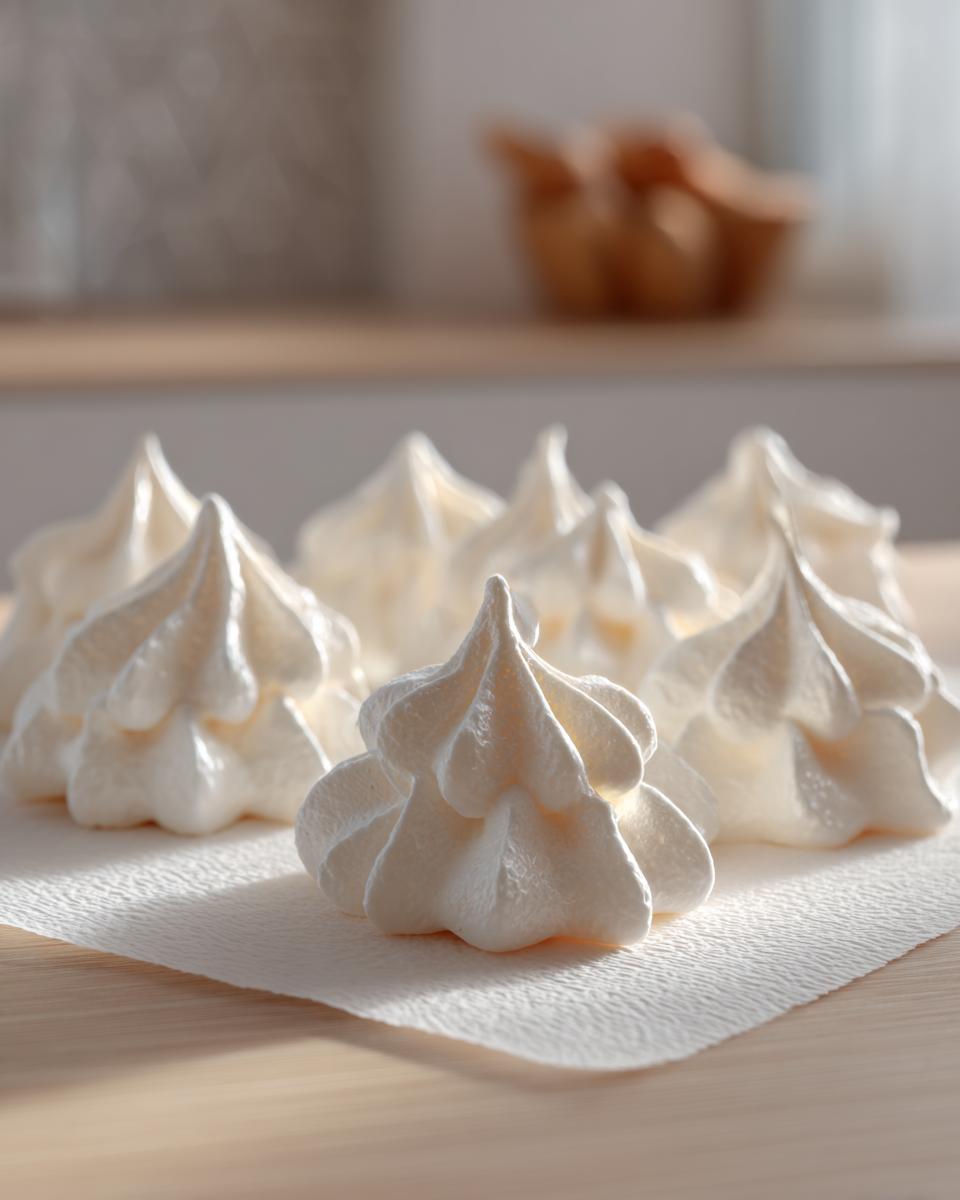
For holidays, this is where you can get playful and create those stunning holiday meringue shapes! Think about adding a drop or two of gel food coloring right before you pipe them out. A little pink for strawberries or green for Christmas trees makes such a difference visually. If you want to see how I incorporate complex flavors into other simple bakes, you should look at my guide for Earl Grey cookies. The principle of adding flavor without compromising structure totally applies here!
Storage and Keeping Your Meringue Cookies Crisp
You finally have those gorgeous, impossibly light meringue cookies, and we absolutely cannot let them go soft! Moisture is their biggest enemy, so listen closely: skip the fridge entirely. Refrigerators are humid environments, and that humidity will turn your beautiful crisp exterior sticky faster than you can blink. You need an airtight container, just like you would use for my ginger molasses cookies recipe.
Store them at cool room temperature. If you baked them yesterday, they are still drying out in the oven—let them finish that process before you seal them up. When stored correctly, these crispy meringue cookies will stay perfect for over a week. Honestly, they taste amazing even a few days later!
Troubleshooting Common Meringue Cookie Issues
Even with the best recipe, sometimes things go a little sideways when you’re working with egg whites, right? Don’t sweat it! That’s why I think of this as less of a strict recipe and more of a guide. If your meringue cookies are weeping sticky syrup after they cool, that’s almost always a temperature issue. It usually means your oven was a tad too hot, and the sugar didn’t fully integrate before the exterior set. Next time, lower that temperature and draw out that drying time!
If your meringue just won’t whip up into those gorgeous, stiff peaks needed for these amazing meringue cookies, stop right there and check for grease! Seriously, even a microscopic bit of fat from the yolk or unwashed bowl will stop those whites dead in their tracks. If they never get stiff, they certainly won’t bake right. For more tips on getting things perfect when you don’t think they’re working, check out my guide on the best fluffy creamy scrambled eggs recipe—it’s all about temperature control!
Finally, stickiness: if they feel tacky the next day, it was likely humidity, or you rushed them out of the oven. Remember, the cooling process inside the turned-off oven is non-negotiable for perfect, crispy meringue cookies!
Frequently Asked Questions About Meringue Cookies
I love hearing what questions you all have! It means you’re getting ready to make these amazing meringue cookies, and I want you to feel 100% ready. When I was first learning, I had a million questions about getting those perfect, light and airy cookies, so let’s tackle the common ones now before you even start mixing!
Can I make meringue cookies without a stand mixer?
Yes, absolutely! This recipe is so flexible, even if you’re grabbing a hand mixer for this soft chewy oatmeal cookies recipe guide or for these meringues. It will take longer—I mean seriously longer, maybe 15 minutes of continuous beating instead of 8—but you can definitely achieve stiff peaks. Just make sure you take breaks if your arm gets tired! Patience is key for this beginner meringue recipe, mixer or not!
Are meringue cookies truly gluten free?
That is one of the great things about them! Unless you add mix-ins like cookies crumbs or certain flavorings, the base recipe of egg whites and sugar is naturally gluten free. If you are aiming for safe gluten free meringue cookies, just make sure all your other ingredients, like extracts, are certified gluten free, and you are good to go! They are such a fantastic dessert option for everyone.
Why won’t my egg whites whip up?
Nine times out of ten, if your egg whites are refusing to cooperate, it’s because of grease. I harp on this because it’s critical! Anything—a tiny bit of fat from the yolk, residual oil in the bowl, or even water droplets—will repel the egg whites when they try to incorporate air. Make sure that bowl and whisk are pristine. If they are foaming a little, add that pinch of salt and the cream of tartar, and restart on medium speed to try and save them!
Share Your Perfect Meringue Cookies Creations
Now that you’ve mastered making these beautiful meringue cookies, I truly hope you’ll share the joy! Head over and leave a rating below so new bakers know this recipe is solid gold. And please, tag me on social media when you pipe out your own little creations. I just love seeing how you personalize these delicate sweet treats!
If you want to compare techniques or see how others stabilized their batches before sealing them up, check out my tips on the Levain Bakery chocolate chip cookies page—that community is always sharing great baking success stories!
PrintFoolproof Classic Meringue Cookies Recipe: Light, Crisp, and Melt-in-Your-Mouth
Learn how to make perfect meringue cookies using the simple French method. This beginner meringue recipe yields light, airy cookies that are crisp outside and melt in your mouth inside. Naturally gluten free.
- Prep Time: 20 min
- Cook Time: 90 min
- Total Time: 110 min
- Yield: About 3 dozen 1x
- Category: Dessert
- Method: Baking
- Cuisine: American
- Diet: Gluten Free
Ingredients
- 4 large egg whites, room temperature
- 1 cup superfine granulated sugar (caster sugar)
- 1 teaspoon pure vanilla extract
- 1/4 teaspoon cream of tartar
- Pinch of salt
Instructions
- Preheat your oven to the lowest setting, typically between 200°F and 225°F (95°C to 107°C). Line two large baking sheets with parchment paper. Humidity affects meringue, so choose a dry day if possible.
- Place the egg whites and cream of tartar in a very clean, grease-free bowl of a stand mixer fitted with the whisk attachment. Ensure no trace of yolk or grease is present.
- Beat the egg whites on medium speed until they become foamy. Add the salt.
- Increase the speed to medium-high. Slowly add the superfine sugar, one tablespoon at a time, waiting about 30 seconds between additions. This slow addition is key to dissolving the sugar and creating a stable meringue.
- Once all the sugar is added, continue beating on high speed until the meringue is stiff, glossy, and holds firm peaks. When you lift the whisk, the peak should stand straight up without curling over. Rub a small amount between your fingers; it should feel smooth, not gritty from undissolved sugar.
- Beat in the vanilla extract on low speed just until combined.
- Transfer the meringue to a piping bag fitted with a large star tip (like a Wilton 1M) for homemade meringue kisses, or use two spoons for rustic dollops.
- Pipe or spoon small mounds onto the prepared baking sheets, leaving about one inch between each cookie.
- Bake for 1 to 1.5 hours, depending on your oven and cookie size. The goal is to dry them out, not brown them. They should lift easily from the parchment paper when done.
- Turn off the oven, prop the door open slightly with a wooden spoon, and allow the meringue cookies to cool completely inside the oven for at least one hour, or preferably overnight. This slow cooling prevents cracking.
- Store your crispy meringue cookies in an airtight container at room temperature.
Notes
- For stiff peaks, ensure your mixing bowl and whisk are completely free of any fat or water residue.
- If you want a slight flavor variation, substitute vanilla extract with 1/2 teaspoon of almond extract for a different delicate sweet treat.
- If you notice weeping or stickiness after cooling, your oven temperature was likely too high, or they were removed from the oven too quickly.
Nutrition
- Serving Size: 2 cookies
- Calories: 50
- Sugar: 12
- Sodium: 5
- Fat: 0
- Saturated Fat: 0
- Unsaturated Fat: 0
- Trans Fat: 0
- Carbohydrates: 12
- Fiber: 0
- Protein: 1
- Cholesterol: 0