
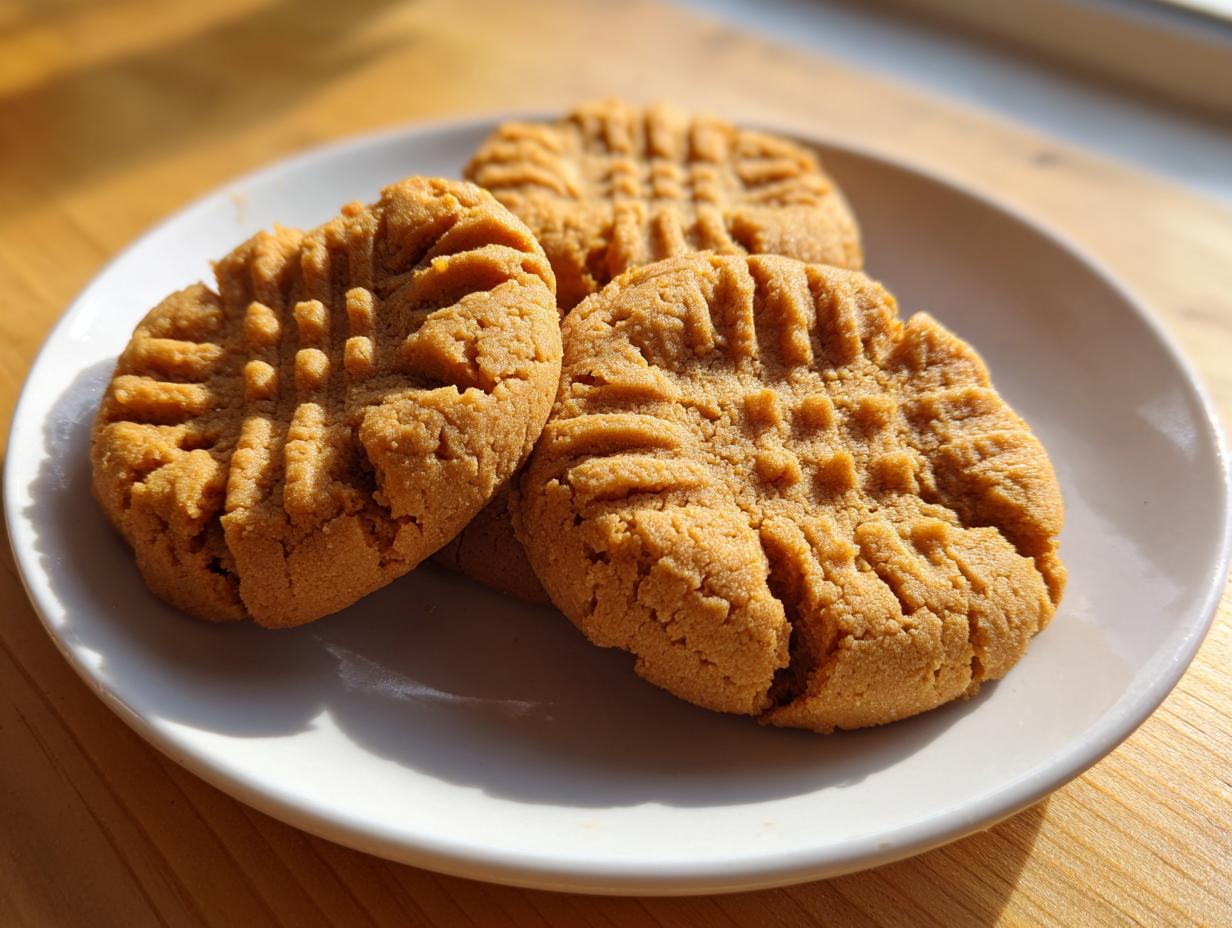
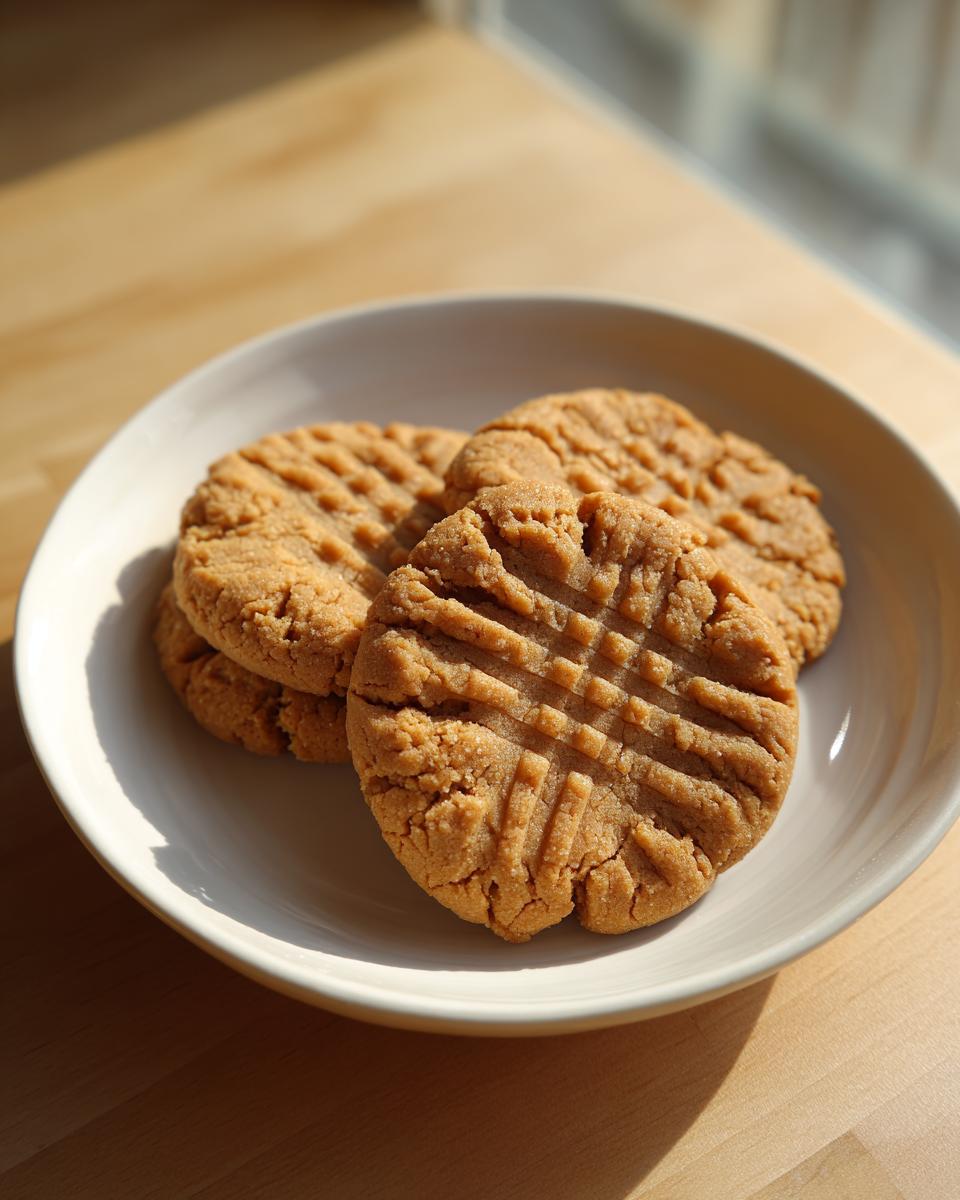
There’s just something about a really great cookie, isn’t there? When life gets hectic, or maybe you just need a moment of pure, sweet nostalgia, nothing hits the spot like diving into a batch of homemade peanut butter cookies. Forget the dry, crumbly versions you might have accidentally made before! My goal here at Cooking Zenith is to get you that absolute perfect texture—soft centers, just the right amount of chew, and those beautiful, classic crosshatch marks on top.
Aria Thompson poured so much time into finalizing this recipe because she knows how important comfort food is. We’ve stripped away all the fuss so you get foolproof results every single time. Trust me, once you try these, they’ll be your go-to for quick weeknight treats. Be sure to check out my secrets for the absolute best chocolate chip cookies while you’re here!
- Why You Will Make These Soft and Chewy peanut butter cookies Again and Again
- Ingredients for the Best peanut butter cookies Recipe
- Essential Equipment for Perfect peanut butter cookies
- How to Prepare Classic peanut butter cookies Step-by-Step
- Tips for Achieving Soft and Chewy peanut butter cookies
- Ingredient Notes and Substitutions for peanut butter cookies
- Storage and Reheating Instructions for Homemade peanut butter cookies
- Frequently Asked Questions About peanut butter cookies
- Serving Suggestions for Your Classic peanut butter cookies
Why You Will Make These Soft and Chewy peanut butter cookies Again and Again
I promise you, these cookies are going to become a staple in your rotation, and here’s why they beat out everything else:
- They are lightning fast! We’re talking just minutes of prep time before they hit the oven.
- The texture is unbeatable—soft, wonderfully chewy, and they don’t spread out into flat disks.
- This is genuinely a one-bowl recipe, which means cleanup is a breeze after your quick baking session.
- They deliver that classic, nostalgia-filled peanut butter cookies flavor everyone craves in a simple dessert idea.
Ingredients for the Best peanut butter cookies Recipe
Okay, so here’s the lineup for these classic peanut butter cookies. I always lay everything out before I start—it’s called mise en place, and honestly, it saves me from that frantic moment when you realize you forgot the baking soda! Don’t worry if you don’t have everything pictured on some fancy food blog; these are just good, honest ingredients that make truly delicious cookies. Remember, this recipe uses both white and brown sugar because that combination is the secret sauce for that perfect texture. For more easy pantry baking, grab all the necessities for my moist pumpkin bread recipe!
You’re going to need exactly what’s listed below to get that perfect soft and chewy bite:
- 1 cup (that’s 2 sticks!) unsalted butter, and please make sure it’s softened up on the counter first.
- 1 cup creamy peanut butter—I stick to standard Jif or Skippy style for the best texture here.
- 1 cup granulated sugar (the white kind).
- 1 cup packed light brown sugar—packing it in there counts!
- 2 large eggs, straight from the fridge is fine.
- 1 teaspoon vanilla extract to round out the flavor.
- 2 1/2 cups all-purpose flour.
- 1 teaspoon baking soda.
- 1/2 teaspoon baking powder.
- 1/2 teaspoon salt (if you use salted butter, you can cut this down slightly).
Essential Equipment for Perfect peanut butter cookies
You don’t need fancy gadgets for these easy peanut butter cookies, which is part of their charm! But having the right tools makes everything smoother. I always make sure I have my trusty big mixing bowl ready to go for handling all that dough.
Here’s the short list of things you’ll want handy:
- A large mixing bowl (or two if you’re trying to keep things tidy!).
- An electric mixer, either hand-held or stand mixer, for that crucial creaming step.
- Baking sheets—I usually use two so I can bake quicker batches.
- Parchment paper is non-negotiable for easy cleanup. Seriously, don’t skip this!
- A fork, of course, for making those signature crosshatch marks!
It’s simple equipment, which proves that the best baking recipes don’t require a professional setup. For the fluffiest results on a different kind of morning treat, be sure to check out my guide on making the best fluffy, creamy scrambled eggs!
How to Prepare Classic peanut butter cookies Step-by-Step
This is where the magic happens, and honestly, it’s so straightforward! We are aiming for a creamy batter foundation, so preheating your oven to 350°F (175°C) right away is step one. Make sure those baking sheets are lined with parchment paper because clean up is my favorite part of any baking session.
Next up, and this is critical for those soft peanut butter cookies: creaming! Grab your butter, peanut butter, and both sugars, and beat them until they get light and fluffy. This takes a few minutes, but don’t rush it! You need those air pockets to form the ideal base. Then, toss in the eggs one at a time, followed by your vanilla.
In a separate bowl, quickly whisk the flour, soda, powder, and salt. Add this dry mix to your wet ingredients gradually. Mix on low speed, just until you see everything disappear into this gorgeous cookie dough. Overmixing is the enemy of chewy cookies, so stop as soon as it’s combined!
Roll those balls—about 1-inch size—and place them two inches apart. Now, for the signature look: Grab your fork and make that beautiful crosshatch. You press down one way, then press again perpendicular to that first mark. This makes sure the center cooks evenly! Bake them for 10 to 12 minutes. Pull them when the edges look set but the middle still looks *slightly* soft. They firm up sitting on the hot sheet for five minutes before you move them to the rack. If you love chewy results, you have to see how I nail the chewy cookie cake recipe too!
Tips for Achieving Soft and Chewy peanut butter cookies
When it comes to getting that perfect, cloud-like texture in homemade peanut butter cookies, there are a few little spots where you absolutely cannot cut corners. I learned this through trial and error—trust me, I’ve made some hockey pucks in my day! The bake time is the most crucial thing here. If you wait until the center looks completely firm, they will turn out dry.
My absolute biggest secret for that melt-in-your-mouth feel is slightly underbaking them. Seriously! Pull these cookies out when the edges look set but the center still looks a tiny bit soft. They keep cooking on that hot baking sheet for those five crucial minutes, resulting in a wonderfully chewy center.
Also, if your kitchen is super warm because you live somewhere humid, or maybe you just forgot to set the butter out early enough so it got a little too soft, the dough might spread too much. Don’t panic! Just pop that whole bowl of cookie dough into the fridge for about 30 minutes. Chilling the dough helps the fat firm up just enough to maintain that perfect height and shape. For other foolproof comfort desserts, you have to see my classic apple crisp recipe!
Ingredient Notes and Substitutions for peanut butter cookies
I always get questions about the specific ingredients in these peanut butter cookies, especially when it comes to the peanut butter itself. Everyone has their preference, but to get that predictable, soft, and chewy outcome we are aiming for, I have my rules!
The Peanut Butter Dilemma: Creamy vs. Crunchy
For the absolute best results in this recipe, you really need creamy peanut butter. Why? Because the goal is to create a smooth, uniform batter when you cream it with the butter and sugars. Crunchy peanut butter will add little pockets of resistance and can sometimes make the final cookie a bit crumbly instead of uniformly chewy.
Now, if you absolutely cannot live without those satisfying peanut chunks, you can use crunchy peanut butter for about half the required amount, and then substitute the other half with creamy. This way, you get that nice chunkiness without sacrificing too much of that soft structure we worked so hard to achieve. It’s a great compromise if you’re making these for a crowd with mixed preferences!
Sugar Layers: Why We Use Both Brown and White
You might wonder why we use a full cup of brown sugar *and* a full cup of white sugar. They actually do totally different jobs in your baking, which is why this recipe works so well as one of the best peanut butter cookies out there. Granulated (white) sugar helps the cookie spread just a little and gives you those slightly crisp edges that offer a great contrast to the center.
The light brown sugar, though? That’s where the moisture lives! Because it contains molasses, brown sugar keeps the cookies soft much longer. If you tried to use only white sugar, these would definitely turn into harder, more old-fashioned style cookies—still good, but not the soft and chewy treat we promised!
If you’re experimenting in the kitchen, remember that balancing fats and sugars is key to any good dough—it’s the same principle I follow when I make my creamy chicken enchiladas; proper ratios mean everything!
Storage and Reheating Instructions for Homemade peanut butter cookies
The best part about making a big batch of these homemade peanut butter cookies is knowing you have a tasty treat ready for days—or sometimes minutes, let’s be honest! Since these are soft and chewy, keeping the moisture locked in is our main goal.
For short-term storage, just skip the fridge. Pop your completely cooled cookies into a sturdy, airtight container. They’ll stay wonderfully soft at room temperature for about four or five days. If you stack them, put down a little piece of parchment paper between the layers so they don’t stick together.
If you need to stash them longer, the freezer is your friend! Wrap the cookie balls (before baking!) or fully cooled cookies tightly in plastic wrap, then toss them into a freezer bag. They keep beautifully for up to three months. When you get that craving, just pop them on a baking sheet and reheat for a few minutes, or thaw the dough on the counter. Speaking of easy reheating, this works great for my quick parmesan pasta too!
Frequently Asked Questions About peanut butter cookies
I get so many questions about these classic peanut butter cookies, so I thought I’d tackle a few of the most common ones right here. Everyone wants to make sure their batch turns out perfectly soft and chewy, not flat and crispy!
Why didn’t my peanut butter cookies get the classic crosshatch pattern?
Oh, this is usually one of two things! Either your cookie dough was too cold, so it was rigid when you tried to press the fork down, or you didn’t press hard enough. For the best look and texture, the dough balls should be room temperature. When you press the fork down the first time, press firmly until you feel resistance from the pan. Then, rotate the fork 90 degrees and press again. If the dough is too stiff, it resists that second press and just crumbles instead of forming that neat pattern.
My cookies spread out flat! How do I fix this for next time?
Spreading is usually about the butter being too warm or forgetting to chill the dough. If your butter melts too fast in the oven, the cookies spread flat before the structure sets. Next time, make sure your butter is only *softened*, not melted. Crucially, if you notice your dough feels greasy or soft before you even roll it, stick it in the fridge for 30 minutes! This is essential for getting those taller, chewy peanut butter cookies.
What is the difference between soft and old-fashioned peanut butter cookies?
It all comes down to the ingredients and the bake time! These soft peanut butter cookies rely on those two kinds of sugar—the molasses in the brown sugar keeps them moist, and we pull them early from the oven. Old fashioned peanut butter cookies usually use only white sugar, which dries out faster, and they bake longer until they are fully set, giving you that crumbly, snap texture. If you want that soft bite, stick to this recipe!
Can I freeze the cookie dough for later?
Absolutely! Freezing the dough is a fantastic way to have quick cookie recipes ready when you need them. Just roll the dough into balls, place them on a small sheet pan, and freeze them until solid. Then, transfer the frozen balls to a zip-top bag. When you’re ready to bake them straight from frozen, just add about 3 to 5 extra minutes to the baking time listed in the instructions. It’s such a lifesaver! We love having these on hand for emergency cravings, much like I rely on my recipe for easy Mexican rice casserole for weeknight fixes.
Serving Suggestions for Your Classic peanut butter cookies
You’ve pulled a masterpiece out of the oven—golden brown, perfectly scored, and smelling incredible. Now what? Half the joy of baking is pairing that fresh cookie with something delicious, right? These classic peanut butter cookies are superstars on their own, but they honestly shine even brighter when you pair them up correctly.
For a true, comforting, back-to-childhood moment, you can’t beat a tall, ice-cold glass of milk. I mean, that’s the law of dessert physics, isn’t it? The salty-sweet richness of the peanut butter is just perfectly cut by cold dairy. If you’re having these in the afternoon, a strong cup of coffee or an Americano works wonders too; the slight bitterness really enhances the nutty, sweet flavors in the cookie.
If you are officially declaring this a night for indulgent comfort food desserts, you have to try crumbling one over vanilla ice cream. It works best if you wait until the cookies have cooled completely so they retain a little bit of integrity before they melt into the creaminess.
For a grown-up twist, try dipping the cooled cookies into a dark chocolate ganache. I know, more richness! But trust me, the slight bitterness of dark chocolate next to salty peanut butter is heaven. If you’re interested in other amazing peanut butter treats that bring the sweet and salty combo, you absolutely have to see my recipe for peanut butter pretzel bark!
Honestly, these cookies are so good and so quick that they work for any occasion you need a simple dessert idea for—whether it’s a cozy night in or a last-minute gathering!
PrintSoft and Chewy Classic Peanut Butter Cookies
Make these classic peanut butter cookies for a soft, chewy dessert that tastes homemade. This easy, one-bowl recipe is perfect for quick baking sessions and satisfying comfort food cravings.
- Prep Time: 15 min
- Cook Time: 12 min
- Total Time: 27 min
- Yield: About 3 dozen cookies 1x
- Category: Dessert
- Method: Baking
- Cuisine: American
- Diet: Vegetarian
Ingredients
- 1 cup (2 sticks) unsalted butter, softened
- 1 cup creamy peanut butter
- 1 cup granulated sugar
- 1 cup packed light brown sugar
- 2 large eggs
- 1 teaspoon vanilla extract
- 2 1/2 cups all-purpose flour
- 1 teaspoon baking soda
- 1/2 teaspoon baking powder
- 1/2 teaspoon salt
Instructions
- Preheat your oven to 350°F (175°C). Line baking sheets with parchment paper.
- In a large bowl, cream together the softened butter, peanut butter, granulated sugar, and brown sugar until the mixture is light and fluffy.
- Beat in the eggs one at a time, then mix in the vanilla extract.
- In a separate bowl, whisk together the flour, baking soda, baking powder, and salt.
- Gradually add the dry ingredients to the wet ingredients, mixing on low speed until just combined. Do not overmix the cookie dough.
- Roll the dough into 1-inch balls and place them 2 inches apart on the prepared baking sheets.
- Use a fork to press down on each ball to create the classic crosshatch pattern, pressing once in one direction and then again perpendicular to the first press.
- Bake for 10 to 12 minutes, or until the edges are set but the centers still look slightly soft.
- Let the cookies cool on the baking sheets for 5 minutes before transferring them to a wire rack to cool completely.
Notes
- For the best soft and chewy texture, slightly underbake the cookies; they will firm up as they cool.
- If you prefer a saltier cookie, use salted butter or add an extra pinch of salt to the dry ingredients.
- Chill the dough for 30 minutes before rolling if your kitchen is warm; this helps prevent the cookies from spreading too much.
Nutrition
- Serving Size: 1 cookie
- Calories: 180
- Sugar: 12g
- Sodium: 110mg
- Fat: 10g
- Saturated Fat: 4g
- Unsaturated Fat: 6g
- Trans Fat: 0g
- Carbohydrates: 21g
- Fiber: 1g
- Protein: 4g
- Cholesterol: 25mg