
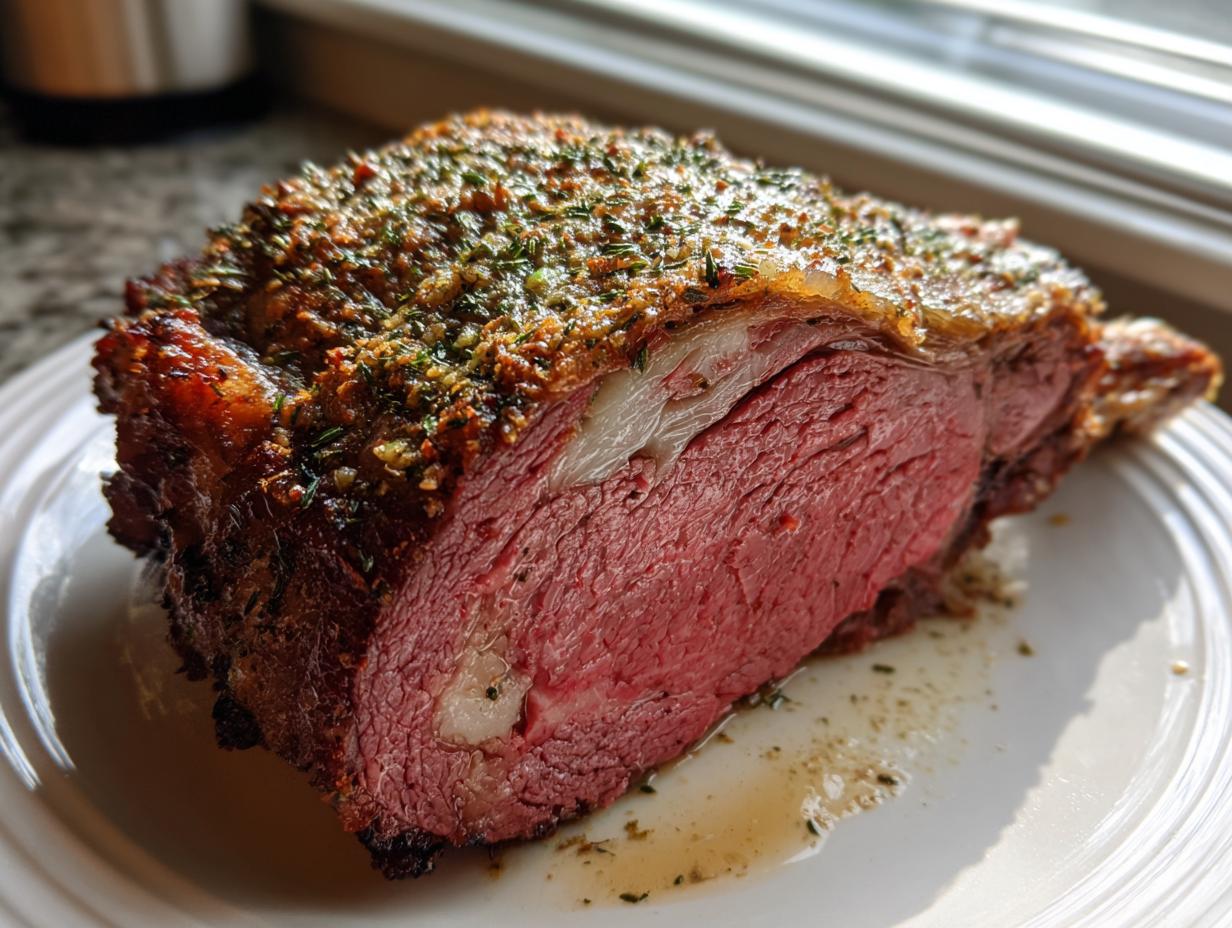
When major holidays roll around, or you just decide it’s time for a truly spectacular dinner, everyone stares at the big gap where the main course should be. Forget the stress of trying to manage a fussy bird or a complicated sauce; I’m telling you right now, the **standing rib roast**, or Prime Rib if you want to sound fancy, is the showstopper you need. I get it—roasts look intimidating, the kind of thing only professional chefs tackle. But trust me, I spent countless hours in my own kitchen translating what seems like complicated methods into steps that actually work for us home cooks. This recipe is my absolute promise: you’re going to end up with an unbelievably juicy interior wrapped in the most flavorful garlic herb crust you’ve ever tasted. Cooking Zenith is all about bringing that confidence to your table!
- Why This Garlic Herb Standing Rib Roast is Your New Holiday Roast Centerpiece
- Ingredients for the Perfect Standing Rib Roast
- How to Cook Standing Rib Roast: Step-by-Step Oven Roasting
- Expert Tips for the Juicy Roast Beef Recipe (Oven Roasted Rib Roast)
- Resting and Carving Your Standing Rib Roast
- Serving Suggestions for Your Christmas Dinner Main Course
- Storage and Reheating Instructions for Leftover
- Frequently Asked Questions About Your Rib Roast Cooking Guide
- Sharing Your Standing Rib Roast Success
Why This Garlic Herb Standing Rib Roast is Your New Holiday Roast Centerpiece
Look, I know you want that restaurant-quality experience right at home, especially when you’re hosting the big **Christmas Dinner Main Course**. That’s where this recipe steps up big time. It sounds fancy, but I promise it’s straightforward and relies on technique, not guesswork.
Here’s why I stake my kitchen reputation on this **Prime Rib Roast Recipe**:
- Guaranteed Moisture: We use a technique that locks in every bit of juice. No dry edges here!
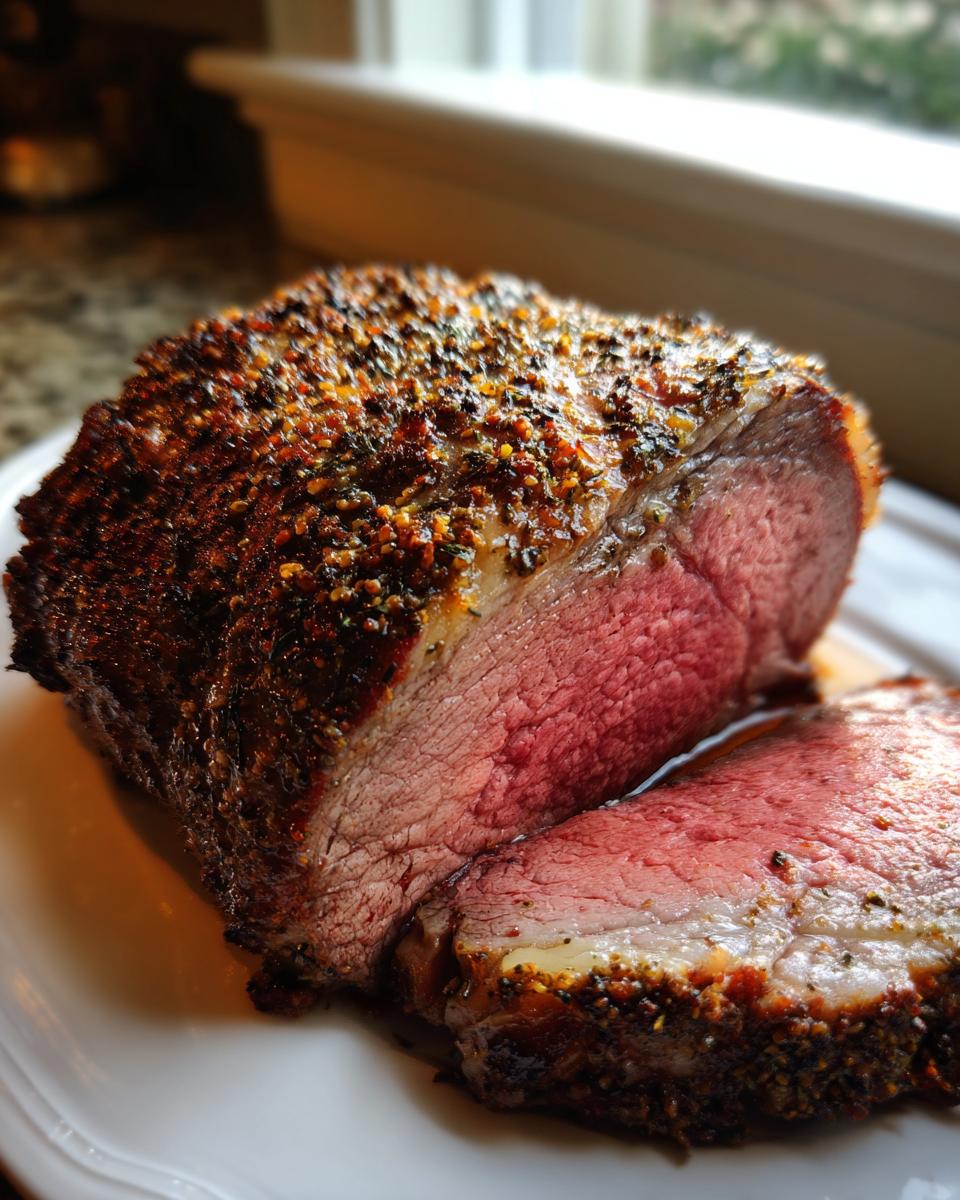
- The Crust: That aromatic garlic and herb paste? It turns into a savory, salty shell that seals in all the flavor. It’s honestly the **Best Prime Rib Ever**.
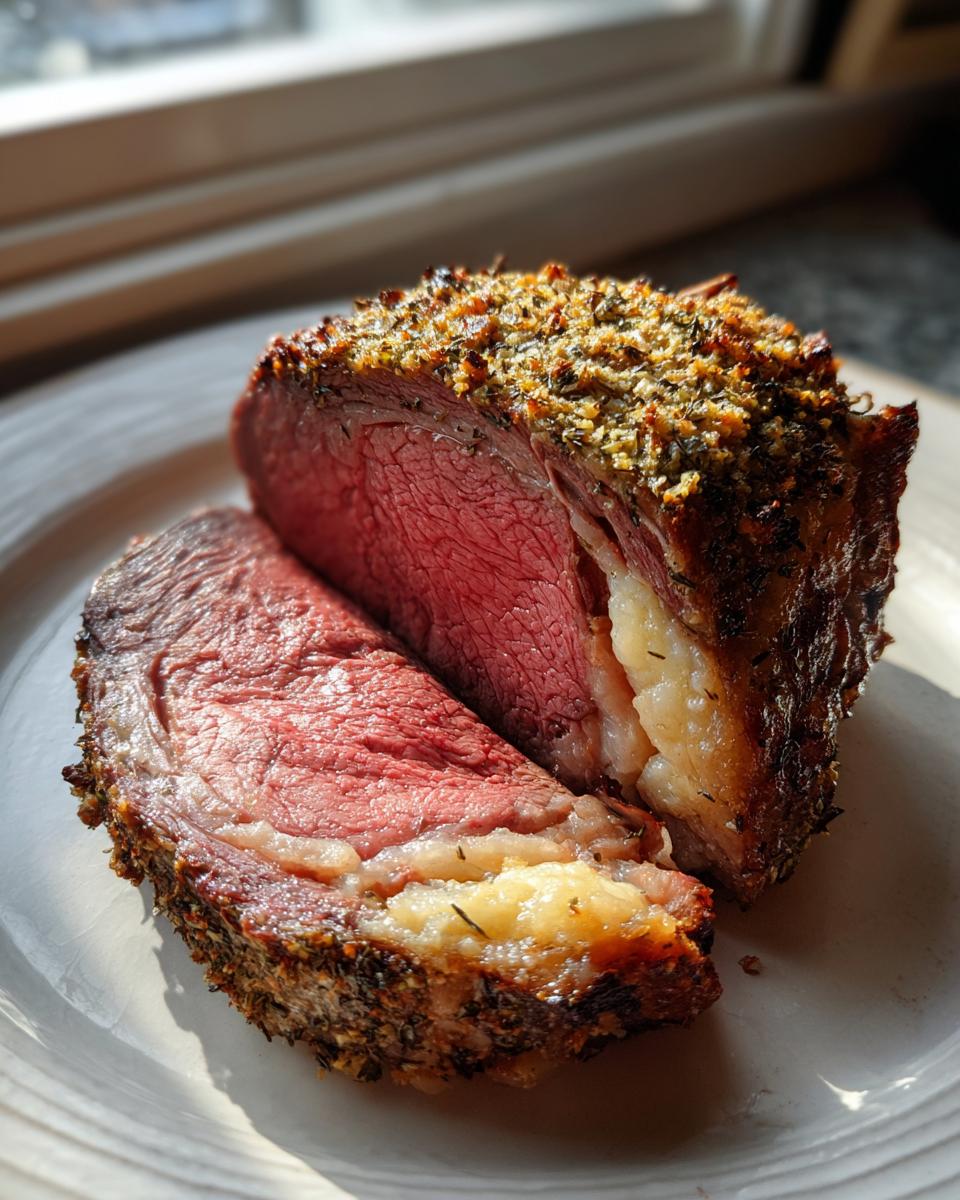
- Simple Sear: We hit it with high heat first to get that beautiful exterior char, then drop the temperature. It’s the secret to a **Perfect Medium Rare Roast** every time.
If you’ve roasted chicken thighs before, you can master this. Check out my simple honey garlic chicken recipe if you need a quick confidence booster before tackling the big show!
Ingredients for the Perfect Standing Rib Roast
You don’t need a huge list of crazy things for this magnificent roast—it’s letting that beautiful beef shine! The key here is quality; grab the best bone-in **standing rib roast** you can find, aiming for 4 to 6 pounds. That hefty cut is what gives us that amazing juiciness.
For the paste that makes this dish so memorable, the measurements have to be spot-on:
- 1 (4 to 6 pound) bone-in standing rib roast (Prime Rib)
- 2 tablespoons coarse salt (don’t skimp here!)
- 1 tablespoon freshly ground black pepper
- 1 tablespoon dried thyme
- 1 tablespoon dried rosemary
- 6 cloves garlic, minced (use fresh, please!)
- 4 tablespoons unsalted butter, softened
- 1 tablespoon olive oil
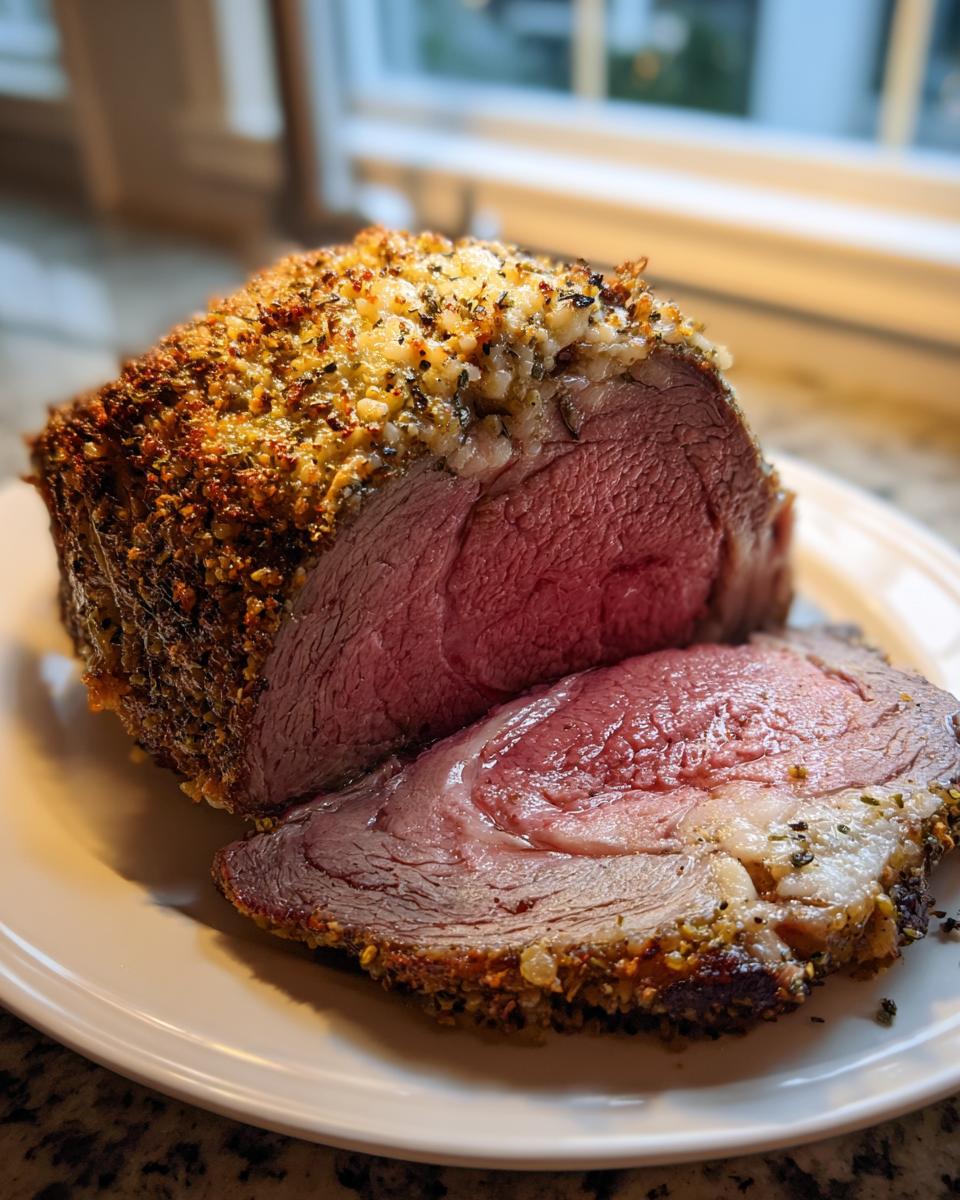
That softened butter mixed with herbs and garlic is your ticket to a phenomenal, flavorful exterior crust. It’s honestly simple magic!
How to Cook Standing Rib Roast: Step-by-Step Oven Roasting
Okay, this is where the real show begins! Cooking a big roast like this requires trusting the process and, most importantly, trusting your thermometer. Don’t try to guess when this beautiful centerpiece is done; we aren’t messing around with perfection here. Remember that resting time is non-negotiable—it’s part of the cooking process! For reliable, step-by-step guidance, you can also check out tried-and-true methods like the one detailed on Simple Whisk.
Preparation: Bringing the Standing Rib Roast to Temperature
First things first: pull that gorgeous hunk of beef out of the fridge about 2 to 3 hours before you plan to put it in the oven. Seriously, don’t skip this! If you try to roast a rock-hard, ice-cold roast, the outside will burn before the center even thinks about catching up. Letting it sit on the counter lets the internal temperature even out slightly, which gives you that beautiful, uniform cook from edge to edge. While it’s relaxing, go ahead and preheat that oven all the way up to 450 degrees Fahrenheit. We are searing this beauty hard!
Creating the Flavorful Garlic Herb Paste for Your Standing Rib Roast
While the meat is warming up, whip up that delicious crust! In a small bowl, just mash together that softened, room-temperature unsalted butter with your minced garlic, dried thyme, and rosemary. It should come together into a thick, fragrant paste. After your roast has patted dry (that’s crucial for a good crust, by the way!), drizzle it with olive oil and season aggressively with salt and pepper. Then, take that incredible herb butter and rub it all over the entire surface. Get it everywhere! This is what gives you that intensely flavored exterior.
Roasting Sequence for a Perfect Medium Rare Roast
Time to put it in the pan! Place your rib roast fat-side up on a rack—make sure air can circulate all around it. Pop it into that 450°F oven for a quick 15 minutes. This high heat blast is what gives you that signature, crispy crust. After those initial 15 minutes, drop the temperature down immediately to 325 degrees Fahrenheit. Now, you roast! Stick your meat thermometer deep into the thickest part, making sure you are avoiding the bone. When it hits 125°F, pull it out! We’ll talk about the magic of carryover cooking in a bit. If you need a refresher on quick weeknight food while you wait for roast day, check out my easy breakfast recipes.
Expert Tips for the Juicy Roast Beef Recipe (Oven Roasted Rib Roast)
Listen, nailing that **Tender Beef Roast** means knowing a few tricks that separate a good roast from a legendary one. Since we are aiming for the **Showstopper Beef Roast** status here, I want to share the secrets I learned doing batch after batch of test roasts.
Achieving the Tender Beef Roast with Reverse Sear
If you want the absolute most foolproof, edge-to-edge perfect medium-rare, you have to try the reverse sear method mentioned in my notes. It sounds kind of backward, which is why I love it! You put the roast in a super low oven—think 225°F—and just let it hang out until the center hits 115°F. It cooks slowly and evenly. Then, you blast it in a screaming hot 450°F oven for just 10 to 15 minutes to create that gorgeous crust we talked about. It’s honestly almost impossible to mess up!
Making Pan Gravy for Your Standing Rib Roast
You absolutely cannot serve a magnificent roast without gravy, right? Don’t forget those flavorful pan drippings sitting in the roasting pan. Pour everything off into a measuring cup, leaving just about two tablespoons of fat behind. Whisk in two tablespoons of flour right into that hot fat and let it cook for just a minute. Then, slowly pour in about two cups of beef broth, whisking constantly until it gets smooth and thick. Trust me, poured over slices of this roast alongside some creamy mashed potatoes, you’ll feel like royalty. For more ideas on what to cook during the holidays, take a peek at my guide on how to cook a standing rib roast too!
Resting and Carving Your Standing Rib Roast
We are pulling this magnificent beef out of the oven when the thermometer shows 125°F, but that doesn’t mean it’s ready to eat! You absolutely have to let it rest, tented loosely with foil, for at least 20 minutes. This is crucial because the “carryover cooking” happens then. The temperature keeps rising by about 5 to 10 degrees as the juices redistribute back into the meat fibers.
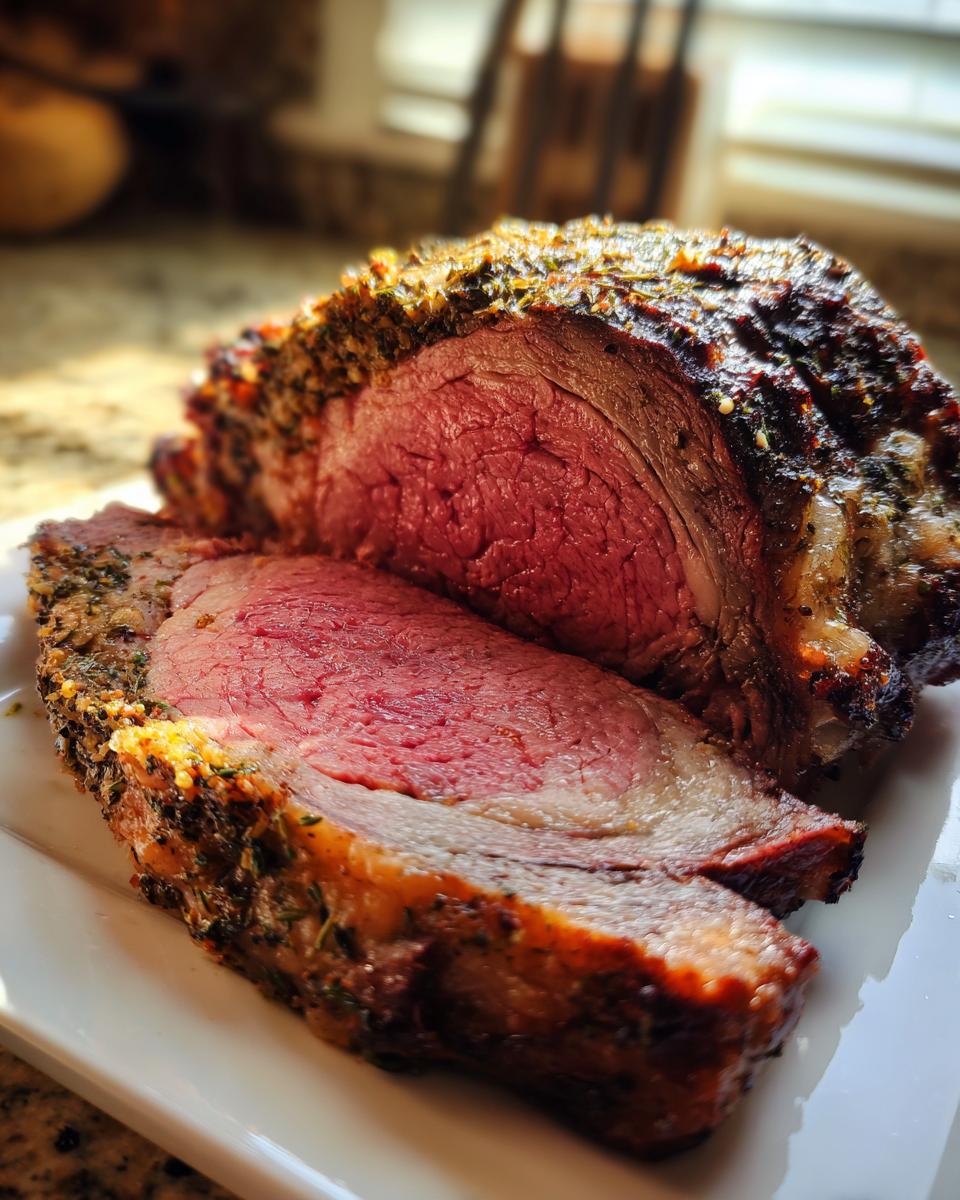
Once rested, slide a sharp knife right between the bones to separate them. This makes carving so much cleaner than trying to saw through them! Slice the roast against the grain into thick, luscious pieces. That resulting slice of beef, shiny and perfectly pink, is why we went through all this effort!
Serving Suggestions for Your Christmas Dinner Main Course
You’ve got this incredible, show-stopping centerpiece on the table—now we need sides worthy of such a magnificent roast beef! Since the prime rib is so rich and savory, you want sides that are classic, comforting, and offer a nice little contrast without stealing the spotlight.
I always go for potatoes, right? You simply can’t go wrong with something creamy. My recipe for creamy mashed potatoes is non-negotiable here; they soak up any extra gravy perfectly. They are pure comfort food that feels luxurious.
Next, you need green! Roasted asparagus or maybe some creamed spinach always feels festive and cuts through the richness of the beef beautifully. And, of course, if you’re serving a big crowd, a little stuffing on the side doesn’t hurt anyone. I have a great classic homemade stuffing recipe that makes everything feel extra traditional.
Finally, don’t forget the wine! Something bold and tannic is what you need to stand up to that rich beef flavor. I always reach for a big Cabernet Sauvignon or maybe a lovely Bordeaux when I serve this. Cheers to a perfect holiday meal!
Storage and Reheating Instructions for Leftover
If you somehow end up with leftover slices of that incredible beef—which is a win in my book!—you need to treat those leftovers with respect. You worked hard for that perfect texture, so we aren’t going to ruin it by microwaving it into shoe leather the next day. Store your leftover roast slices closely wrapped in the fridge. If you have already carved it, keep the slices stacked neatly, maybe with a tiny dab of butter pressed onto the cut sides if you’re feeling extra fancy. This helps lock in moisture overnight.
Now, reheating is the tricky part because beef always seems to dry out when you zap it. I absolutely forbid anyone from trying to reheat large slabs in the microwave; it just doesn’t work! If you only have one or two slices, the best trick is to use some liquid. Heat a small amount of beef broth, maybe even a splash of that pan gravy we made, in a skillet over medium-low heat. Just barely warm the liquid, and gently nestle the roast slices into the hot broth for maybe a minute or two, turning them once. You just want to warm them through, not cook them again!
For bigger portions, the oven is slightly better, but you must guard against dryness. Place the slices in a shallow baking dish. Pour just enough beef broth into the bottom of the dish to cover the bottom layer of slices—it should barely come up the sides. Cover the dish tightly with foil and heat it at a low temperature, maybe 300 degrees Fahrenheit, until warmed through. This steamy environment keeps that juicy texture you worked so hard to achieve!
Frequently Asked Questions About Your Rib Roast Cooking Guide
It’s totally normal to have a few last-minute jitters before putting a gorgeous roast like this in the oven! You’ve chosen an incredible centerpiece, and I want to make sure you feel 100% confident. Here are the questions I get asked most often when people are preparing their first or tenth **Standing Rib Roast**.
What internal temperature should I aim for when cooking a Standing Rib Roast?
This is the most important part of the entire **Rib Roast Cooking Guide**! I highly recommend aiming for 125°F when you pull it out of the oven, which gives you a beautiful medium-rare after resting. If you like it rarer, pull it at 120°F—that’s closer to blue rare. If your family simply must have medium, pull it out closer to 130°F. Remember, the temperature will climb another 5 to 10 degrees while it rests outside the oven, so never cook to the final temp while it’s still hot!
Should I tie the bones back onto the Prime Rib Roast Recipe?
That’s a great question about presentation versus convenience! Tying the bones back on before cooking creates a slightly more uniformly shaped roast, which looks stunning when you present the whole thing. However, I often prefer to have my butcher cut the bones off, then I tie them loosely back onto the roast with kitchen twine. Why? Because when it comes time to carve, you can easily slip the knife between the bones, making slicing much faster. Either way works for this **Prime Rib Roast Recipe**, but tying them back on always looks grand!
Can I use dry rub instead of the herb butter for my Standing Rib Roast?
Sure you *can*, because honestly, a great piece of beef tastes good even if you just rub it with salt and pepper! But, for this specific recipe aiming for that signature crust, the herb butter is what really sets it apart. The butter melts down, mixes with the garlic and herbs, and essentially fries the exterior, creating that amazing sealed layer. If you are using a dry rub, make sure you still bump up the fat content in your cooking method or you risk a drier exterior. For the very best result here, stick with the butter!
If you’re looking for the perfect puffy side dish to serve alongside this beef, you absolutely have to try my Yorkshire pudding guide. It’s a classic pairing!
Sharing Your Standing Rib Roast Success
Well, there you have it! My most reliable **Standing Rib Roast** method. I truly hope this recipe helps you create a stunning centerpiece for your table. Now the ball is in your court!
I put my heart and soul into making sure this **Special Occasion Beef** recipe is foolproof for you. When you pull that perfectly crusted, juicy roast out of the oven, I want to know about it!
Please, please come back and leave a star rating below—it helps me know what’s working best for you home cooks. And even better? Snap a beautiful picture of your final roast and tag me on social media. Nothing makes me happier than seeing my recipes transform into your family’s memories.
If you have any last-minute questions or just want to brag about your results, don’t hesitate to reach out through my contact page. Happy roasting, everyone!
PrintThe Best Standing Rib Roast: Juicy Prime Rib with Garlic Herb Crust
Create a showstopper centerpiece for your next special dinner with this reliable recipe for a Standing Rib Roast, also known as Prime Rib. You will achieve a perfectly cooked, juicy interior and a flavorful garlic herb crust using simple oven roasting steps.
- Prep Time: 20 min
- Cook Time: 120 min
- Total Time: 160 min
- Yield: 6 servings 1x
- Category: Main Course
- Method: Oven Roasting
- Cuisine: American
- Diet: Low Fat
Ingredients
- 1 (4 to 6 pound) bone-in standing rib roast (Prime Rib)
- 2 tablespoons coarse salt
- 1 tablespoon freshly ground black pepper
- 1 tablespoon dried thyme
- 1 tablespoon dried rosemary
- 6 cloves garlic, minced
- 4 tablespoons unsalted butter, softened
- 1 tablespoon olive oil
Instructions
- Remove the roast from the refrigerator 2 to 3 hours before cooking. Let it sit at room temperature.
- Preheat your oven to 450 degrees Fahrenheit.
- In a small bowl, combine the softened butter, minced garlic, thyme, and rosemary. Mix until you have a smooth herb butter paste.
- Pat the entire surface of the roast dry with paper towels. This helps create a good crust.
- Rub the roast all over with olive oil, then season generously with salt and pepper.
- Spread the garlic herb butter mixture evenly over the entire surface of the roast.
- Place the roast, fat-side up, in a roasting pan fitted with a rack. If you have a 3-rib roast or smaller, you can place it directly on the rack. For larger roasts, ensure there is space underneath for air circulation.
- Roast at 450 degrees Fahrenheit for 15 minutes to sear the exterior.
- Reduce the oven temperature to 325 degrees Fahrenheit. Continue roasting until the internal temperature reaches your desired doneness (use a meat thermometer inserted into the thickest part, avoiding the bone).
- For medium-rare (recommended), pull the roast when the internal temperature reads 125 degrees Fahrenheit.
- Remove the roast from the oven. Tent it loosely with foil and let it rest for at least 20 minutes before carving. The temperature will rise about 5 to 10 degrees during resting.
- Carve the roast between the bones and serve immediately.
Notes
- For the juiciest results, consider using the reverse sear method: cook at a low temperature (225°F) until the internal temperature is 115°F, then blast at 450°F for 10-15 minutes to form the crust.
- To make a simple pan gravy, pour off the drippings from the roasting pan into a saucepan, leaving about 2 tablespoons of fat. Whisk in 2 tablespoons of flour and cook for one minute. Slowly whisk in 2 cups of beef broth until smooth. Simmer until thickened.
- If your roast has a fat cap, score it lightly in a diamond pattern before applying the herb butter.
Nutrition
- Serving Size: 5 oz cooked meat
- Calories: 450
- Sugar: 0
- Sodium: 350
- Fat: 30
- Saturated Fat: 14
- Unsaturated Fat: 16
- Trans Fat: 0
- Carbohydrates: 0
- Fiber: 0
- Protein: 40
- Cholesterol: 140