
Oh, the sheer frustration! You spend hours cutting out perfect shapes, baking them precisely, and then you pipe on your beautiful icing, only to have it stay tacky for days. You can’t stack them, you can’t gift them without the whole thing smearing, and you just want that beautiful, crisp, bakery-quality finish. Trust me, I’ve been there plenty of times! That’s why, here at Cooking Zenith, I, Aria Thompson, dedicate myself to creating foolproof guides. I wanted a recipe that eliminates the guesswork, and I finally perfected one for sugar cookie icing that hardens.
This isn’t some complicated royal icing that requires aged egg whites! This simple formula gives you an unbelievably glossy, hard, and stackable finish using just pantry staples. If you’ve ever struggled to get a good, smooth top coat—maybe you need a quick refresher on swirls before you try this, too!—check out my vanilla buttercream guide—but trust me, this one sets like glass. It’s my go-to method for turning out professional-looking holiday cookies every single time.
- Why This Sugar Cookie Icing That Hardens Is Your New Go-To
- Ingredients for Your Glossy Sugar Cookie Frosting Recipe
- How to Make Hard Icing for Cookies: Step-by-Step Tutorial
- Tips for Success with Powdered Sugar Icing That Sets Firm
- Troubleshooting Common Icing Issues
- Storage and Keeping Your Decorated Cookies Fresh
- Frequently Asked Questions About Hard Setting Cookie Glaze
- Nutritional Estimate for This Icing
- Share Your Hardened Cookie Creations
Why This Sugar Cookie Icing That Hardens Is Your New Go-To
Honestly, once you make this recipe, you’ll throw out every other watery glaze method you’ve ever tried. If you’re looking for bakery style cookie icing, this is it! It dries beautifully, which means less stress for you while you’re trying to manage dozens of cookies for a party or a big cookie exchange. I even use the same focus on consistency when I’m perfecting my soft and chewy snickerdoodles—getting the texture right is everything!
I’ve perfected this mixture to give you that high-end look without the fuss. You just won’t believe how simple it is!
Achieving a Smooth Finish Cookie Icing
The secret sauce here, besides the powdered sugar, is the tiny bit of light corn syrup. It’s a powerhouse ingredient! It breaks up the stiffness of the sugar slightly while it sets, which results in that unbelievable, mirror-like sheen. It makes this recipe a fantastic and completely reliable hard setting cookie glaze alternative for anyone who doesn’t want to deal with meringue powder.
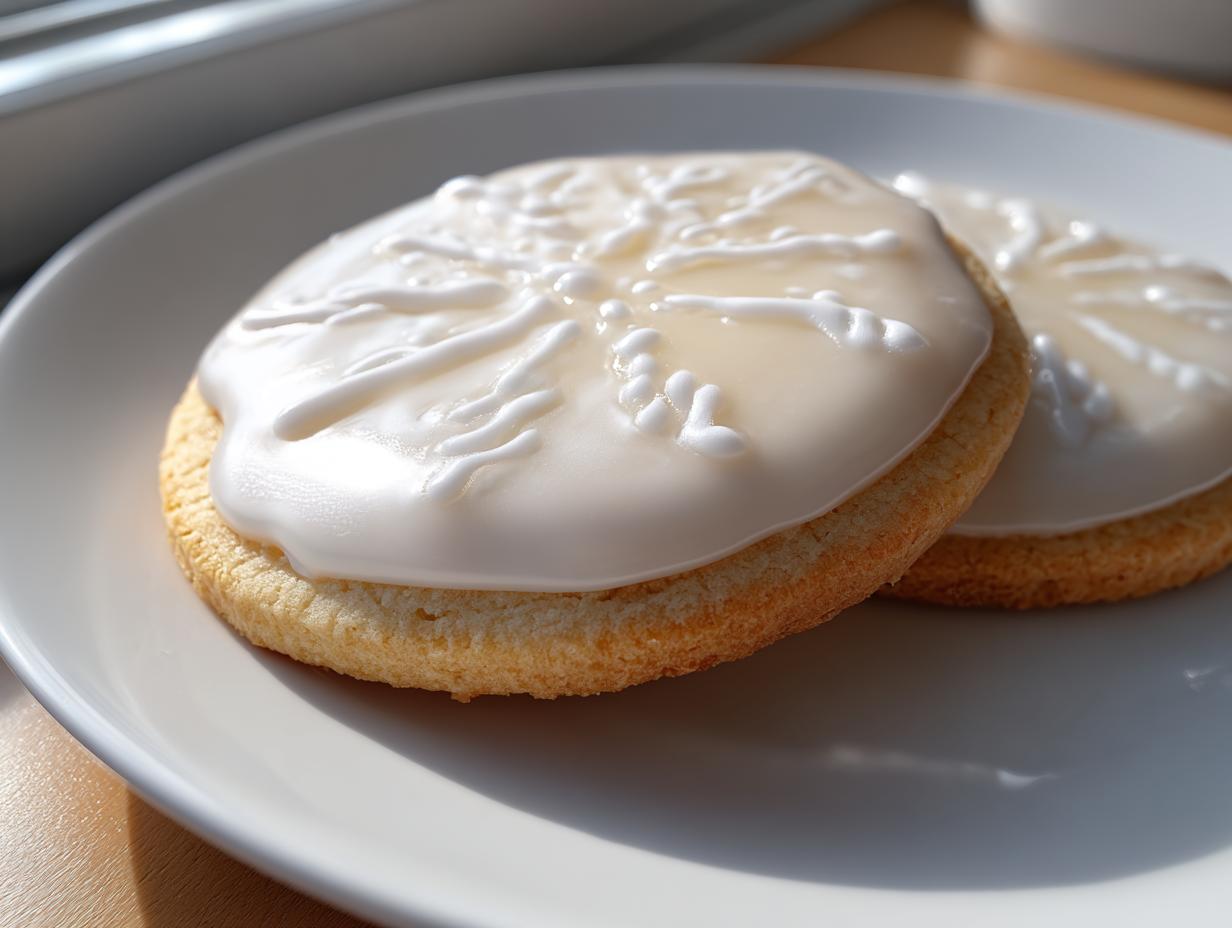
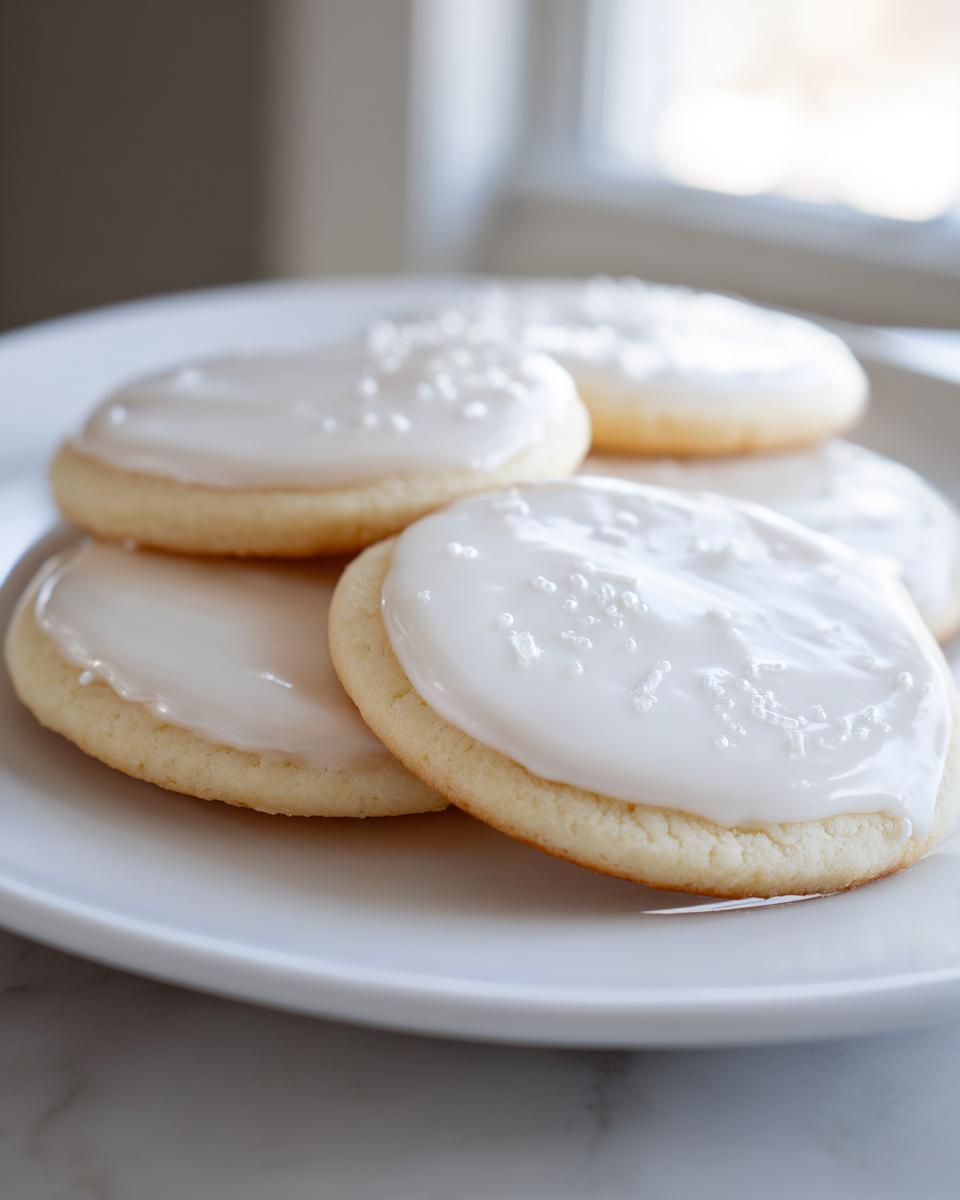
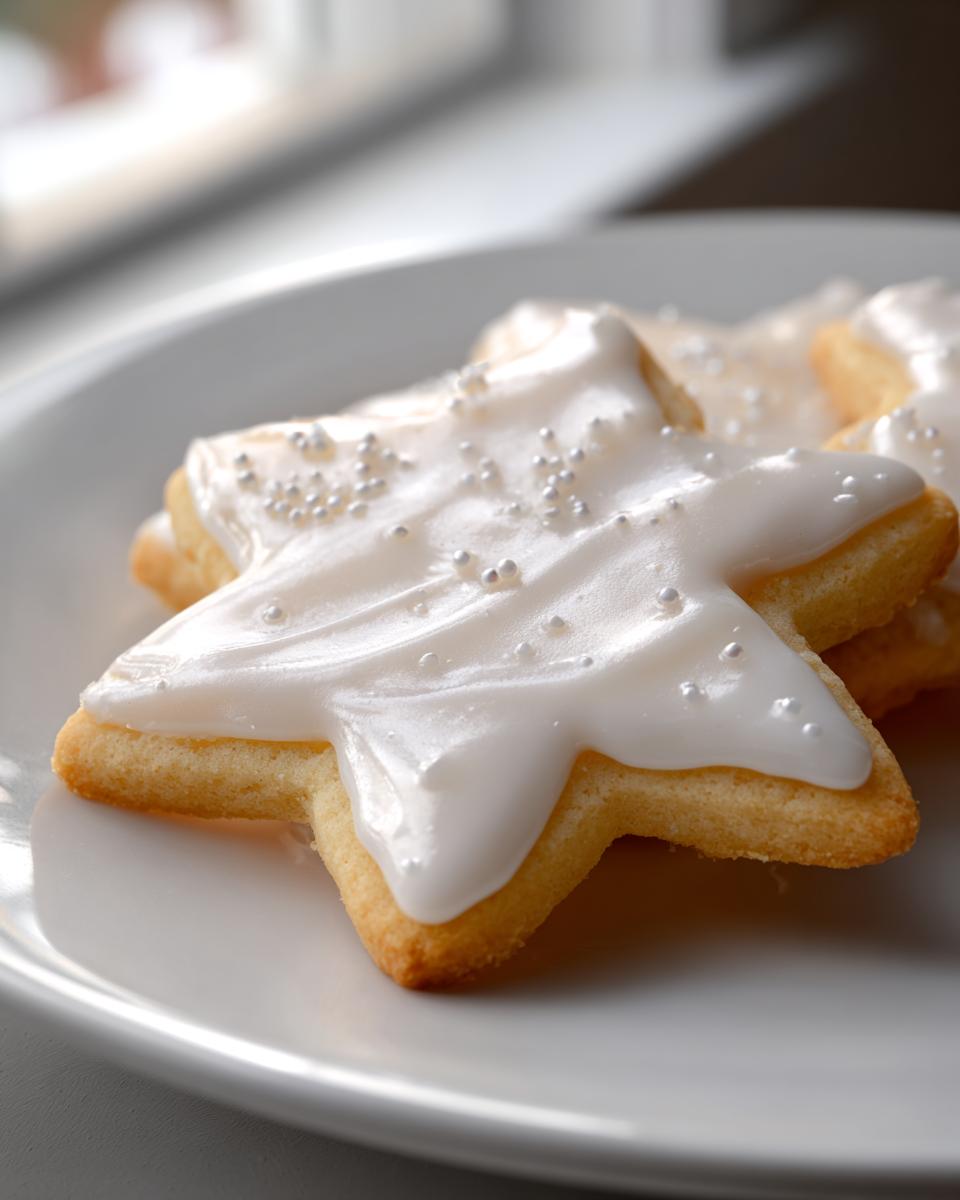
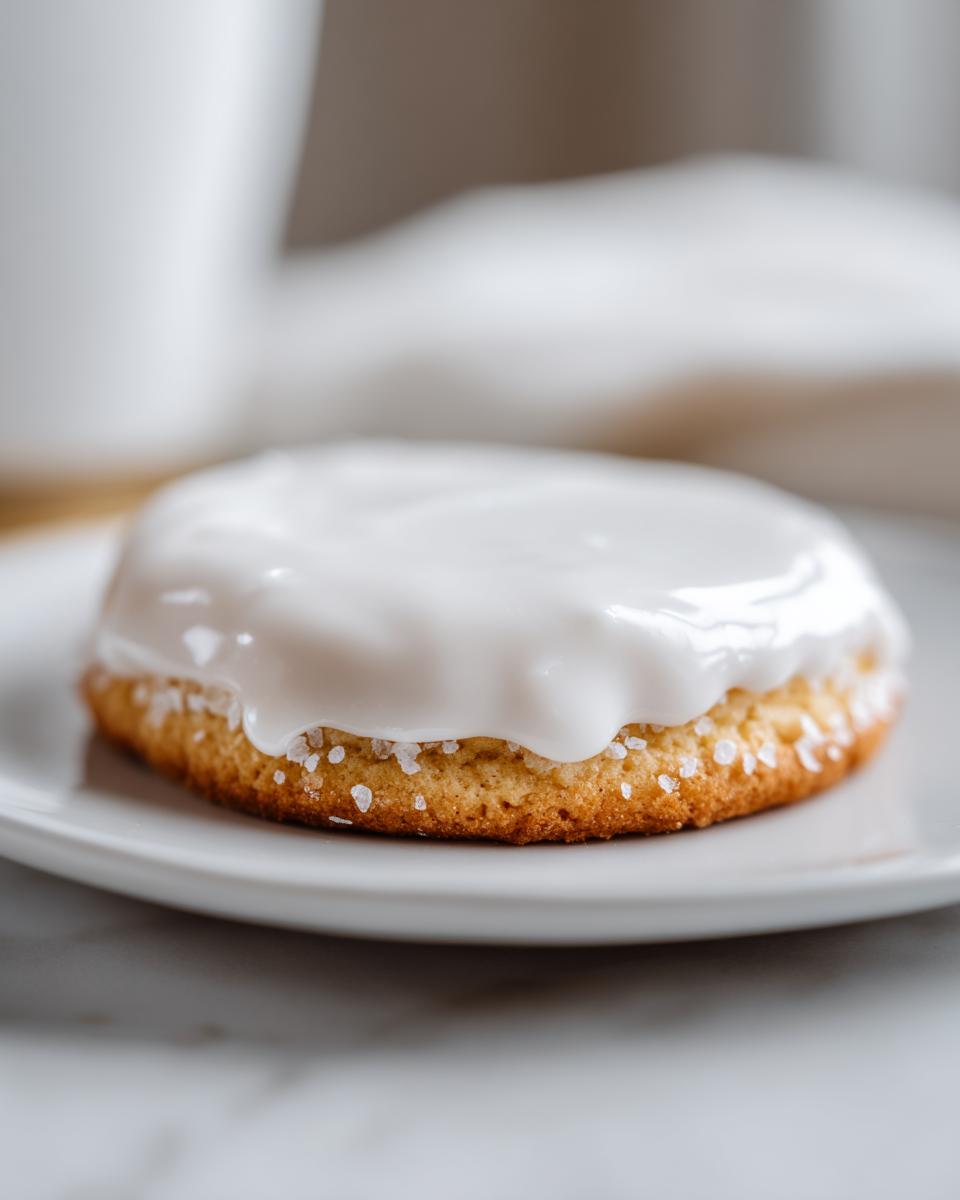
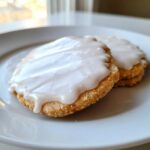
Perfect for Stackable Sugar Cookie Decorations
This is where the magic really pays off, especially around the holidays when you’re trying to fit everything in tins. Because this icing dries hard—truly hard, not just ‘mostly dry’—you don’t have to worry about any smudging or accidental pressing when you stack them up. They become durable little pieces of art ready for gifting or travel. It’s truly the best for creating stackable sugar cookie decorations!
Ingredients for Your Glossy Sugar Cookie Frosting Recipe
When you look at this list, you’ll notice it’s incredibly short—that’s what I love about it! We skip the messy egg whites and messy ingredients. This simple combination is what makes it such an easy royal icing substitute. Remember, no fancy equipment needed here, just a bowl and a whisk to get started! If you have time later, I have a super simple dough recipe that goes great with this icing, my easy homemade pizza dough, though that’s for a different kind of baking fun!
- 2 cups powdered sugar, sifted (This step is non-negotiable, folks!)
- 3 tablespoons milk (Whole milk works best for richness, but I’ve used almond milk in a pinch!)
- 1 tablespoon light corn syrup (Don’t skip this—it’s the secret weapon for shine!)
- 1 teaspoon vanilla extract
- Gel food coloring (optional, but so much fun for decorating!)
Ingredient Notes and Potential Swaps
Let’s talk specifics, because the details are what elevate this from ‘just okay’ icing to something truly professional. For that perfect, flawless look, you absolutely must sift your powdered sugar. If you skip it, you’ll end up spending twice as long trying to break up lumps, and you won’t ever get that ideal result. Sifting ensures you get a smooth finish cookie icing.
Now, about the corn syrup. This isn’t just for sweetness; it’s a stabilizer. It breaks up the stiffness of the sugar slightly while it sets, which results in that unbelievable, mirror-like sheen. It makes this recipe a fantastic and completely reliable hard setting cookie glaze alternative for anyone who doesn’t want to deal with meringue powder.
If you don’t have corn syrup, you could substitute maple syrup in a small pinch, but I can’t guarantee the same high-gloss, rock-hard result. Stick with the syrup if you can! If you find your icing is too thick or you’re using water instead of milk to thin it slightly, remember that liquids should always be added in tiny increments until you hit that sweet spot.
How to Make Hard Icing for Cookies: Step-by-Step Tutorial
Okay, this is where we go from looking at ingredients to making something truly useful! Getting the consistency right is the absolute key to success if you want reliable sugar cookie icing that hardens properly. If your icing runs right off the cookie like water, it’ll never dry firm. If it’s too stiff, it won’t spread smoothly. We need that perfect, slow, luxurious flow! If you’re new to piping, make sure you take a look at my general cookie decorating icing tutorial for tips on holding your piping bag!
Mixing for the Right Consistency
First things first: grab your bowl and start slow! Combine your sifted powdered sugar, milk, corn syrup, and vanilla. I always start mixing on the absolute lowest speed if I’m using my hand mixer, or I use a trusty whisk. You want the ingredients just barely introduced. Seriously, stop mixing as soon as the dry powder disappears. Overmixing at this stage incorporates way too much air and can actually make the final icing brittle or prone to cracking later on.
Now, we test! Consistency is everything, and we usually need two different textures: one for drawing the outline and one for filling the middle (flooding). To test for flooding consistency—which is what we’re aiming for initially—lift your whisk out of the bowl. The icing should drizzle back down, and that drizzle should sit *on top* of the surface for about 10 seconds before it slowly sinks back in. That 10-second window is your golden ticket!
If it disappears instantly? Oops, too thin! Add a tablespoon of sifted sugar. If it’s a stiff mountain that won’t drip at all? Add milk one teaspoon at a time until you hit that sweet spot. Remember, you can always thin it out, but fixing icing that’s too runny is a total headache!
Applying and Setting Your Sugar Cookie Icing That Hardens
Once you have your outline color ready, you use that thicker consistency to pipe the border onto your cooled cookie. This outline acts like a dam to hold in the thinner, flood icing. This next part is important: let that outline sit for just 5 to 10 minutes. You aren’t aiming for rock hard here, just enough time for the edges to firm up so the wetter flood icing doesn’t spill over. This technique ensures you end up with flawless edges on your sugar cookie icing that hardens.
Next, flood the center with your thinner batch. Gently tap the cookie on the counter a few times to release any trapped air bubbles—that helps keep everything smooth! Then, you wait. Patience is crucial for this part. While the recipe says 4 to 8 hours minimum, I always recommend letting your decorated cookies sit out completely undisturbed for 12 to 24 hours. This ensures you get that fully durable, stackable finish we talked about. Don’t rush the drying process, or you’ll have a beautiful mess!
Tips for Success with Powdered Sugar Icing That Sets Firm
Now that you know the mixing secrets, let’s talk about the environment, because humidity is the *enemy* of any good hard-setting icing! I’ve learned the hard way that trying to dry 50 intricately decorated cookies in a damp basement is a recipe for disaster. We want shiny, hard tops, not sticky patches!
If you are rushing to get these done for a party or you just live somewhere super muggy, you need to give your cookies some specialized help. I always try to keep them in the driest room in the house while they cure.
Controlling Humidity for Fast Drying
If you want that gorgeous finish and need it quickly, you need air movement. This is critical for helping the cookie icing dries fast. You don’t need a huge dehumidifier! Often, just setting up a small fan several feet away from the cooling rack where your cookies are sitting does wonders. I turn on a dehumidifier if I have one, or just open a window if it’s a dry day outside.
Also, make sure you aren’t overcrowding your drying rack. The air needs to circulate completely around every surface of the cookie. This circulation speeds up the evaporation process tremendously, helping that corn syrup work its magic so you can move on to stacking them up!
Remember, I have a full companion guide on getting rid of runny icing issues if you happen to have other batches that aren’t following the rules! You can check out my easy sugar cookie icing that hardens guide for extra troubleshooting there.
Troubleshooting Common Icing Issues
Even when you follow every step, sometimes baking throws us a little curveball, doesn’t it? I totally get it! With any icing that’s meant to set rock-hard, the issues usually come down to either too much liquid or too much air being beaten into it. Don’t panic if you see a little issue crop up; we can usually fix it with a simple tweak. It’s just like when my Hollandaise separates—I just think back to the basics of emulsion! If you ever need a refresher on bringing things back from the brink, check out my tips for foolproof Hollandaise; the patience needed there applies here too!
Here are the two most common headaches I hear about when people try to make a powdered sugar icing that sets firm like this one.
Why Is My Hard Setting Cookie Glaze Cracking?
Cracking is almost always a sign that the icing dried too fast on the surface while the layer underneath was still wet, or you simply used too little liquid overall. When the surface dries too quickly, it shrinks, and because the liquid underneath hasn’t had time to evaporate yet, it causes stress fractures. It looks awful, I know!
If you notice any tiny cracks while the icing is still technically wet (within the first hour or two), gently smooth it over with a small, clean paintbrush dipped *lightly* in water. This adds a touch of moisture back to the surface tension. If the cookies are already totally dry and cracked, sadly, you can’t easily fix the surface, but you can cover it up! Mix a small batch of plain white icing (no corn syrup this time, just sugar and milk) and use it as a thin topcoat just before serving them.
Why Is My Icing Weeping or Bleeding?
Weeping, or when little beads of moisture appear on the surface of your icing after it has dried, is usually a humidity problem, which we touched on before. It means the sugar is attracting moisture right out of the air. It’s looking for water because it’s incredibly hygroscopic!
If you’ve decorated cookies and notice weeping starting within a day, they weren’t fully dry before you put them in an airtight container, or the humidity in your storage area is too high. For cookies that need to sit out or be stacked, you absolutely must ensure they are fully set—ideally 24 hours dry time. If you store them, use a container with some silica gel packets or even a few dry salt packets (placed *next to* the cookies, never touching!) to absorb excess moisture.
Storage and Keeping Your Decorated Cookies Fresh
We’ve done the hard part—the mixing, the piping, the waiting! Now, we have to make sure those gorgeous, rock-hard sugar cookies don’t go to waste before they get admired (and eaten, naturally). Storing decorated cookies correctly is just as important as getting the consistency right, especially if you’re making these ahead for a big holiday bash or mailing some special treats to friends. You want that glossy finish to stay flawless for as long as possible!
The goal here is two-fold: keep the cookie itself from going stale, and keep that beautiful icing from getting sticky or absorbing any unwanted smells. If you’re looking for advice on storing that incredibly moist chocolate cake, you can check out my tips there, but sugar cookies require something a little snappier because of that hard glaze.
The Importance of Full Dry Time Before Storing
I cannot stress this enough: if you put a cookie away while the icing is even slightly less than fully cured, you are asking for trouble. You need that full 24 hours for the best structural integrity. If you box them up too soon, they’ll stick together, or worse, that moisture trapped inside will cause the surface to sweat or weep. It defeats the entire purpose of making sugar cookie icing that hardens if you trap them in humidity!
Airtight vs. Room Temperature Storage
Once the cookies are bone dry and hard to the touch, you can get them ready for storage. If you are planning to keep them for just a couple of days, leaving them on the counter in a single layer might be fine, but the moment you want them to last a week or more, you need an airtight container. I use large, flat cookie tins or plastic containers with good seals.
Here’s a pro tip for stacking: Never stack decorated cookies directly on top of each other, even with this hard icing! You need a tiny barrier. Place a square of parchment paper between each layer of cookies. Yes, it seems fussy, but it prevents any microscopic condensation or friction from damaging those pretty piped edges. Just a small layer of paper keeps your hard icing looking perfect.
How Long Will These Cookies Last?
If stored properly in a cool, dry area away from direct sunlight, cookies decorated with this specific glaze will easily stay looking gorgeous for a solid two weeks. The sugar content in the icing acts as a great preservative for itself! The cookie itself might start to lose a tiny bit of its crispness after about 10 days, but the decorations will hold up beautifully. If you need them to last longer than two weeks, freezing is an option, though I try to avoid it if I can!
Frequently Asked Questions About Hard Setting Cookie Glaze
It’s so common to have little questions pop up once you get into the decorating groove! I think people often worry about whether they can substitute things or if the final product will hold up, especially since getting that perfect, durable crust takes a bit of practice. I’m happy to answer some of the most common things I hear when folks are aiming for that truly professional look!
If you have questions about pairing it with a savory dish later on—maybe after all the cookies are eaten—you can always check out my guide on the easy cranberry chicken for a totally different kind of recipe!
Can I use water instead of milk in this recipe?
You totally *can* use water, yes! Water is a great substitute if you’re out of milk or have dietary restrictions. However, you need to be cautious. Milk adds a tiny bit of fat and protein, which contributes slightly to the overall smoothness and structure, helping that icing set firm. Water is thinner and evaporates faster. If you swap milk for water, you will likely need to add extra sifted powdered sugar to get back to that perfect 10-second flood consistency we talked about. If you use too much water, you might compromise that totally dry, hard finish we’re aiming for, so go easy with the water addition!
How long does it take for this icing to fully harden?
This is the big one! The “fully harden” stage means they are safe to stack, store, and gift without fear of smudging. If the humidity is low, you might feel they are firm enough for careful handling in about 6 to 8 hours. But to be completely safe and locked down? Give it 12 hours minimum, and honestly, 24 hours is my personal recommendation for the absolute final, rock-solid, durable top coat. That way, when you stack them high in your gift boxes, everything stays perfect!
What if I want a brighter white color?
The combination of powdered sugar and milk, especially if you use whole milk, gives a lovely, soft ivory or creamy white. If you’re aiming for that stark, bright white you see in some bakery displays—especially for holiday cookies—you just need a drop of white food coloring! Gel colors are powerful, so use a toothpick to grab a tiny bit of white gel coloring and mix it in until you reach your desired brightness. It will not affect the hardening capability at all!
Nutritional Estimate for This Icing
Okay, I know we are making icing here, so we know it isn’t exactly a health food, but I always believe in being totally transparent about what goes into our creations! We use simple, everyday ingredients—mostly sugar, of course—but I wanted to give you a quick general idea of what you’re looking at nutritionally. This is just an estimate, so keep in mind that precise measurements and the exact brand of ingredients you use can shift these numbers around a little bit.
This estimate isn’t meant to discourage you from making these beautiful, hard-setting cookies, but it’s good information to have, especially when you’re boxing up treats for friends or family members who might be watching their intake. This calculation is based on the yield of coating about two dozen medium cookies, which makes the serving size fairly small—just a fraction of the total batch.
- Serving Size: Approximately 1/4 cup of the finished icing batch
- Calories: Around 180 per serving
- Total Fat: 0g (Yes, zero! Unless you decide to use a high-fat milk alternative, this should be fat-free.)
- Sodium: Very low, around 5mg
- Total Carbohydrates: 45g
- Sugars: 45g (This comes straight from the powdered sugar and corn syrup, so expect it to be high!)
- Protein: 0g
See? It’s almost pure energy, which is exactly what a good holiday cookie needs to deliver! It’s really all about enjoying that moment of joy in the kitchen. Since this recipe uses that reliable powdered sugar icing that sets firm, you know you’re getting the best performance out of those carbs!
Share Your Hardened Cookie Creations
Okay, my friends, now it’s your turn! You’ve conquered the consistency, you’ve waited patiently for that glorious, hard shell to form, and I bet your cookies look absolutely stunning. I truly want to see what you’ve created with this reliable recipe for sugar cookie icing that hardens! Seeing your beautiful results is the best part of my day here at Cooking Zenith.
When you nail that smooth, glossy finish, please come back and let me know how it went! Did you use gel colors? Did you manage to stack them without a single smudge? Drop a comment below—your feedback helps me know I’m giving you the best, most foolproof guides possible. It helps other home cooks feel confident trying out this glossy sugar cookie frosting recipe, too!
If you snapped a photo of your decorated masterpieces, tag me on social media! Use the hashtag #CookingZenithCookies so I can see your amazing work. I love sharing the best reader creations on my stories. If you have any final thoughts or weird icing dramas that popped up, feel free to reach out to me directly through my contact page, though I really hope this recipe gave you zero stress!
Happy decorating, everyone. Go enjoy those perfectly crunchy, durable cookies!
PrintGlossy Sugar Cookie Icing That Hardens Firmly
Learn to make bakery-style sugar cookie icing that dries quickly to a smooth, hard, glossy finish, perfect for detailed decorating and stackable cookies.
- Prep Time: 10 min
- Cook Time: 0 min
- Total Time: 10 min
- Yield: Coats approximately 2 dozen medium cookies 1x
- Category: Dessert
- Method: No-Bake
- Cuisine: American
- Diet: Vegetarian
Ingredients
- 2 cups powdered sugar, sifted
- 3 tablespoons milk (whole or plant-based)
- 1 tablespoon light corn syrup
- 1 teaspoon vanilla extract
- Gel food coloring (optional)
Instructions
- In a medium bowl, combine the sifted powdered sugar, milk, light corn syrup, and vanilla extract.
- Mix with a whisk or electric mixer on low speed until the ingredients are just combined. Do not overmix at this stage.
- If the icing is too thick for outlining, add milk, one teaspoon at a time, until you reach the desired consistency. If it is too thin, add more sifted powdered sugar, one tablespoon at a time.
- For flooding consistency, the icing should flow slowly off the whisk, leaving a trail that disappears after about 10 seconds.
- If coloring the icing, divide it into separate bowls and mix in gel food coloring until the color is uniform.
- Use the icing immediately for outlining cookies. Let the outline set for 5 to 10 minutes before filling (flooding) the center areas.
- Allow the cookies to dry completely at room temperature. This hard setting process can take 4 to 8 hours, depending on humidity. For best results, allow 12 to 24 hours for a fully durable, stackable finish.
Notes
- For the hardest, glossiest finish, light corn syrup is key; do not skip it.
- If you need the icing to dry faster, place the decorated cookies in a dry area with good air circulation, away from direct heat or sunlight.
- This recipe creates a reliable, non-cracking sugar cookie icing ideal for holiday cookie decorating.
- If you need a thinner consistency for fine detail work, add a few drops of water instead of milk.
Nutrition
- Serving Size: 1/4 cup
- Calories: 180
- Sugar: 45
- Sodium: 5
- Fat: 0
- Saturated Fat: 0
- Unsaturated Fat: 0
- Trans Fat: 0
- Carbohydrates: 45
- Fiber: 0
- Protein: 0
- Cholesterol: 0