
Oh, you know that crushing holiday feeling? You pull the dish out of the oven, expecting that warm, comforting aroma, only to find that your side dish—the stuffing—is completely dried out and sad. It happens to the best of us, but it doesn’t have to happen this year! Here at Cooking Zenith, I, Aria Thompson, am obsessed with making sure your holiday table shines. That’s why I spent years perfecting this Classic Homemade Thanksgiving Stuffing recipe, nailing the tricky balance to ensure it stays incredibly moist on the inside while baking up a gorgeously crisp, golden crust on top. Trust me, this is the side dish that steals the show. Once you master this technique, you’ll never look back, and it sets you up perfectly for making something amazing with leftovers, too, like my favorite turkey pot pie!
- Why This Homemade Stuffing Recipe is Your New Holiday Essential
- Ingredients for Classic Stuffing
- How to Prepare the Best Stuffing Recipe Ever
- Expert Tips for Perfect Holiday Stuffing
- Stuffing Variations: From Classic to Sausage Stuffing
- Serving Suggestions for Your Traditional Stuffing
- Storing and Reheating Leftover Stuffing
- Frequently Asked Questions About Classic Stuffing
- Nutritional Estimates for This Stuffing Recipe
- Share Your Homemade Stuffing Success
Why This Homemade Stuffing Recipe is Your New Holiday Essential
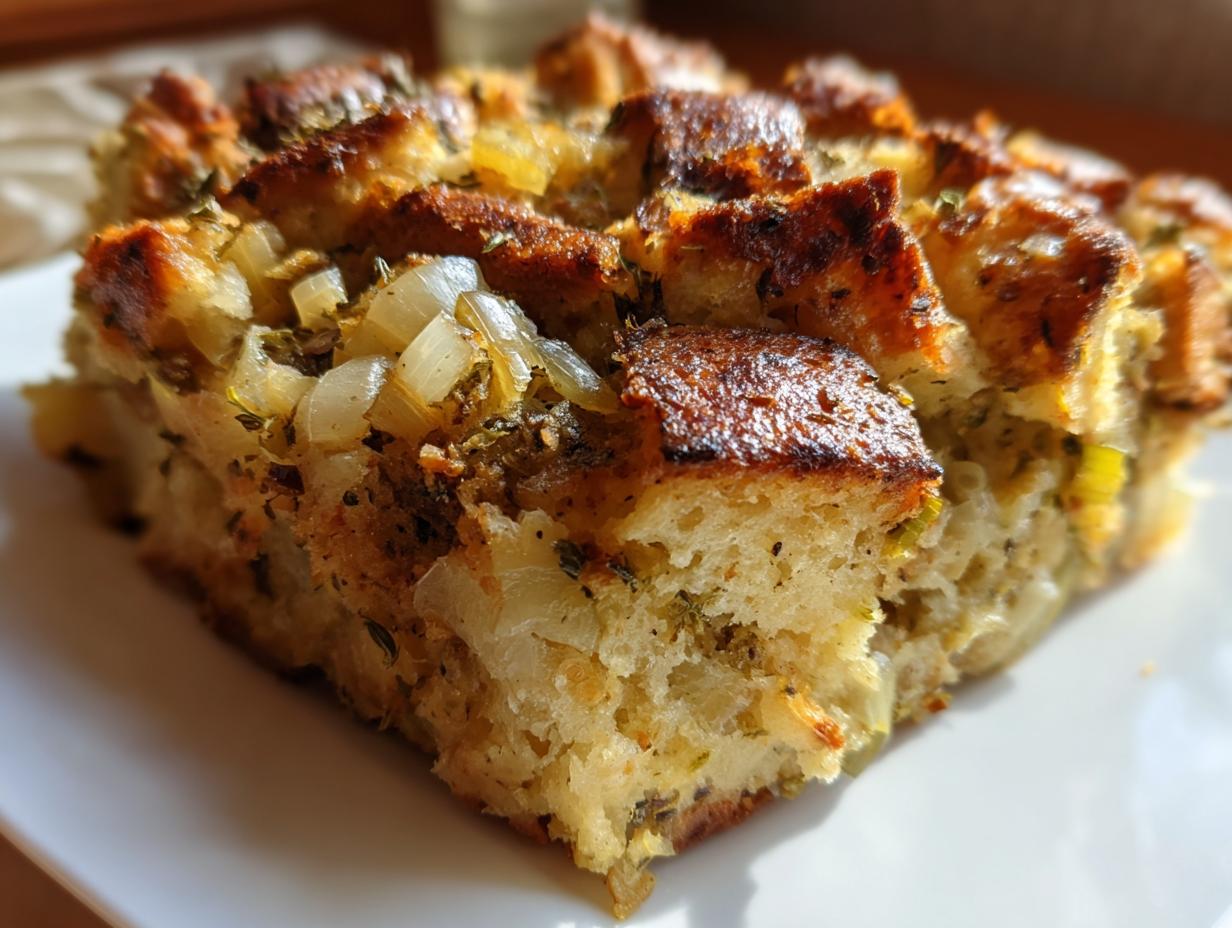
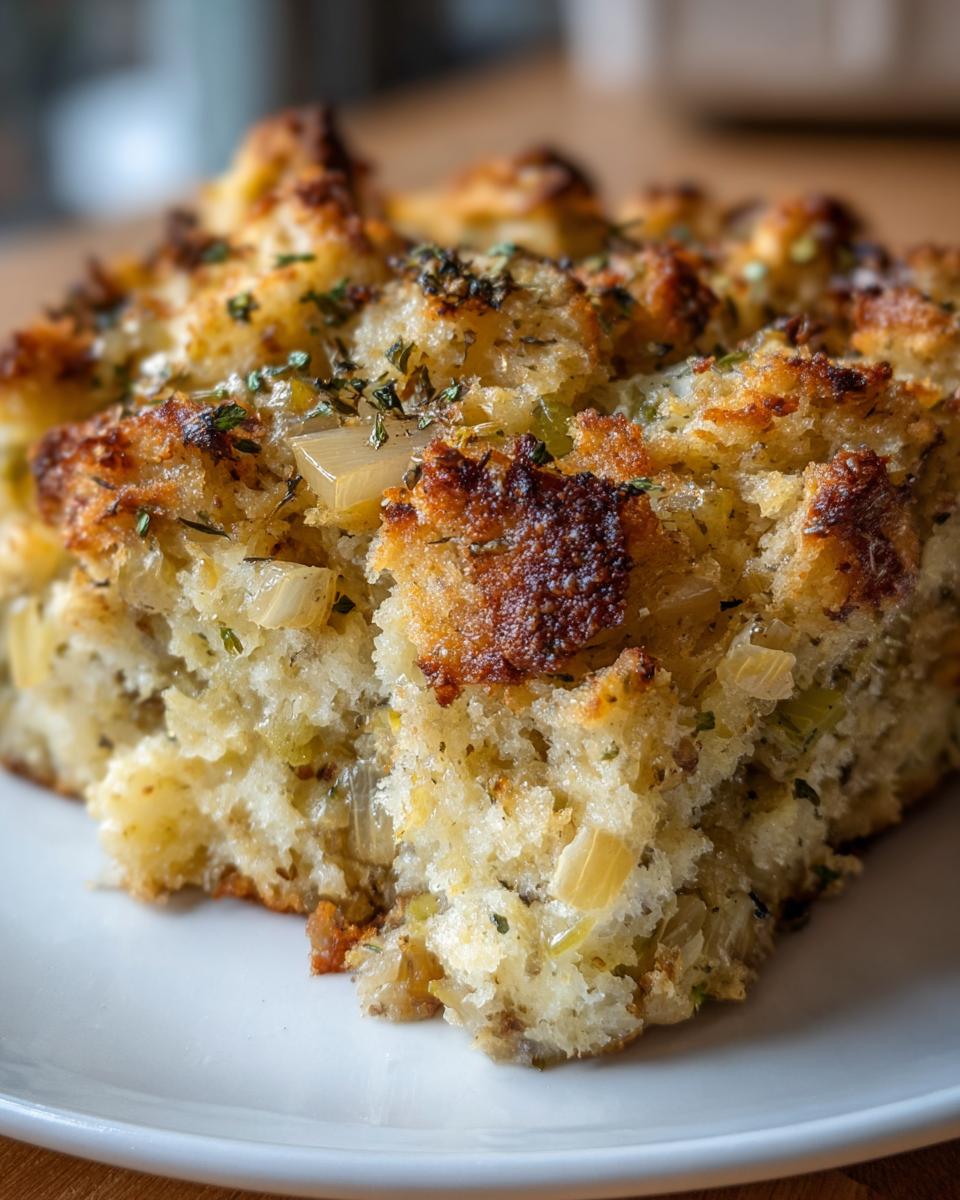
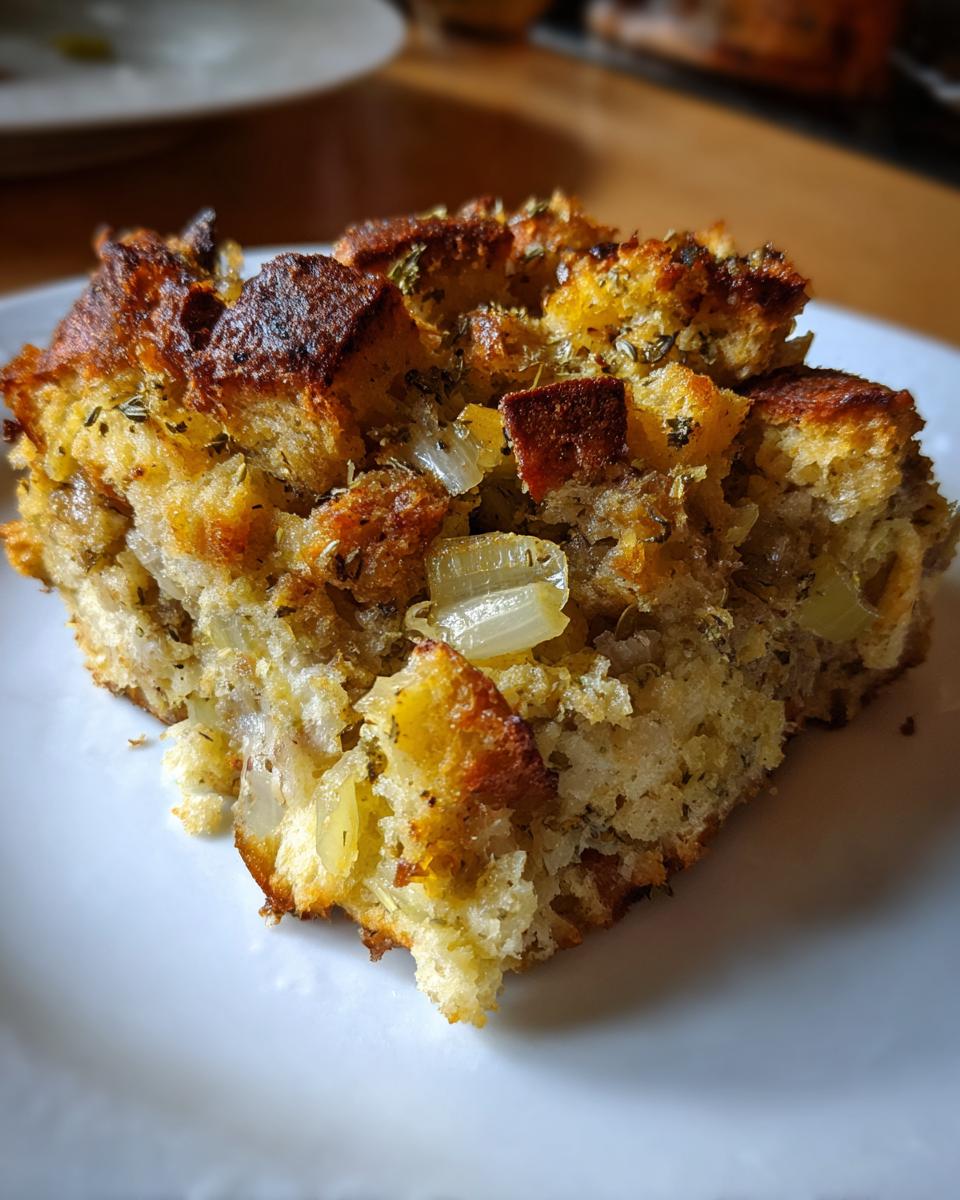
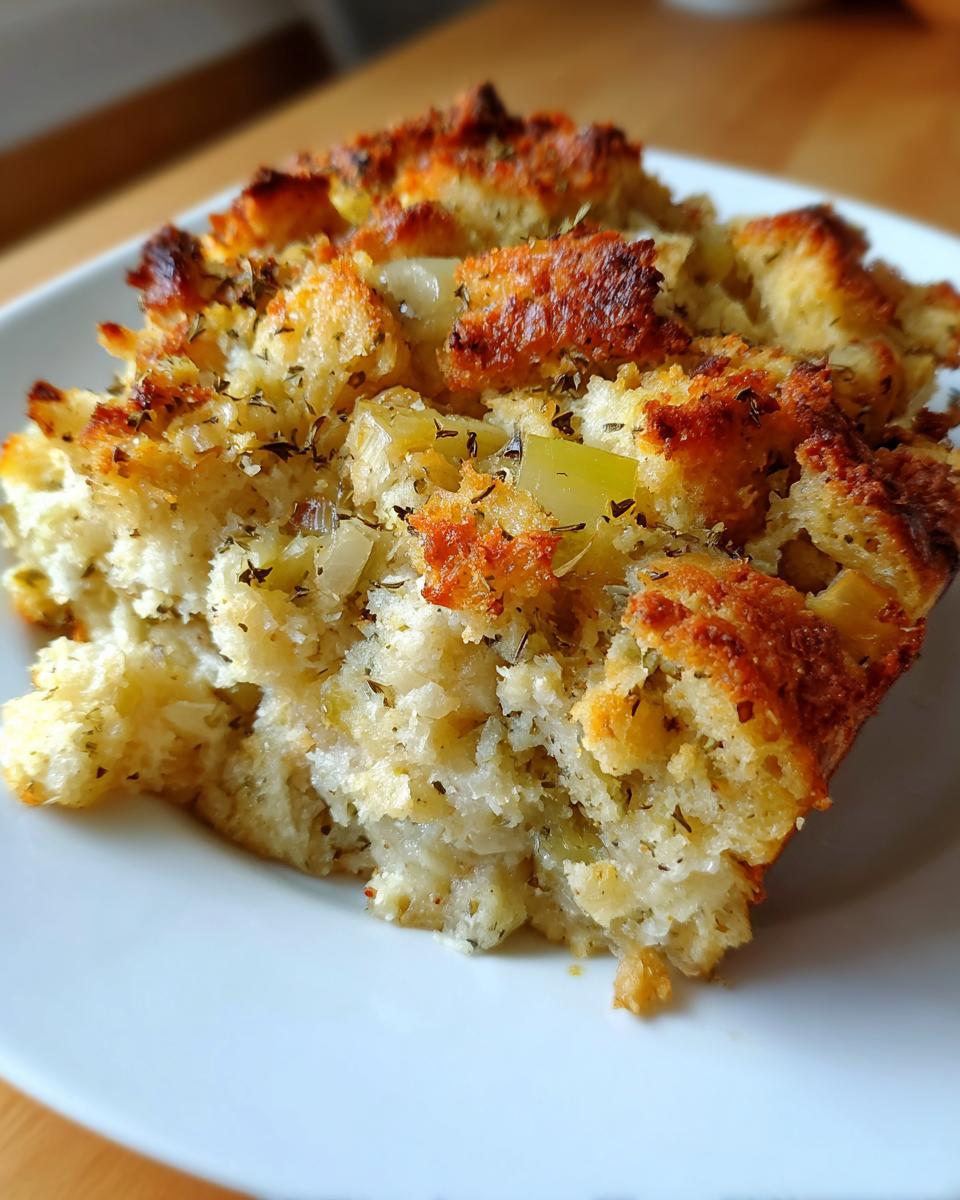
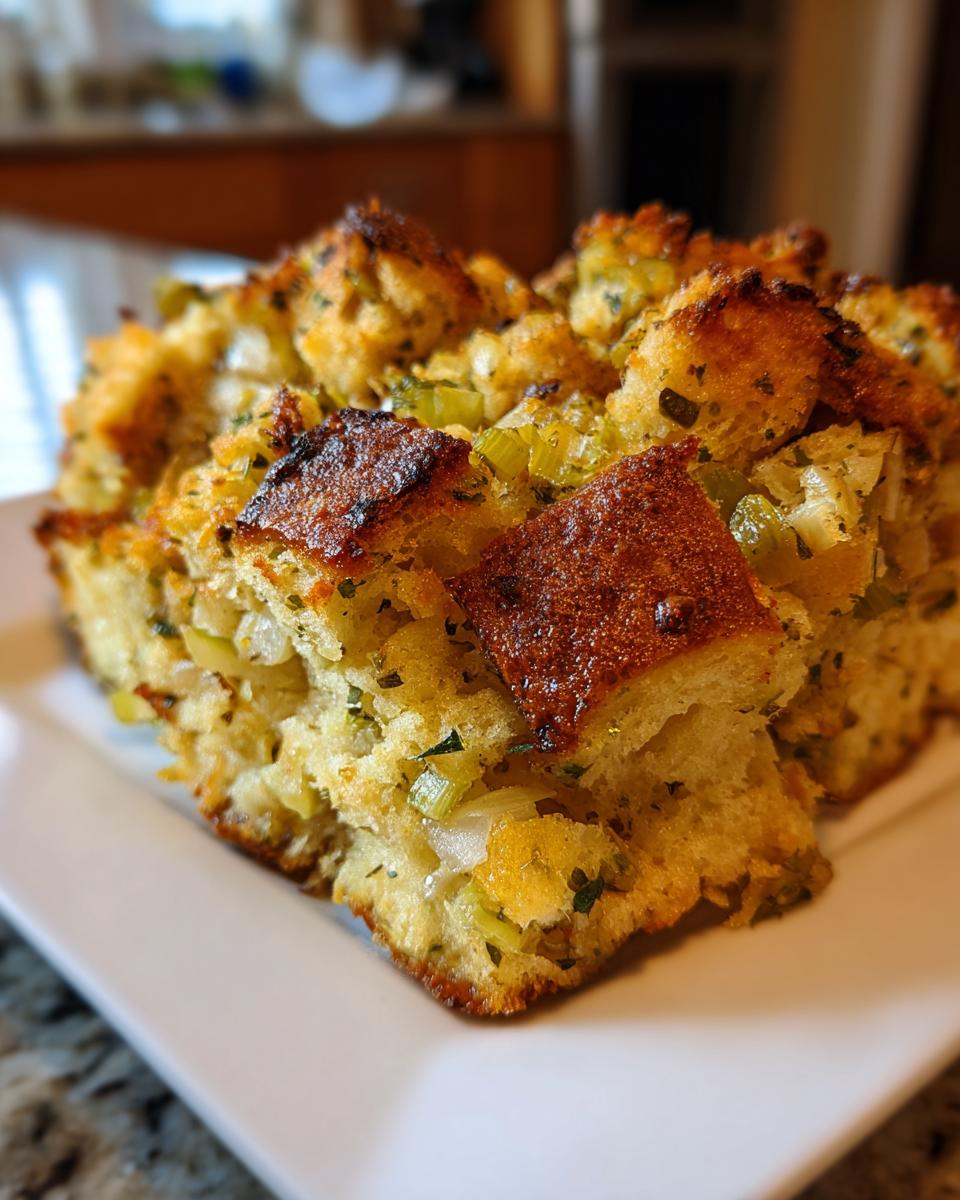
Let’s be real, boxed mixes are convenient, but they can never, ever compare to the flavor of a truly homemade batch. This is officially the Best stuffing recipe ever because we are tackling that number one complaint head-on: texture. My goal, as your culinary guide here at Cooking Zenith, is always to deliver extraordinary flavor without undue complication. This recipe guarantees you get that ideal savory bite—the top layer is beautifully toasted and shatteringly crisp, while the inside stays tender and deeply flavored by the broth and fresh vegetables. It’s what makes this a standout among all your Thanksgiving side dishes. We are ditching the dry, crumbly sadness this year! Once you master this, you’ll be ready to tackle gravy next with my foolproof gravy recipe.
Achieving the Perfect Moist and Crispy Stuffing Texture
The secret starts way before it even hits the oven. The bread matters! I always stress using sturdy, slightly stale bread cubes—Texas toast is perfect because it can soak up all that wonderful liquid without immediately dissolving into mush. When you mix the broth, you have to feel it out. You want the mixture to be damp, almost like thick mud, but not sopping wet. If it looks too wet when you transfer it to the pan, it will steam instead of crisping up on top. My personal tip? Lay your dried bread out on a sheet pan overnight. Trust me, letting those cubes dry out a bit gives them the structure needed to hold all that amazing moisture inside while browning beautifully.
Ingredients for Classic Stuffing
Getting the right foundation is everything for this savory side. When gathering your components, look for quality—that’s how we build flavor for your best herb stuffing yet! I always suggest using Texas toast cubes because they hold up so well. We are keeping the vegetables simple here: fresh onion and celery, chopped uniformly so they cook evenly and integrate nicely throughout the bread. Don’t skimp on the fresh herbs, seriously! A little bit of butter goes a long way to soften everything before we introduce the broth. I often keep my recipe for cranberry orange bread on hand for when I want to switch things up, but for this classic version, stick to the list below:
- 1 pound dried bread cubes (Texas toast works wonderfully here)
- 1 cup unsalted butter
- 2 cups chopped yellow onion
- 2 cups chopped celery
- 1 tablespoon fresh sage, chopped
- 1 tablespoon fresh thyme leaves
- 1 teaspoon salt
- 1/2 teaspoon black pepper
- 2 large eggs, lightly beaten
- 3 to 4 cups low-sodium chicken broth
How to Prepare the Best Stuffing Recipe Ever
Now we get to Assembly Time! This is where we turn simple bread into that legendary, comforting side dish. First things first: get your oven humming at 350°F (175°C) and grease up a 9×13 inch baking dish. I like using a little bit of that leftover butter to make sure nothing sticks. Once that’s set, toss your dried bread cubes into a seriously big bowl. You need room to move everything around later, trust me!
Sautéing Aromatics for Flavorful Stuffing
This step is where our stuffing really builds its savory personality. Melt your butter over medium heat and toss in the onion and celery. We want them soft and sweet, not browned, so let them cook for a good 8 to 10 minutes until they look kind of translucent. Now, dump in those fresh sage and thyme leaves, plus your salt and pepper. That little sizzle when the herbs hit the hot butter? That’s the smell of the holidays! Cook that for just one minute until the kitchen smells amazing, then pour that whole buttery herb mixture right over your waiting bread cubes.
The Critical Broth and Egg Mixture for Moist Stuffing
Here comes the magic that keeps everything from being dry. In a separate small bowl, whisk those two eggs together with 3 cups of your chicken broth. This is the liquid binder! Pour this mixture evenly over the bread and veggies. Now, toss, toss, toss gently until everything looks coated. Remember what I preach about the no fail stuffing technique? You are aiming for damp, not soggy. If it still seems bone-dry after tossing, only then should you add that last cup of broth, spoon by spoon! You want it heavy, but not swimming. Transfer this whole thing to your prepared dish and bake it for 30 to 40 minutes. Before serving, let it rest for 10 minutes—that time lets the residual heat finish cooking the center perfectly. If you’re looking for more quick treats, my collection of easy breakfast recipes is always ready for you!
Expert Tips for Perfect Holiday Stuffing
After all that work, you want your stuffing to be flawless, right? As a passionate home cook, I always try to find ways to make the holiday a little less stressful. Because let’s face it, timing everything perfectly on Thanksgiving is a nightmare! So, here are a few extra bits of advice that I’ve picked up over the years to ensure your side dish shines, whether you’re serving it as a Thanksgiving side dish or maybe trying to turn it into a savory bread pudding.
Make Ahead Stuffing Tips for Stress-Free Holidays
This is my favorite trick for keeping my sanity! You can totally get ahead of the game here. Go ahead and prepare the entire mixture right up to the point where you add the broth—that means sautéing your vegetables and mixing them thoroughly with the bread cubes. Cover that bowl tightly and pop it into the fridge for up to 24 hours. When you’re ready to bake, just add the egg and broth mixture, give it a good stir, and then add about 10 to 15 extra minutes to the baking time since it’s starting out cold. Totally genius, right? It ensures you aren’t scrambling on the big day!
Also, if you were thinking about adding meat, this is the perfect time to incorporate it! If you want a hearty sausage stuffing, go ahead and brown up a pound of breakfast sausage before you start sautéing your onions and celery. Cool it down slightly, and mix it in with the bread. Everything comes together beautifully when baked!
If you love mashed potatoes, make sure you check out my recipe for slow cooker mashed potatoes—it frees up so much oven space!
Stuffing Variations: From Classic to Sausage Stuffing
While this classic stuffing recipe is my heart and soul, I know sometimes you want to jazz things up a bit, or maybe you’re feeding folks who crave something extra savory. The base here is so wonderful that it handles additions like a professional! If you’re looking for a richer experience, adding browned, savory sausage is a guaranteed showstopper—it immediately turns this into a hearty meal component. You can find tips on handling rich meats in my Cajun sausage pasta recipe, which gives you an idea of how to cook that sausage beforehand.
Another fun twist? You can easily transform this into a holiday favorite by tossing in a cup of dried cranberries and maybe half a cup of chopped pecans right before you add the broth. The tartness cuts through the richness perfectly! And if you’re tired of serving everything in one big pile, try rolling the moistened mixture into little balls before placing them shoulder-to-shoulder in a greased pan. That way, every single bite gets that coveted crispy exterior you love about great stuffing.
Serving Suggestions for Your Traditional Stuffing
Now that you’ve mastered the absolute best stuffing—moist, herby, and perfectly browned—what should we serve it next to? This recipe is the cornerstone of any great holiday table, truly one of the best Thanksgiving side dishes you can offer! It pairs beautifully with just about anything poultry-related, but its savory depth really shines next to something slightly sweet or tangy.
I always serve this alongside a rich, homemade gravy (naturally!) and maybe some roasted vegetable goodness. You absolutely have to try my recipe for crispy roasted sweet potatoes; the sweetness contrasts so perfectly with the savory sage in the stuffing. It just feels complete, doesn’t it?
Storing and Reheating Leftover Stuffing
Okay, congratulations, you successfully made the best batch ever! If, by some miracle, you have any leftovers of this amazing savory bread pudding, knowing how to store and reheat it is crucial so you don’t lose that perfect texture. First off, safety first: get that leftover stuffing into an airtight container and into the fridge within two hours of taking it out of the oven. It should keep beautifully for about three to four days.
When you want to bring it back to life, don’t just microwave the whole thing! That will make it soggy, and nobody wants that after all our hard work avoiding dryness. The secret to getting your moist and crispy stuffing back is the oven. A great method is to spread the leftovers in a thin layer in an oven-safe dish, maybe even adding a tiny splash of extra broth underneath everything. Bake it at 350°F (175°C) for about 15 to 20 minutes, or until it’s heated through and the top gets that beautiful crispy resurgence again. It tastes almost as good as the first time, I promise! If you need another rich, comforting side for leftovers, my creamy potatoes au gratin reheating is equally stellar.
Frequently Asked Questions About Classic Stuffing
I know sometimes you have specific questions when you’re stepping away from a boxed mix, especially when it comes to making a traditional stuffing recipe from scratch. Trust me, I get it! I’ve gathered the most common worries I hear from friends about making the best stuffing recipe ever, so you can bake this with total confidence.
Can I use fresh bread instead of dried cubes?
Oh, you really shouldn’t! If you use fresh, soft bread straight from the bag, it turns into absolute mush once we pour the broth over it. The whole point of this recipe is achieving that moist and crispy stuffing texture, and that requires structure. If all you have is fresh bread, lightly cube it and spread it on a sheet pan. Set your oven to 250°F (120°C) and let it bake for about 15 to 20 minutes until it’s dry to the touch but not hard like a rock. That’s your secret weapon!
Can I cook this stuffing inside the turkey?
Honestly, Aria says no! While my grandmother used to do it, for safety and texture reasons, I highly recommend against it for your main Thanksgiving side dish. Stuffing cooked inside the bird often doesn’t cook evenly or quickly enough, which can create food safety issues. Plus, cooking it inside steams the bottom layers, meaning you lose that amazing crispy edge we worked so hard for. Bake it separately in a dish like this recipe calls for—it comes out infinitely better and safer every time.
What if I don’t have fresh sage or thyme?
Don’t panic! If you can only find dried herbs, that’s totally fine for this holiday stuffing idea. Just remember that dried herbs are much more potent than fresh ones. Use about a third of the amount listed. So, half a teaspoon of dried sage and half a teaspoon of dried thyme will give you a similar beautiful, savory punch without overpowering the dish. If you’re looking for festive drinks to pair with your meal, check out my Thanksgiving punch recipe!
Can this be made into stuffing balls?
Absolutely! That falls under the fun stuffing variations listed above. If you want that fantastic stuffing balls recipe, just make sure your mixture is damp enough to hold its shape when you gently roll it into 1.5-inch balls. Arrange them a little apart on a buttered baking sheet (not touching!) and bake them at the same temperature. They will crisp up beautifully all around because they have more surface area exposed to the heat.
Nutritional Estimates for This Stuffing Recipe
Now, I’m not a registered dietitian, so please take these numbers with a giant grain of salt! These estimates are based on the ingredients listed above and are provided just as a helpful guideline for your overall holiday planning. Remember, making this stuffing from scratch means the final tally depends heavily on the specific brands of butter and broth you use. For one generous serving (about 1 cup), here’s what we’re generally looking at:
- Calories: ~320 kcal
- Fat: ~18g
- Carbohydrates: ~35g
- Protein: ~6g
- Sodium: ~450mg
It’s surprisingly moderate for such a rich side if you stick to the serving size—but who stops at one cup when it tastes this good?
Share Your Homemade Stuffing Success
What do you think? Are you ready to banish dry sides forever and serve up the most perfect, savory traditional stuffing this holiday season? I genuinely hope you try this out!
I pour my whole heart into developing these recipes so you can stand confidently in your kitchen, knowing you are serving up the absolute best comforting flavors. It means the world to me when you take the time to come back and share your results. Did you add sausage? Did you turn them into stuffing balls? Did you use Texas toast like I suggested, or did you sneak in a little unexpected ingredient?
Please, please leave your rating and a comment below! Giving this recipe a five-star review helps other home cooks find this foolproof technique and know they can trust it for their own celebrations. Clicking that star rating is such a quick way to show support for the work we do here at Zenith to elevate your everyday cooking. If you want to know more about my philosophy or see where all these kitchen experiments start, you can always check out my journey on the About page. Happy baking, and may your stuffing always be moist!
PrintClassic Homemade Stuffing Perfection: Moist Inside, Crispy Outside

Achieve the best stuffing recipe ever with this traditional, homemade stuffing that guarantees a moist interior and a perfectly crispy top. This foolproof Thanksgiving side dish uses fresh herbs for savory flavor.
- Prep Time: 20 min
- Cook Time: 40 min
- Total Time: 60 min
- Yield: 8 servings 1x
- Category: Side Dish
- Method: Baking
- Cuisine: American
- Diet: Vegetarian
Ingredients
- 1 pound dried bread cubes (Texas toast works well)
- 1 cup unsalted butter
- 2 cups chopped yellow onion
- 2 cups chopped celery
- 1 tablespoon fresh sage, chopped
- 1 tablespoon fresh thyme leaves
- 1 teaspoon salt
- 1/2 teaspoon black pepper
- 2 large eggs, lightly beaten
- 3 to 4 cups low-sodium chicken broth
Instructions
- Preheat your oven to 350°F (175°C). Lightly grease a 9×13 inch baking dish.
- Place the dried bread cubes in a very large bowl.
- Melt the butter in a large skillet over medium heat. Add the onion and celery. Sauté until the vegetables soften, about 8 to 10 minutes.
- Stir the fresh sage, thyme, salt, and pepper into the skillet mixture. Cook for 1 minute until fragrant.
- Pour the buttered vegetable mixture over the bread cubes. Toss gently to coat the bread evenly.
- In a separate small bowl, whisk the eggs with 3 cups of the chicken broth.
- Pour the egg and broth mixture over the bread mixture. Toss everything together until the bread is evenly moistened. Add the remaining cup of broth only if the mixture seems too dry; you want it damp, not soggy.
- Transfer the stuffing mixture to the prepared baking dish.
- Bake for 30 to 40 minutes. For a crispier top, you can place it under the broiler for the last 2 minutes, watching closely to prevent burning.
- Remove from the oven and let it rest for 10 minutes before serving.
Notes
- For make ahead stuffing tips, prepare the mixture completely (up to step 5), cover, and refrigerate for up to 24 hours. Add the broth just before baking and add 10-15 minutes to the total bake time.
- To achieve the best crispy edges, use slightly stale or dried bread cubes.
- If you want sausage stuffing, brown 1 pound of breakfast sausage and add it along with the sautéed vegetables in step 3.
Nutrition
- Serving Size: 1 cup
- Calories: 320
- Sugar: 2
- Sodium: 450
- Fat: 18
- Saturated Fat: 10
- Unsaturated Fat: 8
- Trans Fat: 0
- Carbohydrates: 35
- Fiber: 2
- Protein: 6
- Cholesterol: 65