
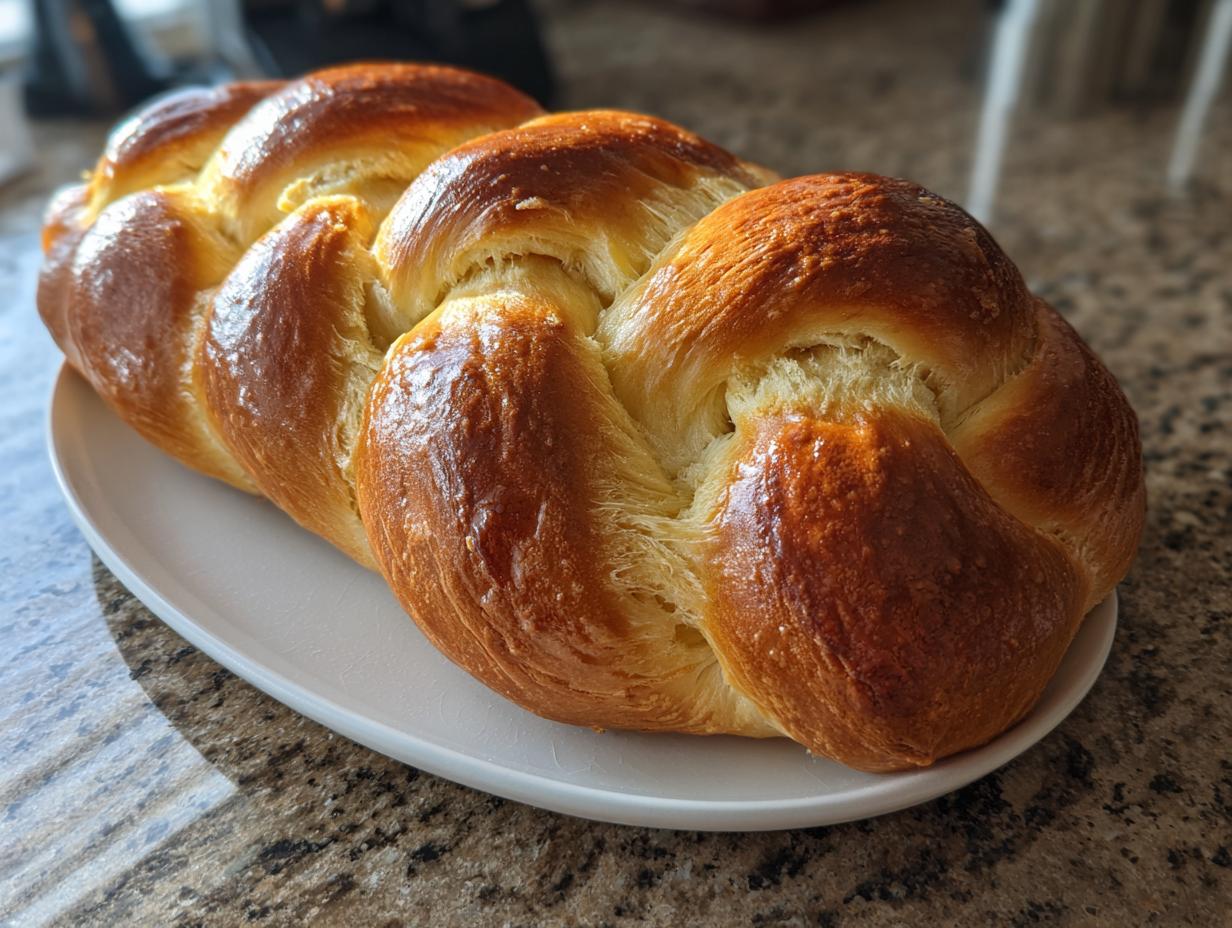
When the glow of the menorah starts to fill the window, you know it’s time for the rich, meaningful flavors of Hanukkah. Forget those stiff, dry loaves you’ve tried before! I’m sharing the **challah** recipe that turns simple flour and eggs into the softest, most gorgeous golden braid you’ve ever pulled from your own oven. This isn’t some formal chef’s secret; it’s a true home-kitchen masterpiece. As you can read over on the About Us page, founder Aria Thompson built this site on the belief that every home cook can master a classic dish, and trust me, this traditional Hanukkah food is proof. This recipe is heavy on flavor and texture, making it the absolute perfect table centerpiece.
- Why This Traditional Challah Bread Recipe Works for Hanukkah
- Essential Ingredients for Perfect Challah
- Step-by-Step Instructions: How to Make Challah
- Tips for Success When Braiding Challah
- Serving Suggestions for Your Homemade Challah
- Storage and Reheating Instructions for Challah
- Frequently Asked Questions About This Challah Recipe
- Estimated Nutritional Information for Challah
- Share Your Traditional Challah Experience
Why This Traditional Challah Bread Recipe Works for Hanukkah
Making challah for the Festival of Lights should feel joyful, not fussy! This particular recipe is designed so that even if this is your first time learning how to make challah, you’re guaranteed beautiful results. We focus on tradition that delivers.
- The rich egg content ensures that signature deep yellow, golden crust when baked.
- It stays unbelievably soft for days, which is fantastic for leftovers!
- The dough handles braiding beautifully—no more ripping or tearing mid-plait.
Achieving That Signature Soft Texture in Your Challah
The secret to that melt-in-your-mouth softness isn’t just the kneading, though that helps! It’s the generous amount of vegetable oil and several large eggs we fold in early. These fats coat the flour particles just right, meaning they don’t develop too much tough gluten when mixing. That’s what keeps your finished challah bread recipe wonderfully tender instead of chewy.
Essential Ingredients for Perfect Challah
Okay, let’s get down to the good stuff! For this cherished challah recipe, every ingredient plays a huge part in getting that perfect texture and unbelievable color. You need to treat these essentials with respect—don’t try to cheat them! When you use good quality items, the bread practically bakes itself. We’re looking for that classic, slightly sweet, deeply golden result, which starts right here on the ingredient list.
Ingredient Notes and Substitutions for Your Challah
A quick note on the water temperature for the yeast: it must be warm, but not hot! Aim for that sweet spot, between 105–115°F. Too cold, and your yeast sleeps; too hot, and you kill it! Oops! When measuring flour for this challah bread recipe, please use the ‘scoop and level’ method—don’t just jam the cup into the bag, or you’ll end up with a dense loaf. Also, I love the note that you can swap out half the water for milk! That extra fat gives the crust an even deeper, richer hue, which is just divine under the Hanukkah lights.
Step-by-Step Instructions: How to Make Challah
This is where the magic happens, and where I promise you, you will feel like a baking hero. It looks scary—all that kneading and braiding—but take it one step at a time. If you follow these directions exactly, you’ll have a gorgeous challah loaf ready for the table before you know it. Don’t rush the rises; that’s when the flavor develops!
Activating the Yeast and Mixing the Challah Dough
First up, we need to wake up that yeast! In your biggest bowl, mix the warm water with that tiny bit of sugar and the yeast. Go ahead and wait about five to ten minutes. I’m watching carefully for that foamy raft on top—if it’s all bubbly and looks like a tiny sea foam, you are good to go! If it doesn’t foam, toss it and start that step over so we don’t waste flour on sleepy yeast.
Kneading and the First Rise for Your Challah
Once the yeast is happy, mix in the oil, eggs, salt, and the rest of the sugar. Then, start adding that flour gradually. When it gets shaggy, turn it out onto a floured surface and trust your arms! You need to knead this for a full 8 to 10 minutes until it feels smooth and super elastic—it should spring back when you poke it. Then, just tuck it into an oiled bowl, cover it, and let it chill out in a warm spot for about an hour and a half, until it’s doubled up!
Braiding and the Second Rise of the Challah Loaf
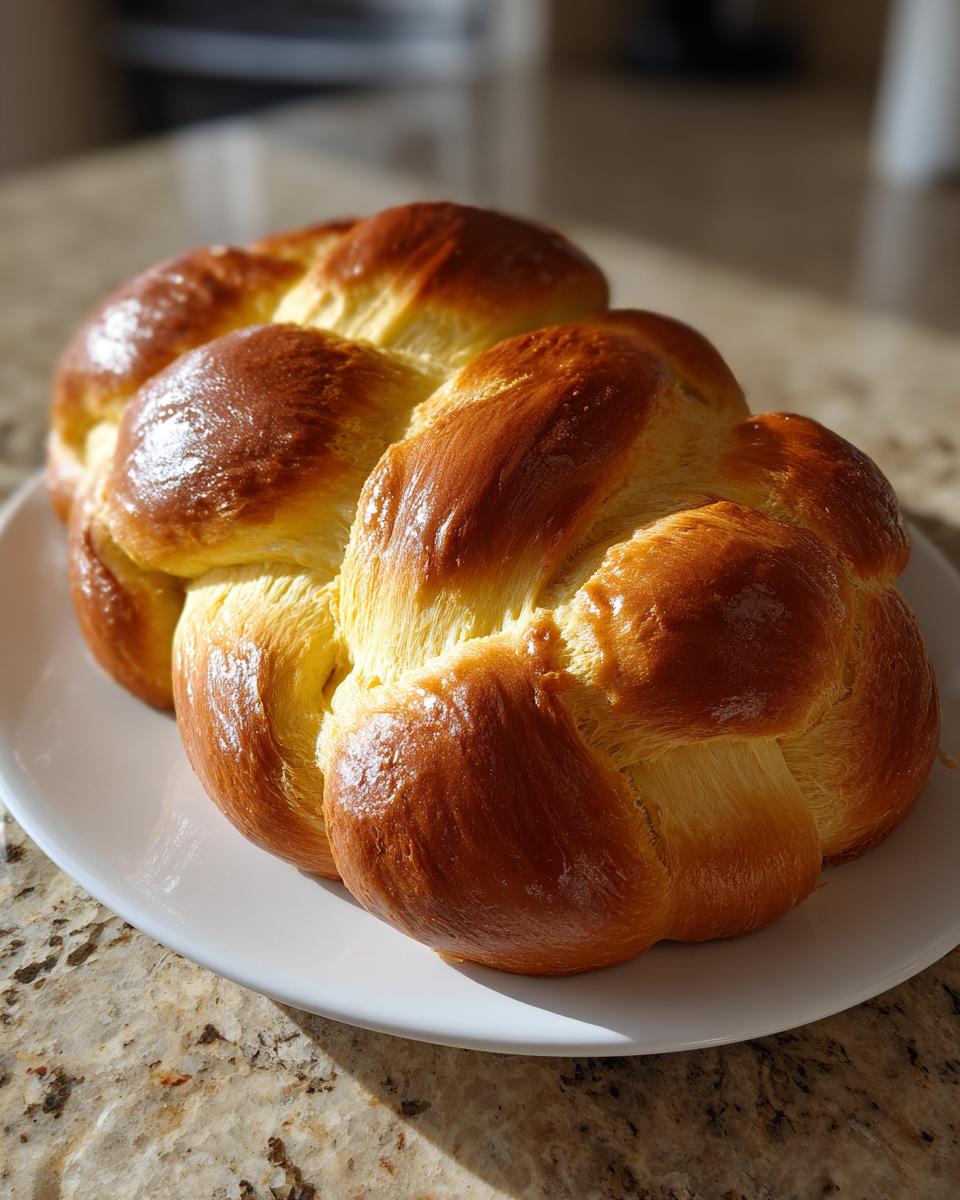
After the first rise, gently punch the air out—that’s the fun part! Now you decide: three strands or six? For me, three is easiest when I’m busy, but six gives a tighter braid. Just roll everything into long, even ropes, and remember to braid them snugly so you don’t get big gaping holes later. Pinch those ends tight and tuck them under. Cover the beautiful braid and let it have another nap—this second rise takes about 30 to 45 minutes. This tight shape is what defines a beautiful challah!
Baking Your Golden Traditional Hanukkah Food
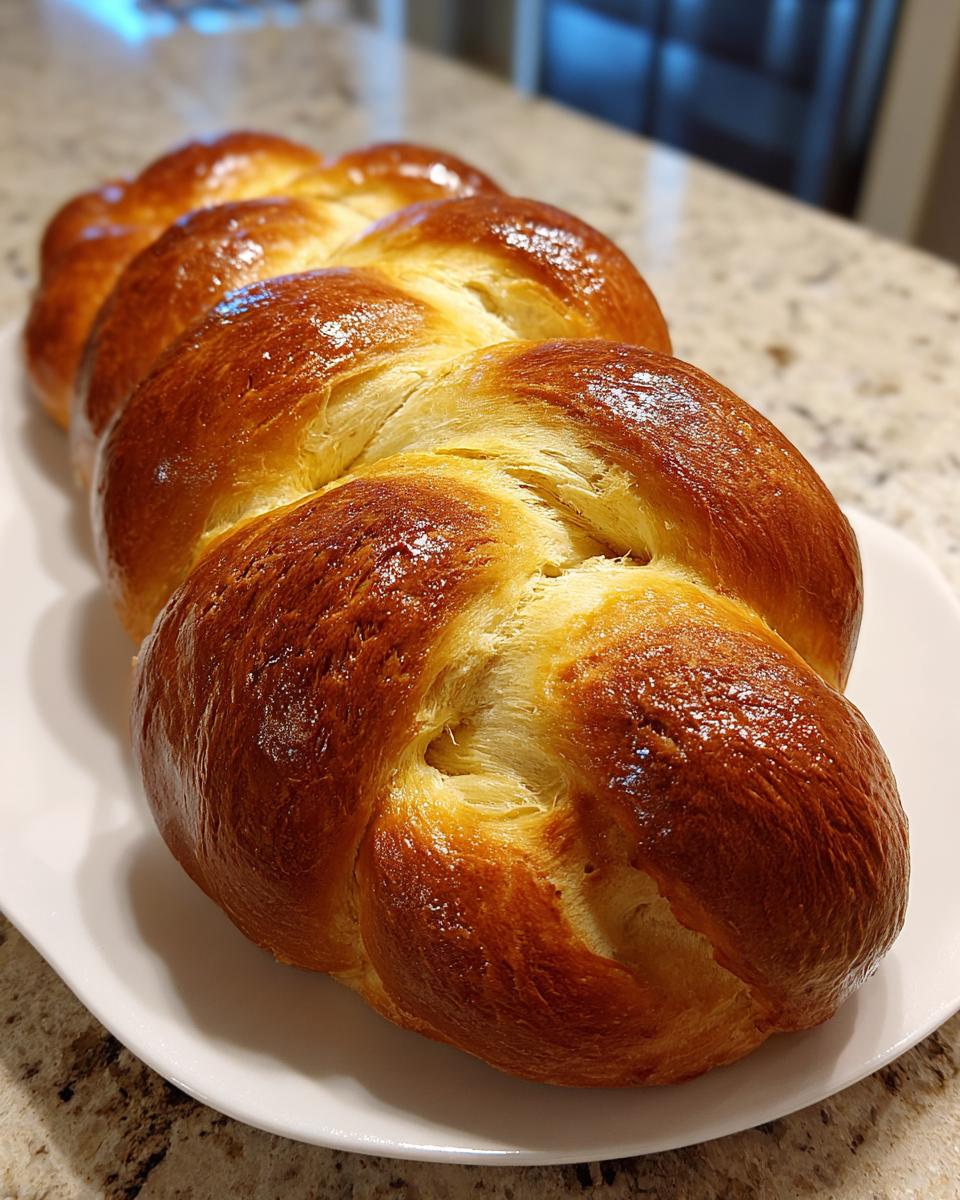
Time to turn up the heat to 375°F! Before it hits that oven, you need the egg wash—that yolk mixed with a splash of water—brushed all over the top. This is what gives you that unbelievable shine. Bake it for about 30 to 35 minutes. You’ll know it’s done when the crust is a deep, burnished gold, and if you carefully tap the bottom, it sounds nice and hollow. Let it cool completely on a rack before you dare try to slice into this amazing traditional Hanukkah food!
Tips for Success When Braiding Challah
Look, I know the braiding part can make people freeze up, but trust me, this is where you stop just following a recipe and actually start cooking! If your dough feels just a little too sticky when you turn it out, resist the urge to dump in a ton of extra flour. A light dusting on your hands and counter is all you need. If you add too much flour now, your beautiful challah will end up dry later!
When you start rolling your ropes—whether you chose three or six—make sure they are all the exact same thickness and length. If one rope is skinnier, it’s going to finish baking faster than the rest, and your braid won’t look even.
My best tip for learning how to make challah braids easily? Start the braid in the middle of the ropes rather than trying to anchor the ends perfectly right away. Once you get the rhythm, the dough will cooperate. Pinch those ends tight and tuck them under to make sure your gorgeous loaf holds its shape while it rests for that second rise!
Serving Suggestions for Your Homemade Challah
Now that you’ve poured your heart into this amazing, soft challah, the best part is eating it! This loaf is so much more than just something to eat alongside your main course; it deserves the spotlight. Since this is such a wonderful centerpiece for traditional Hanukkah food celebrations, I like to keep the first batch simple so everyone can taste the perfection.
Right after it cools down just a bit, tearing off a piece for dipping into leftover latke toppings—sour cream or apple sauce—is pure happiness. The slightly sweet bread cuts through the richness of the fried potato perfectly, you won’t regret it!
We often use the beautiful leftover challah the next morning, too. Seriously, don’t let this bread go to waste! Because of the egg and oil content, this makes the absolute best French toast you will ever have. Slice it thick, soak it well, and treat yourself.
If you’re serving it formally during the holiday meal, just slice it thickly and let people spread butter or cream cheese on it. Honestly though, fresh from the oven, this challah bread recipe is so flavorful, it doesn’t need a single thing added to it! Enjoy every single bite.
Storage and Reheating Instructions for Challah
Once you’ve managed to resist eating the entire loaf in one sitting—which, trust me, is harder than it looks—you need to know how to keep that beautiful golden crust soft. Luckily, this challah recipe holds up really well, provided you store it correctly. This bread loves to stay soft!
For short-term storage, keep your cooled challah wrapped tightly in plastic wrap at room temperature. Don’t put it in the fridge! Refrigeration is the enemy; it dries out bread much faster. A good tight wrap keeps it fresh for three or four days, but frankly, fresh-baked challah rarely lasts that long around my house.
If you are serious about keeping some loaves around for the rest of Hanukkah, you absolutely need to freeze them. Once the bread is completely cool, wrap it *very* well in plastic wrap first, then follow that up with a layer of aluminum foil or place it in a sturdy freezer bag. This double layer prevents freezer burn. It will keep beautifully for up to three months!
How to Refresh Day-Old Challah
If your beautiful braid has been sitting out for a day or two, it might seem a tad firmer. Don’t panic! This is where the reheating trick comes in handy. It’s so simple, and immediately brings back that wonderful texture. You want that fresh-baked feeling again, right?
Take the loaf (or a thick slice) and lightly spritz it with a tiny bit of water—just a light mist, don’t soak it! Pop it into an oven preheated to about 300°F for maybe 5 to 7 minutes. That little bit of steam and gentle heat coaxes the moisture back into the crumb and warms the crust perfectly. It’ll come out almost as good as when it first cooled!
Thawing Frozen Challah
If you froze your loaf, you have two options for bringing it back to life. The best way, if you have the time, is just moving it from the freezer to the counter the night before you plan to eat it. Let it slowly come to room temperature while still wrapped; this lets the moisture redistribute evenly.
If you need it fast, you can skip the counter thaw and wrap it loosely in foil before tucking it into a 350°F oven for about 15 minutes, again, still wrapped. Unwrap it for the last few minutes if you like that slight crust crispness to return. Either way, you’ll have amazing, soft challah bread recipe results, ready for your holiday table!
Frequently Asked Questions About This Challah Recipe
I get so many messages asking about small tweaks to this classic challah recipe, and honestly, if you have questions, chances are someone else does too! Baking bread is an art, and sometimes understanding the little “whys” helps you nail it every single time. Here are a few that come up often when folks are learning how to make challah for the first time.
Can I use instant yeast instead of active dry yeast for this Challah bread recipe?
Yes, you absolutely can! If you have instant yeast in the pantry, that’s perfectly fine, and it saves you a step. But here’s the important tweak: you don’t need to proof it separately in the warm water first. Just mix the instant yeast right in with your dry ingredients—that means the flour, the sugar, and the salt. Then, when you add the liquid ingredients, the yeast will slowly wake up and get to work! It still needs that first rise time to do its thing.
What is the best way to braid Challah if I am a beginner?
Don’t look at those gorgeous seven-strand braids on Instagram and feel intimidated; that’s just stress you don’t need during Hanukkah prep! For your first time making this challah, stick to the tried-and-true three-strand braid. It creates a beautifully twisted loaf, and it’s so quick to master. You just need three long ropes, lay them side-by-side, cross the right strand over the middle one, then cross the left strand over the new middle one, and repeat! Keep it tight, and you’ll be golden.
How can I make my Challah loaf richer or sweeter?
This challah bread recipe is already rich because of all those eggs and oil, but if you want to elevate it just a touch more, remember that note I shared earlier? Swap out half of the warm water with whole milk. That extra dairy fat really boosts richness and gives the crumb a luxurious mouthfeel. If you want it a bit sweeter, you can sneak in an extra tablespoon or two of granulated sugar along with the rest of the sugar in Step 2. Just taste the mix before you add the flour to make sure you like the balance before baking!
Estimated Nutritional Information for Challah
I know some of you are tracking macros or just curious about what’s in this spectacular loaf of challah, so here is the nutritional breakdown. Remember, this is just a guide, because every pantry is a little different! I always say be prepared for a treat when you make homemade bread, especially with all that heart and love you put into the dough!
These estimates are based on the recipe yielding one large loaf and assume a standard serving size of one slice. Since we are using rich ingredients like eggs and oil, this is definitely a hearty slice of challah bread recipe!
- Serving Size: 1 slice
- Calories: 220
- Fat: 5g (with 1g Saturated Fat)
- Carbohydrates: 40g
- Protein: 6g
- Sugar: 5g
- Fiber: 1g
- Cholesterol: 50mg
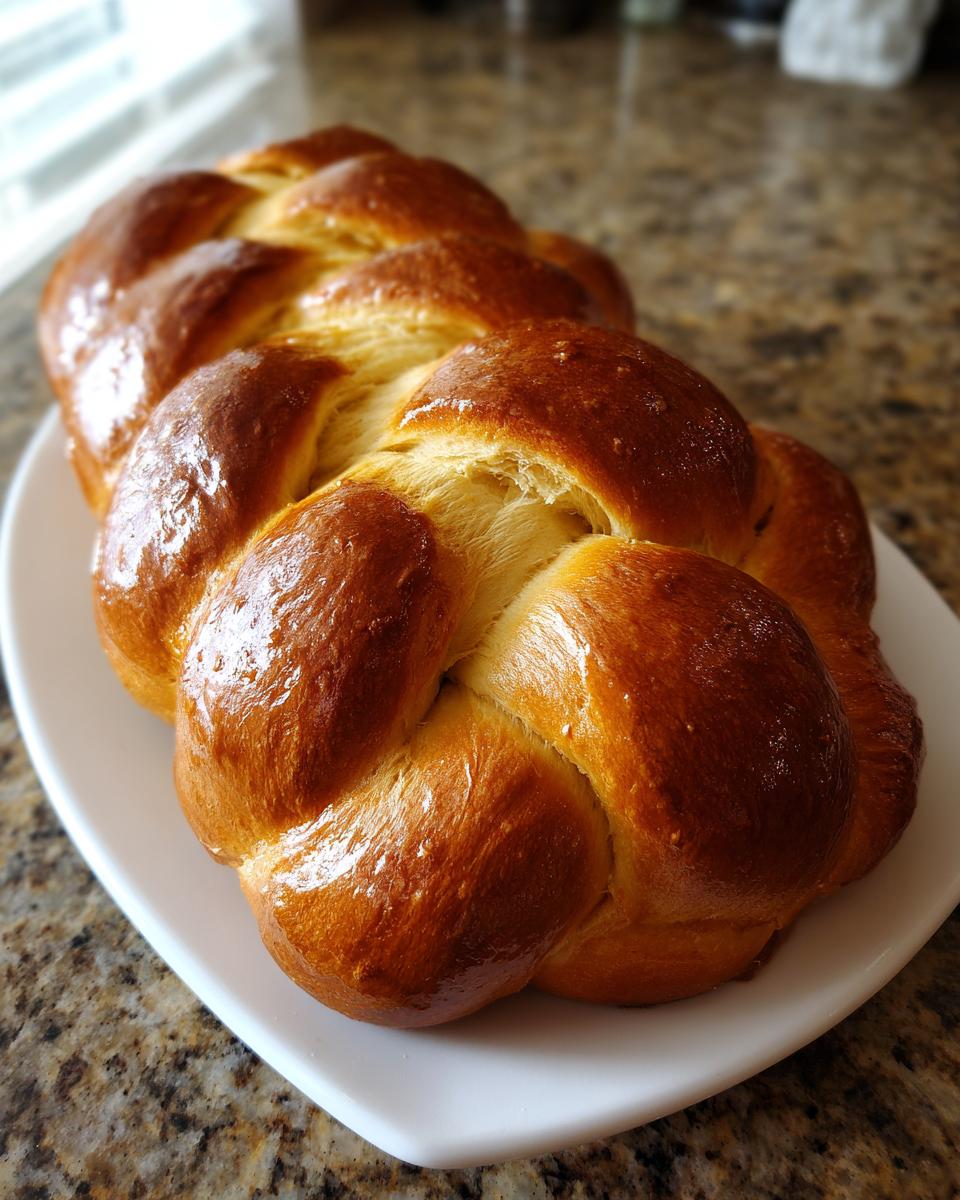
We’re keeping this straightforward because when you make challah from scratch, tracking every single milligram isn’t the point. The point is the beautiful golden braid sitting on your Hanukkah table! These numbers reflect the delicious reality of using quality ingredients to create a truly satisfying traditional Hanukkah food.
Share Your Traditional Challah Experience
Whew! You did it! You’ve made a beautiful, soft, golden loaf of challah, and now you get to share that incredible aroma and amazing taste with your family for Hanukkah. I really hope you felt that little spark of pride when you pulled that braid out of the oven.
Now that your centerpiece of traditional Hanukkah food is ready, I’d absolutely *love* to hear all about it! Did you stick to the three-strand braid, or did you try a more adventurous pattern? Tell me everything in the comments below!
Did you discover any new tricks while learning how to make challah using this classic method? Honestly, seeing your successes—and even hearing about the lessons you learned so you can nail it next time—helps make our whole culinary group stronger. I find that talking through the process really helps cement the technique!
If you snapped a picture of your gorgeous, shiny loaf sitting on the table, please share it! Tag us on social media so we can all admire your baking skills. If you ever run into a snag or have a random question about egg wash or rising times in the future, please don’t hesitate to reach out through our contact page. Happy celebrating, and enjoy every delicious slice of your homemade challah bread recipe!
PrintTraditional Braided Challah for Hanukkah

Make a soft, golden braided loaf of traditional challah bread, perfect for sharing during the Festival of Lights.
- Prep Time: 30 min
- Cook Time: 35 min
- Total Time: 2 hr 40 min
- Yield: 1 large loaf 1x
- Category: Bread
- Method: Baking
- Cuisine: Jewish
- Diet: Vegetarian
Ingredients
- 3 cups warm water (about 105-115°F)
- 2 tablespoons active dry yeast
- 1/2 cup granulated sugar plus 1 teaspoon for yeast
- 1/2 cup vegetable oil plus extra for greasing
- 4 large eggs plus 1 egg yolk for egg wash
- 2 teaspoons salt
- 7 to 7 1/2 cups all-purpose flour
Instructions
- In a large bowl, dissolve 1 teaspoon of sugar and the yeast in the warm water. Let stand for 5 to 10 minutes until foamy.
- Add the remaining sugar, vegetable oil, 4 eggs, and salt to the yeast mixture. Mix well.
- Gradually add the flour, one cup at a time, mixing until a shaggy dough forms.
- Turn the dough out onto a lightly floured surface. Knead for 8 to 10 minutes until the dough is smooth and elastic. Add more flour only if necessary to prevent sticking.
- Lightly grease a large bowl with oil. Place the dough in the bowl, turning to coat. Cover the bowl with plastic wrap or a clean kitchen towel.
- Let the dough rise in a warm place for 1 to 1.5 hours, or until doubled in size. This is the first rise.
- Gently punch down the risen dough. Divide the dough into three equal pieces for a three-strand braid, or six pieces for a six-strand braid.
- Shape each piece into a long rope. Braid the ropes together tightly. Pinch the ends together and tuck them under the loaf.
- Place the braided loaf on a baking sheet lined with parchment paper. Cover loosely and let rise again for 30 to 45 minutes. This is the second rise.
- Preheat your oven to 375°F (190°C).
- In a small bowl, whisk together the remaining egg yolk and 1 tablespoon of water to create an egg wash. Brush the top of the loaf evenly with the egg wash.
- Bake for 30 to 35 minutes, or until the challah is deep golden brown and sounds hollow when tapped on the bottom.
- Transfer the baked challah to a wire rack to cool completely before slicing.
Notes
- For a richer color, you can substitute some of the water with milk.
- If you want a shiny crust, apply a second coat of egg wash halfway through baking.
- This recipe makes one large loaf. Double the ingredients for two loaves.
Nutrition
- Serving Size: 1 slice
- Calories: 220
- Sugar: 5
- Sodium: 250
- Fat: 5
- Saturated Fat: 1
- Unsaturated Fat: 4
- Trans Fat: 0
- Carbohydrates: 40
- Fiber: 1
- Protein: 6
- Cholesterol: 50