

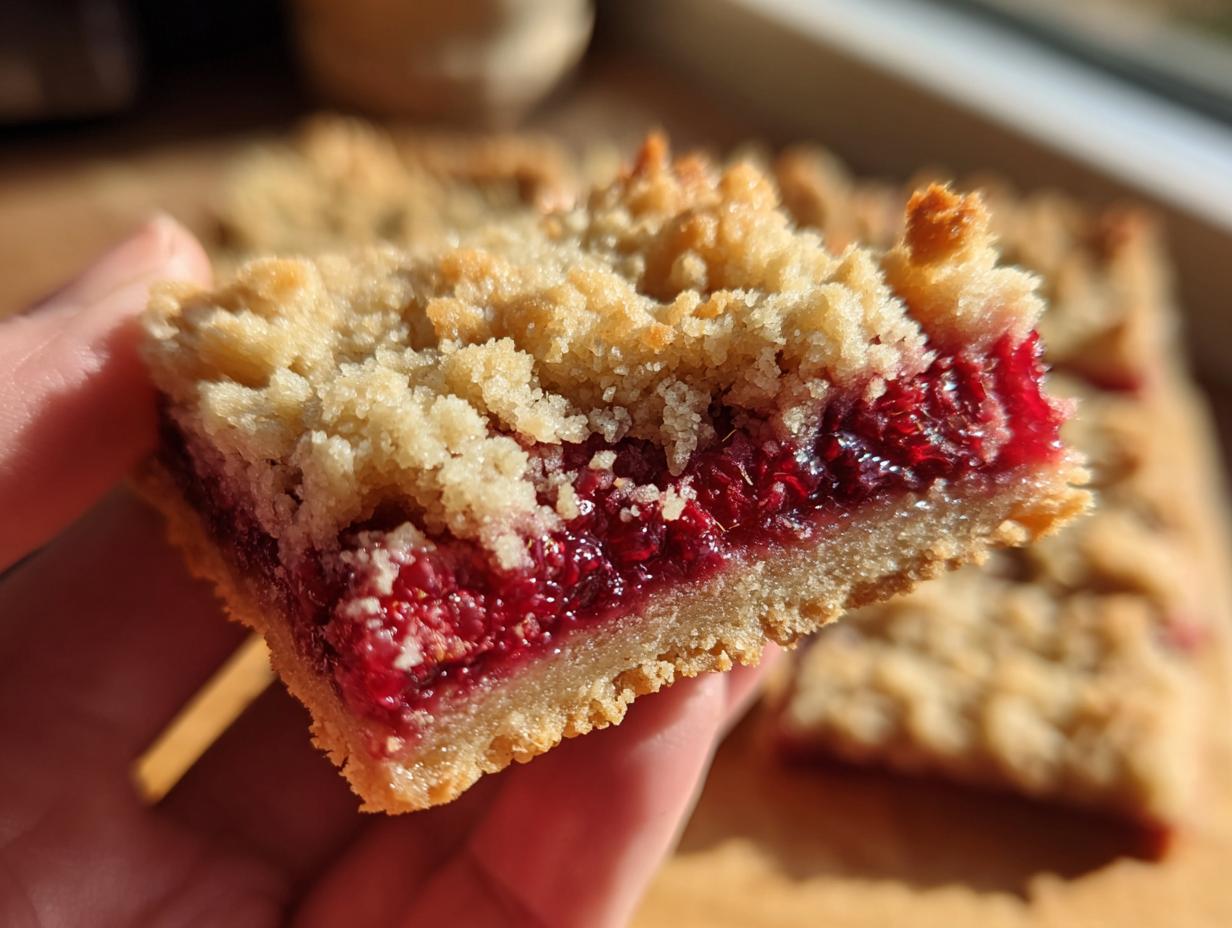
There’s just something magical about a layered dessert bar, isn’t there? You get the satisfying crunch or crumble on top, that sweet, slightly tangy jammy center, and usually a sturdy, buttery base that holds it all together. Out of all the bar cookies I’ve ever obsessed over, these **raspberry shortbread bars** are the ones that always shout the loudest in my kitchen. Forget complicated pastry work; this recipe is truly my secret weapon for making bakery style raspberry bars that taste like they took hours.
When I first started Cooking Zenith, my goal was to show everyone that extraordinary flavor doesn’t need extravagant effort. Trust me, these layered squares embody that philosophy perfectly. We’re taking simple ingredients—flour, sugar, butter—and transforming them into something spectacular. You’re not just getting a recipe; you’re getting my method for the absolute best buttery shortbread crust that stays tender, even days later. If you want a simple, from scratch bar that disappears immediately at any potluck, you’ve found your new favorite.
- Why You Will Make These Easy Raspberry Shortbread Bars Recipe
- The Ingredients for Perfect Raspberry Shortbread Bars
- Step-by-Step Guide to Making Your Homemade Raspberry Square Recipe
- Tips for Perfect Raspberry Shortbread Bars Texture
- Variations for Your Simple Layered Dessert Bars
- Storage and Make Ahead Fruit Bars Instructions
- Serving Suggestions for Bakery Style Raspberry Bars
- Frequently Asked Questions About Raspberry Shortbread Bars
- Sharing Your Homemade Raspberry Square Recipe Success
Why You Will Make These Easy Raspberry Shortbread Bars Recipe
Honestly, these bars sell themselves! If you’re looking for a quick win in the kitchen, this is it. Here’s why I know you’ll fall in love:
- The shortbread base and topping are perfectly buttery and wonderfully crumbly.
- The raspberry jam layer stays soft and wonderfully jammy after baking.
- Prep time is a dream—we get this ready for the oven in about 15 minutes flat.
- They are the perfect make ahead fruit bars for school lunches or weekend gatherings!
The Ingredients for Perfect Raspberry Shortbread Bars
When you’re making a truly buttery shortbread crust dessert, you can’t skimp on the quality of a few core items. Don’t stress though; the list is short! We’re counting on simple building blocks here. I always recommend using the best raspberry jam you can find—it makes a huge difference in the final sweet pastry raspberry filling. If you happen to be out of jam, I have a great easy homemade raspberry jam recipe you can whip up!
- 1 cup unsalted butter, softened (Important! Not melted, just soft.)
- 1/2 cup granulated sugar
- 2 cups all-purpose flour
- 1/4 teaspoon salt
- 1 cup raspberry jam (High quality really shines here!)
- 1 teaspoon lemon zest (This is totally optional, but it brightens up the sweetness wonderfully.)
Step-by-Step Guide to Making Your Homemade Raspberry Square Recipe
Okay, this is where the magic happens! Making these **raspberry shortbread bars** is all about layering and timing. Stick close to these steps, and you will get those beautiful, defined layers without any fuss. Don’t worry if the mix looks a little dry when you add the flour; that’s exactly what we want for that perfect shortbread cookie bar recipes texture. If you want to see another incredible layered bake, check out my brown butter gooey bars for inspiration!
Preparing Your Pan and Oven for the Raspberry Shortbread Bars
First things first, get your workspace ready! Line that 8×8 inch baking pan with parchment paper, but make sure you leave an overhang sticking up over two opposite sides. This is your built-in handle for lifting the bars out later—trust me, you’ll thank me when it’s time to cut them neatly. Preheat your oven to 350°F (175°C) right now so it’s perfectly ready when your batter is mixed.
Mixing the Buttery Shortbread Crust Dessert Base
Grab your big bowl! Beat that softened butter with the sugar until it looks genuinely light and fluffy. We need those air pockets! Then, introduce the flour and salt slowly. Mix it until it just barely comes together into coarse crumbs. My biggest tip here is to stop mixing the second you see no more dry streaks of flour. Overmixing at this stage is what makes shortbread tough instead of tender!
Assembling the Layers for Your Baked Raspberry Crumble Bars
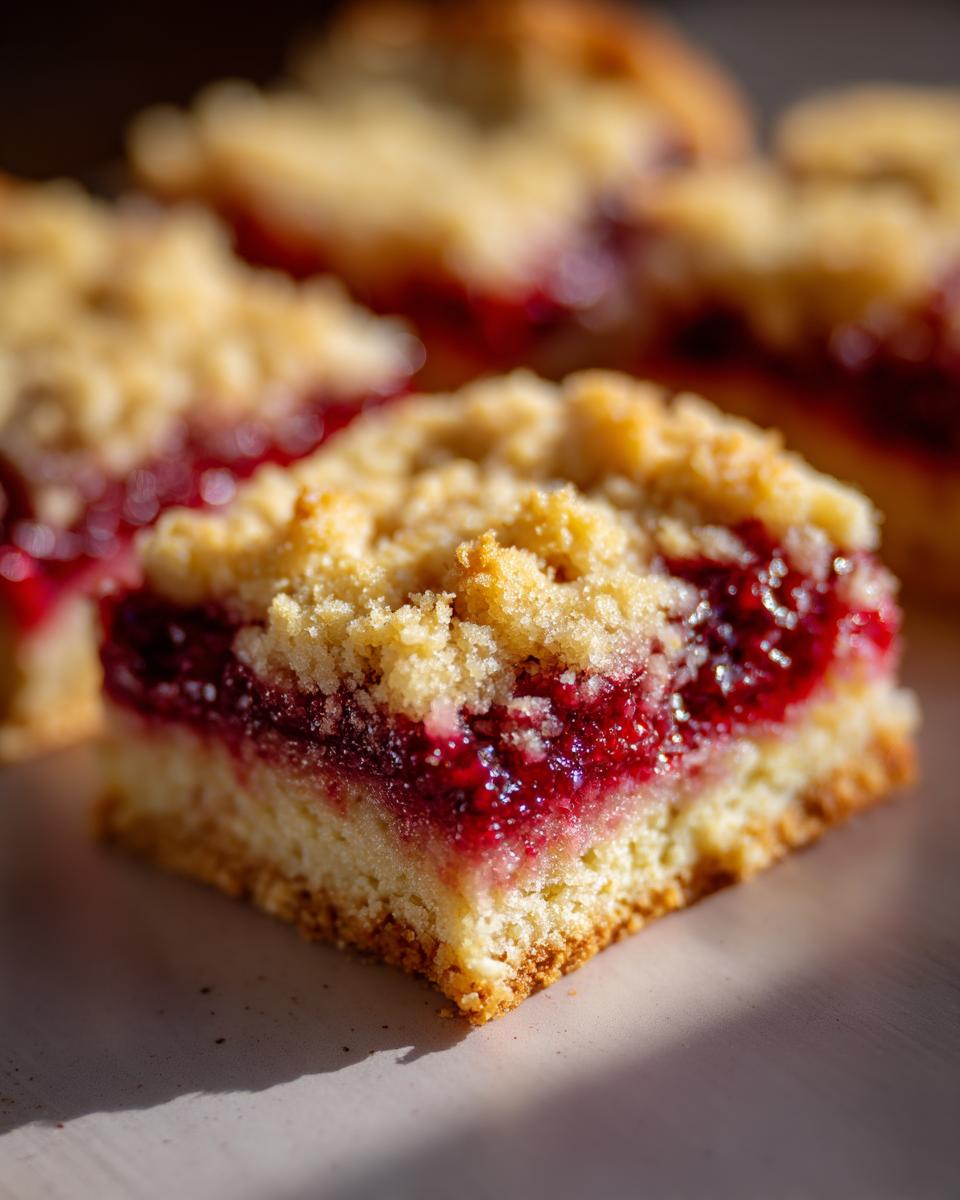
Take about two-thirds of that crumbly dough—that’s roughly 1 1/3 cups—and press it firmly and evenly into the bottom of your prepared pan. Pat it down well; this is your foundation! Next, spread that gorgeous raspberry jam right over the base. Make sure it goes edge-to-edge. Sprinkle the remaining one-third of the crumbs evenly over the jam layer to create the beautiful, rustic topping for these baked raspberry crumble bars.
Baking and Cooling the Best Raspberry Dessert Bars
Slide the pan into that preheated oven. You are looking for about 30 to 35 minutes. The visual cue is key: the edges should look set and the topping should be just lightly golden brown. Resist the urge to cut them when they come out! They must cool completely on a wire rack. If you try to slice while they are even slightly warm, the jam will run everywhere, and you won’t get those clean squares you’re aiming for.
Tips for Perfect Raspberry Shortbread Bars Texture
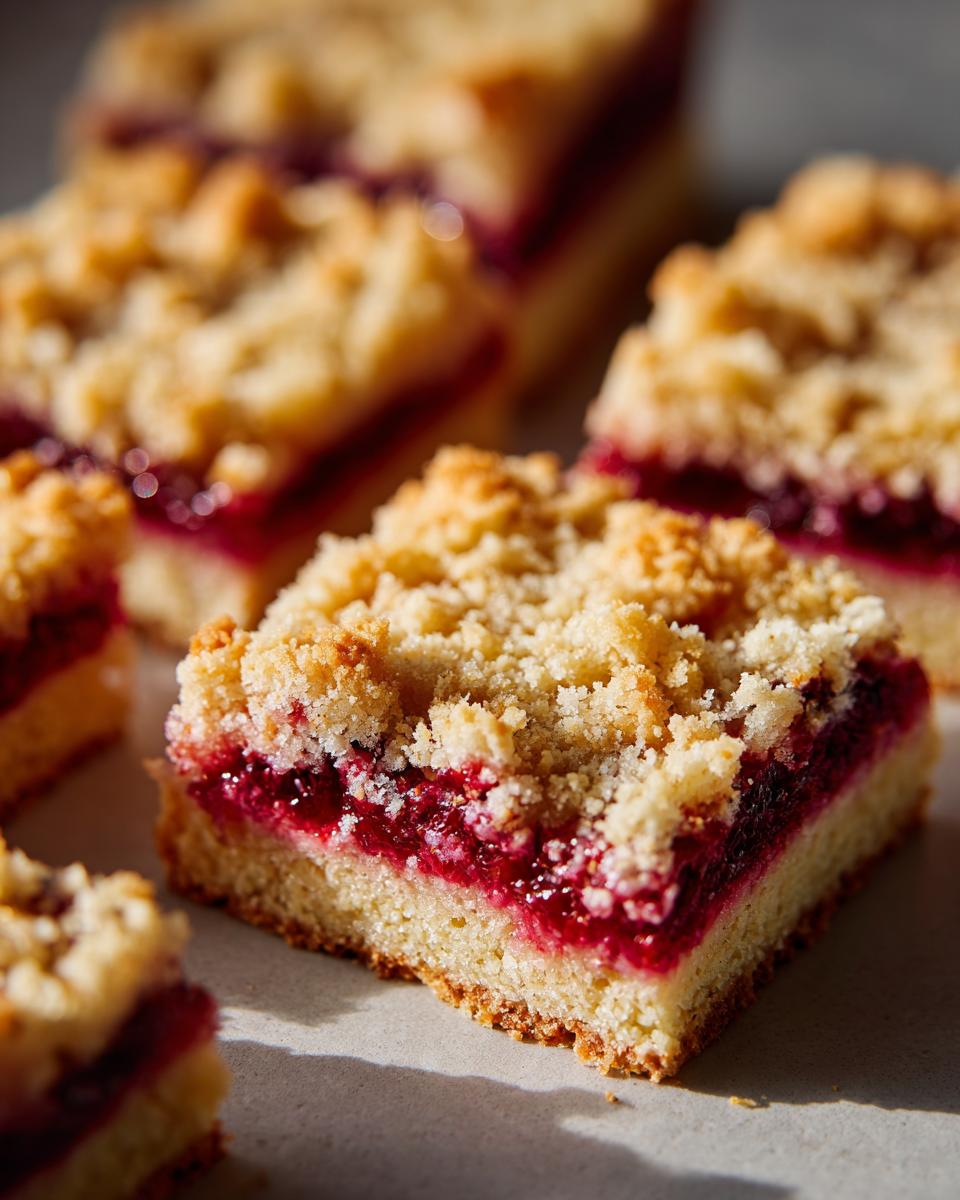
Achieving that ideal balance—a crumbly, buttery melt-in-your-mouth shortbread combined with a luscious, jammy center—is what separates good bars from truly spectacular ones. The key is twofold: how you handle the base dough and how patient you are at the very end.
When mixing the shortbread, remember what I said about stopping early? That’s non-negotiable for a tender crust! If you work the dough too much after the flour goes in, you develop gluten, and suddenly you’ve got shortbread shortbread *cookie* that’s tough. We want it light, almost sandy before setting.
For the filling, the quality of your jam matters immensely. If your jam seems too thick or paste-like, you can thin it out slightly. I sometimes whisk in just a tiny splash of water or, for a real treat, a bit of lemon juice—it really wakes up the sweetness. If you want them extra soft, consider mixing 1 tablespoon of cornstarch into the jam before spreading it over the base; it turns it into this deeply soft, luxurious filling. For more baking secrets on softness, you should check out my guide on getting the softest peanut butter cookies, as the principles for tender baking overlap!
Now for the biggest texture secret: cooling! Let them cool completely to room temperature after they come out of the oven. But here’s the final trick for those super clean cuts you see in bakeries: pop the *entire* cooled pan into the refrigerator for at least an hour before slicing. Chilling helps the butter in the crust firm up again, allowing you to slice through the shortbread cookie bar recipes layers cleanly without any squishing or crumbling!
Variations for Your Simple Layered Dessert Bars
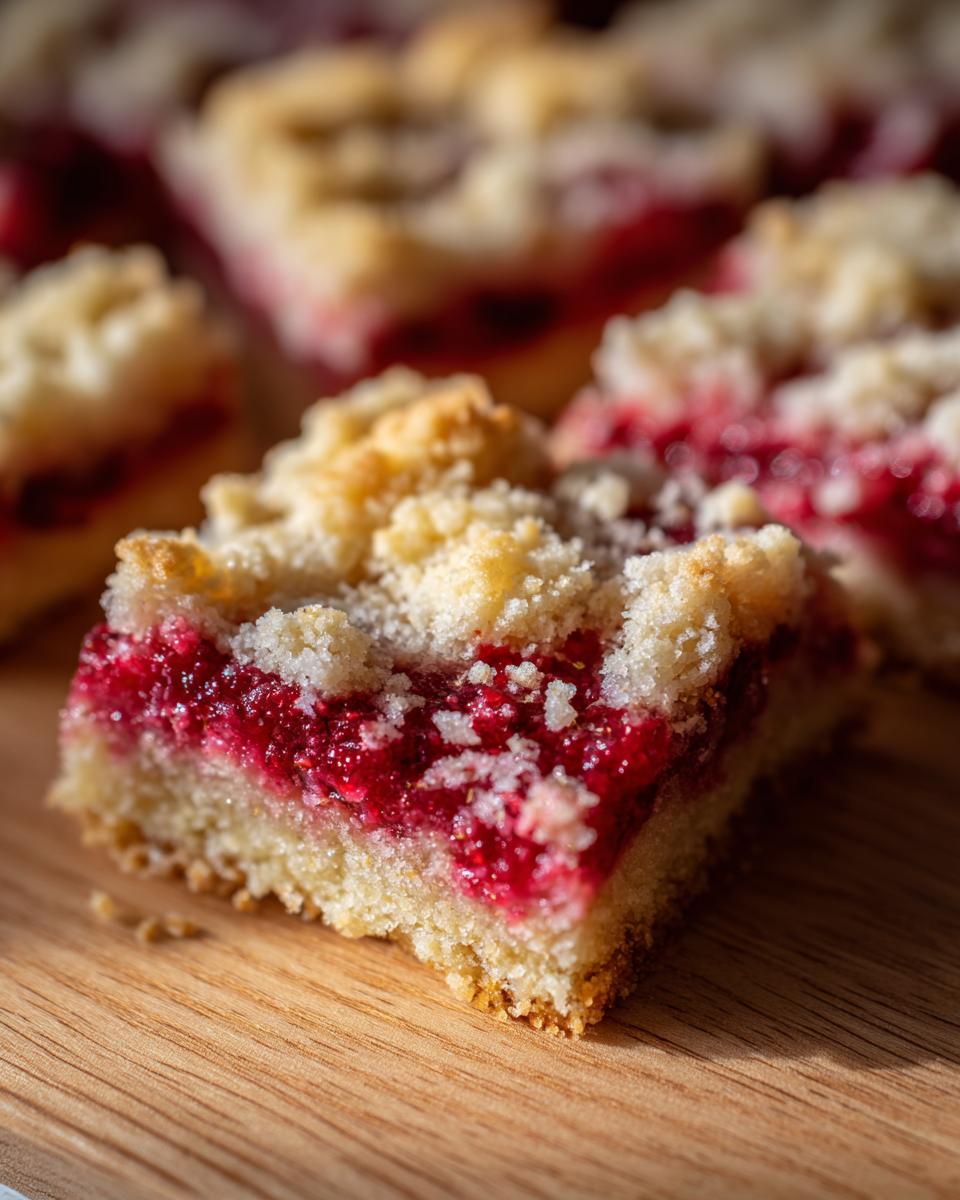
While I am absolutely obsessed with this classic combination of buttery shortbread and tart raspberry, half the fun of baking from scratch shortbread bars is making them your own! These simple layered dessert bars are so forgiving, they welcome little tweaks beautifully.
The lemon zest I mentioned earlier? That’s my favorite enhancement. If you haven’t tried it, promise me you will on your next batch. Just grab a microplane and zest about one teaspoon of bright yellow lemon peel right over that jam layer before adding the top crumbs. It cuts through the sweetness and brightens up the whole flavor profile. It pairs so perfectly with the raspberry, almost like a culinary hug!
But okay, what if you’re fresh out of raspberry jam, or maybe you just want to experiment? Feel free to swap it out! These bars work wonderfully with almost any thick fruit preserve. Think about apricot, tart cherry, or even a nice thick blueberry jam. If you’re feeling extra adventurous, try my lemon blueberry scones recipe for inspiration and use a lemon curd mixed with a bit of blueberry jam for a totally different vibe.
Also, if you wanted to add a little extra depth to the shortbread crust itself, try swapping just 1/4 cup of the all-purpose flour for almond flour. It gives the base a richer, nuttier flavor profile and melts even better in your mouth. Just mix it right in with the rest of the dry ingredients, and you’re good to go!
Storage and Make Ahead Fruit Bars Instructions
One of the best things about these **raspberry shortbread bars** is that they are phenomenal make ahead fruit bars! You don’t have to serve them fresh, which makes planning for parties or potlucks a total breeze. Because the shortbread base and topping get that buttery structure, they hold up really beautifully over time.
Once you’ve cut them—and remember, only after they are totally, completely cool!—you want to store them in an airtight container. I just stack mine up gently with a piece of parchment paper or wax paper between the layers so the topping doesn’t stick to the bar below it. This keeps them from getting squished.
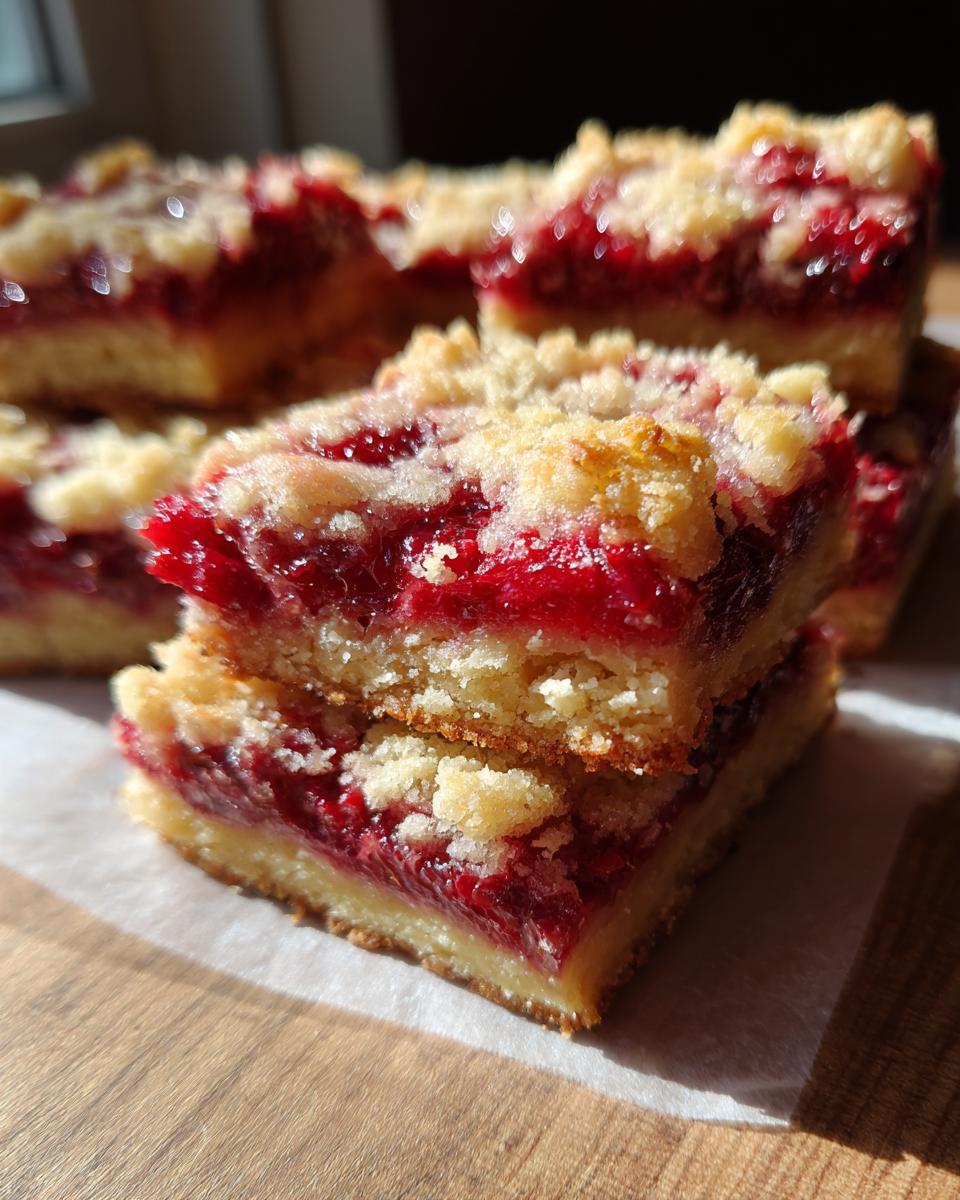
The magic here is that they seem to taste even better the next day once the flavors have really settled in! I find these simple layered dessert bars keep perfectly at room temperature for up to four days. Don’t even bother refrigerating them unless your kitchen is super hot, as the fridge can sometimes slightly dry out the shortbread crumb. If you’re prepping for a big event, you can certainly make them two days in advance. For more information on planning ahead with baked goods, you might want to check out my post on make ahead fruit bars!
Serving Suggestions for Bakery Style Raspberry Bars
The beauty of these **bakery style raspberry bars** is that they look impressive enough for a formal dessert platter, but they taste like something you just casually whipped up on a Tuesday. They’re definitely perfect as they are, especially once you’ve chilled them and cut those neat squares.
My favorite way to serve them when company is over is incredibly simple: I take a fine-mesh sieve and just dust the top lightly with powdered sugar right before putting them out. It gives that wonderful contrast against the golden topping and the red jam peeking through.
If you’re serving these as an actual dessert after dinner, you absolutely must pair them with something cold. A small scoop of good vanilla bean ice cream melts just perfectly across that buttery shortbread edge. If ice cream feels like too much, a modest dollop of homemade whipped cream (maybe a smear of my vanilla buttercream frosting whipped up really softly if you’re feeling decadent!) is amazing.
But truly, these are a coffee lover’s dream. They are sturdy enough to hold up next to a hot cup of black coffee or an afternoon latte. They make a fantastic morning treat alongside that caffeine kick!
Frequently Asked Questions About Raspberry Shortbread Bars
It always amazes me how many different ways people try some of my favorite simple layered dessert bars! Baking is fun because you can tweak things, but sometimes those tweaks can cause mishaps. Here are the main things I hear about when people are tackling these **raspberry shortbread bars** for the first time.
Can I use fresh raspberries instead of jam in these raspberry shortbread bars?
Oh, I totally get wanting that fresh berry burst! But for this specific recipe, I really advise against swapping jam for raw, fresh raspberries. Fresh berries hold way too much water. When they bake, they release all that liquid, and it basically turns your shortbread base and topping into a soggy mess instead of that perfect crumbly texture we want. If you must use fresh berries, you need to cook them down on the stove first with a tablespoon of sugar until they get thick and jam-like. That way, you control the moisture!
What makes the crust for this buttery shortbread crust dessert so crumbly?
That incredible crumb is due to the ratio! Shortbread is naturally very low-moisture. We use a high amount of fat (that lovely butter!) compared to the flour. That high fat content coats the flour particles, which actually prevents the gluten network from forming too strongly when mixed. Minimal mixing, lots of fat – that’s the backbone of any great, tender shortbread cookie bar recipes!
Can I make these from scratch shortbread bars gluten-free?
Absolutely, you can! These are so easy to adapt. The structure relies on the flour, so if you swap in a quality 1:1 gluten-free all-purpose baking blend—the kind that already includes things like xanthan gum—it works beautifully. You might need to press the base down just a touch firmer in the pan, as GF flour can be less cooperative, but the flavor profile stays the same!
Sharing Your Homemade Raspberry Square Recipe Success
Now that you’ve got the secret to making the absolute best **raspberry shortbread bars**, I truly can’t wait to hear how they turned out for you! Seriously, the kitchen gets a little lonely if I don’t get feedback from my favorite bakers.
Did you stick to the classic jam, or did you try adding that hint of lemon zest? Were you patient enough to let them cool completely before slicing? Tell me everything in the comments below! Your feedback helps me know what to tweak or what to celebrate in future recipes.
If you made these simple layered dessert bars and they were a huge hit—which I know they will be—please take a moment to give the recipe a star rating right at the top of the page. And if you snapped a photo while enjoying one with your morning coffee, I’d be thrilled if you shared it on social media and tagged me! I love seeing my recipes living happily in your kitchens. If you ever have questions, need to troubleshoot a crumbly crust, or just want to say hello, you can always reach out right here through my contact page. Happy baking, friends!
PrintEasy Raspberry Shortbread Bars Recipe
Make bakery style raspberry bars with this simple recipe for buttery shortbread crust dessert squares. These from scratch shortbread bars feature a soft, jammy raspberry filling between a crumbly base and topping.
- Prep Time: 15 min
- Cook Time: 35 min
- Total Time: 50 min
- Yield: 16 squares 1x
- Category: Dessert
- Method: Baking
- Cuisine: American
- Diet: Vegetarian
Ingredients
- 1 cup unsalted butter, softened
- 1/2 cup granulated sugar
- 2 cups all-purpose flour
- 1/4 teaspoon salt
- 1 cup raspberry jam (high quality recommended)
- 1 teaspoon lemon zest (optional, for brighter flavor)
Instructions
- Preheat your oven to 350°F (175°C). Line an 8×8 inch baking pan with parchment paper, leaving an overhang on two sides for easy removal.
- In a large bowl, cream together the softened butter and granulated sugar until light and fluffy. This creates the base for your buttery shortbread crust.
- Gradually mix in the flour and salt until the mixture forms coarse crumbs. Do not overmix.
- Press two-thirds (about 1 1/3 cups) of the crumb mixture evenly into the bottom of the prepared pan to form the shortbread base.
- Spread the raspberry jam evenly over the shortbread base. If using, sprinkle the lemon zest over the jam layer.
- Crumble the remaining one-third of the shortbread mixture evenly over the jam layer to create the topping.
- Bake for 30 to 35 minutes, or until the topping is lightly golden brown and the edges are set.
- Remove the pan from the oven and let the bars cool completely in the pan on a wire rack. Cooling is important for clean cuts.
- Once fully cooled, use the parchment paper overhang to lift the bars from the pan. Cut into 16 squares.
Notes
- For the best texture, chill the bars for at least one hour after they cool to room temperature before slicing.
- If you prefer a softer filling, use a slightly runnier jam or mix 1 tablespoon of cornstarch into the jam before spreading.
- These make ahead fruit bars store well in an airtight container at room temperature for up to four days.
Nutrition
- Serving Size: 1 square
- Calories: 210
- Sugar: 15
- Sodium: 65
- Fat: 13
- Saturated Fat: 8
- Unsaturated Fat: 5
- Trans Fat: 0
- Carbohydrates: 22
- Fiber: 1
- Protein: 2
- Cholesterol: 30