
Oh, when that first crisp chill hits the air, what do you crave? For me, it’s anything warm, spiced, and instantly comforting! Forget those super fussy layered desserts; sometimes you just need something honest and easy. That’s why the Simple Cinnamon Honey Baked Pears is my absolute go-to. This amazing baked pears recipe takes minimal effort but delivers maximum cozy flavor. Here at Cooking Zenith, my goal—as Aria Thompson, a dedicated home cook just like you—is to prove that extraordinary flavor doesn’t need extravagant fuss. This dish is proof that you can whip up an elegant fruit dessert with just pantry staples!
- Why This Simple Cinnamon Honey Baked Pears Recipe Works (Easy Baked Pears Recipe)
- Gathering Ingredients for Your Baked Pears Recipe
- How to Prepare the Simple Cinnamon Honey Baked Pears Recipe
- Tips for Success with Your Baked Pears Recipe
- Serving Suggestions for Your Elegant Pear Dessert
- Storage and Reheating Instructions for Leftover Baked Pears Recipe
- Variations on the Classic Baked Pears Recipe
- Frequently Asked Questions About This Baked Pears Recipe
- Understanding the Nutritional Snapshot of Baked Pears with Honey
Why This Simple Cinnamon Honey Baked Pears Recipe Works (Easy Baked Pears Recipe)
I truly believe this specific baked pears recipe is a winner because it respects your time! It’s proof that you don’t need complicated steps to get that stunning, elegant look. We’re talking simple, pure ingredients that sing together beautifully, creating that cozy feeling we all chase when it gets chilly outside.
- Only uses 5 core ingredients—nothing fussy hiding here!
- Total prep time is a breezy 10 minutes. Hello, weeknight dessert!
- The texture turns out perfectly tender, practically melting in your mouth.
Quick Prep for Your Easy Baked Pears Recipe
Seriously, set your timer. Ten minutes is generous! You literally slice, scoop the core, and drizzle. That’s it! This is the definition of a Quick Fruit Dessert that looks like you spent hours fussing over it. It’s fast enough for a spontaneous sweet craving but elegant enough for company.
Comfort Food Fruit Flavor Profile
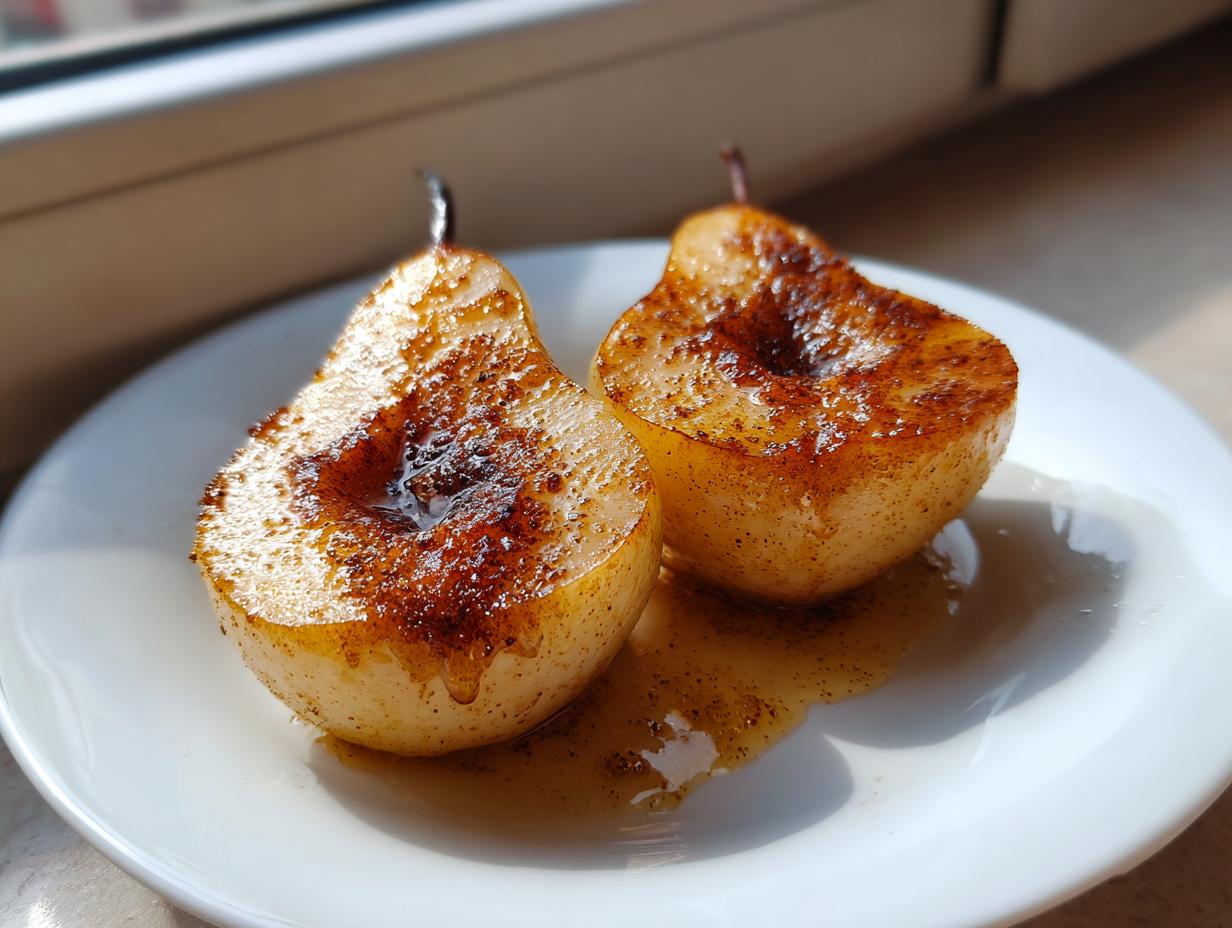
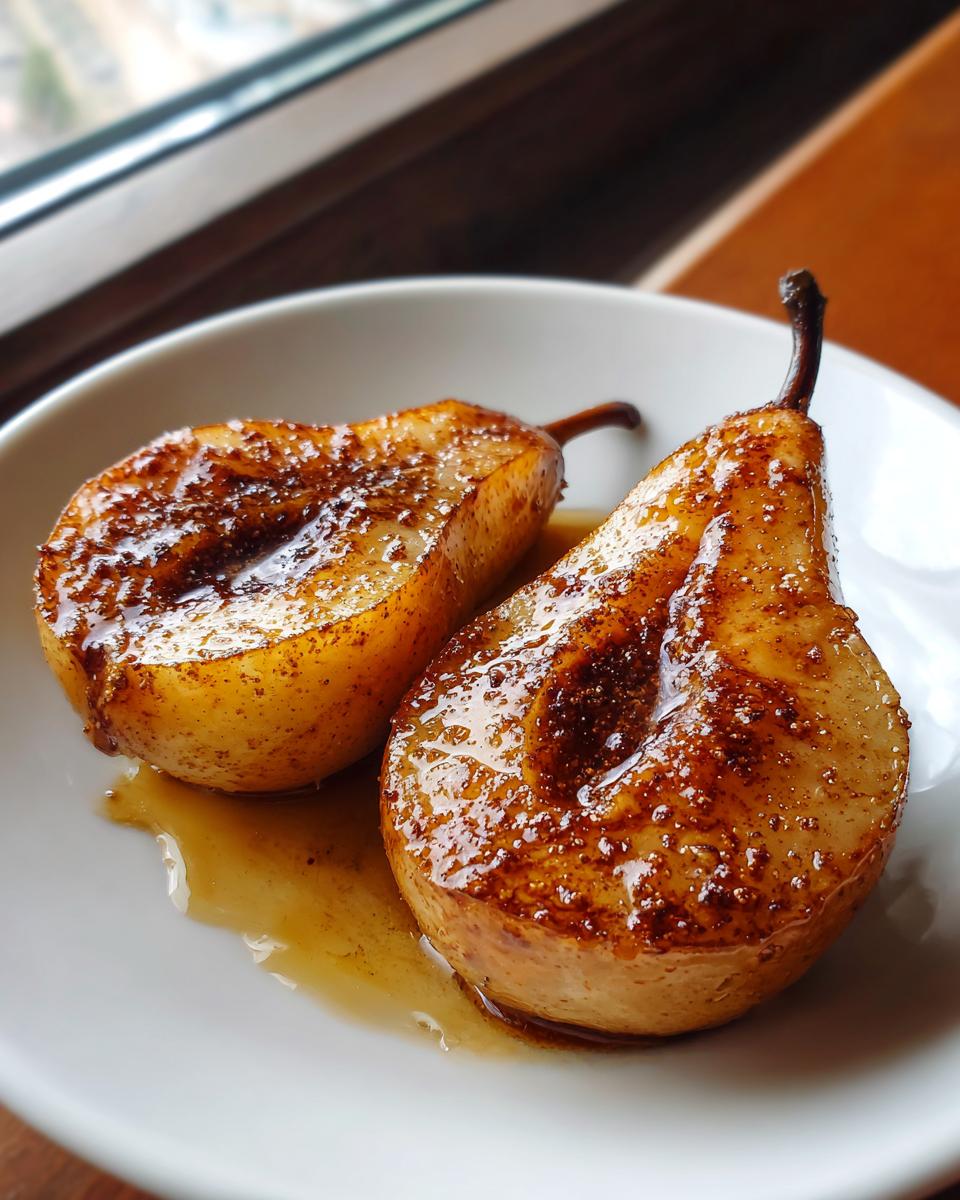
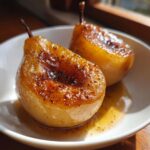
When those pears bake, the honey and butter mixture turns into this incredible, thin glaze. It caramelizes slightly around the edges, creating little pools of deliciousness. That warmth from the cinnamon? That’s pure Comfort Food Fruit magic. It smells like autumn and tastes like a hug.
Gathering Ingredients for Your Baked Pears Recipe
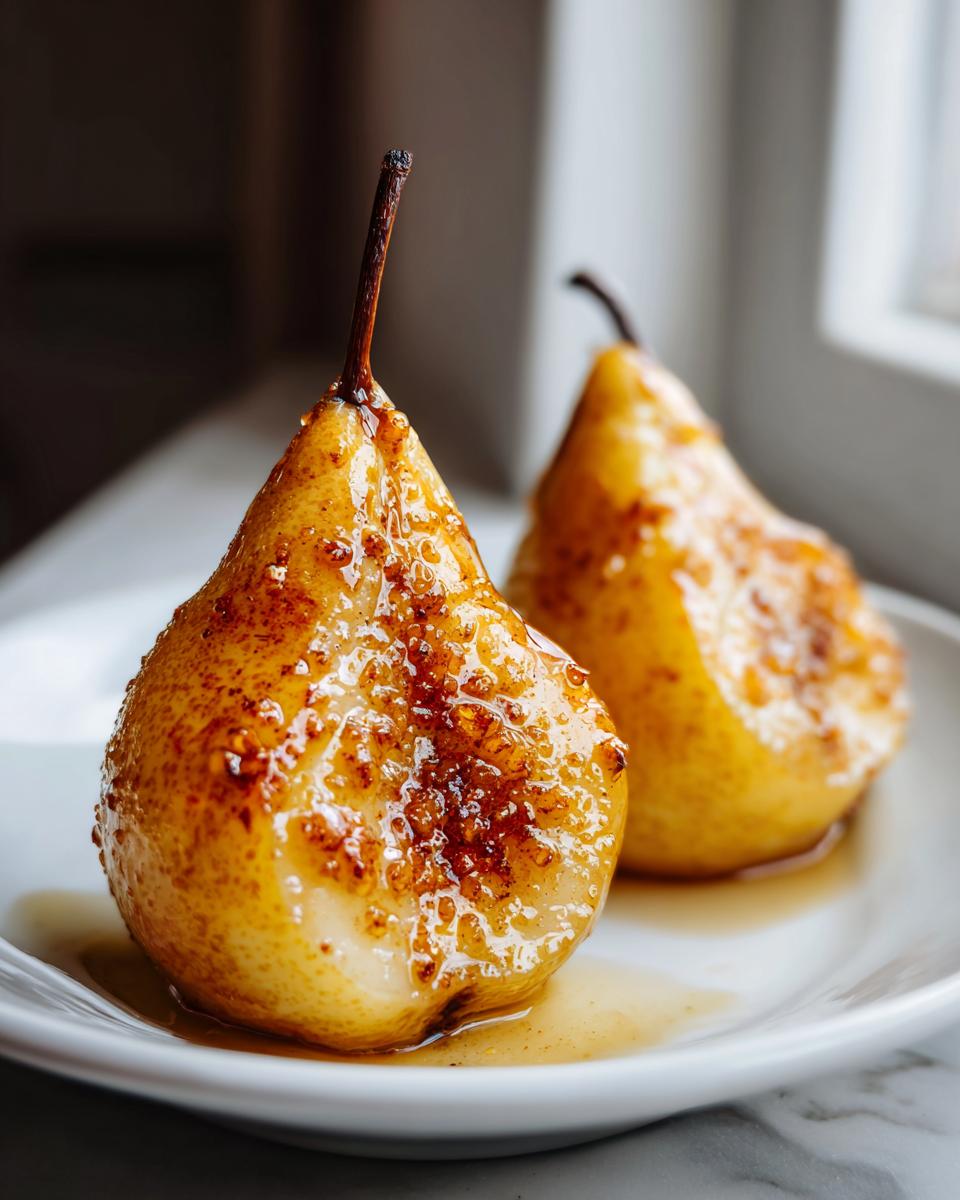
Okay, we need to make sure we have the right stuff before we dive into this super simple baked pears recipe. Honesty in ingredients means honesty in results, right? You need four firm, ripe pears—I tell everyone to grab Bosc or Anjou because they hold their shape beautifully!
Here’s the quick list you’ll need for four servings:
- 4 firm ripe pears (Bosc or Anjou work best!)
- 4 tablespoons honey (the liquid gold!)
- 2 teaspoons ground cinnamon
- 2 tablespoons unsalted butter, cut into small pieces
- 1/4 cup water
Ingredient Notes and Substitutions for This Baked Pears Recipe
If you run out of honey, don’t panic! You can absolutely use maple syrup in the same amount. It gives a slightly different but equally comforting flavor profile, which is great if you want to switch it up next time. Also, for a little crunch—because I love texture—feel free to sprinkle some chopped walnuts or pecans in there before they bake. If you wanted to go full-on dessert mode, you could even make a tiny bit of an oat topping, similar to what I use in my baking!
How to Prepare the Simple Cinnamon Honey Baked Pears Recipe
Alright, let’s get these beauties into the oven! Getting that perfect tenderness in your **baked pears recipe** is all about setting up the environment correctly. First, get your oven going—preheat it to 375°F (190°C) right away. Then, grab a small baking dish and give it just a little grease so nothing tries to stick later. It’s a small step, but trust me, you’ll thank yourself later!
Now for the prepping: wash your pears, slice them right down the middle lengthwise, and this is important, use a spoon or a melon baller to scoop out all the core and seeds. You want nice little pockets ready for filling. Place those halves cut-side up in your dish. Next, divide that butter into the hollows, drizzle everything generously with honey, and give them a nice snowstorm of cinnamon!
Here’s the non-negotiable trick for soft baked fruit: pour that 1/4 cup of water into the bottom of the dish, around the pears. This creates the steam we need! Stick them in the oven for 30 to 40 minutes. If you are using my optional walnut sprinkle, this is where you’d add that, like in my recipe for baking!
Achieving Perfectly Tender Baked Pears Recipe Halves
The baking time really depends on how ripe your pears were when you started. If they were super firm, you’re looking closer to 40 minutes. If they were softer, maybe only 30! Don’t just rely on time alone, though. You must test them! Gently pierce the thickest part of the pear with a fork. If it slides in with almost no resistance, they are done! They should be soft but still holding their shape beautifully. Let them cool for just a few minutes—the aroma when you pull them out is incredible!
Tips for Success with Your Baked Pears Recipe
You’ve got the ingredients and you know the steps, but let’s talk about taking this already fantastic **baked pears recipe** from good to truly outstanding. As a home cook, I’ve learned that the ‘why’ behind a step is just as important as the step itself! These quick tips will make sure your pears are perfectly caramelized every single time.
First off, let’s talk pear selection again. You *must* go for firm pears—Bosc is my absolute favorite because they hold their shape under heat so well. If you use pears that are too soft, by the time the honey caramelizes, your pear half will just turn into a puddle. We want tender but structured! If you are shopping for your fruit, touch them gently; they should resist a little bit when pressed.
To get that beautiful, deep caramelization without burning the honey, the water in the dish is crucial. I mentioned it in the instructions, but it bears repeating! That little bit of liquid prevents the sugar from scorching and creates steam, which gently cooks the interior while the top browns beautifully. It’s all about creating the perfect little mini-oven environment.

And when serving, don’t feel like you have to stop when they come out of the oven! Remember those little boosts I mentioned? If you’re serving this as dessert, even a tiny dollop of cold vanilla ice cream contrasts so perfectly with the warm pears. That temperature contrast is just heaven. You can find another great take on sweetening these beauties over at Pure Cooking Joy if you want some variation next time you make this **baked pears recipe**!
Serving Suggestions for Your Elegant Pear Dessert
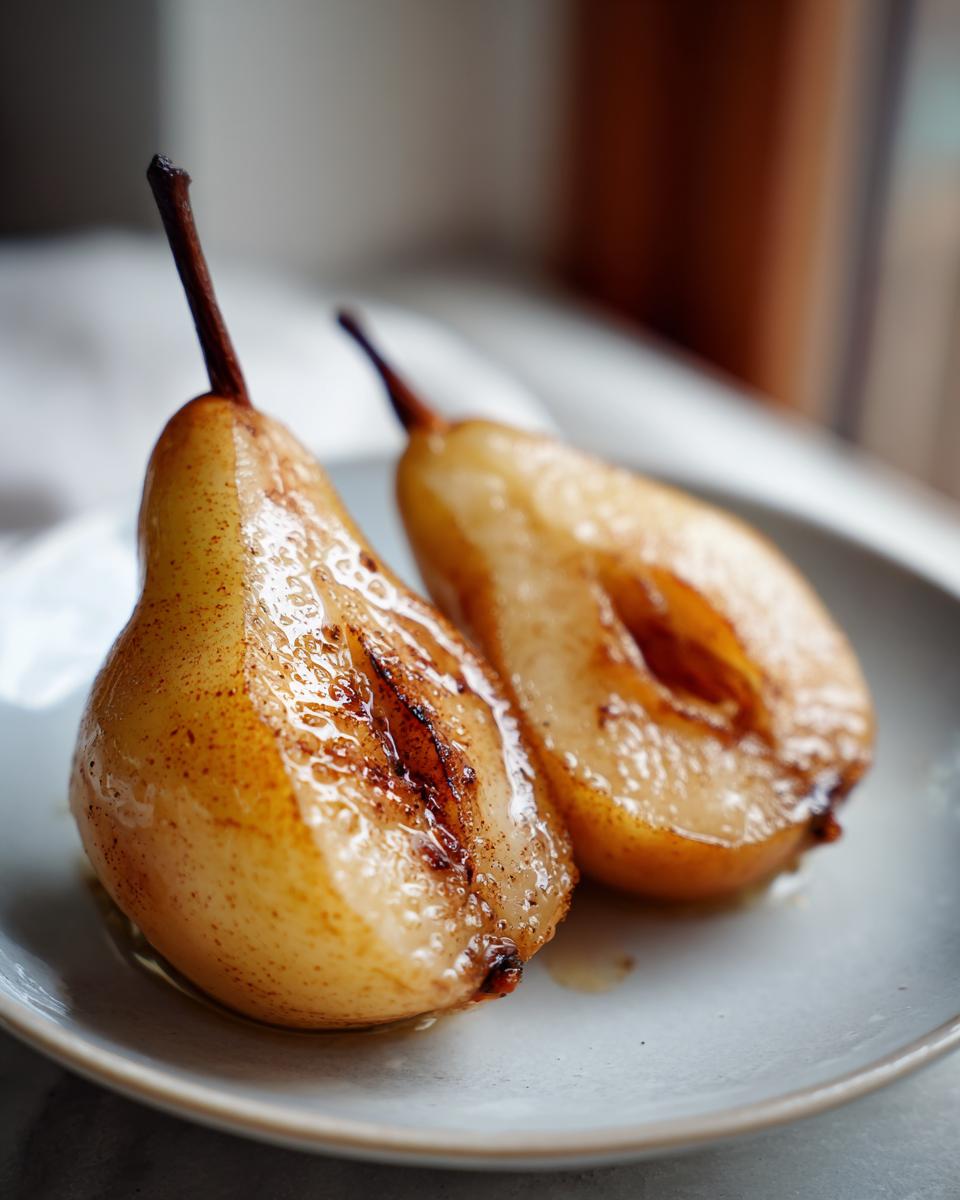
Now that you’ve made this gorgeous **baked pears recipe**, it’s time for the fun part: turning those tender honey-cinnamon halves into a truly stunning plated dessert! Because this dish is so naturally elegant, you don’t have to do much work to make it look fancy. It’s already halfway there!
This is where we elevate simple fruit into something special. I love pairing the warm, spiced pears with something cool and creamy. A generous scoop of good quality vanilla ice cream is my absolute favorite choice—the cold cream against the warm, gooey honey is just perfection. If you are looking for a slightly healthier topping, a big dollop of thick Greek yogurt works wonders too!
Honestly, serving these as an **Elegant Pear Dessert** is as simple as placing one caramelized half on a small plate, spooning some of the lovely, liquid syrup from the baking dish over the top, and adding that creamy element beside it. That’s sophisticated dessert done in under five minutes. Absolutely no stress required!
Storage and Reheating Instructions for Leftover Baked Pears Recipe
I’m going to let you in on a little secret: I think baked fruit actually tastes better the next day! The cinnamon and honey flavors really settle into the pear flesh overnight. If you’re lucky enough to have any leftovers from your amazing **baked pears recipe**, storage is super easy.
Once they cool down completely, just pop those leftover pear halves into an airtight container. Make sure you scrape up any of that lovely syrup left in the baking dish and add it in! You can keep them refrigerated for about three to four days. They hold up really well, which makes them perfect for a healthy late-night snack or even topping your morning oatmeal!
When you’re ready to enjoy them again, you want to be gentle so they don’t turn mushy. You have two great options for reheating your **Simple Baked Fruit Recipe**.
For the oven, wrap the pear half in a bit of foil—or place it in a small, oven-safe dish—and warm it up at about 300°F (150°C) for about 10 to 15 minutes. This keeps that lovely caramelized texture intact. If you’re in a total rush, the microwave works fine, but keep it quick! Thirty seconds should do the trick, just enough to warm it through. Remember, these pears are already cooked, so we’re just bringing them back to that cozy temperature!
Variations on the Classic Baked Pears Recipe
You know me—I love a classic, but I also believe you should make any recipe your own! While the cinnamon and honey combination is stellar for this **baked pears recipe**, it’s wonderfully flexible. Don’t feel locked into just one flavor profile when you serve this **Simple Baked Fruit Recipe**!
The easiest way to alter the taste is right in the spice cabinet. If you want something that feels a little more autumnal or perhaps hints at baked apples, swap a teaspoon of that cinnamon for fresh ground nutmeg or a tiny pinch of ground ginger. Ginger adds such a bright, warm kick! Mix those spices right in with your honey before you drizzle it over the pears.
Adding Brightness with Citrus
If you want to cut through that richness a little bit, bringing in some citrus is just fantastic. Before you bake, grate just a whisper of orange or lemon zest right over the top along with the cinnamon. You don’t need much juice—just the zest releases bright essential oils that make the finished baked pear taste unbelievably fresh. It seriously brightens up the whole dish, especially if you are serving it after a heavy dinner.
Exploring Textures and Savory Twists
While our recipe leans toward sweet, if you’re looking for something bolder, think about textures. I mentioned sprinkling nuts on top earlier? That’s a great start! But if you’re feeling adventurous, people often love adding a little bit of crumbled cheese. Now, that might sound weird when you’re expecting a sweet dessert, but a tiny bit of salty feta or sharp blue cheese baked alongside the honey turns this into an absolutely stunning appetizer or cheese board accompaniment! You can find some great ideas about incorporating crunch in my recipe for stovetop oatmeal that also uses nuts as a texture boost.
Frequently Asked Questions About This Baked Pears Recipe
I know you’ve got questions! Anytime I find a truly reliable baked pears recipe, I always want to know the ins and outs before I commit. Cooking Zenith is all about boosting your confidence, so let’s tackle the most common things folks ask about this **Easy Baked Pears Recipe**!
What is the best pear type for this easy baked pears recipe?
This is such an important question because the wrong pear will turn into sauce! You absolutely want a firm pear for this dish. I rely on Bosc or Anjou pears 99% of the time. They are sturdy and hold up beautifully to the heat in the oven. They soften nicely but they don’t collapse into mush. If you use a softer pear, you risk having it fall apart before the honey has time to caramelize properly, and we want that gorgeous texture!
Can I make this simple pear dessert ahead of time?
Yes, you totally can! These are fantastic as a prep-ahead option, especially if you’re entertaining. You can bake the entire batch of your **Simple Pear Dessert** recipe, let them cool, and store them covered in the fridge for up to three days. When you’re ready to serve, just reheat them gently. I recommend popping them into a 300°F oven for about 10 to 12 minutes—that keeps them cozy without overcooking them. They still taste wonderful the next day!
Are there savory options for a baked pears recipe?
While our star recipe here focuses on that warm honey and cinnamon sweet profile, it’s worth noting that baked pears are super versatile! If you search around, you’ll see people incorporating savory elements, and it’s delicious! For an appetizer or something totally unexpected, try topping the baked halves with a little bit of creamy feta cheese or a sharp blue cheese right as they come out of the oven. The saltiness plays so beautifully against the natural sweetness of the baked fruit. It’s a completely different vibe, but a truly *Elegant Pear Dessert* variation!
Understanding the Nutritional Snapshot of Baked Pears with Honey
For those of us who love to track things, or maybe just want to know what we’re digging into, here is a quick look at the estimated nutrition for this **baked pears recipe**. Remember, this is just Chemistry 101—since we used specific amounts of honey and butter, these numbers are really just a guideline!
- Serving Size: 1 pear half
- Calories: Approximately 250
- Sugar: Around 40g (mostly natural fruit sugar plus honey)
- Fat: About 8g
- Fiber: A helpful 7g!
It’s important to remember that because we are using whole fruit and natural sweeteners, this is a much healthier way to enjoy a sweet treat than reaching for processed desserts. But yes, the honey brings the sugar up, so enjoy it as the lovely dessert or **Warm Pear Snack** that it is!
PrintSimple Cinnamon Honey Baked Pears Recipe
You can create this easy baked pears recipe using just a few pantry staples. These tender pears caramelize beautifully with honey and cinnamon, making a comforting dessert or warm snack.
- Prep Time: 10 min
- Cook Time: 40 min
- Total Time: 50 min
- Yield: 4 servings 1x
- Category: Dessert
- Method: Baking
- Cuisine: American
- Diet: Vegetarian
Ingredients
- 4 firm ripe pears (like Bosc or Anjou)
- 4 tablespoons honey
- 2 teaspoons ground cinnamon
- 2 tablespoons unsalted butter, cut into small pieces
- 1/4 cup water
Instructions
- Preheat your oven to 375°F (190°C). Lightly grease a small baking dish.
- Wash the pears. Slice each pear in half lengthwise and use a spoon or melon baller to carefully remove the core and seeds.
- Place the pear halves cut-side up in the prepared baking dish.
- Divide the butter pieces evenly among the pear cavities.
- Drizzle the honey over the pears. Sprinkle the ground cinnamon evenly over all the pear halves.
- Pour the water into the bottom of the baking dish around the pears. This helps create steam and prevents sticking.
- Bake for 30 to 40 minutes, or until the pears are tender when pierced with a fork. Baking time depends on the ripeness and size of your pears.
- Remove from the oven and let cool slightly before serving warm.
Notes
- Serve these baked pears with a scoop of vanilla ice cream or a dollop of Greek yogurt for an enhanced dessert experience.
- For extra texture, sprinkle chopped walnuts or pecans over the pears before baking.
- If you prefer a richer flavor, substitute maple syrup for the honey.
Nutrition
- Serving Size: 1 pear half
- Calories: 250
- Sugar: 40g
- Sodium: 5mg
- Fat: 8g
- Saturated Fat: 4g
- Unsaturated Fat: 4g
- Trans Fat: 0g
- Carbohydrates: 45g
- Fiber: 7g
- Protein: 1g
- Cholesterol: 15mg