
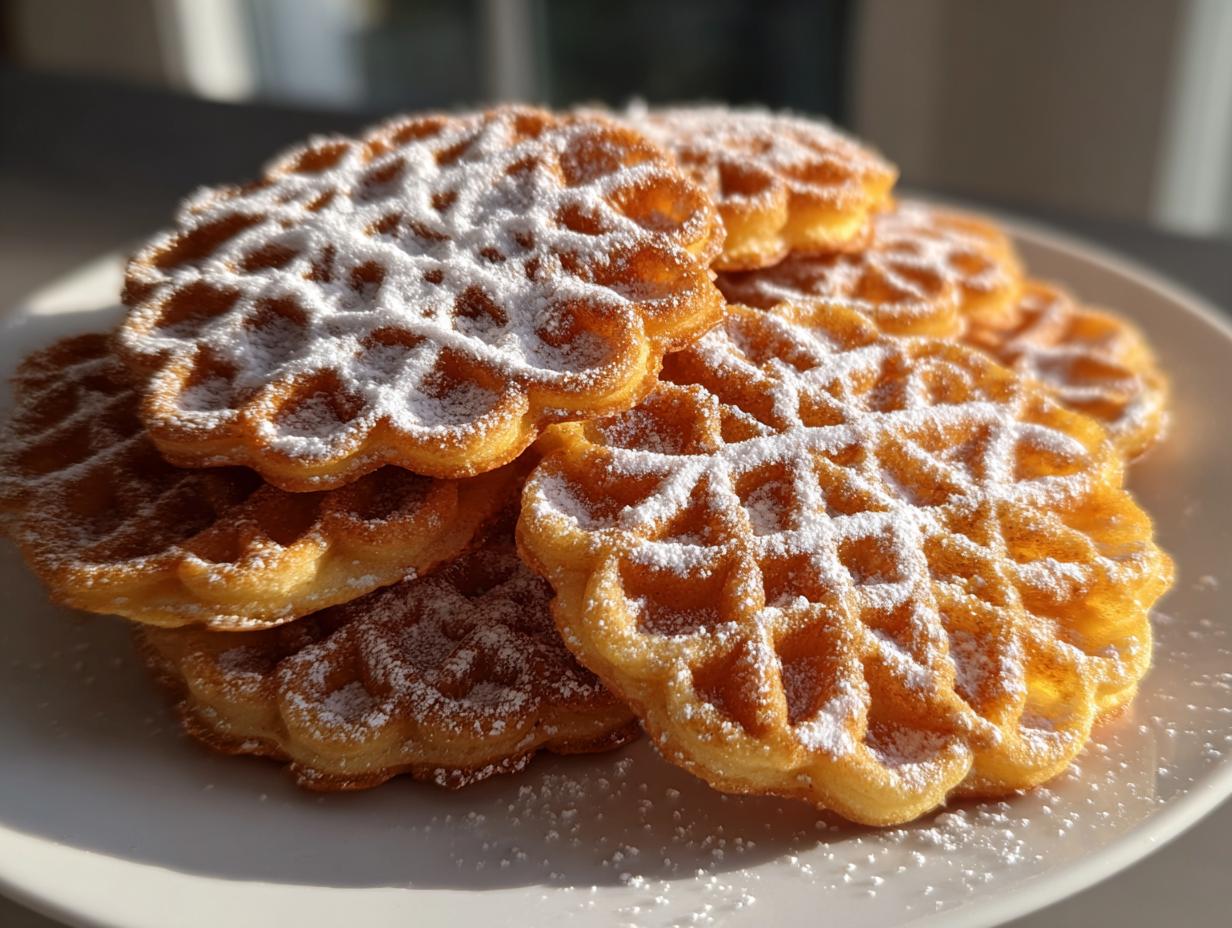
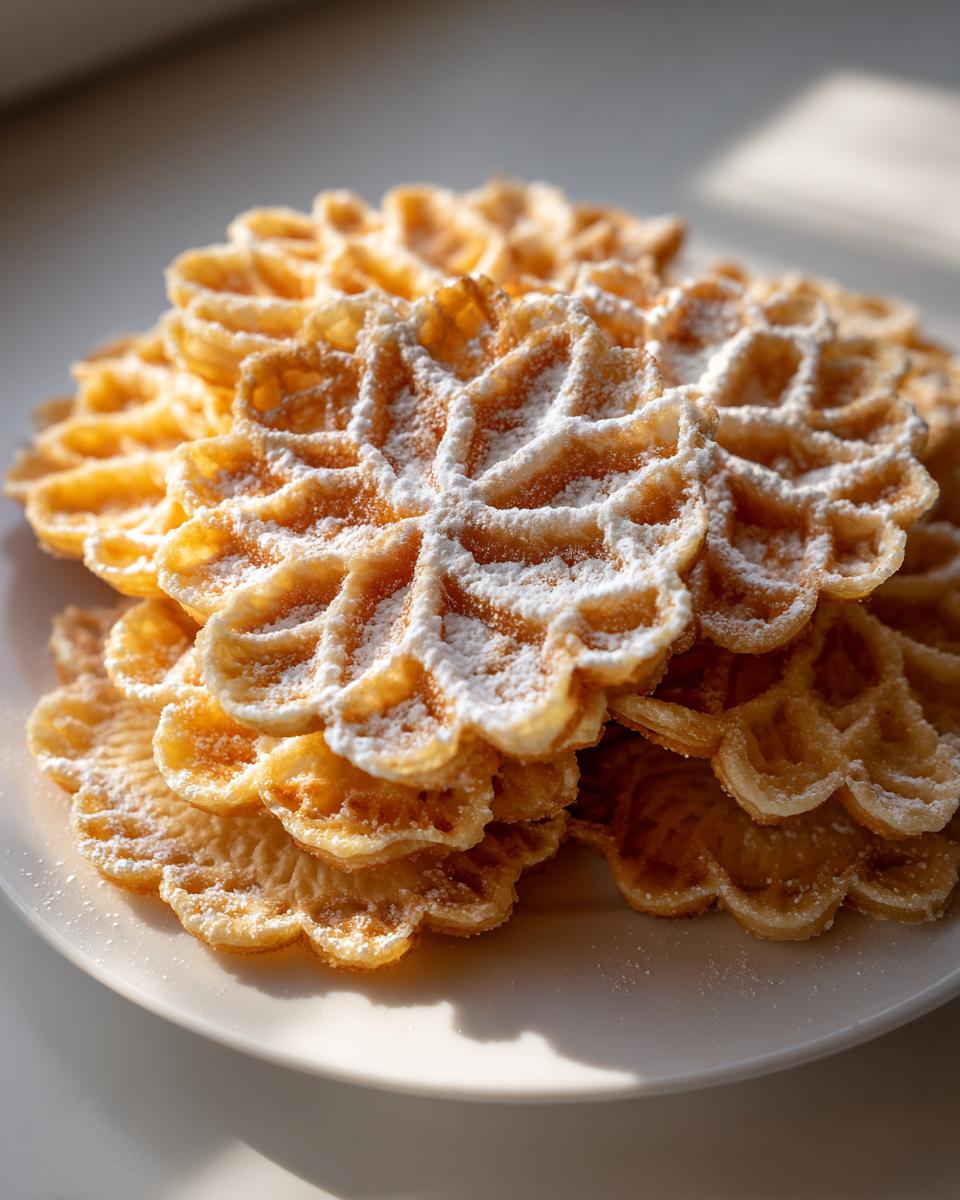
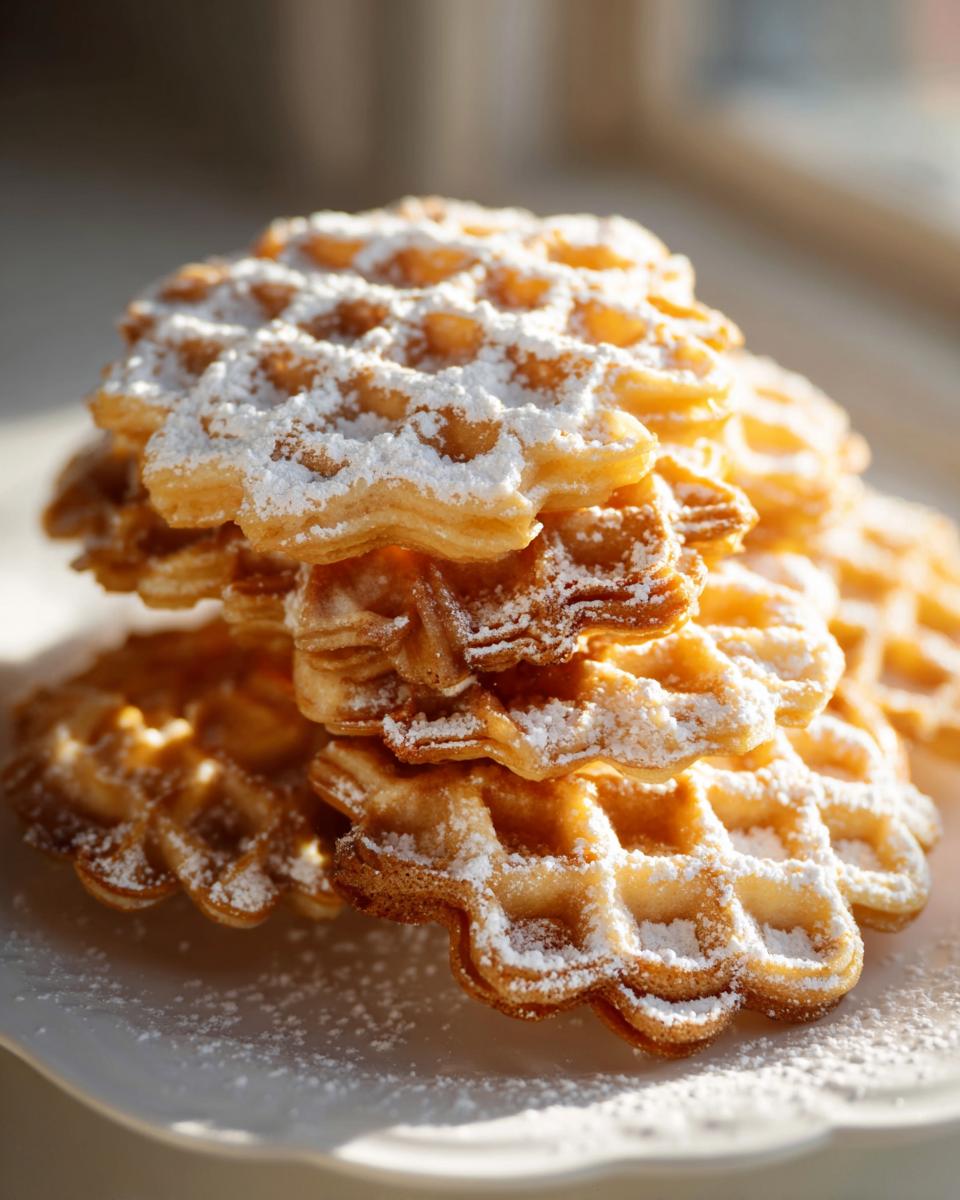
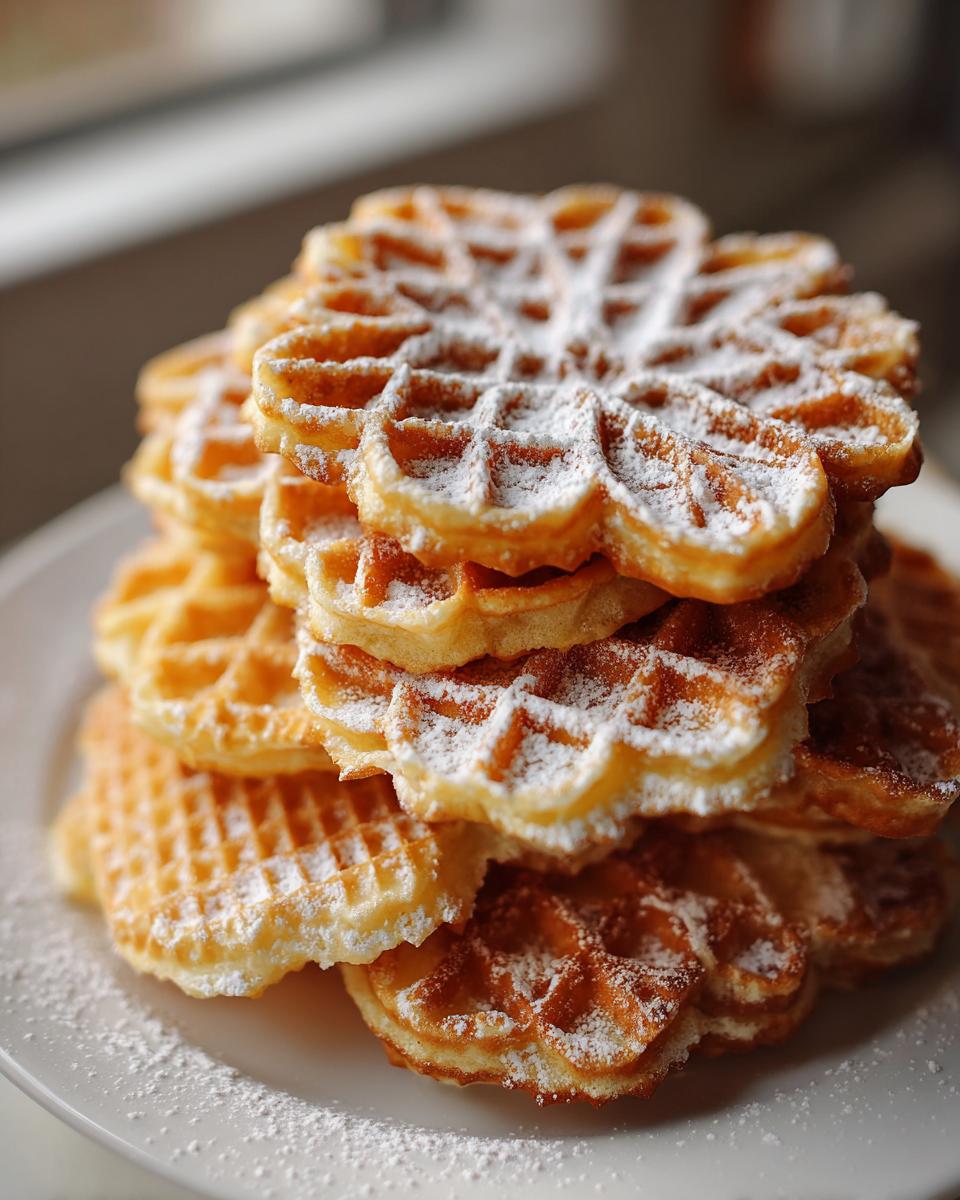
When the holidays roll around, there’s just nothing that brings a bigger smile to my face than pulling out that heavy, patterned iron. For me, making pizzelle cookies isn’t just baking; it’s time travel! These delicate Italian waffle cookies carry the scent of Christmas morning and family gatherings right into my modern kitchen. I’m Aria, and trust me, getting that perfect balance—light, buttery, and supremely crisp—is easier than you think. My grandmother used to tell me that an authentic pizzelle should shatter delicately when you bite into it, not bend! We’re going to master that truly light and crispy texture today, using time-tested methods that make these traditional Italian desserts unforgettable.
- Why This Classic Pizzelle Cookies Recipe Works Every Time
- Essential Ingredients for Authentic Pizzelle Cookies
- Step-by-Step Authentic Pizzelle Instructions
- Expert Tips for Perfect Crispy Cookies Recipe Results
- Flavor Variations for Your Pizzelle Cookies
- Serving Suggestions for These Traditional Italian Desserts
- Storage and Reheating Instructions for Pizzelle Cookies
- Frequently Asked Questions About Pizzelle Cookies
- Share Your Festive Baking Treats
Why This Classic Pizzelle Cookies Recipe Works Every Time
When you use simple ingredients, the method has to be spot-on, and that’s why this recipe for light and buttery cookies never fails me. We aren’t making thick shortbread here; we are after those delicate, lacy Italian waffle cookies that melt the second they hit your tongue. It’s all about that incredible snap!
- The batter is intentionally thin—this is key! It lets the iron do its magic and create those fine details.
- Using melted butter instead of creamed butter helps them set up thin and crisp faster.
- We skip the sugar dusting until they are completely cool for that final crunch factor.
Achieving the Perfect Crisp Texture for Pizzelle Cookies
Listen, if you skip the cooling step, you end up with soft, bendy discs, not incredible pizzelle cookies. You absolutely must have a pizzelle maker; there’s no substitute for the patterned, hot iron that presses out the air bubbles. Once they come off the iron, they need direct air exposure on a wire rack. This is non-negotiable! The humidity in the air is the enemy of crispness, so don’t let them sit bunched up on a plate!
Flavor Profile: Vanilla and Traditional Anise Cookies
The smell of authentic anise cookies takes me right back to my Nonna’s kitchen. If you want that traditional licorice-tinged warmth, stick with the anise extract—it’s the historical flavor of these holiday heroes. However, if anise isn’t your friend, don’t worry! The vanilla extract works beautifully too, giving you excellent vanilla-flavored cookies that are still incredibly light and buttery. You can even try a mix of both for a bridge flavor!
Essential Ingredients for Authentic Pizzelle Cookies
Getting the right ingredients on hand prevents scrambling mid-bake, which is important because these bake so fast! When I say ‘authentic,’ I mean using quality core items. Feel free to replace the vanilla with almond or lemon if you mix things up, but for the base, you need these specific items. I promise if you stick to the measurements here, you’ll get that wonderful, rich flavor. Remember that linking to my other buttery cookie recipes is always a good idea, but these need specific components to shine!
- 1 cup all-purpose flour
- 1 teaspoon baking powder
- 1/4 teaspoon salt
- 3 large eggs
- 3/4 cup granulated sugar
- 1/2 cup unsalted butter, melted and cooled
- 1 teaspoon vanilla extract
- 1/2 teaspoon anise extract (if you want the real, traditional kick!)
Step-by-Step Authentic Pizzelle Instructions
Alright, let’s get this iron hot! Because these easy homemade cookies cook in less than a minute, timing is everything. You want your surfaces ready to roll the second the batter is done. Don’t worry about the small batch size of the batter; pizzelle makers are fast, and you can easily whip up another batch later if you run out.
Mixing the Pizzelle Cookies Batter
We keep things separate here, just like in many classic recipes. Whisk your dry ingredients first—flour, baking powder, and salt—in one bowl. In your big bowl, beat those eggs and sugar until they get pale and look thick, like good ribbon candy starting to form. Then, gently mix in the melted butter and your extracts. When you combine them, add the dry stuff slowly. Stop mixing the second you don’t see any white streaks. Overmixing develops gluten, and that makes them chewy, which is the opposite of what we want for these delicate patterned cookies!
Baking Your Delicate Patterned Cookies
Preheat that pizzelle maker! I mean it—get it screaming hot before that first drop of batter goes on. Lightly grease the plates if your machine recommends it. Then, use just a small spoonful—seriously, less than you think—and place it right in the center. You’re aiming to cover about two-thirds of the surface. Close the lid and press down firmly. You’ll hear the sizzle and see steam pumping out. When that steam slows down to just a trickle, they are close. They usually take 30 to 60 seconds. Watch the color; golden brown is perfect!

Shaping Hot Pizzelle Cookies Immediately
This is where the magic happens, and you have to move fast! As soon as you lift that gorgeous, patterned disc off the iron with a thin spatula, you need to decide: flat or shaped? If you want maximum crispness for coffee time cookies, lay them flat on a wire rack immediately. If you’re making cannoli shells or cones—which is so fun for parties—you roll them around a dowel or specialized form *right now* while they are hot and pliable. They harden in seconds, so don’t hesitate!
Expert Tips for Perfect Crispy Cookies Recipe Results
If you follow the recipe perfectly, you should end up with the crispiest pizzelle cookies you’ve ever tasted, but sometimes life interferes! My biggest battle isn’t the mixing; it’s humidity. Seriously, if it rains outside while I’m baking these delicate patterned cookies, they can soften up during cooling. That’s why I always keep my pizzelle maker plugged in and warming up, even after the batch is done. It’s my secret weapon for maintenance!
The main key to keeping these light and buttery cookies fresh is storage, but don’t rush the cooling process—that’s when they earn their crispness. If you want to keep them perfectly crisp for giving away during the holidays, store them layered between sheets of parchment paper in a container that isn’t completely airtight, or even use a cookie tin.
Troubleshooting Soft Pizzelle Cookies
Okay, picture this: It’s the next day, and you grab what you thought was a perfect cookie, only to find it’s gone a little… floppy. Don’t panic! This fix is so simple. Just place the soft pizzelle cookies directly onto your preheated, hot pizzelle iron. Close the lid, let it cook for about 10 to 15 seconds, and *voilà*! The moisture evaporates right out, bringing back that glorious, shatter-ready crunch. It’s like hitting the reset button on your cookie recipes!
Flavor Variations for Your Pizzelle Cookies
While that traditional anise flavor is classic, half the fun of baking pizzelle cookies is making them your own! I love having a few different flavor profiles ready for festive baking treats, especially when my friends come over for coffee. If you’re not crazy about the licorice note of anise, you have so many easy routes to take that still result in wonderfully light and buttery cookies.
The base recipe is really just a fantastic vehicle for whatever extract you love most. I developed a few favorites over the years that I often use when making batches of these delicate patterned cookies for neighbors. Try these simple swaps:
- Almond Extract: This is gorgeous and pairs so well with the richness of the butter. Use the same measure as the vanilla, or bump it up slightly if you want a stronger nutty punch.
- Lemon Zest: Zest is powerful! I use the zest of one full lemon—no extract needed here. The bright citrus brightens up the whole cookie and works beautifully on a dessert tray.
- Chocolate Pizzelle Cookies: This one takes a bit more work, but wow! You’ll need to reduce the flour by about 1/4 cup and substitute it with high-quality unsweetened cocoa powder. It makes the batter darker and richer.
- Espresso Powder: For my fellow coffee lovers, adding about one teaspoon of fine espresso powder into the dry ingredients gives you a fantastic boost of depth. These are the ultimate coffee time cookies!
See? You don’t have to stick to just one flavor profile. Having vanilla flavored cookies right next to the anise ones on your holiday platter makes everything feel extra special!
Serving Suggestions for These Traditional Italian Desserts
Once you’ve mastered making these beautiful, delicate patterned cookies, the next big question is how to show them off! We aren’t just making these traditional Italian desserts to stick in a plastic container, though they store wonderfully. These are meant to be enjoyed, and they are perfect for everything from a casual afternoon break to a massive holiday spread.
I often find that serving them slightly warm, right off the cooling rack, makes them taste the best, but if you do wait until they are completely cool, you still have so many options. Don’t feel like you have to stick to just serving them plain with a light dusting of powdered sugar—though that is certainly classic!
- The Coffee Companion: Honestly, this is my favorite way to enjoy them. They are the ultimate coffee time cookie. Their brittle crispness is the perfect texture contrast to a creamy latte or a strong espresso. They are light enough that you can have three and not feel guilty!
- Edible Bowls: Remember how I mentioned shaping them while they are hot? If you shape them into cones or small cups, they become the most gorgeous vessel for fillings. Think about filling those pizzelle shells with fresh ricotta and berries, or maybe some lemon curd. They look so professional, but they are actually the easiest dessert bowls you’ll ever make.
- Dipped and Decorated: These pizzelle cookies dunk beautifully! Melt down some good quality dark chocolate or even white chocolate. Dip just the edge of the cookie—maybe a third of the way—and lay it on parchment paper to set. For an extra holiday touch, sprinkle some crushed pecans or colored sprinkles onto the wet chocolate. They make phenomenal gifts this way!
No matter how you serve them, their elegant, lacy look means they always feel special, even when they are just a simple vanilla-flavored cookie enjoyed on a Tuesday afternoon.
Storage and Reheating Instructions for Pizzelle Cookies
I know we just finished talking about how amazing these are to eat immediately, but let’s be real: we always make too many! Or maybe you need to bake these pizzelle cookies ahead of your big holiday gathering. Storing them correctly is crucial because these traditional Italian desserts are so delicate, and we want to keep that light and buttery texture!
The biggest enemy here, as I mentioned before, is moisture. If you stick these perfectly crisp beauties into a Ziploc bag or a tightly sealed plastic container right away, I promise you they will soften up overnight. They’ll seem fine at first, but that residual heat and trapped air moisture will turn them limp by morning. Don’t do it!
For short-term storage—say, up to five days—I recommend finding a cookie tin or a container with a relatively loose-fitting lid. Layer them between sheets of parchment paper or wax paper. This keeps the delicate patterned cookies from sticking together but still lets a little air circulate. Humidity is the biggest factor here, so if you live somewhere really damp, you might need to eat them faster!
If you are making these way ahead of time, freezing is actually your best route. Wrap the stacked, paper-separated cookies tightly in plastic wrap first, and then slide that whole bundle into a freezer-safe bag. They last wonderfully for up to two months in the deep freeze. When you want to serve them, just let them thaw completely on the counter before unwrapping them. They usually come back to almost perfect crispness just by sitting out.
Troubleshooting Soft Pizzelle Cookies
And here is the ultimate lifesaver, because even with perfect storage, sometimes you pull out a pizzelle and it’s just a bit… sad. It happens! Maybe the container wasn’t sealed enough, or maybe the weather turned rainy. Don’t throw them out! You just need to re-crisp them. Preheat your pizzelle maker back up to temperature—it needs to be hot!
Carefully place the soft cookie right onto the preheated plate. Close the lid firmly, pressing that steam right out, and let it sit for about 10 to 15 seconds. You’ll see the steam stop. Pop it out onto the wire rack to cool down again. It will be perfectly crisp once more! This quick blast of dry heat is the magic trick for saving soft pizzelle cookies every time, so save this tip for your next batch of easy homemade cookies!
Frequently Asked Questions About Pizzelle Cookies
I get so many wonderful questions about these! It makes me happy that so many of you are bringing these traditional Italian desserts into your homes. Here are a few of the things I hear most often about making perfect pizzelle cookies.
Can I make pizzelle cookies without a pizzelle maker?
Oh, I wish I could tell you yes, but the simple answer is no, you really can’t. These are specifically designed to be pressed super thin and carry that beautiful, delicate patterned cookie texture from the iron itself. If you tried to bake this batter like a regular cookie, you’d just get a very thin, slightly strange-looking flat wafer, not a true pizzelle. Investing in a good pizzelle maker is the first step to making these cookie recipes for pizzelle maker!
What is the difference between vanilla and anise pizzelle cookies?
This mostly comes down to tradition versus modern taste preferences, but the flavor difference is huge! As I mentioned, the anise extract gives you that traditional, slightly licorice-like, warm Italian flavor. It’s what my elders always insisted on. The vanilla-based vanilla flavored cookies are much milder, sweeter, and often appeal more to younger palates or people who aren’t fans of licorice notes. Both are divine; it just depends on what flavor memory you’re trying to spark!
How do I ensure my pizzelle cookies are crisp, not soft?
If you’re struggling with softness, chances are you are either not cooling them long enough on the wire rack, or you’re storing them incorrectly. Remember, they gain most of their crispness *after* they come off the iron as they cool down to room temperature. Don’t seal them in containers until they are stone cold, and if they soften later, just put them back on the iron for 10 seconds! That dry heat fixes almost everything!
Is it hard to roll the pizzelle cookies into cannoli shapes?
It seems intimidating because you have to be quick, but honestly, it’s easier than rolling pie crust! The key is just speed. You need to grab the hot cookie within about three seconds of it coming off the iron before it sets. If you’re making cones, have your cone mold ready right next to the iron. Work fast, press firmly around the mold, hold for five seconds until it stiffens up a tiny bit, and then slide it off. It takes practice, but once you get the rhythm down, it’s super satisfying!
Share Your Festive Baking Treats
Now that you have the secrets to dazzlingly crisp pizzelle cookies, I really want to know how they turned out for you! I poured my heart into figuring out the perfect balance for these light and buttery cookies, so hearing from you means the world to me. Did you stick to the traditional anise? Or did you go wild with the almond or lemon zest variations?
Please head down to the comments section below and leave a rating for the recipe. Hearing that you loved those delicate patterned cookies makes my day! If you tried making them into cannoli shells or even dipped them in chocolate, I would absolutely love to see your creations. Tag me on social media when you share your photos of these beautiful holiday cookie recipes. There is nothing better than seeing my family’s traditions making their way into your festive baking!
PrintClassic Crispy Pizzelle Cookies: Authentic Italian Waffle Cookies

Make traditional, light, and crispy pizzelle cookies using your pizzelle maker. This recipe delivers the classic buttery texture perfect for holidays or coffee time.
- Prep Time: 15 min
- Cook Time: 20 min
- Total Time: 35 min
- Yield: About 3 dozen 1x
- Category: Dessert
- Method: Waffle Iron Baking
- Cuisine: Italian
- Diet: Vegetarian
Ingredients
- 1 cup all-purpose flour
- 1 teaspoon baking powder
- 1/4 teaspoon salt
- 3 large eggs
- 3/4 cup granulated sugar
- 1/2 cup unsalted butter, melted and cooled
- 1 teaspoon vanilla extract
- 1/2 teaspoon anise extract (optional, for traditional flavor)
Instructions
- In a medium bowl, whisk together the flour, baking powder, and salt. Set the dry ingredients aside.
- In a separate large bowl, beat the eggs and sugar together until the mixture is pale and slightly thickened.
- Slowly mix in the melted butter, vanilla extract, and anise extract, if using.
- Gradually add the dry ingredients to the wet ingredients, mixing until you have a smooth batter. Do not overmix. The batter will be thin.
- Preheat your pizzelle maker according to the manufacturer’s directions. Lightly grease the plates if necessary.
- Using a small ladle or spoon, drop the batter onto the center of the hot iron. Use just enough batter to cover about two-thirds of the surface; the batter spreads when pressed.
- Close the lid quickly and press firmly. Bake for 30 to 60 seconds, or until the steam stops escaping and the cookie is golden brown. Cooking time varies by iron.
- Carefully remove the hot pizzelle with a thin metal spatula. Work quickly.
- If you want to shape the cookies (into cannoli shells or cones), do so immediately while they are hot and pliable. If you want them flat and crispy, place them on a wire rack to cool completely.
- Repeat with the remaining batter. Serve plain or dust with powdered sugar.
Notes
- For the crispiest cookies, cool them completely on a wire rack away from humidity.
- To achieve the traditional anise flavor, use the full amount of anise extract. For a milder taste, use only vanilla.
- You can substitute almond extract or lemon zest for vanilla for different flavor variations.
- If your cookies are soft after cooling, return them to the warm pizzelle iron for 10-15 seconds to crisp them up again.
Nutrition
- Serving Size: 1 cookie
- Calories: 85
- Sugar: 5
- Sodium: 35
- Fat: 5
- Saturated Fat: 3
- Unsaturated Fat: 2
- Trans Fat: 0
- Carbohydrates: 8
- Fiber: 0
- Protein: 1
- Cholesterol: 30