
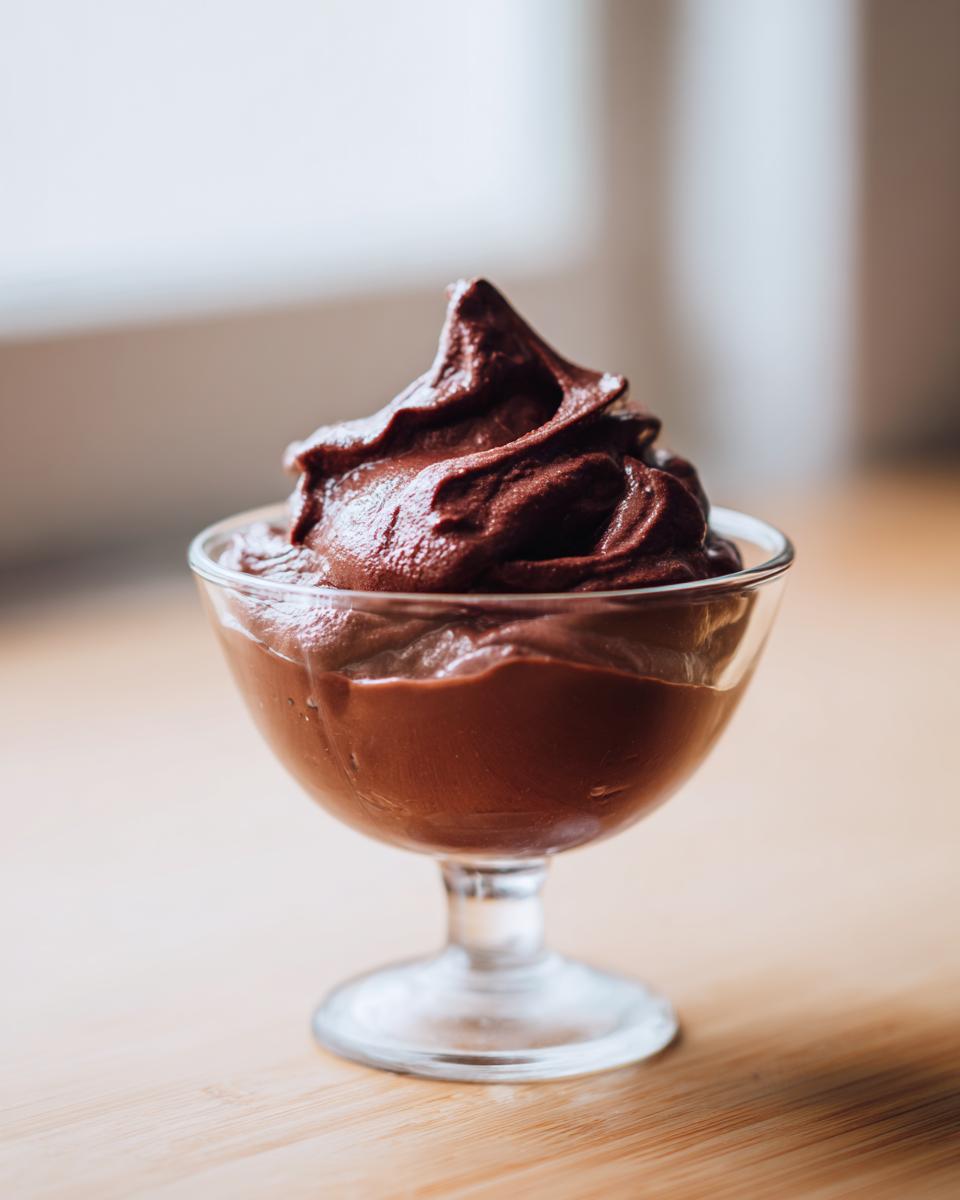
There is nothing, absolutely nothing, that comforts me quite like a bowl of rich, velvety chocolate pudding when I’ve had a long day. Forget those grainy, sad excuses for dessert in a plastic cup—we’re talking about the real deal here! I’m Aria, and when I set out to create the ultimate easy recipe, this classic chocolate pudding was my Everest. My goal was simple: to create the most creamy chocolate pudding you’ve ever tasted, entirely from scratch, using the traditional stovetop method because, trust me, that slow simmer is where the magic happens for texture. I believe extraordinary flavor shouldn’t require gourmet skill, and this recipe proves you can have a restaurant-quality, decadent chocolate dessert with just basic pantry staples. If you love this richness, you should definitely check out my recipe for homemade chocolate milk next!
- Why This Homemade Chocolate Pudding Recipe is Superior
- Gathering Ingredients for Classic Chocolate Pudding
- Step-by-Step Guide to Make Chocolate Pudding on the Stovetop
- Chilling and Serving Your Creamy Chocolate Pudding
- Tips for the Best Homemade Chocolate Pudding Every Time
- Storage and Reheating Instructions for Chocolate Pudding
- Variations on Classic Chocolate Pudding
- Frequently Asked Questions About Making Chocolate Pudding
- Nutritional Estimates for This Rich Dessert Recipe
- Share Your Creamy Chocolate Pudding Creations
Why This Homemade Chocolate Pudding Recipe is Superior
Listen, I respect a quick fix, but when it comes to dessert comfort, you need density and depth. This homemade chocolate pudding will absolutely rock your world compared to anything you squeeze out of a cup. It isn’t fussy, but it respects classic technique, which is why it yields that perfect, creamy chocolate pudding flavor.
- It has a deeper, richer scoop of chocolate flavor—no artificial aftertaste here!
- The texture is exactly right: thick enough to hold its shape but still spoonable and velvety.
- You control everything, from the sweetness level to the quality of the cocoa.
Achieving Velvety Smooth Chocolate Pudding Texture
The secret weapon for that incredible texture is the cornstarch and egg yolk handshake! The cornstarch gives us that initial, stable thickness when we cook it on the stove. Then, the egg yolks come in right at the end to enrich the mixture, giving it that luxurious mouthfeel that makes you close your eyes after the first bite. It’s science, but delicious science!
The Ease of Making Chocolate Pudding From Scratch
Don’t let the word “scratch” scare you! This truly is an easy chocolate pudding recipe. Everything starts in one saucepan with ingredients I bet you already have on hand. This fits perfectly into the Cooking Zenith promise: elevating the everyday without adding unnecessary complexity. It’s fast enough for a Tuesday but good enough for a party.
Gathering Ingredients for Classic Chocolate Pudding
Okay, this is where we start building that amazing texture! For this chocolate pudding from scratch, you mostly just need pantry stables, which is another reason why I love it so much. You’ll need your granulated sugar, unsweetened cocoa powder, cornstarch (that’s our thickener’s secret weapon!), salt, two big egg yolks, unsalted butter, vanilla extract, and crucially, two cups of whole milk.
We aren’t messing around with skim milk here; for the richest dessert, the fat content in the whole milk really makes the difference in carrying that deep chocolate flavor. Keep everything measured out before you even think about turning on the heat. Trust me, timing matters when this starts to thicken!
Ingredient Notes and Substitutions for Your Chocolate Pudding
I always preach using the best quality cocoa powder you can find. If you use a baking cocoa that’s a bit darker or Dutch-processed, your final product will look deeper and taste less acidic—it makes such a difference in a recipe where cocoa is the star! If you absolutely must deviate, you can use 2% milk, but honestly, the sauce will be slightly thinner and maybe lose a whisper of that decadent feel.
Also, don’t even think about swapping out the cornstarch for flour! Flour needs way longer to cook out and can give your rich dessert recipe a slightly gummy texture. Cornstarch is the ticket to that perfect, silky finish we’re aiming for.
Step-by-Step Guide to Make Chocolate Pudding on the Stovetop
Ready to use your whisk? Making this stovetop pudding is really more about careful timing than complicated technique. First, you’ll take all your dry stuff—sugar, cocoa, cornstarch, and salt—and mix them well in your saucepan. Then, slowly pour in that whole milk, whisking until it’s utterly smooth. We want zero lumps hanging around to mess up our final texture, okay?
Next, we turn on the heat to medium. This is where the constant motion starts. Keep whisking consistently as the mixture warms up. It takes commitment, but that’s the price of superior flavor! Once it gets thick and starts showing tiny bubbles, that’s our cue to move on to the next, slightly more sensitive stage. If you’re looking for more silky chocolate options, you might enjoy checking out my easy chocolate mousse!
The Crucial Step: Thickening the Chocolate Pudding Base
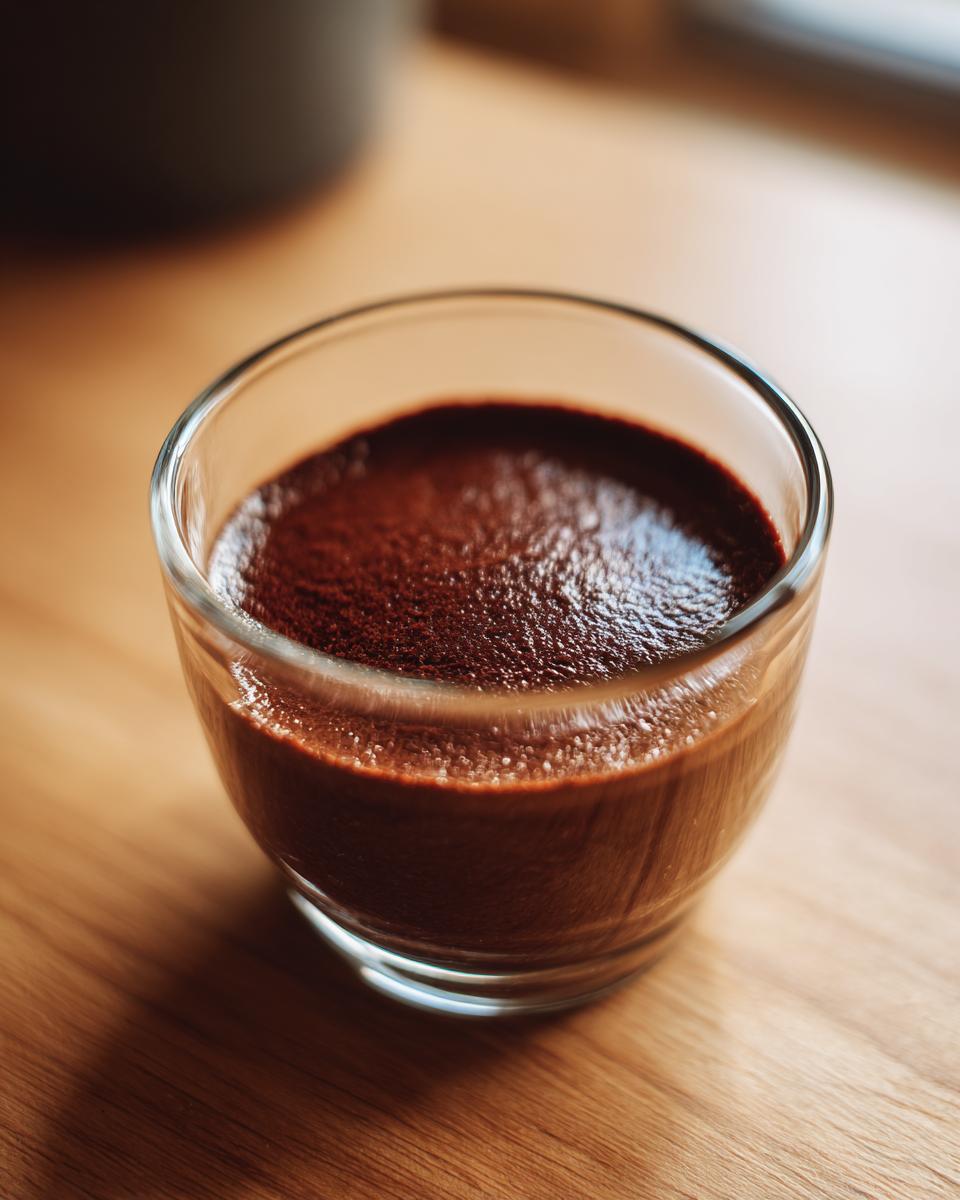
Don’t walk away from the pot during these 8 to 10 minutes! You need to stir nonstop, scraping the bottom and sides. When it finally thickens up—and I mean *really* thickens, like it coats the back of a spoon heavily—you’ll know it. This is the moment the cornstarch activates fully. This visual cue is how we know it’s ready for the heat to come down a little before we add the eggs.
Tempering Egg Yolks for Creamy Chocolate Pudding
This tempering step is what separates the pros from the panic-stricken home cooks, but it’s so simple! You take just about half a cup of that hot pudding and slowly—slowly!—drizzle it into your already whisked egg yolks while constantly whisking the yolks. This gently warms them up. If you just dump the yolks into the hot mixture, you end up with sweet scrambled eggs. Nobody wants that in their otherwise velvety chocolate pudding!
Chilling and Serving Your Creamy Chocolate Pudding
Whew! You handled the heat, so now for the easiest part. Get that saucepan off the burner right away. This is when we stir in the lovely, soft butter and that teaspoon of vanilla extract. I always use real butter here; it adds such a rich gloss that you just can’t replicate. Stir until everything melts together into one beautiful, glossy mass. While you are working on that vanilla flavor, maybe take a peek at my recipe for vanilla buttercream for toppings later!
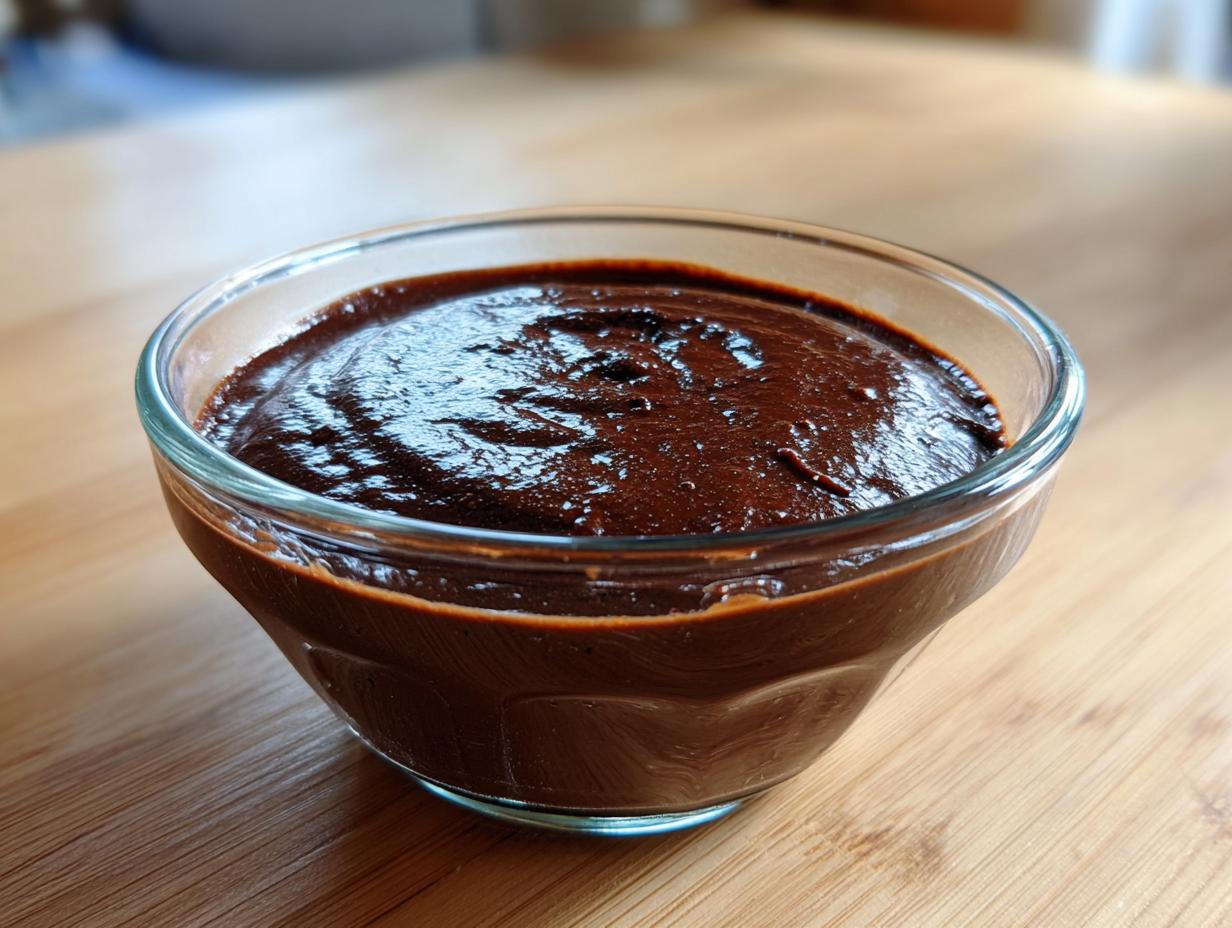
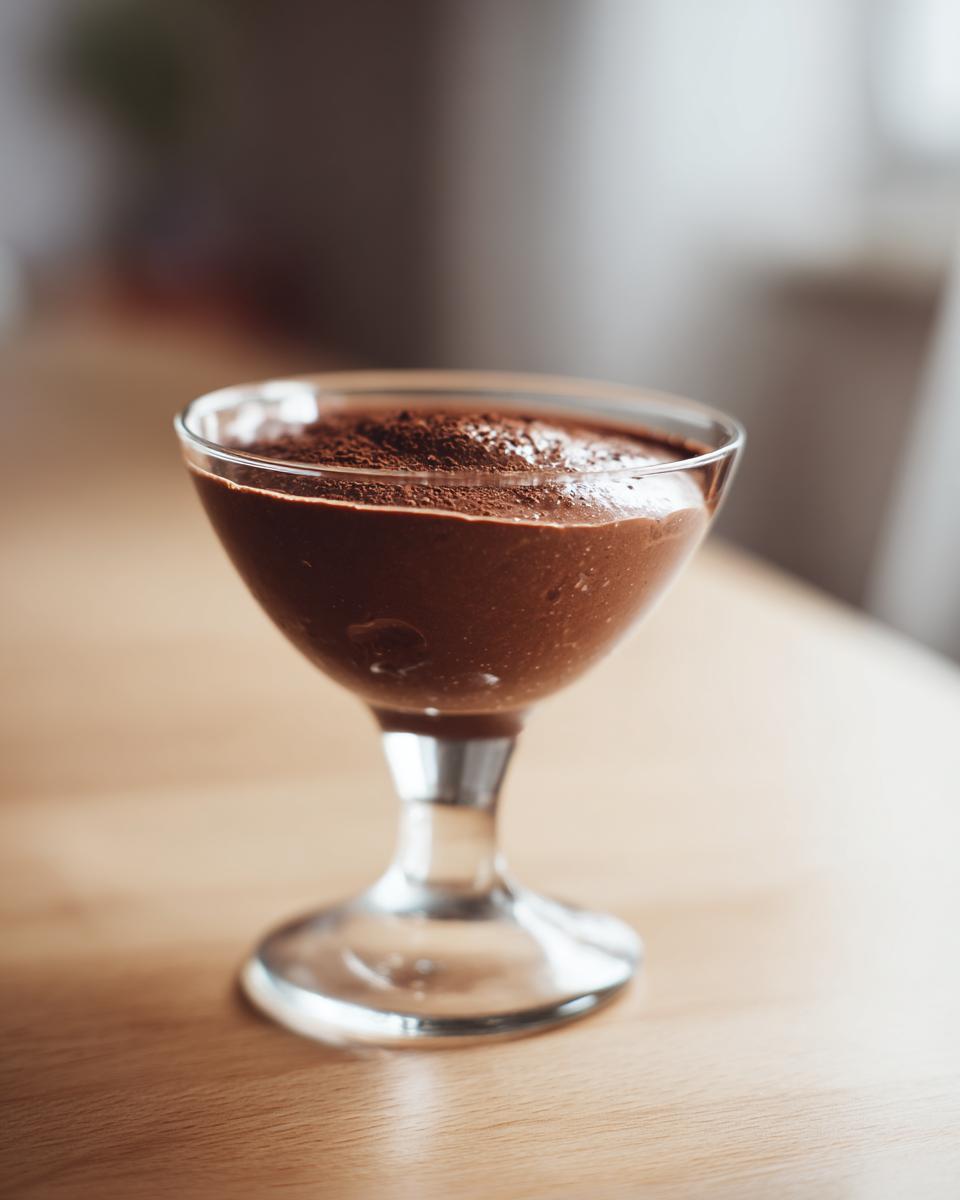
Pour that gorgeous chocolate pudding into individual bowls or whatever dish you’re using. Now, for the trick to avoiding that sad, rubbery skin on top: take a piece of plastic wrap and press it *directly* onto the entire surface of the pudding. No air gap allowed! This stops condensation from making a skin. Then, and this is crucial for that perfect set, you need to chill it for at least two hours. Seriously, let it rest! It needs that time in the cold to achieve that perfect, creamy chocolate pudding texture.
Tips for the Best Homemade Chocolate Pudding Every Time
Even though this is such a simple recipe, mastering the best chocolate pudding comes down to a few tiny details I learned the hard way! Remember when I said to avoid skin? Well, I learned that lesson after wasting an entire batch for a dinner party because I didn’t seal it right. Oops! My biggest piece of advice, beyond the plastic wrap trick, is to taste your ingredients first.
Here are the few things that absolutely elevate this dessert:
- Use good, room-temperature milk. Cold milk can slow down the heating process too much, leading to uneven cooking.
- Don’t skimp on the vanilla! It brightens up all that deep cocoa flavor. If you’re feeling fancy, try a pinch of instant espresso powder instead—it doesn’t make it taste like coffee, just *more* chocolatey.
- Once it’s set and chilled, give it a quick whisk right before serving if it looks too stiff. Sometimes it just needs a little encouragement to return to that perfect, spoonable texture. You can look at my recipe for amazing chocolate crinkle cookies if you need another cocoa fix!
Storage and Reheating Instructions for Chocolate Pudding
This chocolate pudding is honestly best when fresh, but it holds up well! You should keep it covered tightly in the fridge—remember that plastic wrap pressed right against the surface? That’s the key to longevity. It usually stays wonderfully creamy for about 3 days, tops. If you notice it getting a little too firm after day three, just give it a quick, vigorous whisk in the bowl to loosen it back up. Skip the microwave; a quick stir is all you need!
Variations on Classic Chocolate Pudding
Part of the joy of learning to make chocolate pudding from scratch is realizing you can tweak it endlessly! This recipe is a powerhouse on its own, but if you want to push it into next-level decadent chocolate dessert territory, play with the extracts. Swapping out that vanilla for almond extract gives it a completely different, almost sophisticated edge.
For true chocolate intensity, I highly recommend dissolving about half a teaspoon of fine espresso powder right into your dry ingredients when you whisk everything together. You won’t taste coffee, I promise—it just deepens the cocoa notes beautifully.
And hey, if you’re feeling adventurous, try swirling in some peanut butter right before chilling it, or maybe even a bit of melted dark chocolate for an extra thick texture! If you want to see another awesome warm drink variation, check out my creamy white hot chocolate recipe!
Frequently Asked Questions About Making Chocolate Pudding
I always get so many questions when people first try making this from scratch pudding, and that’s totally normal! It’s different from opening a box, but once you know the little secrets, it’s a breeze. Here are the ones I hear most often about creating the best chocolate pudding.
Can I make this vegan or skip the egg yolks?
Oh, that’s a great question about adaptations! If you want to make this completely vegan, you’ll need to replace the whole milk with a rich, unsweetened non-dairy milk—I suggest oat or cashew for creaminess—and you must omit the egg yolks. If you skip the yolks, you’ll need to increase the cornstarch slightly, maybe to 5 tablespoons total, to compensate for the lost thickening power. It won’t be quite as rich, but it still makes a lovely easy homemade dessert!
Why is my stovetop pudding gritty instead of smooth?
Nine times out of ten, grittiness means your dry ingredients weren’t fully dissolved before you started heating, or you didn’t whisk vigorously enough during cooking. You have to make sure that sugar and cocoa powder are completely incorporated into the milk *before* it gets hot. A lukewarm mixture is your friend for mixing; a hot one rushes the process! Keep whisking, keep scraping the bottom, and you will get that velvety chocolate pudding texture you crave.
How exactly do I stop that skin from forming on top?
We talked about this under the chilling section, but it’s worth repeating because it’s so important for a rich dessert recipe! To stop skin formation, you must press plastic wrap directly onto the surface of the warm pudding immediately after you pour it into the serving dishes. If you leave even a tiny air gap, that pudding skin will form a sad, rubbery raft. If you happen to forget (oops!), just give it a frantic whisk right before serving, and it usually smooths right out. For other simple dipping ideas, check out my easy fruit dip!
Nutritional Estimates for This Rich Dessert Recipe
Now, I’m not a nutritionist, so please take these numbers with a little grain of salt—they are my best estimates using the ingredients listed for one of the four servings. Remember, because this chocolate pudding is made from scratch with real butter and whole milk, it’s definitely a treat! This rich dessert recipe packs about 285 calories, with roughly 32 grams of sugar and 12 grams of fat per bowl.
Share Your Creamy Chocolate Pudding Creations
Alright, you’ve mastered the stovetop and you’ve got the perfect, creamy chocolate pudding chilling in the fridge. Now comes the best part: enjoying it! I truly put my heart into developing this recipe because I want you to feel that same sense of accomplishment I get every time I make it. If you gave this homemade chocolate pudding a try, please, please let me know how it turned out for you!
Head down to the comments below and give this recipe a rating—let’s see those five stars shine! Tell me what you served it with. Did you stick to a simple dusting of cocoa, or did you go wild with shavings of dark chocolate? I genuinely love hearing how you make these classics your own. And if you snapped a photo of your perfectly set, silky dessert, don’t forget to tag me on social media!
It means the world to me to see my recipes coming to life in your kitchens. It’s all about building that culinary confidence together, one comforting bowl of chocolate pudding at a time. If you need something savory next to balance out all that sweetness, check out my guidelines for making easy homemade pizza crust!
PrintThe Most Creamy, Classic Homemade Chocolate Pudding From Scratch
Make the best homemade chocolate pudding from scratch using simple pantry staples. This stovetop recipe yields a rich, velvety, and creamy texture that beats any boxed mix. It is an easy, decadent dessert perfect for any occasion.
- Prep Time: 10 min
- Cook Time: 15 min
- Total Time: 2 hours 25 min
- Yield: 4 servings 1x
- Category: Dessert
- Method: Stovetop
- Cuisine: American
- Diet: Vegetarian
Ingredients
- 1/2 cup granulated sugar
- 1/3 cup unsweetened cocoa powder
- 1/4 cup cornstarch
- 1/4 teaspoon salt
- 2 cups whole milk
- 2 large egg yolks
- 2 tablespoons unsalted butter
- 1 teaspoon vanilla extract
Instructions
- In a medium saucepan, whisk together the sugar, cocoa powder, cornstarch, and salt until combined.
- Gradually whisk in the whole milk until the mixture is smooth and no lumps remain.
- Place the saucepan over medium heat. Cook, stirring constantly with a whisk, until the mixture thickens significantly and just begins to bubble. This takes about 8 to 10 minutes. Do not stop stirring.
- In a small bowl, whisk the egg yolks lightly. Temper the yolks by slowly whisking about 1/2 cup of the hot pudding mixture into the yolks.
- Pour the tempered yolk mixture back into the saucepan, whisking constantly. Continue to cook over medium heat for 1 to 2 minutes more, until the pudding is very thick. Do not let it boil rapidly.
- Remove the saucepan from the heat. Stir in the butter and vanilla extract until the butter is fully melted and incorporated.
- Pour the pudding into individual serving bowls or a single large bowl. Press plastic wrap directly onto the surface of the pudding to prevent a skin from forming.
- Chill in the refrigerator for at least 2 hours, or until completely cold and set before serving.
Notes
- For an extra rich flavor, use high-quality unsweetened cocoa powder.
- If you prefer a thinner pudding, reduce the cornstarch to 3 tablespoons.
- This homemade chocolate pudding is best eaten within 3 days.
Nutrition
- Serving Size: 1 serving
- Calories: 285
- Sugar: 32
- Sodium: 150
- Fat: 12
- Saturated Fat: 7
- Unsaturated Fat: 5
- Trans Fat: 0
- Carbohydrates: 40
- Fiber: 2
- Protein: 7
- Cholesterol: 85