
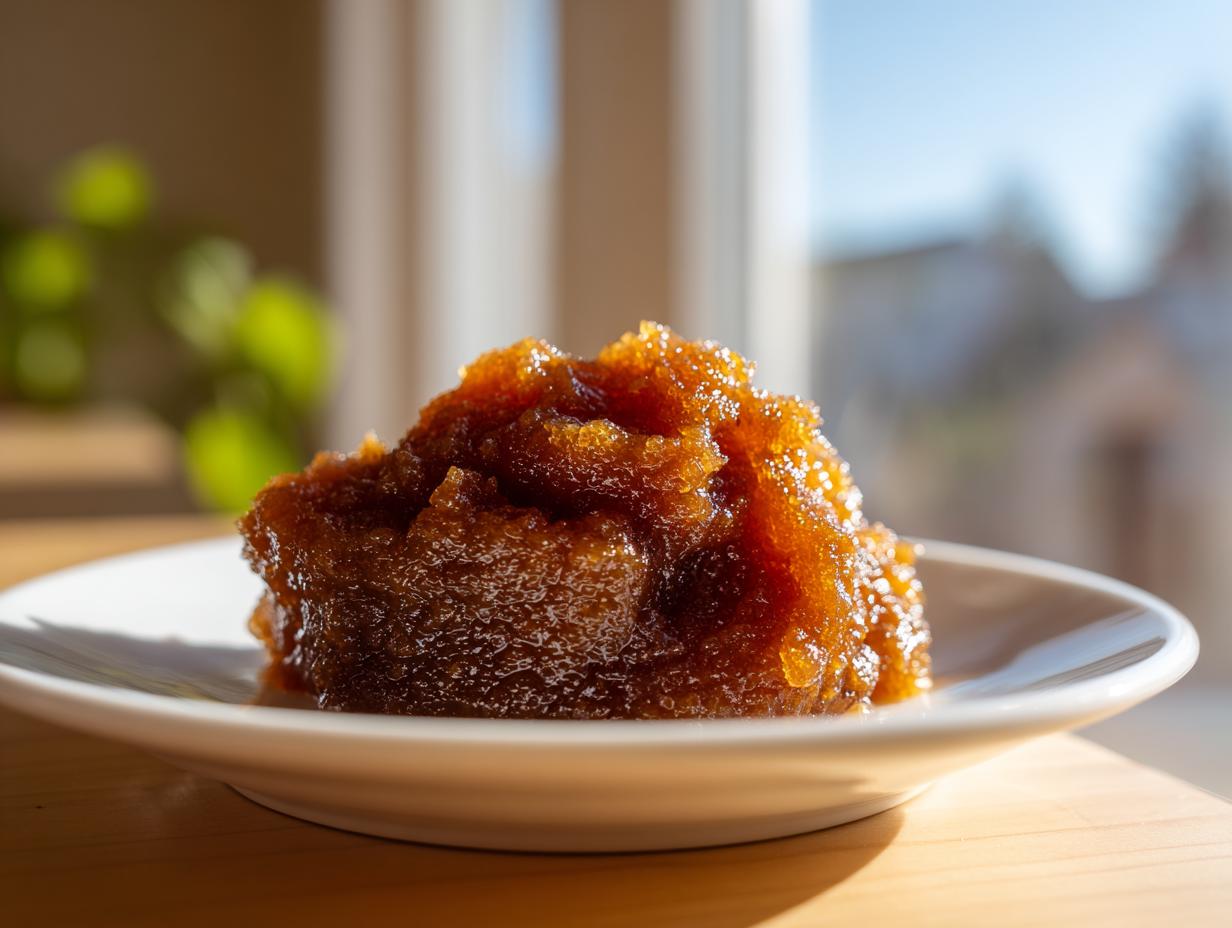
There’s just nothing that says cozy autumn like the smell of fruit simmering low and slow, filling your whole house with warmth. It’s that comforting scent that pulls you right into the kitchen, promising something delicious and rich is on its way. If you’ve been eyeing those gorgeous, fragrant pears at the market lately, I have the absolute best plan for you: making homemade pear butter. Forget the fussy stove methods that leave you whisking constantly; my go-to method uses the slow cooker. It’s truly the easiest, most flavorful way to transform those autumn fruit preserves into something heavenly. My grandmother always kept jars of fruit spreads on her shelves, and this pear butter technique gets me that same deeply spiced, velvety texture with practically no effort from me!
- Why This Easy Pear Butter Recipe Works So Well
- Gathering Ingredients for Homemade Pear Butter
- Step-by-Step Slow Cooker Pear Butter Instructions
- Alternative Cooking Methods for Pear Butter
- Tips for Perfect Canning Pear Butter
- Creative Pear Butter Uses Beyond Toast
- Ingredient Notes and Common Substitutions for Pear Butter
- Frequently Asked Questions About Pear Butter
- Storage and Reheating Instructions for Your Pear Butter
Why This Easy Pear Butter Recipe Works So Well
I get it; sometimes you want that deep, concentrated fruit flavor without standing over a bubbling pot for hours! That’s why I swear by this method. When you want thick, complex pear butter, the slow cooker does the heavy lifting. It’s amazing how such a simple approach yields such incredible results. It is one of my favorite homemade fruit spreads to make when I have a huge haul of fruit.
Set-and-Forget Slow Cooker Pear Butter Magic
Hands-on time is basically zero once you dump everything in the Crockpot. Seriously! You toss the pears and spices in, set the timer, and walk away. This low-and-slow heat breaks down the fruit fibers beautifully, giving you that silky texture you crave without any chance of scorching the bottom like you often do on the stovetop.
Perfectly Spiced Pear Butter Flavor Profile
We aren’t just making plain pear puree here, oh no! We layer in cinnamon, ginger, and just a hint of cloves. This combination turns it into a true spiced pear butter—the absolute ideal flavor for all those fall fruit preserves you’ll want to make all season long. It smells like Sunday afternoon.
Gathering Ingredients for Homemade Pear Butter
The success of any great preserve really hangs on the quality of what you start with, and this easy pear butter recipe is no different. Before we even think about turning on the slow cooker, we need the right team of ingredients assembled. Don’t worry about needing any fancy thickening agents like pectin; the slow cooking process handles all that heavy lifting for us, resulting in that gorgeously thick, buttery pear spread. But first, let’s talk about the stars of the show: the pears themselves. When you grab your fruit, think about how you might want to use this later—maybe swirled into a cake batter, like the one I use for my apple bundt cake!
Pear Selection and Preparation for Pear Butter
You absolutely need ripe pears. I mean it! If they feel rock hard, they won’t break down properly and you’ll end up with chunky sauce, not butter. You want them soft to the touch, almost like they’re begging to be mashed. Bartlett and Anjou are my favorites for this specific spread—they have that lovely slight grit that turns silky smooth when cooked. Remember, every single pear must be peeled, the core removed, and then cut into rough quarters before it hits the Crockpot.
Sweeteners and Spices in this Easy Pear Butter Recipe
For sweetness, I always lean toward packed brown sugar. It adds that subtle molasses note that white sugar just can’t touch, which pairs so well with the fruit. Think about 1 cup to start; we can always adjust later! Then we bring in the warmth: heaps of cinnamon, a good hit of spicy ginger, and just a whisper of cloves to keep it interesting. Don’t forget that little splash of lemon juice—it brightens everything up and helps keep our gorgeous homemade pear butter looking vibrant.
Step-by-Step Slow Cooker Pear Butter Instructions
Okay, this is where the magic happens without me having to wrestle a big stockpot onto the stove! Using the slow cooker for your slow cooker pear butter means you are investing time, not your attention. This method is foolproof, but you have to follow the sequence for that perfect, velvety texture we’re aiming for, which is why I always start with the long, slow cook. Once this is done, you’ll see why making homemade pear butter doesn’t need to be complicated.
Cooking Down the Pears in the Slow Cooker
Toss those prepared pears right into the basin of your machine. Now, this is important—dump your brown sugar and all those gorgeous spices (cinnamon, ginger, cloves) right on top of the fruit. Don’t stir! Covering it up, you let it go low for 6 to 8 hours. If you’re in a rush, you can use the high setting, which usually takes about 3 to 4 hours. Either way, you’re looking for pears that are so tender they practically melt when you poke them. This long cooking ensures all that beautiful spiced flavor really sinks in.
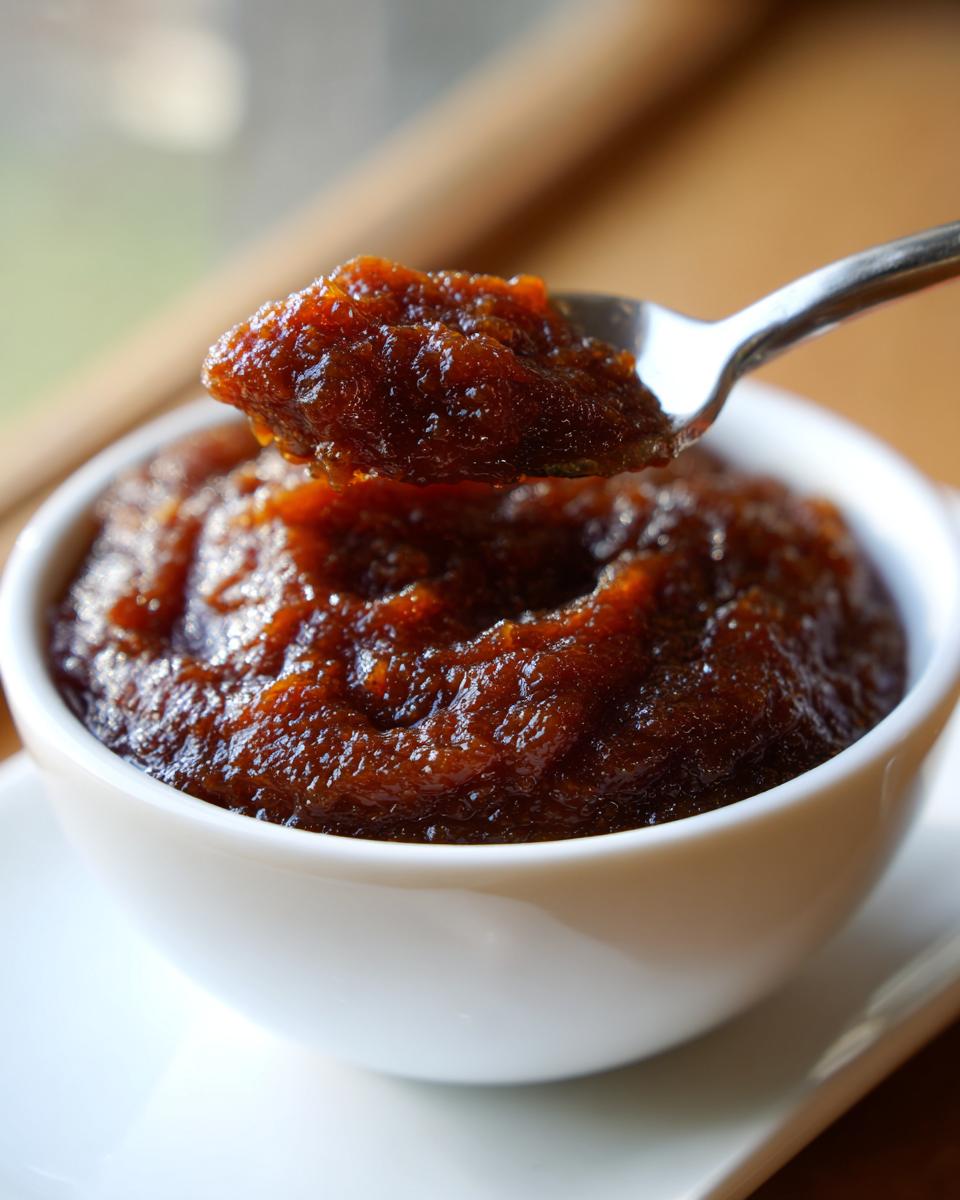
Achieving Smoothness: Blending Your Pear Butter
Once they are mushy-soft, it’s blending time. You can carefully move the hot fruit into a regular blender—just remember to work in small batches and vent the lid because steam builds up fast! Or, if you have one, grab your immersion blender and go right into the slow cooker chicken noodle soup pot; this avoids a messy transfer. Blend until every single speck of fruit is gone and you have a silky puree. That’s when you stir in the vanilla and the lemon juice.
The Final Reduction for Thick Pear Butter Consistency
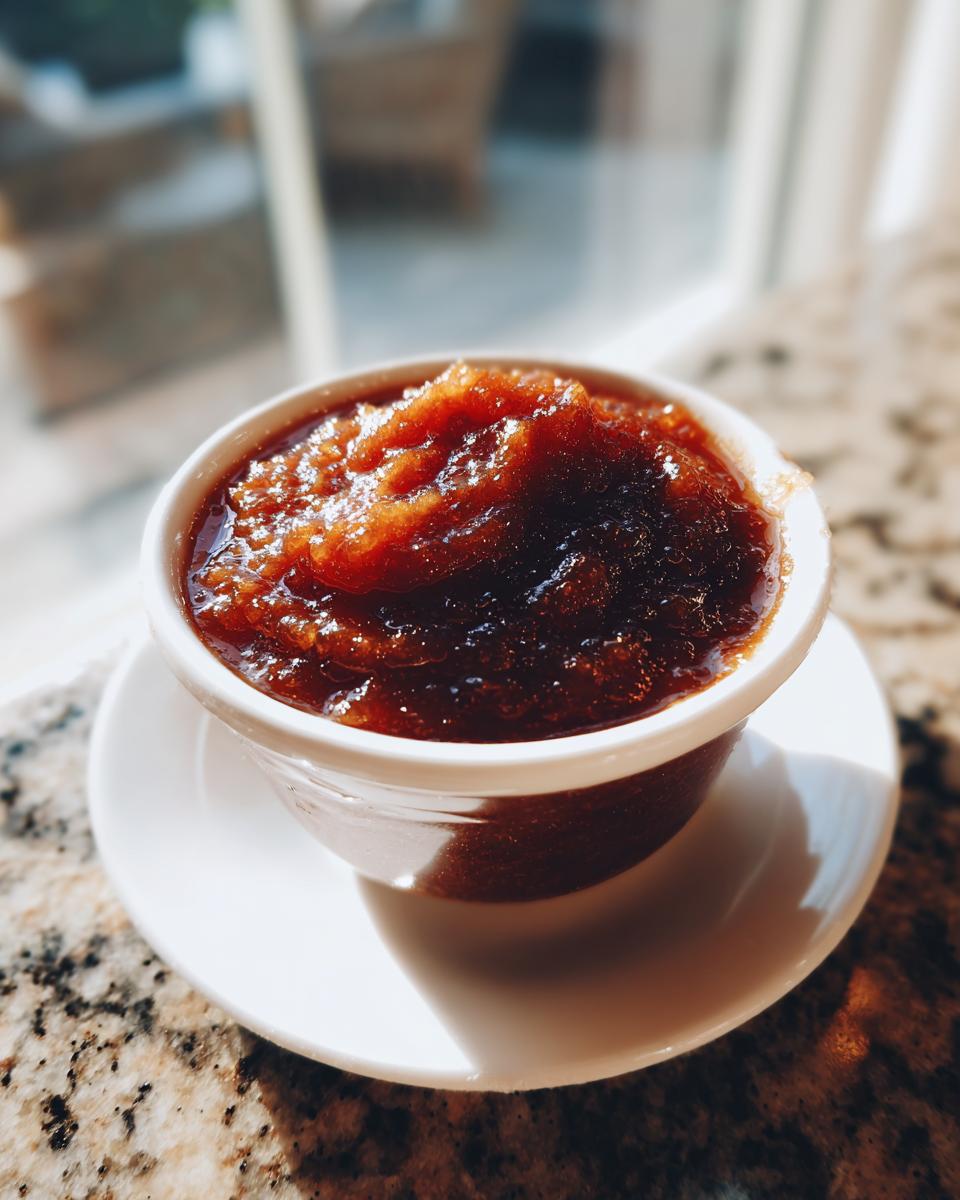
This last step is what separates regular applesauce from proper, thick pear butter. Transfer that smooth mix back into the slow cooker, but leave the lid off! Or, if you prefer, move it to a wide saucepan and simmer on low heat. You need it to cook down for another hour or two. Stir it every so often so it doesn’t stick. How do you know it’s done? Do the cold plate test: drop a spoonful onto a chilled plate; if it holds its shape without running all over the place, you’ve nailed that perfect, spreadable consistency.
Alternative Cooking Methods for Pear Butter
Now, I absolutely adore my slow cooker for this; it’s my weeknight hero for making batches of pear butter while I’m running errands. But I know not everyone wants to dedicate 8 hours to a single batch! Taste Zenith isn’t just about one way of doing things; it’s about finding the right tool for your busy kitchen. So, if you need your homemade pear butter faster, we’ve got you covered with the Instant Pot and the old reliable stovetop, too.
Making Quick Instant Pot Pear Butter
If you have an Instant Pot, this is the way to cut that cooking time down significantly. You’re going to use a similar ratio of apples and spices, but instead of hours on low, you’ll pressure cook everything—pears, sugar, spices—on high pressure. I usually go for about 20 minutes under pressure, followed by a natural pressure release for at least 10 minutes before doing a quick release. You still need that final blending and reduction step for thickness, but you’ve already saved several hours of simmering!
Traditional Stovetop Pear Butter Technique
My great-aunt always used the stovetop, mostly because back in the day, that’s all she had! This method starts the same way; you combine all the fruit and spices in a large, heavy-bottomed pan. The difference is you need to be present. You bring it to a gentle simmer, and then you must stir it quite frequently—I mean every 10 to 15 minutes—to avoid scorching the sugars at the bottom. It takes maybe two to three hours total to get the right reduction, but it gives you that rustic, old-fashioned taste some people really love in their spiced pear butter.
Tips for Perfect Canning Pear Butter
Making a big batch of this gorgeous pear butter is wonderful, but what do you do when you can’t possibly eat it all before it goes bad? That’s where a little bit of **canning pear butter** knowledge comes in handy! Preserving your hard work isn’t scary, honestly, it’s just science, and it lets you keep that cozy fall flavor all the way until spring. Plus, nothing makes a better homemade gift than a beautiful jar of something you lovingly cooked yourself, right? Think of these as little jars of sunshine ready for gifting.
The biggest thing when canning anything, especially low-acid fruit preserves like this one, is sterilization and sealing. You have to make sure your jars are squeaky clean. I always run my clean jars and lids through a quick cycle in the dishwasher right before I fill them so they are piping hot. Filling hot jars with hot food helps guarantee a strong seal.
Once your thick, perfectly reduced pear butter is ready, ladle that hot goodness directly into your sterilized jars, making sure you leave about a quarter-inch of headspace at the top—that space is non-negotiable for a good seal! Wipe the rims off with a clean, damp cloth, put on your two-piece lids, and then it’s time for the water bath. You need to process those filled pint jars in a vigorously boiling water bath for a full 10 minutes. Make sure the water covers the tops of the jars by at least an inch or two!
And here’s a little bit of kitchen wisdom I picked up: if you live somewhere high up, you need to adjust that time slightly because water boils at a lower temperature at high altitudes. If you’re above 1,000 feet, you need to add about one minute of processing time for every additional 500 feet elevation. You can find charts online, or just add a few extra minutes if you are way up in the mountains, like some of my cousins out West! Learning how to can pear butter successfully means you’ll have your own supply of this lovely spread ready whenever you want it.
Creative Pear Butter Uses Beyond Toast
I’m telling you, once you’ve got jars of this thick, glorious pear butter sitting on your counter, you’ll realize it’s way too versatile to just keep on your breakfast toast—though it’s fantastic there! I love finding new ways to use up my batches of autumn fruit butters. It adds that deep, spiced sweetness without relying on overly processed syrups. This is your secret weapon for next-level desserts and easy weeknight nourishment. Why not try swirling some into your next batch of creamy topping, like the one I use for my cheesecake fruit salad?
Incorporating Spiced Pear Butter into Breakfast
If you’re aiming for a healthy breakfast spread, trust me on this: swirl a big spoonful of this into your morning oatmeal or Greek yogurt. It’s so much better than mixing in plain fruit. It adds depth and that lovely warmth from the cinnamon and ginger. I also love using it as a sweet filling between layers when I bake quick breads or little puff pastry pockets. It bakes up beautifully!
Gifts in a Jar Ideas with Homemade Fruit Spreads
When the holidays roll around, this is my go-to for *gifts in a jar ideas*. Forget spending a fortune in stores! Everyone loves receiving something handmade, and a jar of this cinnamon pear spread looks so elegant tied with some twine and a cute little label. They never guess how incredibly easy the easy pear butter recipe actually is. They just taste the love and the cozy fall flavor!
Ingredient Notes and Common Substitutions for Pear Butter
When you’re making something as simple and foundational as pear butter, sometimes the biggest questions aren’t about the method, but about the ingredients themselves. I always tell people, you don’t have to follow my exact ingredient list to the letter, but you do need to understand *why* I chose what I did. This knowledge frees you up to experiment! For instance, if you run out of brown sugar, don’t panic. You can absolutely substitute half of it with maple syrup—I love that slight earthy flavor it brings. Just remember that maple syrup is usually a bit runnier than the packed brown sugar, so you might need to let your final batch reduce just a little longer for that perfect thick texture we want in our homemade fruit spreads.
Another thing to consider is the spices. If you don’t have cloves on hand—which happens to the best of us—you can skip it entirely. The flavor won’t be quite as deep, but the cinnamon and ginger will carry the profile just fine. On the other hand, if you want to push the flavor even further, feel free to add a small pinch of freshly grated nutmeg along with the cinnamon. It really elevates autumn fruit butters!
And what about the lemon juice? That’s there for color and a touch of acid, which helps balance the overall sweetness. You could swap that out for a teaspoon of orange juice if it’s what you happen to have open, or even skip it if you’re making a very small, immediate-use batch. But if you plan on canning your pear butter, I really encourage keeping that acid agent in there for safety and vibrancy, just as the amazing folks at USA Pears suggest in their brown sugar pear butter ideas.
Frequently Asked Questions About Pear Butter
I get so many questions when people try this recipe for the first time, especially around texture and how long they can keep this lovely spread around. It’s great that you’re thinking ahead! Knowing how to properly store your autumn fruit butters means you get to enjoy that rich flavor for months to come. Here are the things I hear most often about our easy, spiced version.
How long does homemade pear butter last in the refrigerator?
If you’ve made a batch and just popped the jars into the fridge without processing them for shelf stability, you should plan to use them up fairly quickly. Unprocessed, open jars of this easy pear butter recipe usually stay fresh and delicious in the main compartment of your fridge for about three weeks. Remember, refrigeration slows things down, but it doesn’t stop them entirely! If you followed the **canning pear butter** steps correctly and processed those jars in a water bath, they are shelf-stable for a full year unopened. Once those canned jars are opened, *then* they should be treated like leftovers and stored in the fridge, lasting about three weeks.
Can I make this pear butter recipe without adding any sugar?
You certainly *can* try to skip the sugar entirely, but I have to caution you on two points. First, the sugar isn’t just for sweetness; it plays a major role in achieving that thick, spreadable texture we love in a proper buttery pear spread. Without brown sugar, your reduction time will be much, much longer, and the final result might be thinner, more like a loose sauce. Second, and most importantly for preservation, sugar acts as a safety buffer, especially when canning. For safe, long-term storage, skip the sugar at your own risk. For immediate use, you might be okay, but it won’t be the same glorious texture!
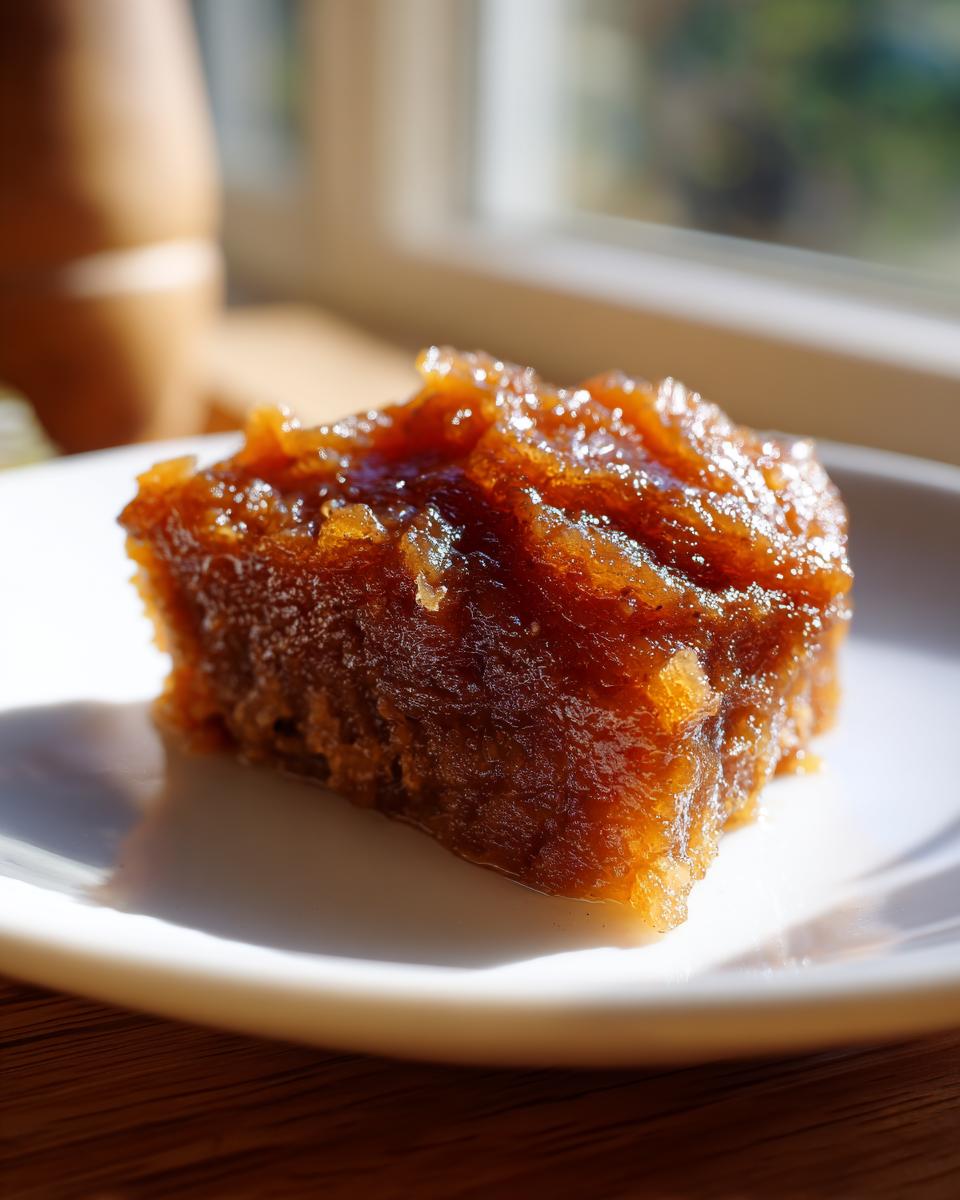
What is the difference between pear butter and applesauce?
This is a classic preservation question! Applesauce happens much quicker because apples have more natural moisture and break down faster, and it’s usually not cooked down nearly as long. Pear butter is cooked for a much longer duration after blending—that final reduction step takes the longest! This extended cooking time evaporates much more moisture, concentrating the flavor dramatically and resulting in that deep, dark color and thick, almost caramelized texture. You could make an applesauce in 3 hours, but true pear butter demands more time to reach that signature, rich consistency.
Storage and Reheating Instructions for Your Pear Butter
Okay, you did all that hard work creating the most beautiful, spiced pear butter imaginable! Now you need to know how to keep it tasting perfect until the very last spoonful. If you followed those steps for **canning pear butter**, you’re set for months on the shelf—that’s the easiest storage solution! But for those half-pint jars you kept in the fridge for drizzling over biscuits tonight, we need a little strategy.
Once a jar is opened and sitting in the refrigerator, you should aim to enjoy it within about three weeks. The flavor is at its absolute peak right after opening, but after that, I find the spices start feeling a bit tired, even though it’s perfectly safe to eat for longer if kept cold. Always make sure you use a clean spoon every time you dip it in the jar. We don’t want any sneaky bacteria sneaking in there and ruining our good work!
Now, sometimes I pull that jar out of the fridge and it’s just gotten a little too stiff—maybe it’s too firm to easily swirl into my yogurt or spread onto a fresh slice of toast. Don’t worry about that! You never want to microwave the whole jar, obviously, but scooping out the amount you need into a small, microwave-safe bowl is perfect. Give it just 10 to 15 seconds on medium power. You only want to warm it just enough so it loosens up and gets that lovely, drizzle-able texture again. I often do the same thing if I’m using it in a baked good, like topping off my creamy no-bake lemon pie filling!
For those jars that have been canned and sealed properly, just leave them in a cool, dark pantry until you’re ready to crack one open. Sunlight and heat are the enemies of preserved goods, so keep them tucked away somewhere safe. Once you open a canned jar, it moves into that three-week refrigerator lifespan, just like the others. It’s satisfying knowing you have all that cozy, homemade goodness tucked away for a dreary winter morning!
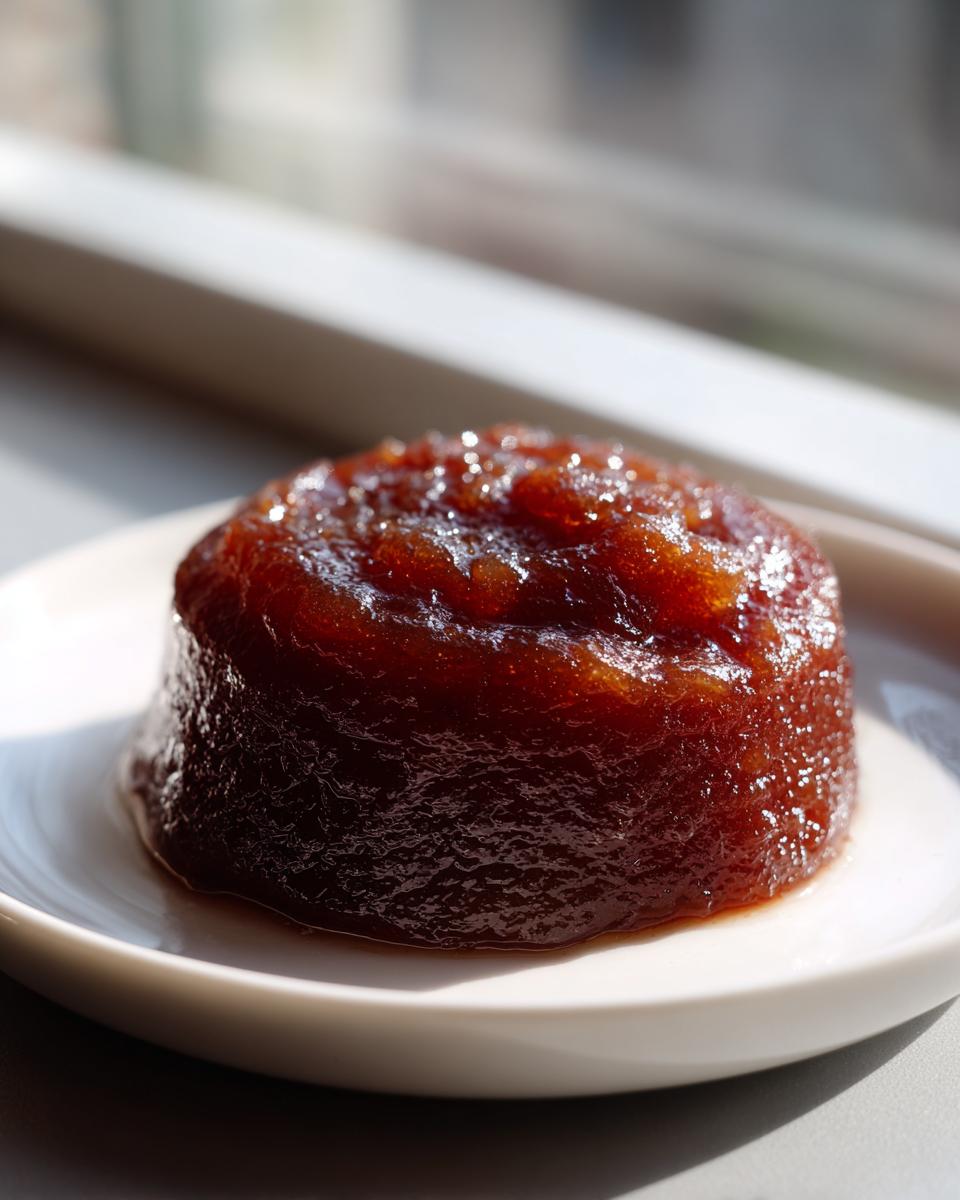
PrintEasy Slow Cooker Pear Butter: Spiced Homemade Spread

Make this simple, spiced pear butter in your slow cooker. This recipe uses ripe pears and warm spices to create a thick, flavorful spread perfect for toast or gifting.
- Prep Time: 20 min
- Cook Time: 8 hours
- Total Time: 8 hours 20 min
- Yield: About 4 half-pint jars 1x
- Category: Preserves
- Method: Slow Cooking
- Cuisine: American
- Diet: Vegetarian
Ingredients
- 3 lbs ripe pears (Bartlett or Anjou), peeled, cored, and quartered
- 1 cup packed brown sugar (adjust to taste)
- 1 teaspoon ground cinnamon
- 1/2 teaspoon ground ginger
- 1/4 teaspoon ground cloves
- 1 teaspoon vanilla extract
- 1 tablespoon lemon juice
Instructions
- Place the peeled, cored, and quartered pears into the basin of your slow cooker.
- Add the brown sugar, cinnamon, ginger, and cloves over the pears. Do not stir yet.
- Cover the slow cooker and cook on low for 6 to 8 hours, or on high for 3 to 4 hours, until the pears are very soft and easily mashed.
- Carefully transfer the cooked pear mixture to a blender or use an immersion blender directly in the slow cooker. Add the vanilla extract and lemon juice.
- Blend until the mixture is completely smooth. If you prefer a thinner consistency, blend in a small amount of water, one tablespoon at a time.
- For a thicker, traditional pear butter, transfer the blended mixture back to the slow cooker (or a large saucepan) and cook uncovered on low (or simmer gently on the stove) for 1 to 2 hours, stirring occasionally, until the butter has reduced and thickened significantly.
- Test the consistency: A spoonful dropped onto a cold plate should hold its shape without spreading quickly.
- Ladle the hot pear butter into clean, sterilized jars for immediate use, or proceed with water bath canning for long-term storage.
Notes
- For canning, process filled pint jars in a boiling water bath for 10 minutes, adjusting time for altitude.
- You can substitute half the brown sugar with maple syrup for a different flavor profile.
- This spread is excellent swirled into oatmeal or served alongside biscuits.
Nutrition
- Serving Size: 2 Tablespoons
- Calories: 85
- Sugar: 20
- Sodium: 1
- Fat: 0
- Saturated Fat: 0
- Unsaturated Fat: 0
- Trans Fat: 0
- Carbohydrates: 22
- Fiber: 2
- Protein: 0
- Cholesterol: 0