
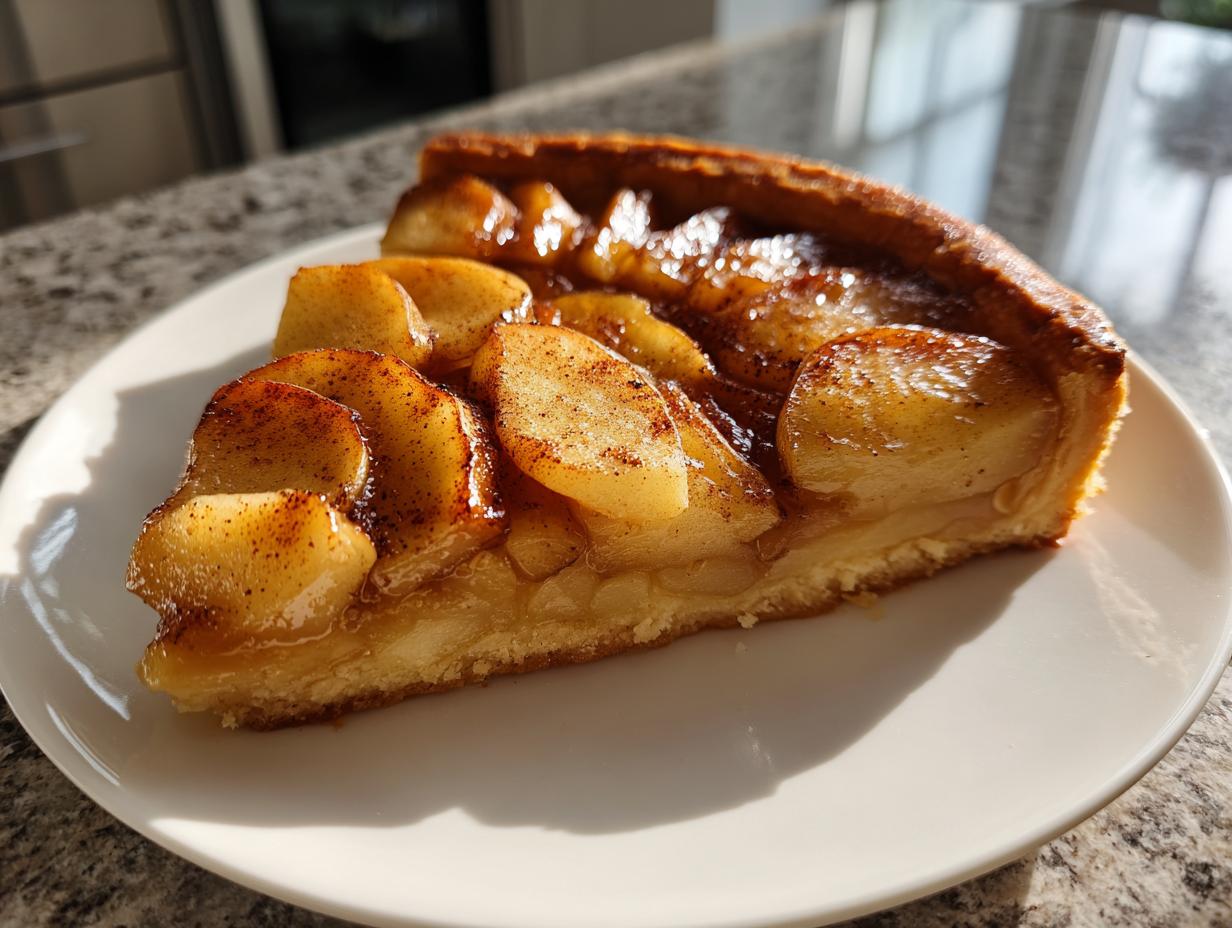
There’s something so incredibly comforting about a dessert that looks like it came straight from a French farmhouse kitchen, right? A pastry that isn’t trying too hard but tastes like a million bucks. That’s exactly what we’re achieving today with this apple tart recipe. Forget those fussy tart pans that always stick! We are making a classic French apple tart, or Tarte aux Pommes, using the easiest, most forgiving, and gloriously flaky homemade crust you can imagine. It’s the perfect centerpiece for your fall dessert recipes, and trust me, as a home cook, I developed this to eliminate all the pastry anxiety.
My name is Aria Thompson, and here at Cooking Zenith, we believe the best food isn’t complicated; it’s honest. I’m not a professionally trained chef, just your neighbor who loves spending hours testing flour ratios until I nail that perfect buttery crust. This recipe stands out because it captures that elegant French flavor profile while keeping things delightfully simple. We’re focusing on tender, cinnamon-spiced apples layered beautifully on a free-form dough—it’s shockingly quick apple dessert magic!
- Why This Easy Apple Tart Recipe Works for Home Cooks
- Gathering Ingredients for Your Classic Apple Tart Recipe
- Step-by-Step Instructions for the Tarte aux Pommes
- Tips for the Best Apple Tart Success
- Serving Suggestions for Your Apple Tart Dessert
- Storage and Reheating Instructions for Leftover Apple Tart
- Frequently Asked Questions About Making an Apple Tart
- Nutritional Estimates for This Simple Apple Dessert
- Share Your Experience with This French Apple Tart
Why This Easy Apple Tart Recipe Works for Home Cooks
If you’ve ever avoided making a French apple tart because you thought it required specialized pans or fussy techniques, I’m here to change your mind! This is truly an easy apple tart recipe designed for real people baking after work. The payoff in flavor is huge, yet the prep time stays low, making it a fantastic simple dessert for weeknights or when company shows up unexpectedly.
The Beauty of the Rustic Apple Tart
We skip the intimidating tart pan entirely! The beauty of this rustic apple tart style is that you just roll the dough into a rough circle and fold the edges up. It looks intentionally charming and homemade, so you don’t have to stress about perfect crimping. Honestly, the more uneven it looks, the better, in my opinion!
Mastering the Flaky Crust Apple Tart Dough
I know pastry feels scary, but this dough is shockingly simple. We keep the butter ice cold, and that’s the main trick to achieving that heavenly flaky crust apple tart texture we crave. While I sometimes turn to store-bought for emergencies, trust me when I say that taking ten minutes to make this dough yourself elevates the entire dessert beyond what you can grab in the freezer aisle. It’s worth skipping that trip to the store!
Gathering Ingredients for Your Classic Apple Tart Recipe
Okay, let’s get down to business! Knowing exactly what you need before you start is the secret to keeping this an easy bake. This is where we lock in the quality for our classic apple tart recipe. For the crust, you’ll need 1 1/4 cups of all-purpose flour and exactly 1/2 cup of cold unsalted butter, cut into small cubes. Don’t just eyeball that butter, folks; the coldness is key to flakiness! We need just 3 tablespoons of ice water to bring it together. Everything else is about those gorgeous apples we’re about to transform. Whenever I’m feeling overwhelmed by baking prep, I usually bake up an easy apple crisp first just to get my oven warmed up!
Apple Selection and Preparation Tips
When it comes to apples for baking, nobody wins with mushy apple sauce. I insist on using a mix of apples for the best flavor profile and texture. If you can find them, Honeycrisp offers sweetness, and Granny Smith brings that perfect tartness. You need four large baking apples here, peeled, cored, and sliced thinly—aim for slices about 1/8 inch thick. We toss those slices with 1/4 cup of sugar, 1 teaspoon of cinnamon, and here’s a non-negotiable step: 1 tablespoon of lemon juice. The lemon isn’t just for flavor; it keeps those pretty apples from turning brown while you’re piecing everything together.
Ingredient Notes and Substitutions for Your Apple Tart
If you truly are slammed for time, don’t feel guilty—you *can* use a sheet of store-bought puff pastry apple tart dough instead of making the homemade version. It’s a great cheat! Also, for that final professional sheen reminiscent of a bakery tart, we use a bit of apricot jam or apple jelly, warmed up slightly, to brush over the hot apples after baking. It makes the whole thing sparkle! If you’re skipping the jam, that’s fine too; the tart is delicious even with just a dusting of powdered sugar.
Step-by-Step Instructions for the Tarte aux Pommes
Alright, darling, this is where the magic happens! Once you have your ingredients prepped, assembling this Tarte aux Pommes is so smooth—it flies together faster than you think. First things first, let’s get the oven ready. Go ahead and preheat that oven to 375 degrees Fahrenheit (190 Celsius). We’ll be baking this on a standard baking sheet lined with parchment paper, which is so much easier than wrestling with a springform pan.
I remember the very first time I tried to make this rustic style. I was trying to impress my sister, and I totally over-mixed the dough, expecting it to behave like cookie dough. Whoops! It was tough as leather. Now I know the secret lies in respecting the butter and the chill time. Pay attention to those quick steps, and you’ll end up with genuine French apple tart perfection.
Making the Buttery Crust Apple Tart Foundation
Remember how we talked about the cold butter? Now is when that matters most! Take your flour and salt mix, and use a pastry blender—or just your fingertips if you prefer the tactile approach—to cut in the cold butter cubes. You want that mixture to look like coarse breadcrumbs, and you MUST have some pea-sized pieces of butter hanging around. Seriously, don’t blend it smooth! Those little pockets of butter are what steam up and create those glorious flakes.
Next, add the ice water, just a tablespoon at a time. Stir gently until the dough actually *clumps* together. Don’t knead it! Form it into a flat disk—you can wrap this in plastic wrap now—and send it to the fridge for at least 30 minutes. That chilling time is non-negotiable; it helps the gluten relax so you don’t end up with tough pastry. Once it’s chilled, roll it out to about a 12-inch circle on a lightly floured surface. See? No specialized equipment needed for our homemade apple tart!
Assembling and Baking Your Rustic Apple Tart
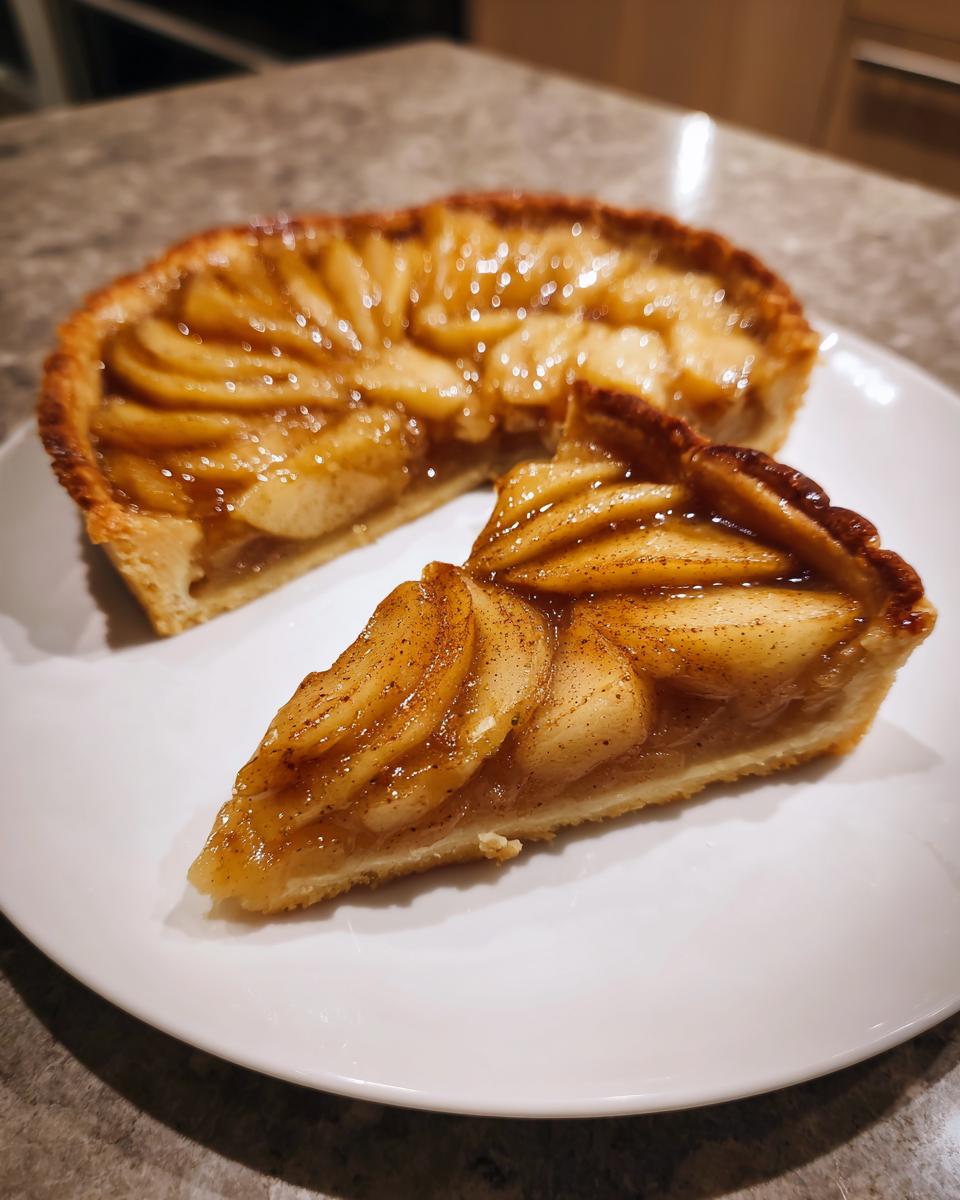
Now, carefully move your 12-inch dough circle onto that parchment-lined baking sheet. Take those beautifully spiced apple slices and arrange them across the dough. I like to overlap them in neat little rows, trying to keep them within about an inch and a half of the edge. This is the fun part: gently fold those edges up and over the apples. You’re creating the rustic border as you go. It doesn’t need to be perfect; uneven folds just add charm!
Brush the exposed crust generously with that 1 tablespoon of melted butter. Pop it into your preheated 375°F oven. The baking time is usually 35 to 45 minutes. You’re looking for a crust that is deep golden brown and apples that feel totally tender when you poke them through the top. If you want gorgeous shine, you can quickly melt that optional apricot jam, and while the tart is still hot, just brush it lightly over the apples. Let it cool slightly before slicing. It truly is the best apple tart experience!
For more insight on creating classic French flavors, check out this great resource on the classic Tarte aux Pommes. And for any recipe where you need basic mixing precision, my guide on making homemade teriyaki sauce uses similar principles of careful layering!
Tips for the Best Apple Tart Success
We’ve done the hard work of mixing the crust and slicing the apples, but a few tiny adjustments right at the end can turn a good apple tart into the genuinely best apple tart you’ve ever made. I learned these little secrets over years of trial and (a few slightly burnt) error. We want tender apples and a golden finish, not a soggy bottom or steamed fruit!
Achieving Even Apple Tenderness
The biggest texture mistake I see people make is slicing the apples unevenly. If you have some slivers that are super thin and others that are chunky, the thin ones cook down to nothing while the thick ones stay stubbornly hard. You want consistency! Aim for uniformity, about that 1/8-inch mark we discussed. Another thing that causes mushy apples is trapping steam underneath them. Because this recipe is rustic and baking on a sheet, the heat circulates better, but make sure your initial sugar toss pulls out just enough moisture to prevent any steaming while baking.
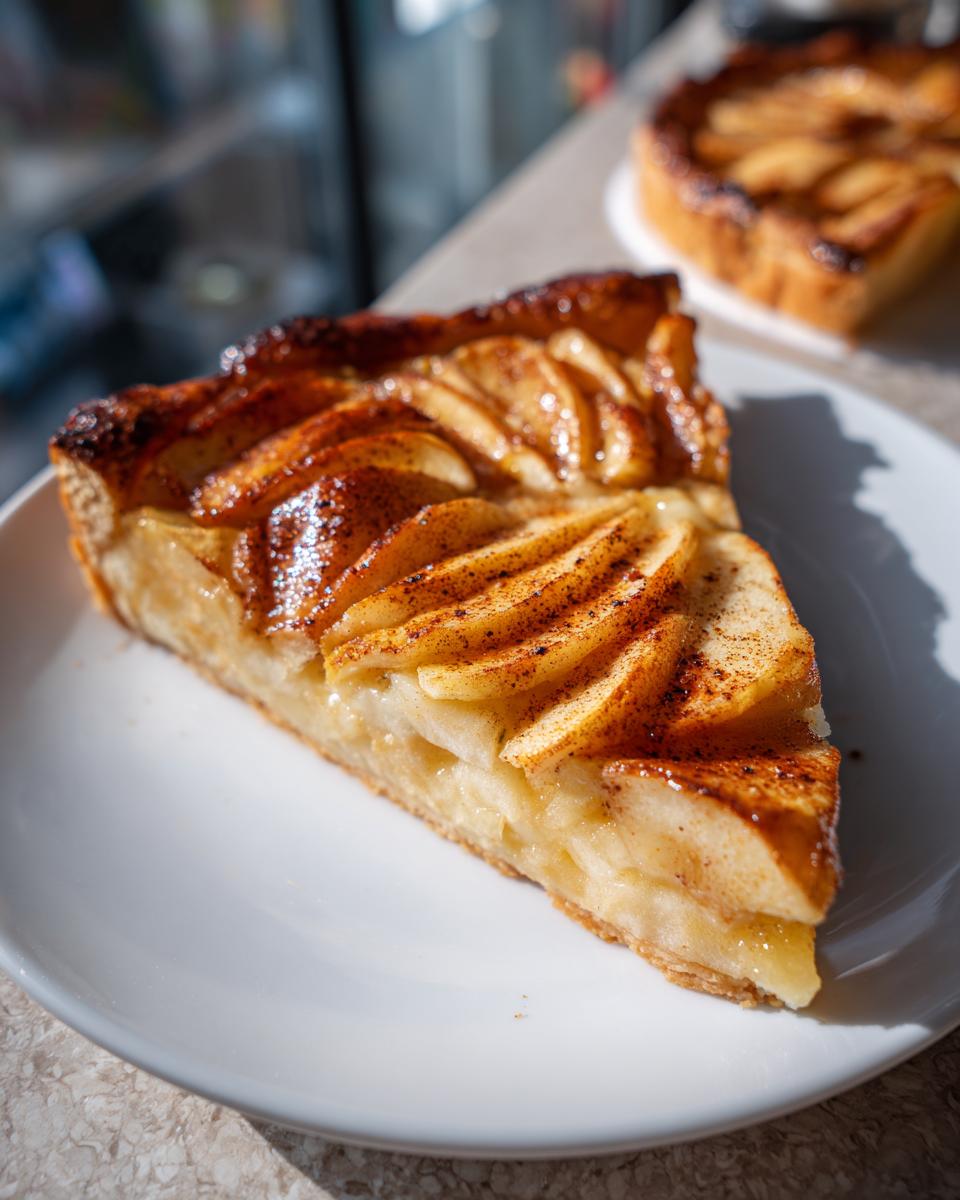
If you want that wonderful warmth in every bite, don’t skimp on the spice. A generous amount of cinnamon mixed with the apples is non-negotiable for a perfect cinnamon apple tart. You can even grind a tiny bit of nutmeg freshly over the top right before baking for an extra layer of cozy flavor!
Glazing Your Homemade Apple Tart
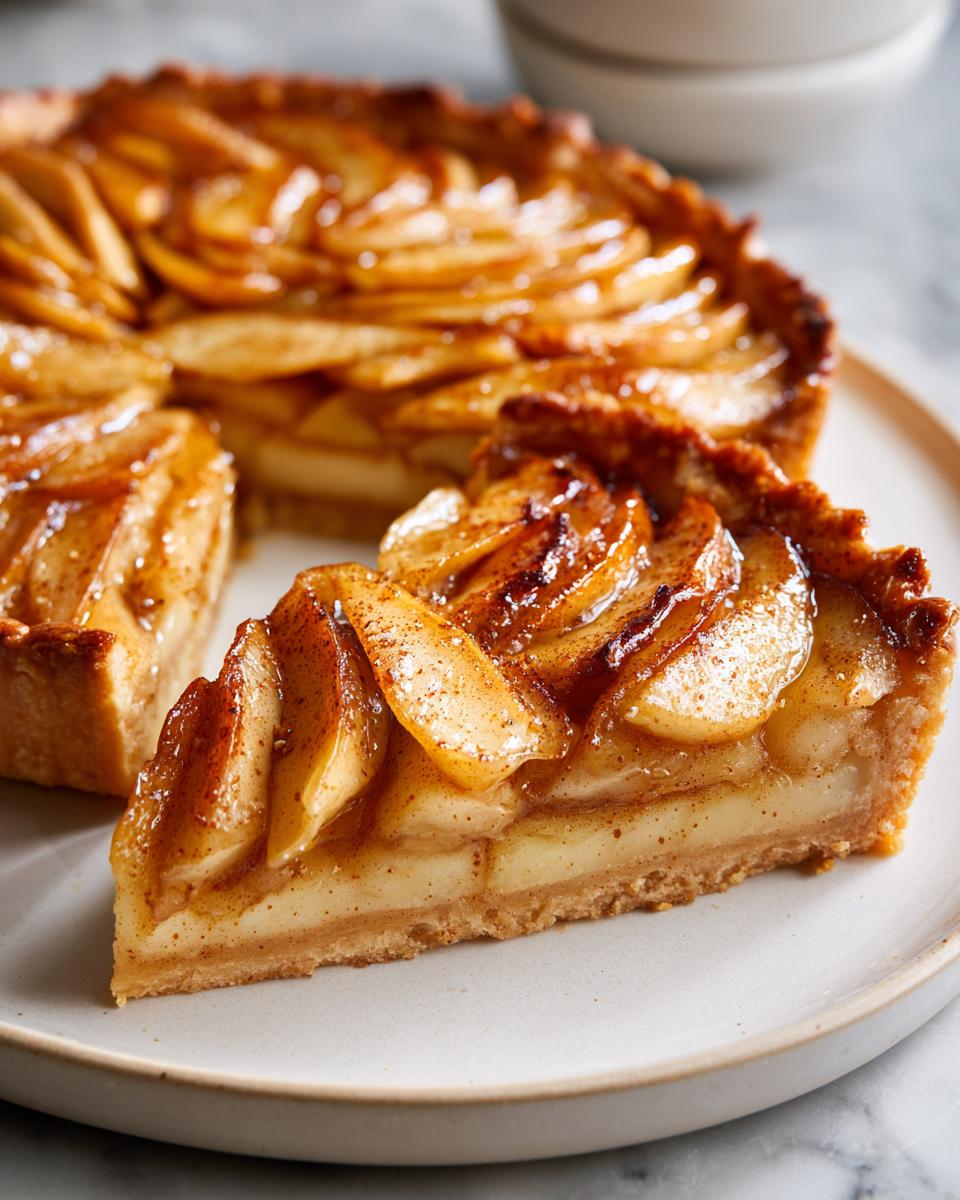
Don’t skip the optional glaze if you want that professional, glossy look! That thin layer of apricot jam brushed on warm apples does two things: it gives you that beautiful, slightly sticky shine that catches the light, and it helps seal the fruit lightly, keeping the apples looking fresh for longer. To get it perfectly brushable, just scoop a tablespoon of jam or jelly into a tiny microwave-safe bowl and zap it for about 10 seconds until it’s runny. You don’t want it boiling hot, just melted enough to glide smoothly right over the fruit once the tart is out of the oven. My friends who use this trick always rave about the finish!
If you want to see a gorgeous example of how even the simplest French tart can look absolutely stunning, check out this beautiful French apple tart inspiration. And if you love easy baking techniques that deliver incredible results, you have to try my guide for soft, chewy snickerdoodles—the technique for creamy butter there is just as important!
Serving Suggestions for Your Apple Tart Dessert
This beautiful apple tart is wonderful all on its own, especially when those spiced apples are still slightly warm from the oven. But let’s be real—dessert is always better with a little something extra, right? Since this is such a classic, cozy flavor, we want pairings that complement that warm, buttery feeling. It’s so satisfying when you can serve up something this elegant with zero fuss, making it one of my favorite quick apple dessert options!
For a true autumnal indulgence that fits perfectly into your fall dessert recipes rotation, you absolutely need a scoop of something cold melting slowly over the top. Vanilla ice cream is the classic champion here; the cold creaminess against the warm, spiced apples is just divine.
If you’re looking to step it up just a tiny bit without actually making a whole extra recipe, a dollop of whipped cream works wonders. You can make your own quick whipped cream right before serving, or if you’re feeling extra fancy, you can whip up my super simple vanilla buttercream frosting and just thin it down with a teaspoon of milk to make a delicious, slightly stiffer topping than regular whipped cream. It adds that perfect sweetness without overpowering the fruit.
Another option I love, especially if I serve this for breakfast the next day (don’t judge, leftover tart is breakfast!), is a light drizzle of good quality maple syrup instead of the apricot glaze. It just leans right into those perfect fall flavors we talked about. Honestly, whatever you serve it with, this Tarte aux Pommes is going to be the star.
Storage and Reheating Instructions for Leftover Apple Tart
Now, let’s address the part everyone hopes for: having leftovers! This apple tart is so good, you’ll definitely have some remaining, even if you think you won’t. The good news is that because we use minimal moisture control (unlike a heavily sauced pie), this tart keeps really well. But the crust is the key player here, and we need to handle leftovers carefully to keep it flaky!
If you have any slices left, you can safely leave the rustic apple tart out on the counter, covered loosely with foil or plastic wrap, for about one full day. Since it doesn’t have a heavy custard filling like some other French pastry recipes, room temperature is fine for short storage, especially if you plan to eat it the next day. If you need it to last longer—say, 3 to 4 days—you absolutely must move it into the refrigerator. Keep it in an airtight container so the apples don’t dry out or absorb fridge smells.
The microwave is your enemy when reheating tart crusts, trust me. It makes everything soft and chewy in the worst way. If you want to bring that crust back to life and hear that satisfying crunch when you bite into it, you have to use dry heat!
Restoring Crust Crispness in the Oven
When you’re ready for a second helping, always reheat individual slices instead of the whole thing if you can manage it. Pop the slice onto a baking sheet or directly onto the oven rack if you’re feeling brave (put some foil underneath just in case of drips!). Set your oven to a gentle 325 degrees Fahrenheit. Heat it for about 8 to 10 minutes. This gentle warmth thaws any chill, allows the butter in the crust to crisp up again, and warms the apples perfectly without cooking them anymore. It tastes almost as fresh-baked!
When to Use the Air Fryer for Reheating
If you happen to have an air fryer—and honestly, mine has become indispensable for reheating everything—it’s even faster! Set it to 300 degrees Fahrenheit and give your slice about 4 minutes. This crisps up the crust beautifully from all sides with super even heat, giving you that perfect crunch with zero effort. It’s faster than preheating the whole oven just for one slice of that delicious homemade apple tart.
If you’re looking for more tips on getting quick doughs right, whether for a tart or a simple homemade pizza dough, check out my guide on easy homemade pizza dough—the principles of cold fats are similar!
Frequently Asked Questions About Making an Apple Tart
I know when I try a new recipe, my mind races with all the potential hiccups! So, I gathered the most common questions I get asked about this apple tart to make sure your baking process is totally stress-free. Don’t worry if you need to make slight adjustments; that’s why I love this rustic style—it allows for flexibility!
Can I make this apple tart ahead of time?
You absolutely can prep components ahead of time, which is great for entertaining! You can make the dough, form the disk, and keep it wrapped tightly in the fridge for up to two days. When you’re ready to bake, just let it sit on the counter for about 10 minutes to soften slightly before rolling. As for assembly, I really advise against assembling the entire rustic apple tart more than an hour before it goes into the oven, especially since we aren’t using a base layer of almond cream or apple tart with custard. The moisture from the apples will start to soak into the raw dough, and we want that crust to be super flaky, remember? Baking it fresh is always best for texture!
How do I get a caramelized apple tart flavor without extra steps?
That deep, rich, almost toffee-like flavor that screams autumn? That’s what we want!
You can get a great jump start on that caramelized apple tart taste right in the mixing bowl. Instead of using only the granulated sugar listed in the recipe for the apples, swap out half of it for dark brown sugar. The molasses in the brown sugar adds that beautiful rich note that tastes like caramel once it bakes down. Also, make sure you don’t wipe out the bowl after you toss the apples! Any little sugary streaks left behind will melt and caramelize beautifully around the edges of the tart as it bakes. If you want a real flavor boost, I sometimes lightly sauté my cinnamon-sugar apples in 1 teaspoon of butter for about 5 minutes before layering them—it helps concentrate the flavor. It’s a little extra work, but wow, does it pay off!
And speaking of easy fall flavors, if you ever feel like you need a break from pastry, my collection of easy fall baking ideas is full of quick wins that still feel special!
Is this recipe better with puff pastry or my homemade dough?
That’s the eternal debate! If you’re aiming for true, buttery, classic French technique, my homemade dough is the way to go. It gives you that superior, slightly crumbly, rich texture that store-bought dough just can’t match. However, if you need a near-instant dessert—like, “company is walking up the driveway!” fast—store-bought puff pastry apple tart dough is a fantastic shortcut. Just remember the finished product will be much lighter and puffier than the denser, rustic look we are aiming for here! Both are delicious, but the homemade method offers that superior flakiness.
Can I add nuts or other spices to this cinnamon apple tart?
Please do! This is where you make the recipe truly your own. I love adding a tablespoon of chopped pecans or walnuts right alongside the apples for a nice crunch when I make a batch destined for a holiday table. If you want to lean into more complex fall spices, add about 1/4 teaspoon of ground cardamom along with the cinnamon. It gives the apples a gorgeous aromatic lift that tastes sophisticated but is so easy to achieve!
Nutritional Estimates for This Simple Apple Dessert
Now, I always feel a little awkward putting nutrition labels on baked goods around here! We’re focused on flavor and joy, not counting every gram! Please know that because this is a recipe developed in my home kitchen and not a sterile, commercial lab, the values I provide are just rough estimates based on standard ingredient databases and calculations. They are here as a guide if you need one, but they aren’t scientifically precise.
The final nutritional breakdown for your apple tart slice—especially your buttery crust tart—will totally depend on the exact brands of butter, flour, and sugar you use, and how much of that optional jam glaze you brush on top! If you use a lower-fat pastry method or skip the glaze, you will certainly shift those numbers. Use this information gently, as you would with any classic apple tart recipe you find online. The most important thing is that you enjoy this perfectly crisp, homemade apple tart!
Share Your Experience with This French Apple Tart
Making food is a partnership, and I love hearing from you all when you tackle one of my recipes! This French apple tart means so much to me, and seeing it show up in your kitchens—especially during the fall months—just fills my heart up. Seriously, when you’ve spent time perfecting that flaky crust, knowing it worked out for you is the best reward!
I really, really hope you loved the process of making this rustic apple tart. Did the crust turn out perfectly flaky like we planned? Or maybe your apple arrangement was picture-perfect? Drop by the comments section below and tell me all about it! Leaving a quick star rating helps other home cooks decide to try this easy dessert too, and that builds our little community here at Cooking Zenith.
Show Me Your Tarte aux Pommes!
And please, if you’re sharing pictures on social media, tag me! I absolutely adore seeing the beautiful work you all do. Whether you’re serving it simply dusted with sugar or going all out with that apricot glaze shine, snap a picture! Mentioning how easy you found making this Tarte aux Pommes helps everyone trust that this recipe truly delivers on its promise of simplicity and flavor. It’s those shared successes that make the whole journey worthwhile.
If you have any last-minute questions about substitutions, storage, or maybe you want to suggest a new variation for next year’s baking season, you can also reach out directly through my contact page. Happy baking, my friends, and I can’t wait to hear how your easy apple tart turned out!
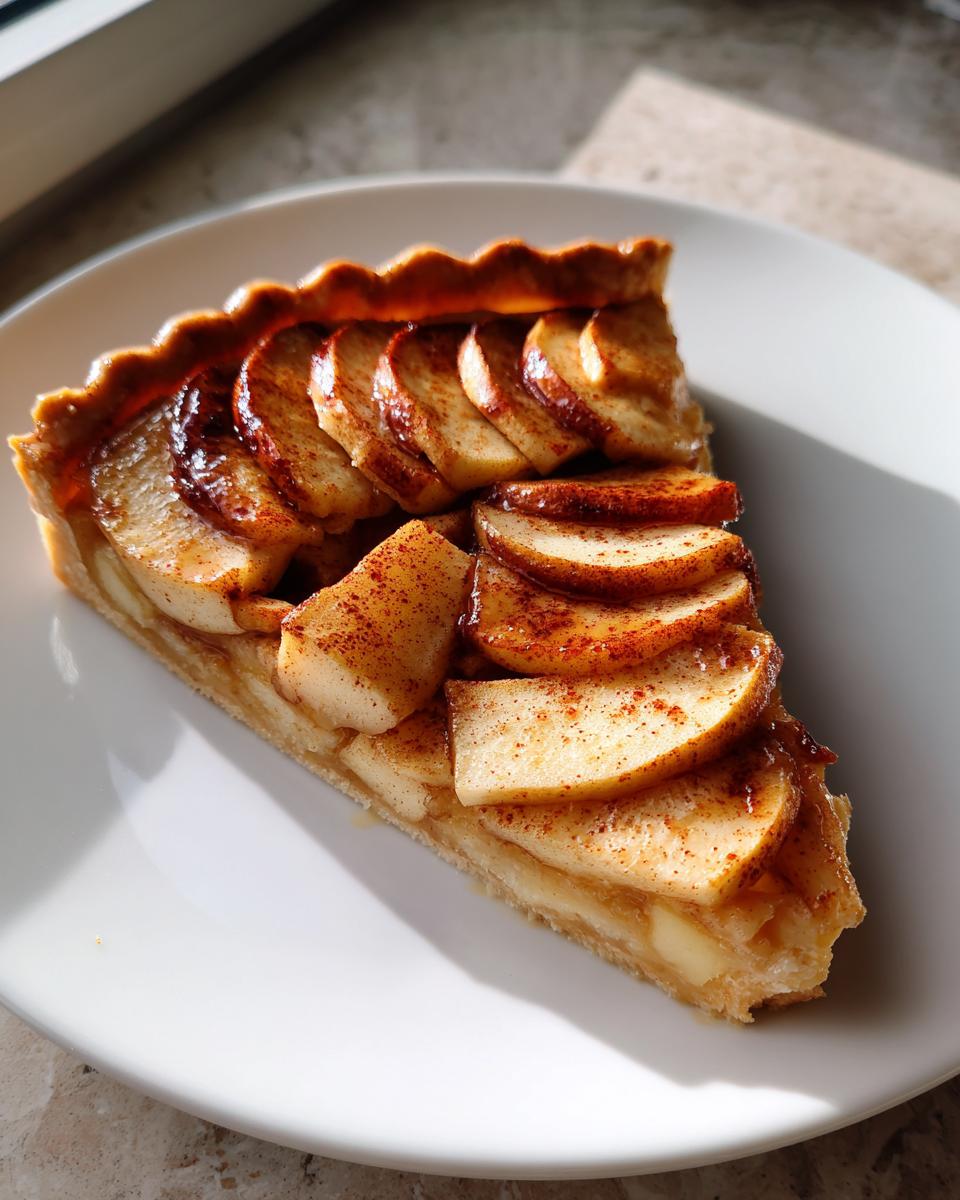
PrintEasy Classic French Apple Tart (Tarte aux Pommes)

You can make this classic French apple tart, Tarte aux Pommes, using a simple, flaky homemade crust. This recipe delivers tender, spiced apples in a beautiful, easy-to-manage dessert perfect for any occasion.
- Prep Time: 25 min
- Cook Time: 40 min
- Total Time: 1 hour 5 min
- Yield: 6 servings 1x
- Category: Dessert
- Method: Baking
- Cuisine: French
- Diet: Vegetarian
Ingredients
- 1 1/4 cups all-purpose flour
- 1/2 teaspoon salt
- 1/2 cup (1 stick) cold unsalted butter, cut into small cubes
- 3 tablespoons ice water
- 4 large baking apples (like Honeycrisp or Granny Smith)
- 1/4 cup granulated sugar
- 1 tablespoon lemon juice
- 1 teaspoon ground cinnamon
- 1 tablespoon unsalted butter, melted (for brushing)
- 1 tablespoon apricot jam or apple jelly (optional, for glaze)
Instructions
- Prepare the crust: In a bowl, whisk together the flour and salt. Cut in the cold butter using a pastry blender or your fingers until the mixture resembles coarse crumbs with some pea-sized pieces of butter remaining.
- Add the ice water one tablespoon at a time, mixing until the dough just comes together. Form the dough into a disk, wrap it in plastic wrap, and chill it in the refrigerator for at least 30 minutes.
- Prepare the apples: Peel, core, and thinly slice the apples. In a separate bowl, gently toss the apple slices with the granulated sugar, lemon juice, and cinnamon.
- Preheat your oven to 375 degrees Fahrenheit (190 degrees Celsius). Line a baking sheet with parchment paper.
- Roll out the chilled dough on a lightly floured surface into a rough 12-inch circle. You do not need a tart pan for this rustic style.
- Transfer the dough circle to the prepared baking sheet. Arrange the apple slices over the dough, leaving a 1.5-inch border around the edge. You can overlap them in a decorative pattern or simply layer them.
- Fold the edges of the dough up and over the apples to create a rustic border, crimping it slightly.
- Brush the exposed crust with the melted butter.
- Bake for 35 to 45 minutes, or until the crust is golden brown and the apples are tender.
- If using, warm the apricot jam or jelly slightly and brush it over the warm apples for a shiny finish.
- Let the apple tart cool slightly before slicing and serving.
Notes
- For an even easier version, substitute the homemade crust with one sheet of store-bought puff pastry.
- If you prefer a caramelized apple tart flavor, sprinkle an extra tablespoon of brown sugar over the apples before baking.
- This dessert pairs well with a scoop of vanilla ice cream or a dollop of whipped cream.
Nutrition
- Serving Size: 1 slice
- Calories: 320
- Sugar: 22
- Sodium: 150
- Fat: 16
- Saturated Fat: 10
- Unsaturated Fat: 6
- Trans Fat: 0
- Carbohydrates: 42
- Fiber: 3
- Protein: 4
- Cholesterol: 50