
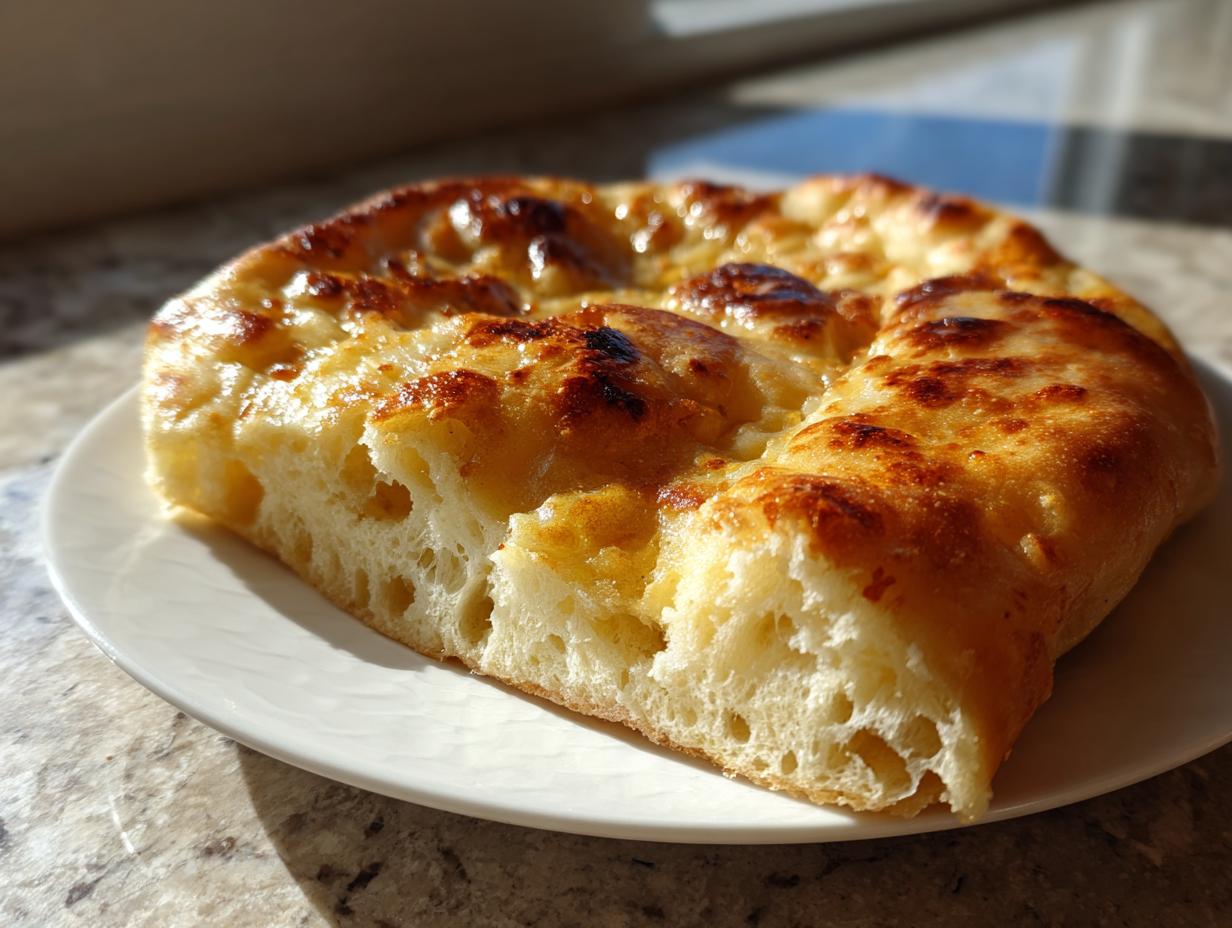
Listen, I know what you’re thinking. “Restaurant-quality bread? That’s going to take all day and require a fancy clay oven, right?” Wrong! That’s what held me back for ages, too. But I’m here to tell you that achieving that perfectly soft, chewy, and slightly charred **homemade naan bread** in your normal kitchen skillet is totally possible. Honestly, mastering simple bread like this—without needing a tandoor or any complicated gear—is one of the most satisfying things you can do in your cooking journey. When I first nailed this stovetop method, it felt like I unlocked a secret culinary passage! It’s all about understanding a few basic steps that turn flour and water into amazing buttery flatbread. As I talk about over on our About page, cooking should be a celebration, and this recipe proves extraordinary flavor doesn’t require extravagant effort. Welcome to the easiest side dish upgrade you’ll make all year.
- Why This Is The Best Homemade Naan Bread Recipe
- Ingredients for Perfect Homemade Naan Bread
- Step-by-Step Instructions for Your Homemade Naan Bread
- Tips for Restaurant Style Naan at Home Success
- Variations: Making Garlic Naan Recipe and More
- Serving Suggestions for Your Buttery Naan Bread
- Storage and Reheating Instructions for Homemade Naan Bread
- Frequently Asked Questions About Homemade Naan Bread
- Estimated Nutritional Data for Homemade Naan Bread
- Share Your Soft Chewy Naan Creations
Why This Is The Best Homemade Naan Bread Recipe
I truly think this is the **best homemade naan bread** recipe out there because it skips all the fuss but keeps all the flavor and incredible texture. You don’t need a single piece of specialized equipment. Seriously, if you can heat up a skillet, you can nail this!
- It gives you that signature soft, chewy texture we all crave.
- It’s super quick—you can have it ready for your weeknight curry faster than takeout can arrive.
- It’s tested and refined right here in a home kitchen, proving restaurant style is totally achievable.
Achieving Soft Indian Bread Texture
The real secret to getting that unbelievably pillowy, **Soft Indian Bread** texture comes down to two ingredients working together: the yeast and the yogurt. The yeast gets things airy and light while rising, but the yogurt? That little bit of acid works magic on the gluten structure. It helps break things down just enough so that when you cook it hot and fast, you get that beautiful, stretchy chew without it ever getting tough. Trust me on this combo!
Ingredients for Perfect Homemade Naan Bread
When you see the ingredient list for this bread, you’ll realize why this is such an easy flatbread tutorial! Everything here is probably already in your pantry. We need just a few simple things to transform this into that wonderful **homemade naan bread**. Paying attention to the water temperature for the yeast is where we start building trust in this recipe.
- 1 cup warm water (Make sure it’s just between 105–115°F—too hot kills the yeast, too cold just makes it grumpy!)
- 1 teaspoon sugar
- 2 1/4 teaspoons active dry yeast
- 3 cups all-purpose flour, plus more for dusting
- 2 teaspoons salt
- 2 tablespoons plain yogurt
- 2 tablespoons milk
- 2 tablespoons melted butter or oil, plus more for brushing
Ingredient Notes and Substitutions
The plain yogurt is non-negotiable for that signature tangy lift, but if you absolutely run out of milk, don’t panic! You can substitute the milk with water, though the milk does add just a tiny bit more richness to the dough. And for rinsing your yeast, that warm water temperature is key—it’s the yeast activation zone! If your water feels too hot to dip your finger in for a second, it’s probably too hot for the yeast. For the fat, I use melted butter for flavor, but plain oil works perfectly fine if that’s what you have on hand.
Step-by-Step Instructions for Your Homemade Naan Bread
Okay, here’s where the magic happens! We’re moving from ingredients to action now. Making the **Naan Dough Step by Step** is really straightforward, but the timing of the yeast and the resting periods are what give you that perfect, airy result. Seriously, you can follow every measurement perfectly, but if you skip waiting for the yeast, you end up with flat bread. We are aiming for fluffy, so patience is your best tool here, which reminds me—if you’re looking for things to serve your naan *with*, I have some great easy breakfast recipes that could even use leftovers!
Activating the Yeast and Mixing the Dough
First things first: wake up that yeast! You need your water warm—think bathwater temperature, not hot tub temperature, about 105 to 115°F. Mix the sugar and yeast in with it and just let it sit for five or ten minutes. If you see foam building up on top, that beautiful foam, it means your yeast is alive and ready to work! Great job! Next, mix your flour and salt together in a big bowl. Then you dump in the yeast mixture, the yogurt, and the milk. Mix it all up until you can’t stir anymore and it looks like a shaggy mess. Don’t worry; it’s supposed to look messy at this stage.
Kneading and Rising the Yeast Flatbread Dough
Time to get your hands dusty! Dump that shaggy dough out onto a floured counter. Now we knead. You have to work this dough for a good five to seven minutes. I know, your arms get tired! But that kneading builds the gluten, and gluten is what gives your bread the amazing structure and the chew later on. Once it’s smooth and elastic—it should spring back when you poke it—lightly oil a clean bowl and put the dough ball in, turning it to coat. Cover it up and stick it somewhere warm. We are letting this **Yeast Flatbread** dough hang out for about an hour to an hour and a half until it’s doubled. It needs that time to breathe and get fluffy!
Cooking Your No Tandoor Naan Bread on the Stovetop
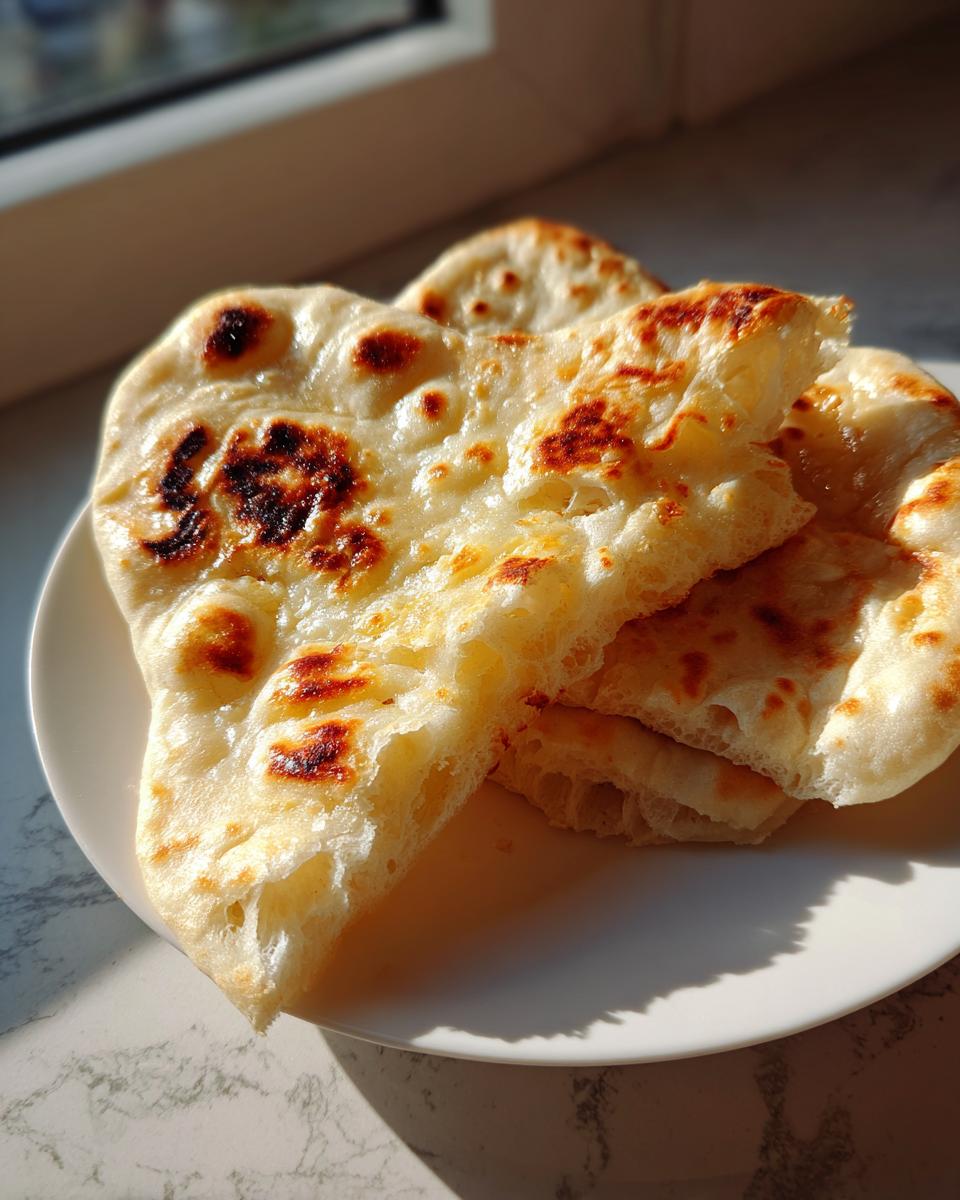
Once it’s risen beautifully, gently punch the air out, divide it into eight equal pieces, and roll those into balls. Let them rest for fifteen more minutes—this relaxes the dough so it rolls out easier. Now for the cooking! You need to get a heavy skillet (cast iron is my favorite!) screaming hot over medium-high heat. And look, I mean seriously hot. No oil in the pan! Roll one ball thin, like an oval or a teardrop, and toss it straight onto that dry, hot surface. It should start puffing up almost instantly. Cook it for about a minute until you see some nice brown spots. Flip it, cook the other side until it’s spotted too. If you have a gas stove, this is your moment to shine: carefully use tongs to hold the puffy naan right over the open flame for a few seconds to get those awesome charred bubbles—that’s how you get your **No Tandoor Naan** to look authentic! Take it off the heat right away and immediately brush it with melted butter. This entire **Stovetop Naan Bread** method is fast, so keep an eye on them!
Tips for Restaurant Style Naan at Home Success
Getting that actual chewy, airy texture that makes **Restaurant Style Naan at Home** worth making is really about controlling the heat. Remember those notes I mentioned? If your pan isn’t screaming hot—and I mean smoking hot before the dough hits it—the bread will just steam instead of puffing up. That instant burst of heat is what creates the beautiful air pockets for a genuinely **Fluffy Naan Tutorial** result. Don’t be afraid of the high temperature; that’s our secret weapon!
Also, pay attention to how your dough feels. If it’s too sticky to handle nicely when rolling, that means you need to dust in a little extra flour, just a tablespoon at a time. If it feels stiff or dry, add water by the teaspoon until it’s pliable again. Too dry, and you won’t get that amazing stretch, which leads to tough bread. You can find more detailed advice on managing dough consistency anytime by checking out my homemade bread baking tips!
Variations: Making Garlic Naan Recipe and More
Okay, once you’ve mastered the basic soft, buttery flatbread, you absolutely have to move onto the flavored versions! My favorite, hands down, is the **Garlic Naan Recipe**. The notes explain it perfectly: right when that naan comes out of the pan, brush it with butter mixed with minced garlic and a little parsley. The residual heat melts the garlic right into the bread—the smell alone is heavenly!
If you want something different but equally delicious, try adding some finely chopped cilantro and a quarter cup of grated sharp cheddar or mozzarella right into the dough when you add the wet ingredients. It makes such a fun, cheesy twist for scooping extra thick curry sauce. It’s just a little change, but it makes those little pieces feel super special!
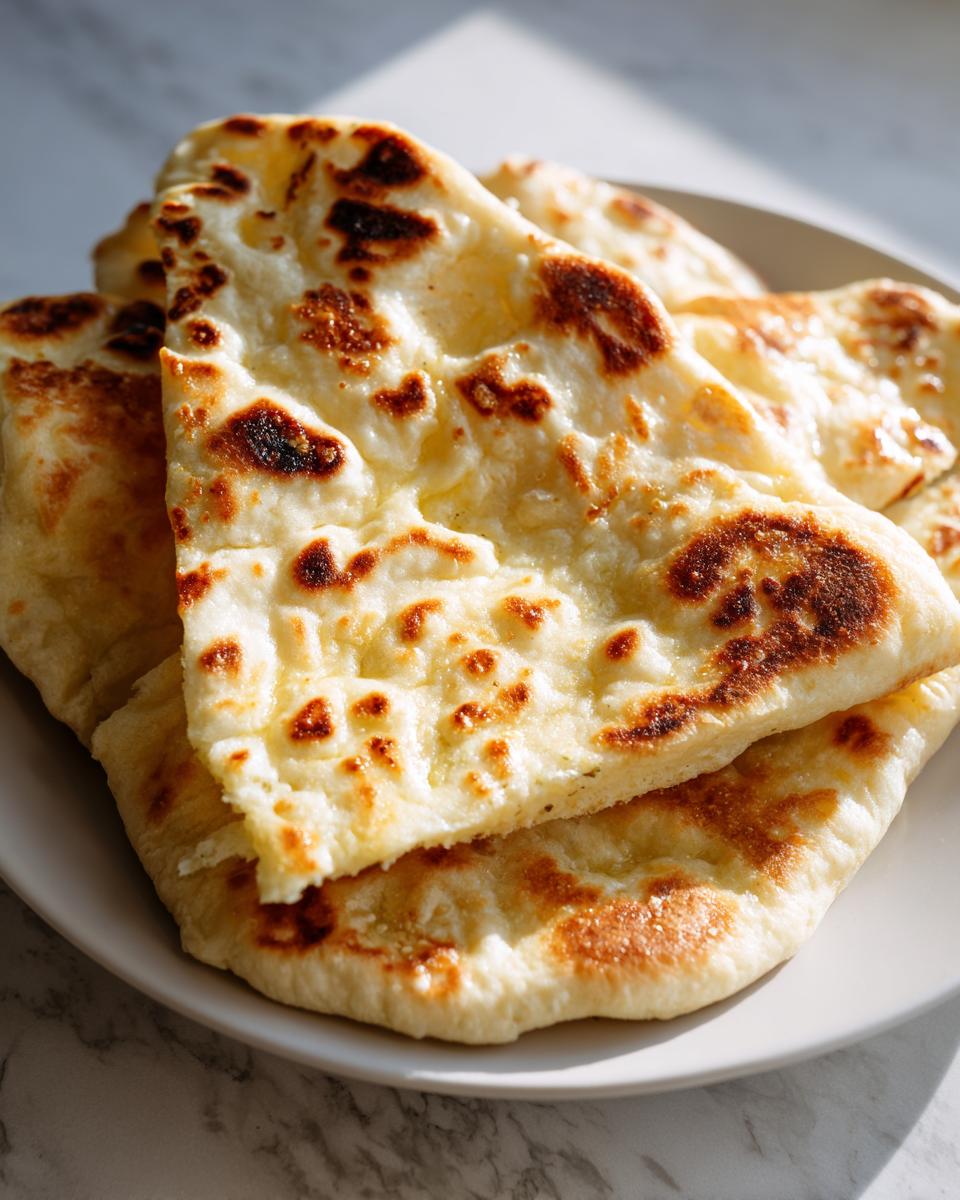
Serving Suggestions for Your Buttery Naan Bread
What’s the point of making the most incredible **Buttery Naan Bread** if you don’t have the perfect dish waiting for it? Honestly, this bread is the ultimate vehicle for soaking up flavorful sauces. I find that if the bread isn’t sticky and delicious enough to stand alone with butter, I haven’t made it right!
Of course, the classic pairing is any rich, saucy Indian main. Think about smothering it in a hearty Lamb Rogan Josh or scooping up a creamy Palak Paneer. These are the classic **Indian Side Dishes** that justify the effort of making bread fresh—though I promise this recipe is easy enough for a weeknight!
But don’t limit your freshly made bread! These warm, soft pieces are amazing with other saucy meals too. If you’re making something lighter, like my easy coconut curry soup, a piece of warm naan is just heaven for dipping. They are fantastic alongside chilis, thick stews, or even just served with some hummus or raita if you need a quick appetizer. You’ll be reaching for this soft flatbread with almost everything once you see how good the homemade version is!
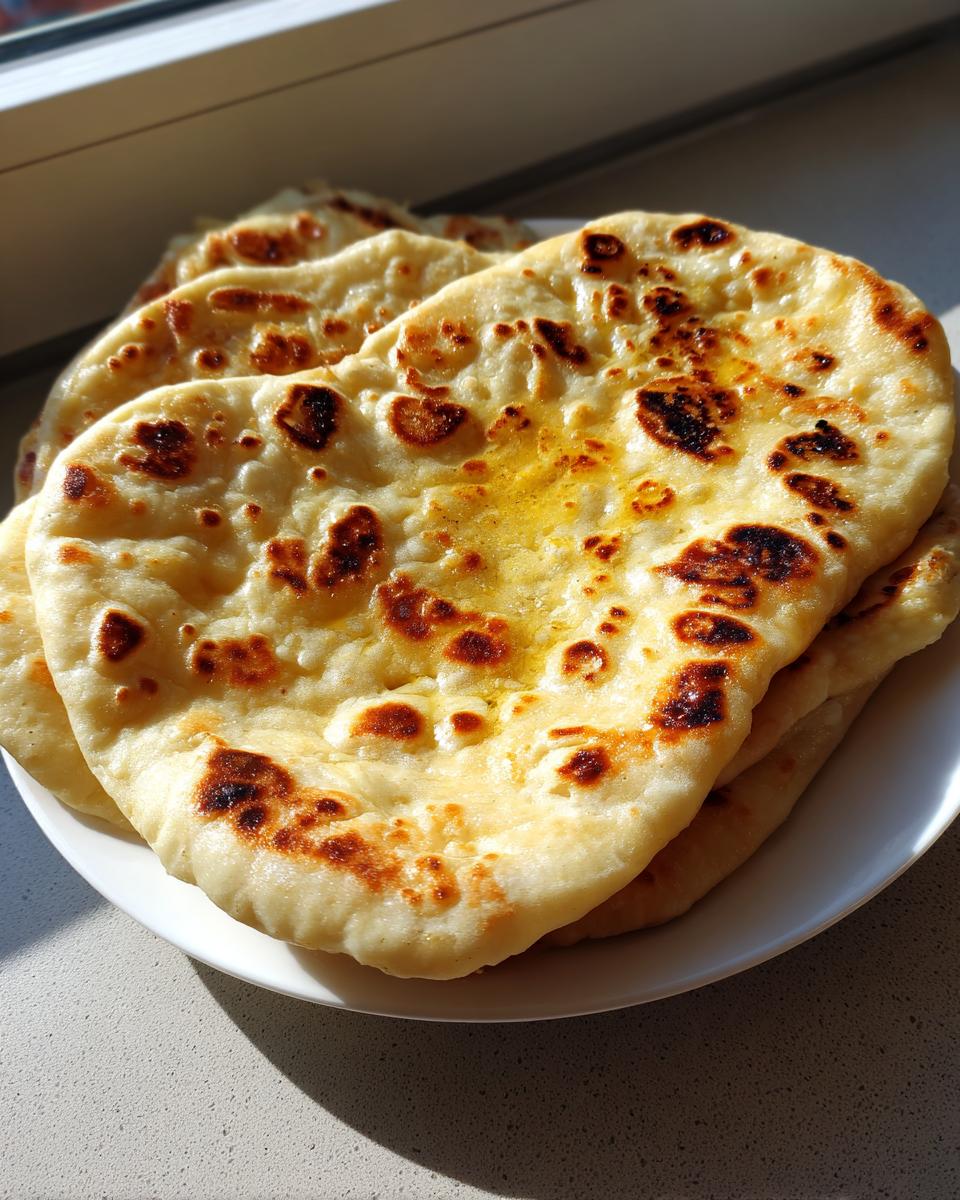
Storage and Reheating Instructions for Homemade Naan Bread
I always hope mine disappears in one sitting because warm is best, but if you have leftovers of your beautiful **homemade naan bread**, you need to keep them soft! Don’t just toss them in a plastic bag; they’ll get dry and crackly. Here’s the trick: stack the cooled pieces and wrap them tightly in plastic wrap, and then maybe slip that whole bundle into a zip-top bag. They keep well on the counter for about two days.
To reheat? Skip the microwave—it makes them chewy in a bad way! Instead, warm up that same cast-iron skillet over medium heat, toss the naan in for just about 30 seconds per side. They puff right back up and taste like they just came off the stovetop. Perfection!
Frequently Asked Questions About Homemade Naan Bread
I totally get it; sometimes you need a quick answer before you commit to kneading!
Can I make homemade naan bread without yeast?
You certainly can try! If you’re in a real rush and want an **Easy Flatbread Tutorial** right now, you can skip the yeast and use about 1 teaspoon of baking powder mixed in with your flour instead. But, I have to be honest: those **Quick Homemade Bread** pieces won’t have the same airy lift or that wonderful, slightly fermented flavor. They’ll be flatter and more like a traditional unleavened roti, missing that beautiful fluffy softness.
How long can I let the naan dough rest?
If you’re in a hurry, the recipe calls for about an hour to an hour and a half for the first rise. That’s the bare minimum for decent results. However, if you have time—say, if you’re meal prepping—letting the **homemade naan bread** dough rest longer and warmer (even up to two hours) will deepen the flavor significantly, giving you a richer taste profile. I often let mine proof slowly in the fridge overnight if I’m super busy the next day; just bring it to room temperature before dividing it.
If you’re looking for other quick fixes while you wait for dinner to reheat, check out my tricks for quick, healthy lunch ideas!
Estimated Nutritional Data for Homemade Naan Bread
Alright, let’s talk numbers for a second. Look, because we are using melted butter and whole flour, this isn’t exactly diet food, but when you are pulling incredible **homemade naan bread** straight from the skillet, who cares? These figures are just estimates based on the standard ingredients I used when developing this recipe. If you swap out the butter for oil or use less butter for brushing, the numbers will shift slightly, naturally.
But for one piece of this wonderfully **chewy naan recipe**, here is what you’re looking at:
- Serving Size: 1 piece
- Calories: 210
- Fat: 5g
- Saturated Fat: 2g
- Carbohydrates: 37g
- Fiber: 2g
- Sugar: 2g
- Protein: 6g
- Cholesterol: 5mg
- Sodium: 350mg
Every time I look at those numbers, I realize how much better this is than grabbing a bag of processed bread from the store. These estimates are based on our standard 8-piece yield. Enjoy every single bite because you absolutely earned that perfectly cooked, warm bread!
Share Your Soft Chewy Naan Creations
Now that you’re armed with the secrets to truly amazing, **soft chewy naan bread** made right in your own kitchen, I am dying to know how they turned out! Did you get those amazing bubbles? Did you bravely char yours over the gas flame? I hope so! These **homemade bread recipes** taste best when shared, so please don’t keep all that warmth and buttery goodness to yourself.
After you give this **Chewy Naan Recipe** a whirl, hop back over here and leave a star rating for me. Your feedback helps other bakers know this simple method really works! And if you snap a picture of your beautiful, fluffy bread—maybe paired up with a spicy curry—please tag me on social media! I absolutely love seeing your creations and sharing them with the community. Let’s prove that extraordinary flavor is always within reach!
If you ever have a question about the dough or want to share feedback directly, feel free to reach out via my contact page. Happy baking, friends!
PrintEasy Soft & Chewy Homemade Naan Bread Recipe (No Tandoor/Skillet Method)

Make soft, chewy, restaurant-style naan bread at home using only your stovetop skillet. This simple recipe delivers fluffy results perfect for pairing with your favorite curries.
- Prep Time: 25 min
- Cook Time: 15 min
- Total Time: 1 hour 40 min
- Yield: 8 servings 1x
- Category: Side Dish
- Method: Stovetop (Skillet)
- Cuisine: Indian
- Diet: Vegetarian
Ingredients
- 1 cup warm water (about 105-115°F)
- 1 teaspoon sugar
- 2 1/4 teaspoons active dry yeast
- 3 cups all-purpose flour, plus more for dusting
- 2 teaspoons salt
- 2 tablespoons plain yogurt
- 2 tablespoons milk
- 2 tablespoons melted butter or oil, plus more for brushing
Instructions
- Combine the warm water, sugar, and yeast in a small bowl. Let stand for 5 to 10 minutes until foamy. This confirms the yeast is active.
- In a large bowl, whisk together the flour and salt.
- Add the yeast mixture, yogurt, and milk to the dry ingredients. Mix until a shaggy dough forms.
- Turn the dough out onto a lightly floured surface. Knead for 5 to 7 minutes until the dough is smooth and elastic.
- Lightly grease a clean bowl with oil. Place the dough in the bowl, turning to coat. Cover the bowl with plastic wrap or a damp towel. Let the dough rise in a warm place for 1 to 1.5 hours, or until doubled in size.
- Gently punch down the risen dough. Divide it into 8 equal pieces. Roll each piece into a ball. Cover the dough balls and let them rest for 15 minutes.
- Heat a heavy-bottomed skillet or cast-iron pan over medium-high heat until very hot. Do not add oil to the pan.
- Working with one ball at a time, roll the dough into an oval or teardrop shape, about 1/8 inch thick.
- Place one rolled naan into the hot, dry skillet. Cook for 1 to 2 minutes until bubbles start to form on the surface and the underside is lightly browned.
- Flip the naan and cook the second side for about 1 minute until golden spots appear. If you want more char, briefly hold the naan directly over a gas flame using tongs (if you have a gas stove).
- Remove the naan from the skillet and immediately brush the top generously with melted butter or ghee.
- Repeat with the remaining dough. Serve the homemade naan bread warm.
Notes
- For Garlic Naan, mix 2 tablespoons of melted butter with 1 clove of minced garlic and a pinch of parsley. Brush this mixture onto the naan immediately after cooking instead of plain butter.
- If your dough is too sticky during kneading, add flour one tablespoon at a time. If it feels too dry, add water one teaspoon at a time.
- The key to soft naan is using a very hot pan. The quick, intense heat causes the dough to puff up.
Nutrition
- Serving Size: 1 piece
- Calories: 210
- Sugar: 2
- Sodium: 350
- Fat: 5
- Saturated Fat: 2
- Unsaturated Fat: 3
- Trans Fat: 0
- Carbohydrates: 37
- Fiber: 2
- Protein: 6
- Cholesterol: 5