
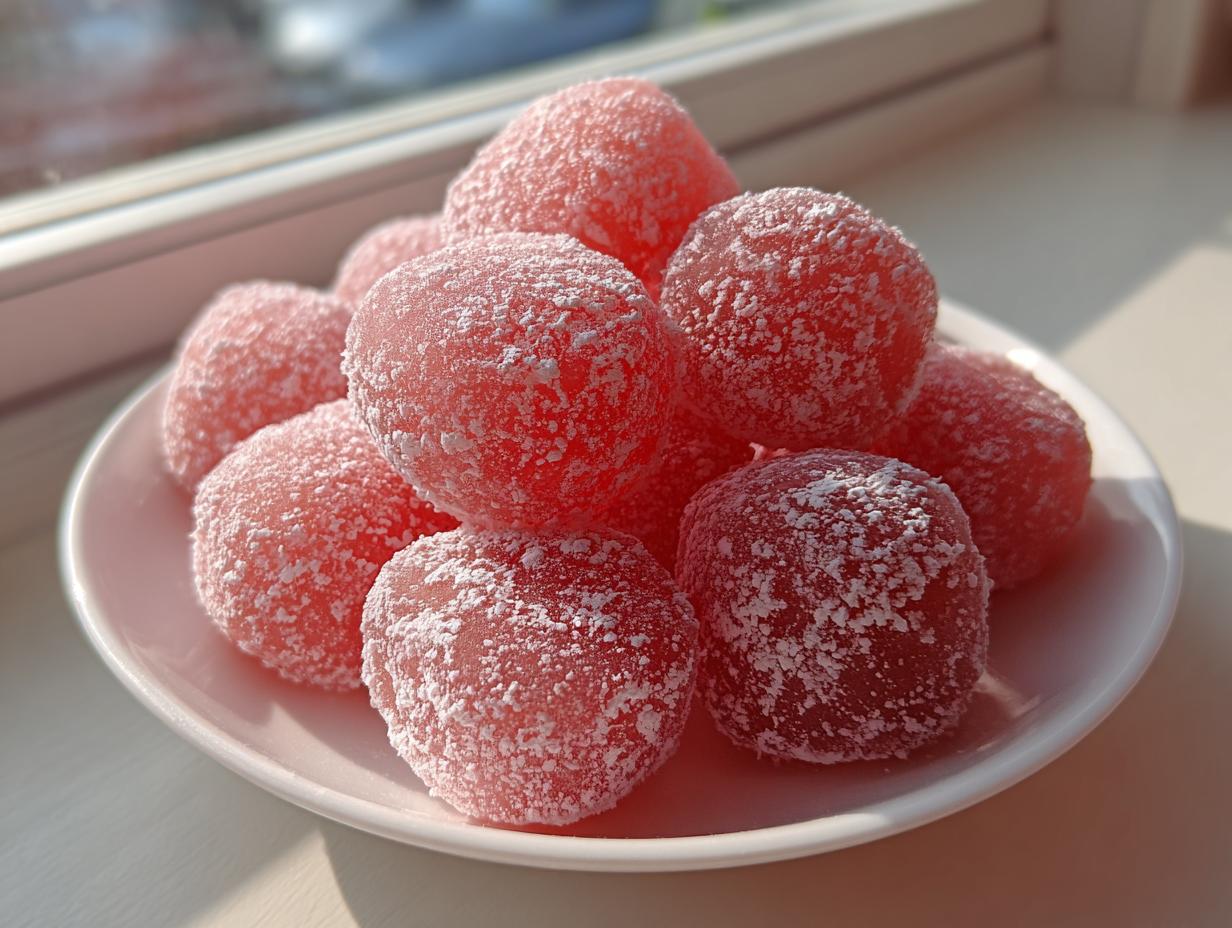
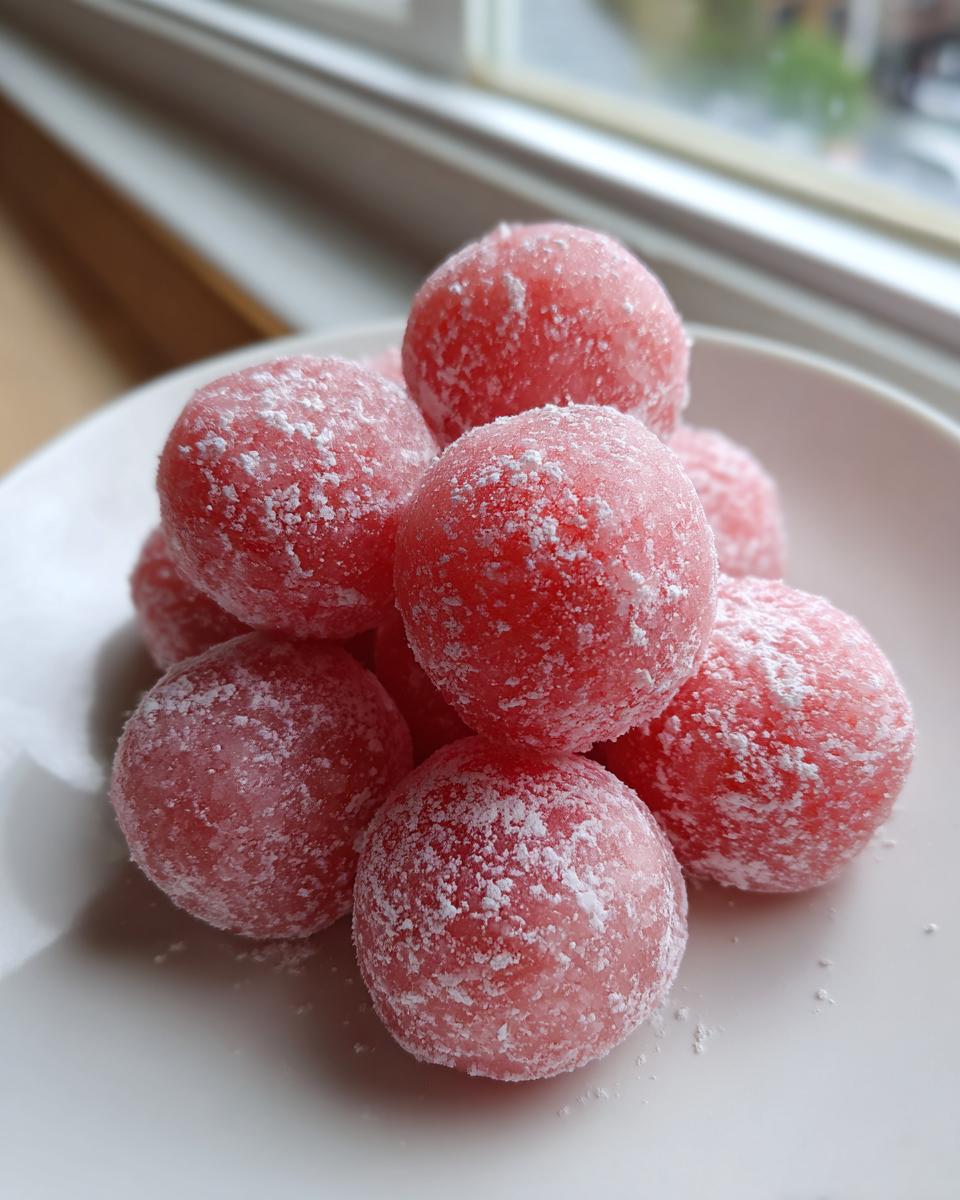
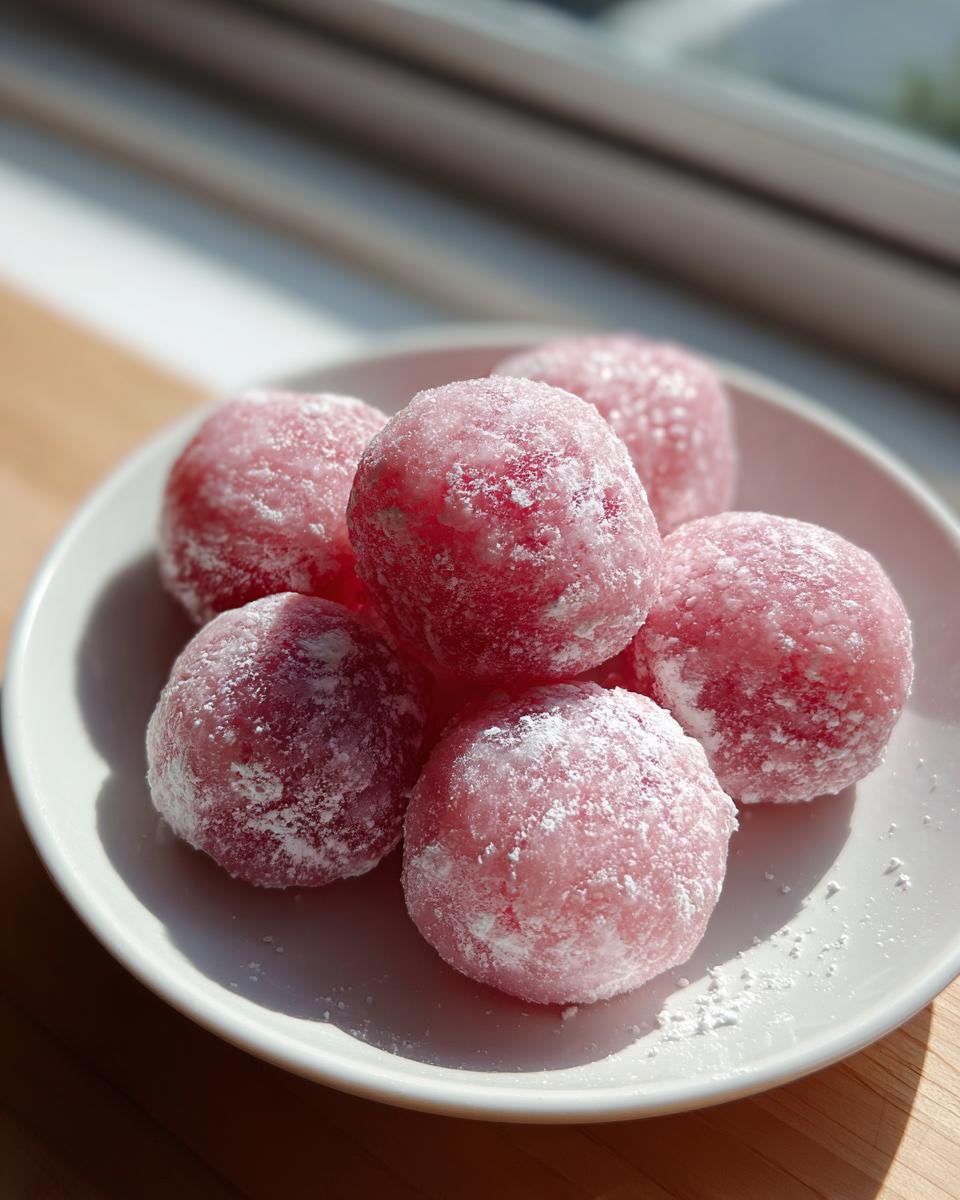
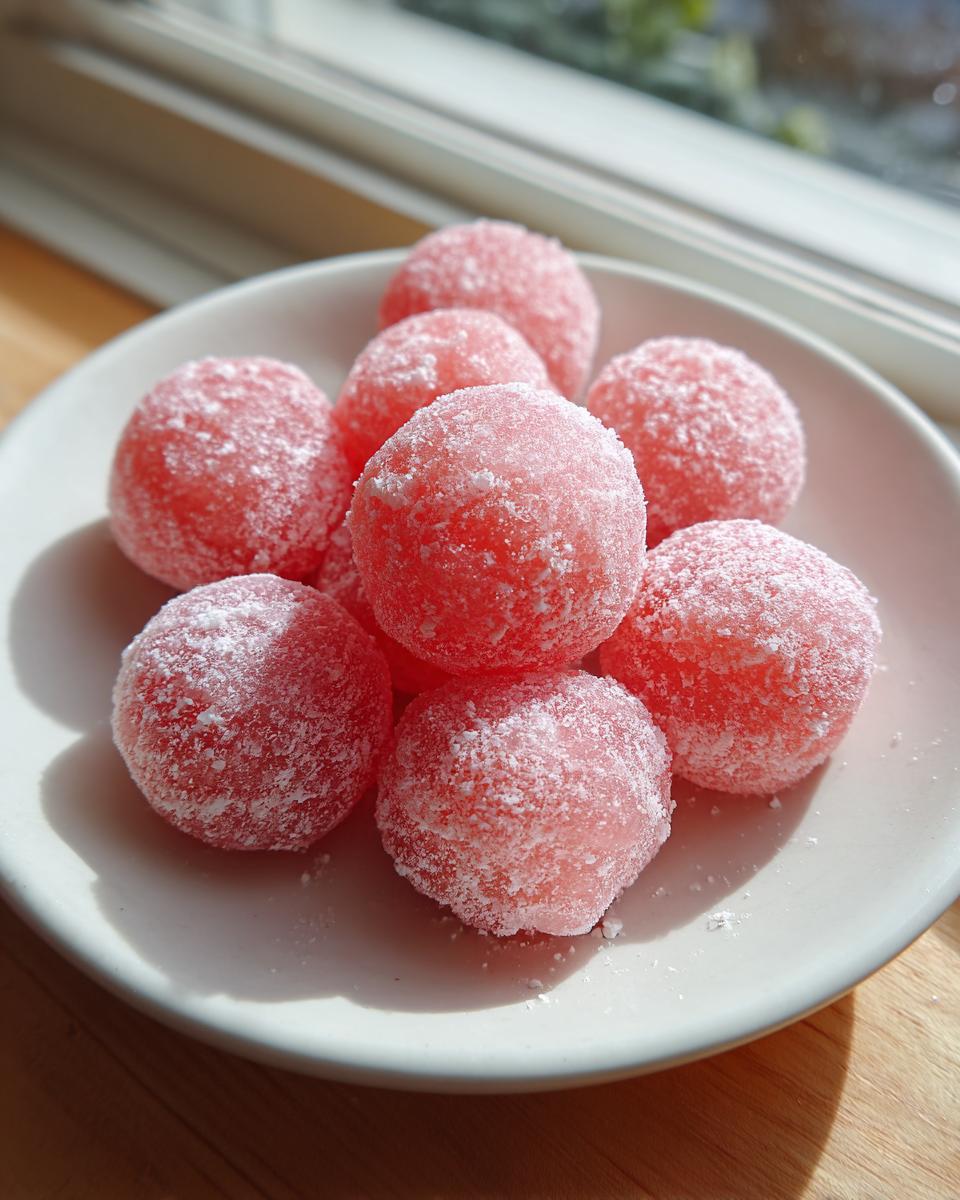
When the summer heat just won’t quit, what we really need is something cool, fruity, and just a little bit magical, right? That’s why I absolutely had to nail down the perfect recipe for watermelon mochi. Forget those overly bright, artificially colored versions; I wanted that gorgeous, subtle pink blush that only real watermelon can give you. This is one of those shockingly easy, ultra-soft, and perfectly chewy treats you can whip up in minutes using just the microwave. It’s all about unlocking great flavor without any fuss. If you’ve ever felt intimidated by mochi, trust me, my mission at Cooking Zenith, which you can read more about here on our story page, is to simplify things, and this recipe proves that extraordinary flavor doesn’t need extravagant effort. You’re going to love how simple it is to get that ideal texture!
- Why This Watermelon Mochi Recipe Delivers Perfect Texture
- Gathering Ingredients for Your Watermelon Mochi
- Step-by-Step Instructions for Ultra-Soft Watermelon Mochi
- Tips for Perfecting Your Watermelon Mochi Texture
- Storage and Serving Suggestions for Watermelon Mochi
- Frequently Asked Questions About Watermelon Mochi
- Nutritional Estimates for Watermelon Mochi
- Share Your Chewy and Fruity Summer Treats
Why This Watermelon Mochi Recipe Delivers Perfect Texture
The secret to that irresistible, bouncy texture lies squarely with one vital ingredient: the glutinous rice flour. You just cannot swap this for regular flour if you want that signature chewiness because it contains a specific starch that gelatinizes perfectly when heated. Our microwave technique is amazing because it cooks the dough so quickly and evenly, locking in moisture right away. This prevents the dough from drying out into those dreaded hard circles!
When you see this result, you’ll understand why people flock to any good Chewy Asian Dessert. It helps us create the best Soft Mochi Bites imaginable, every single time. It’s truly satisfying!
Key Benefits of Our Watermelon Mochi Recipe
- It’s incredibly fast! We’re talking under 10 minutes of active cooking time, making it a perfect Easy Summer Dessert.
- We use real fruit juice, so this version is wonderfully Dye Free Mochi—just nature’s beautiful blush!
- The texture is reliably soft and bouncy; it’s foolproof once you get the hang of the microwaving rhythm.
- It’s naturally gluten-free, which is a huge bonus for so many of us!
Gathering Ingredients for Your Watermelon Mochi
Okay, getting ready for this? The ingredient list for this watermelon mochi is wonderfully short, which I love for a quick summer bake! The most important thing you need is that beautiful, strained watermelon juice—that’s where all our natural flavor and color come from. Since we are relying on the rice flour, this dough is naturally gluten-free, which is such a win! It means these delicate Glutinous Rice Flour Treats are accessible to almost everyone.
Ingredient Notes and Substitutions for Watermelon Mochi
Listen closely, because the texture demands precision here. If you swap the glutinous rice flour for regular rice flour, sad, hard hockey pucks are what you’ll end up with—it’s truly non-negotiable for that trademark chew! If you see optional heavy cream listed, that’s just for a richer filling, but if you skip it entirely and maybe add an extra splash of water to get the consistency right, you have a perfectly delicious, fully vegan mochi option ready to go! Stick to the juice for the best result.
Step-by-Step Instructions for Ultra-Soft Watermelon Mochi
Alright, let’s get cooking! This is my favorite part because watching this batter turn into perfectly chewy watermelon mochi right in the microwave is just pure kitchen alchemy. The timing is everything here; you want to cook it just enough so it’s pliable, but not so much that it turns rubbery. If you overcook it even slightly, it gets stiff, and we absolutely want soft bites, not chew toys!
I actually figured out the perfect rhythm after one batch turned out a little too dense. If you ever have trouble, don’t worry, you can always reach out to me through the contact page for a quick tip! We want that soft, yielding texture that you see on Jane’s site, which is where I got some initial technique inspiration.
Preparing the Watermelon Base
First things first: juice your watermelon! You need exactly one cup of liquid, and this is crucial—you *must* get rid of all the pulp. Juice the fruit, then push that liquid through a fine-mesh sieve. If you leave any bits behind, they will throw off the smooth texture of the final dough. We’re aiming for crystal clear, vibrant liquid here. Keep that cup measured out and ready to go next to your dry ingredients.
Microwaving the Watermelon Mochi Dough
In your microwave-safe bowl, whisk your rice flour and sugar until they are buddies. Now, pour in that beautiful watermelon juice and the small amount of extra water. Whisk until it looks like thin pancake batter—smooth is key! Cover it loosely—don’t seal it tight! Microwave on high for one minute. Take it out, even if it looks liquidy, and stir it hard. Cover and go again for another minute, then stir again. Usually, three to four total one-minute bursts are what it takes. The visual cue you’re waiting for is when the dough is thick, super sticky, and starting to look slightly translucent around the edges. That tells you it’s cooked through perfectly for that soft, chewy texture.
Cooling and Shaping Your Watermelon Mochi Bites
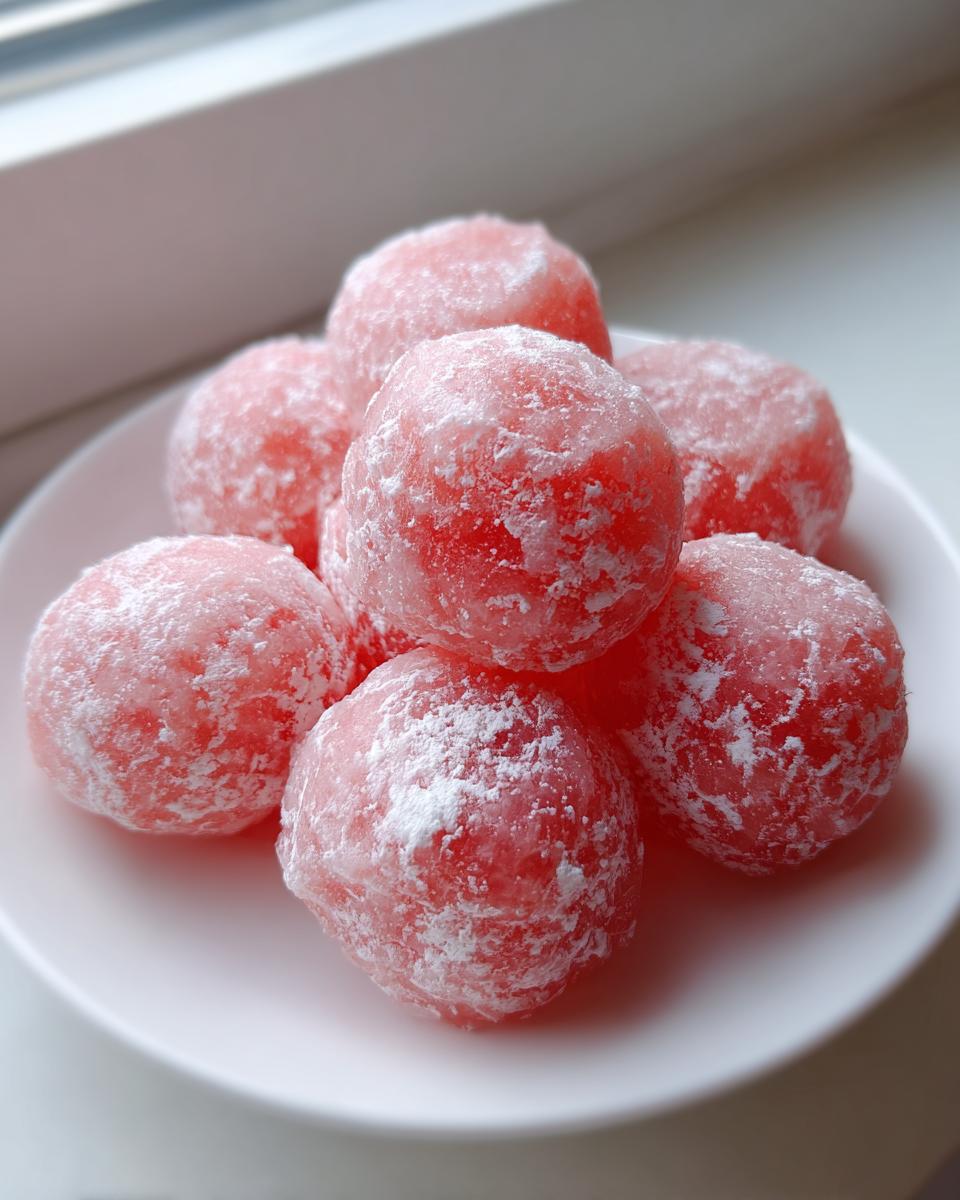
This step uses our friend, cornstarch! Dust a clean surface generously—don’t be shy! Scrape that hot dough right onto the powder. Dust the top lightly, let it cool for about ten minutes until you can touch it without instantly burning yourself. Then, knead it gently until it feels smooth, roll it into a log, and slice it into little 1-inch pieces. If you’re using that optional cream filling, flatten each piece, put a tiny dollop in the center, and pinch those sides closed so they hug that cream tightly and seal completely. Then give them one last whisper of cornstarch dust so they don’t stick to everything!
Tips for Perfecting Your Watermelon Mochi Texture
Don’t panic if your first batch of watermelon mochi seems a little weird! This is where the real learning in any Homemade Mochi Tutorial happens. My first attempt? I didn’t microwave it quite long enough, and when I went to knead it, it was just this hopelessly sticky goop that clung to everything! If that happens, just gently dust *more* cornstarch onto it and knead slowly—it’ll eventually come together.
The opposite problem is when mochi gets hard quickly. That usually means it dried out a bit during cooking or was left uncovered too long. To keep your bites feeling like a wonderfully Refreshing Fruit Dessert, make sure you cover your bowl tightly during microwaving. Also, if you see people trying to stretch it too thinly when shaping, that’s a mistake; keeping them slightly plump helps them retain that lovely soft chewiness we are after. Check out these other fun ideas over here for inspiration!
Storage and Serving Suggestions for Watermelon Mochi
Because these watermelon mochi bites are so fresh, they really need gentle handling when it comes to storage. You must keep them in an airtight container if you aren’t eating them right away. I always keep mine in the fridge, but honestly, they taste best when you let them sit on the counter for about 15 minutes before serving so they can soften up a bit again! For an extra treat, dust them with a little extra cornstarch before serving.
These are fantastic on their own, but they make amazing Cooling Dessert Ideas when served alongside a tiny scoop of vanilla bean ice cream or maybe some freshly sliced kiwi. They are so light and fruity; they just scream summer!
Frequently Asked Questions About Watermelon Mochi
I totally get it—when you’re trying something new, you always have a few lingering questions! Dealing with glutinous rice flour can be a little different than baking cookies, so here are the things I hear most often about making these fun little Bite Sized Desserts.
Can I use watermelon extract instead of fresh juice for my watermelon mochi?
Oh, you certainly *can* try, but you’re going to lose so much of the magic! The whole point of this recipe is that gorgeous, subtle pink hue and vibrant freshness you only get from actual watermelon juice. Extract will give you the flavor, sure, but it’s going to look pale and taste a little artificial. Stick with the real juice so you get that naturally sweet, dye-free result we worked so hard for!
How do I keep my homemade mochi from becoming hard?
This is the nemesis of homemade mochi! It happens because it loses moisture quickly. The trick is triple-folding the moisture protection into the process. Make sure you cover your bowl tightly during microwaving, and when you store the finished watermelon mochi, they absolutely must be in an airtight container at room temperature if you plan on eating them the same day. If you refrigerate them for more than a few hours, they will slightly firm up—that’s just how rice starch works. If they do get a little stiff from the fridge, just let them sit on the counter for 20 minutes before you eat them!
Is this recipe suitable for those avoiding dairy or gluten?
Yes, absolutely! The base dough for the watermelon mochi itself is fantastic because it relies on glutinous rice flour, making it naturally gluten-free! If you skip the optional cream filling I mentioned, the entire recipe is perfectly vegan, ticking off those boxes for Vegan Mochi Options. I love that this simple base works for almost everyone. If you are following a strict Gluten Free Mochi Recipe plan, just double-check your brand of rice flour certification, though most are safe!
If you have other questions, feel free to look over our policy page, or just send me a note—I love talking food!
Nutritional Estimates for Watermelon Mochi
Now, listen, I am a home cook, not a nutritionist, so remember these figures are just my best guess based on measuring everything out for the basic dough pieces! I used the standard sugar and juice measurements provided in the recipe for these calculations. If you add the optional cream filling, those numbers are definitely going to change!
These values estimate one simple, unfilled mochi bite:
- Calories: Around 85
- Sugar: About 7g
- Fat: Super low, less than 1 gram!
- Protein: Just over 1g
Because we are using natural fruit and rice flour, these are delicious, light little bursts compared to heavy baked goods. They really fit our mission to elevate everyday treats!
Share Your Chewy and Fruity Summer Treats
I truly hope you rush into the kitchen and make a batch of this watermelon mochi right away! Seriously, there is nothing better than having these perfectly soft and chewy bites ready for an impromptu snack or dessert when that summer craving hits. Once you see that beautiful subtle pink and taste that pure, juicy flavor, you’ll understand why I put so much effort into perfecting this recipe.
I really want to know what you think! When you make these, please swing back here and drop a star rating at the top of the page—your feedback helps other home cooks feel confident trying new Chewy and Fruity Summer Treats like this one.
If you snap a picture of your beautiful, bite-sized creations, tag me on social media! Show off how fantastic your Fruity Mochi turned out. It brings me so much joy seeing my kitchen triumphs end up on your tables. Happy snacking!
PrintUltra-Soft & Naturally Sweet Watermelon Mochi (Dye-Free Recipe)

Make soft and chewy watermelon mochi using fresh watermelon juice for a refreshing, naturally sweet summer dessert. This easy, gluten-free recipe guides you to the perfect texture.
- Prep Time: 15 min
- Cook Time: 10 min
- Total Time: 25 min
- Yield: About 16 pieces 1x
- Category: Dessert
- Method: Microwave
- Cuisine: Japanese Inspired
- Diet: Vegan
Ingredients
- 1 cup fresh watermelon juice (strained)
- 1 cup glutinous rice flour (sweet rice flour)
- 1/4 cup granulated sugar
- 1/4 cup water (or more, if needed)
- 1 teaspoon cornstarch (for dusting)
- Optional: 1/4 cup heavy cream or coconut cream (for filling)
Instructions
- Prepare the Watermelon Juice: Juice fresh watermelon and strain the liquid through a fine-mesh sieve to remove pulp. You need 1 cup of clear juice.
- Mix Dry Ingredients: In a microwave-safe bowl, whisk together the glutinous rice flour and sugar until fully combined.
- Combine Wet and Dry: Gradually pour the watermelon juice into the flour mixture while whisking constantly to prevent lumps. Add the 1/4 cup of water. The mixture should be smooth, like thin pancake batter.
- Cook the Dough: Cover the bowl loosely with plastic wrap. Microwave on high for 1 minute. Stir the mixture well. Cover and microwave for another 1 minute. Stir again. Repeat this process (1 minute on, stir) until the dough becomes thick, sticky, and translucent, usually requiring 3 to 4 minutes total cooking time.
- Cool and Knead: Dust a clean work surface generously with cornstarch. Scrape the hot mochi dough onto the cornstarch. Dust the top of the dough lightly with more cornstarch. Let it cool for about 10 minutes until you can handle it.
- Shape the Mochi: Knead the dough gently for 1-2 minutes until smooth. Roll the dough into a long log shape, about 1 inch thick. Cut the log into 1-inch pieces.
- Optional Filling: If using cream, whip it until soft peaks form. Flatten each mochi piece slightly, place a small dollop of cream in the center, and pinch the edges closed to seal, forming a ball.
- Serve: Dust the finished watermelon mochi bites with a little more cornstarch to prevent sticking. Serve immediately or store in an airtight container in the refrigerator for up to 2 days.
Notes
- For a naturally pink color, use a very ripe, deep red watermelon. Avoid adding food coloring if you want a dye-free result.
- Glutinous rice flour is essential for the chewy texture; do not substitute with regular rice flour.
- If the dough seems too stiff after microwaving, add 1 teaspoon of water at a time and microwave for 15 seconds until pliable.
Nutrition
- Serving Size: 1 piece
- Calories: 85
- Sugar: 7g
- Sodium: 1mg
- Fat: 0.2g
- Saturated Fat: 0g
- Unsaturated Fat: 0.1g
- Trans Fat: 0g
- Carbohydrates: 20g
- Fiber: 0.5g
- Protein: 1g
- Cholesterol: 0mg