
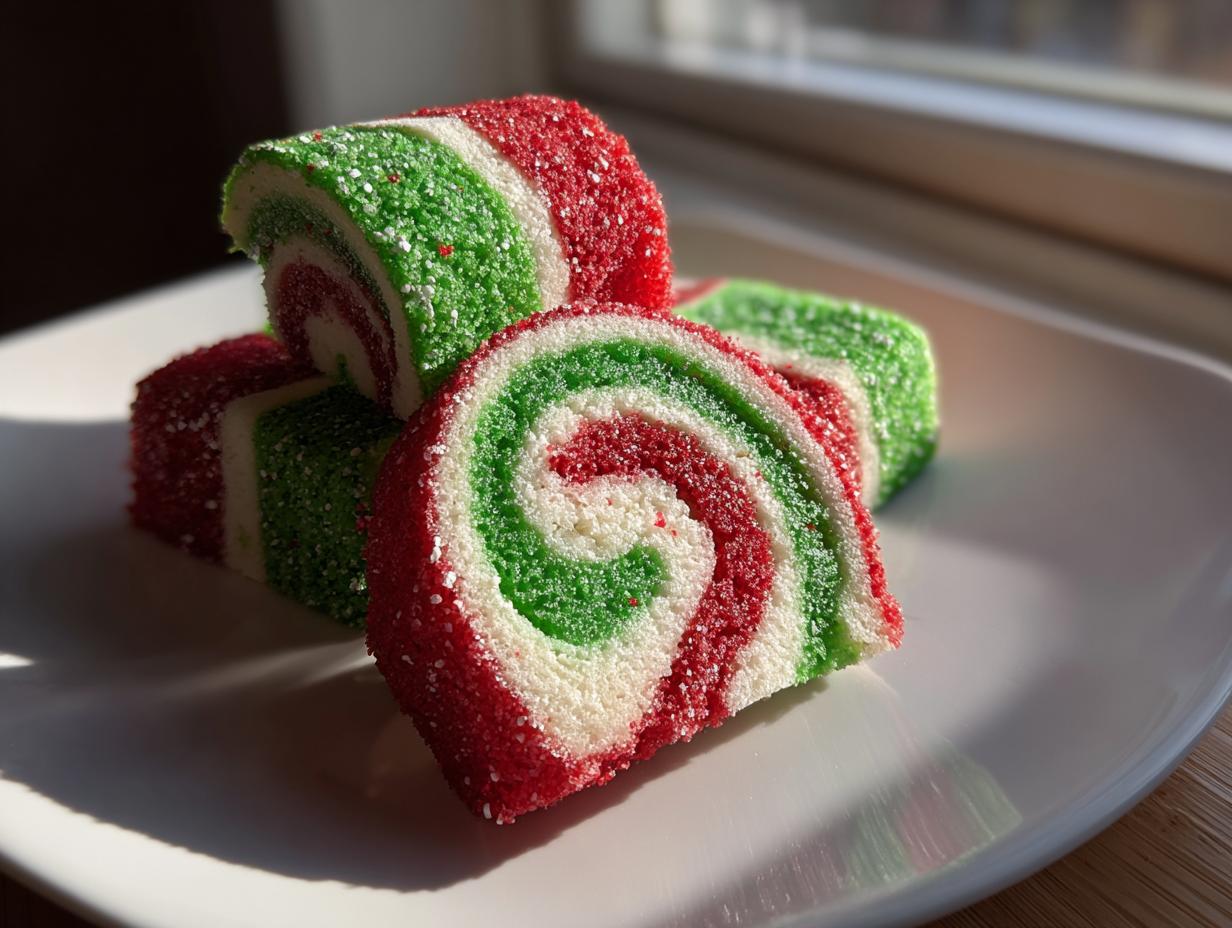
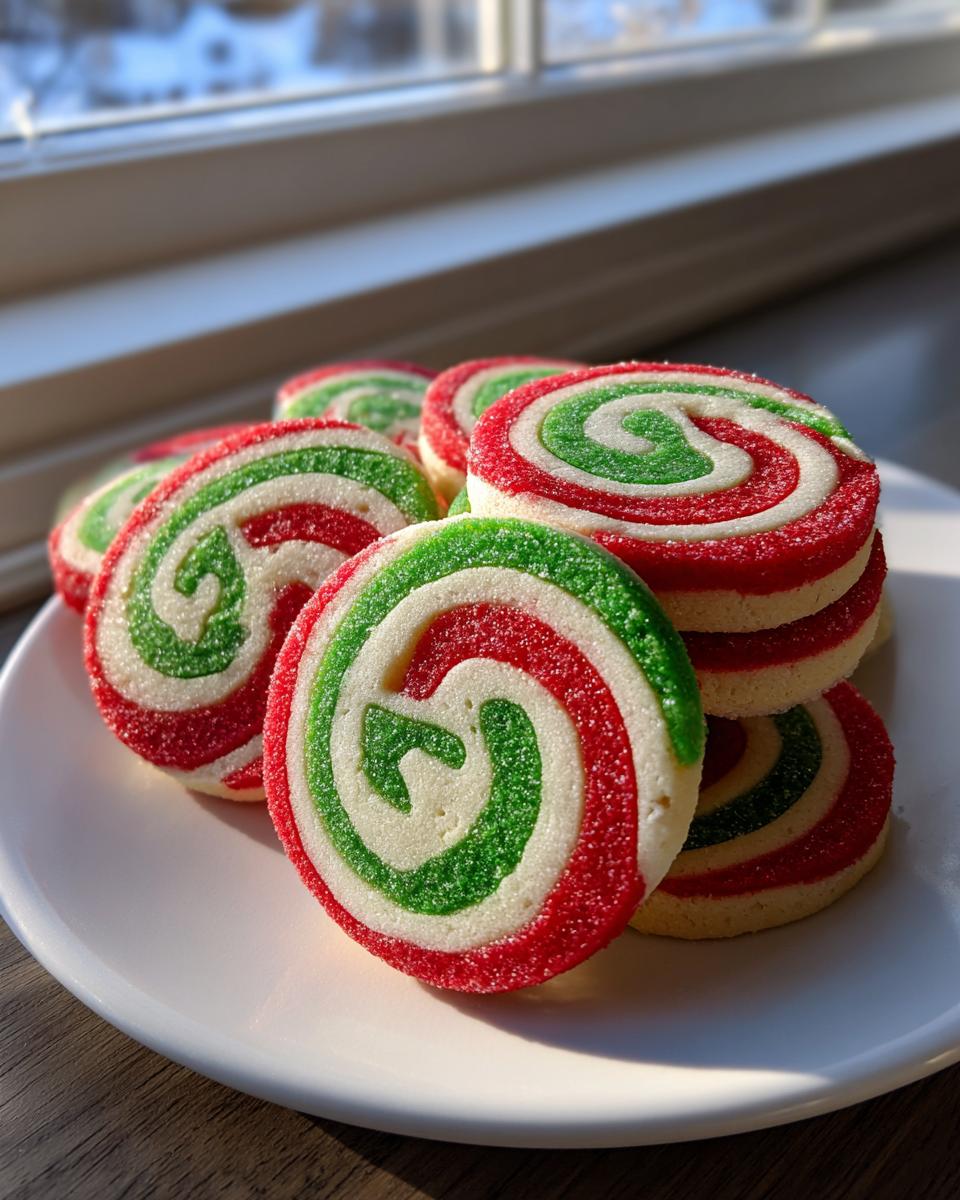
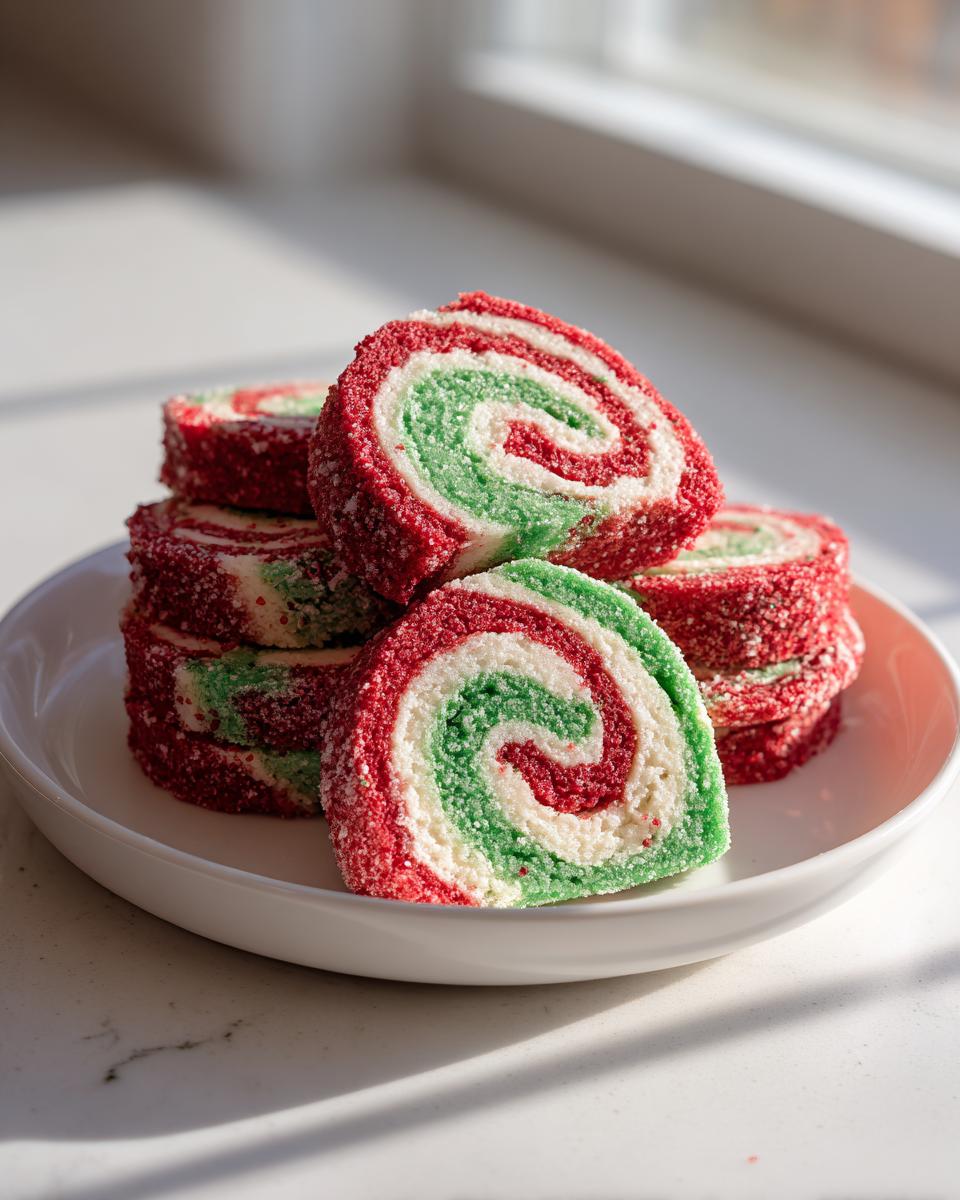
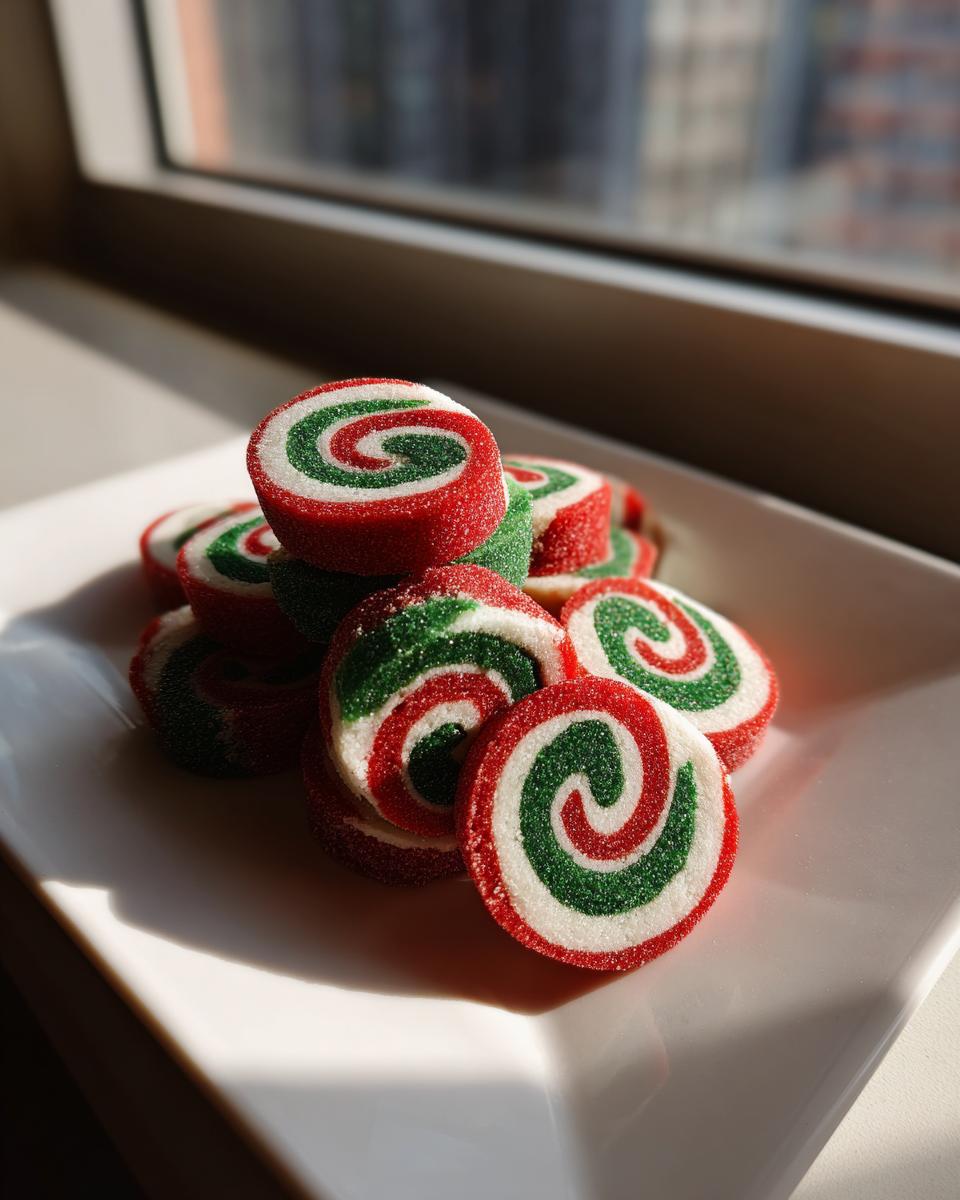
Honestly, what’s the point of baking a holiday cookie if it doesn’t look absolutely stunning stacked up on a platter? I love cookies that draw people in just by how colorful and unique they are, and absolutely nothing beats the visual impact of perfectly formed pinwheel cookies. These aren’t just any sugar cookies; they’re designed to be festive show-stoppers, especially when we use the classic red and green combo for Christmas. We spend so much time getting the dough right because we want those satisfying, clean swirls. Trust me, this slice-and-bake recipe has been tested countless times right here in the kitchen to make sure you get that foolproof spiral—it’s that perfect marriage of color and simple technique that Aria believes in!
- Why These Are the Best Pinwheel Cookies for Your Holiday Tray
- Ingredients for Colorful Layered Pinwheel Cookies
- Mastering the Slice and Bake Technique for Perfect Pinwheel Cookies
- Baking Instructions for Flawless Holiday Cookie Swirls
- Tips for Success When Making Pinwheel Cookies
- Variations on Classic Pinwheel Cookies: Snickerdoodle and Chocolate Swirls
- Storage and Make Ahead Holiday Desserts Using Pinwheel Cookies
- Serving Suggestions for Your Homemade Spiral Cookies
- Frequently Asked Questions About Pinwheel Cookies
- Nutritional Snapshot of These Festive Cookies
- Share Your Festive Cookie Creations
Why These Are the Best Pinwheel Cookies for Your Holiday Tray
If you’re anything like me during the holiday rush, you need cookies that look like you spent all day on them but actually didn’t! That’s the magic of these slice and bake cookies. You do the hard, slightly fiddly layering work once, chill it down until it’s rock hard, and then you have edible art ready to go!
They instantly elevate any platter of festive cookie baking ideas. You just pull the log out, slice, and bake! This method is a huge time saver compared to rolling out dozens of individual shapes.
Here’s why these are my go-to holiday swirls:
- They are absolutely perfect for making ahead—you can freeze the dough log for weeks!
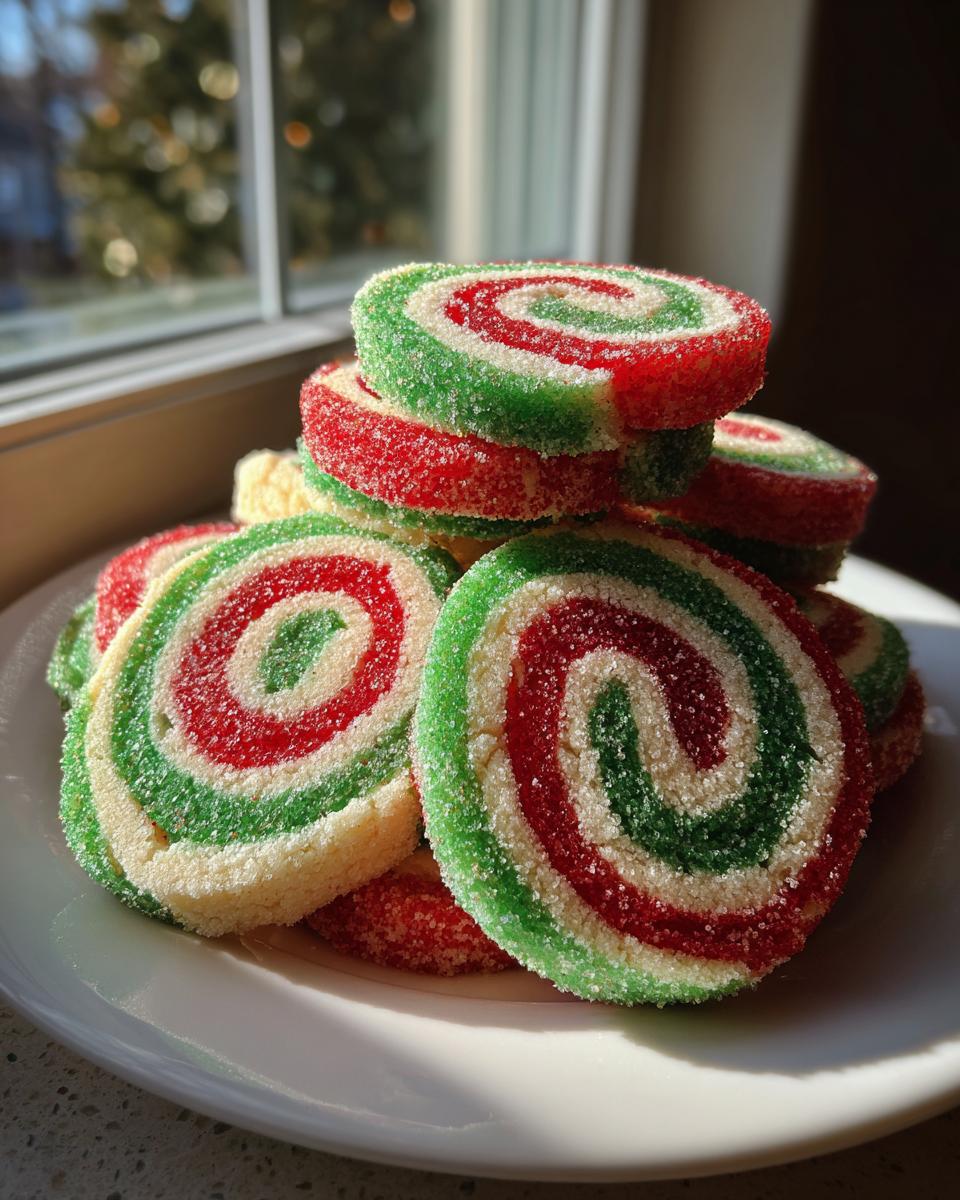
- The final look is vibrant and striking; those clean spirals always get compliments.
- Because they are butter cookies at heart, they have that amazing crisp edge and tender center we all crave.
Ingredients for Colorful Layered Pinwheel Cookies
To get those super vibrant, punchy colors that really make the layers pop in your pinwheel cookies, you absolutely must use gel food coloring. Trust me on this, liquid coloring just won’t cut it; it waters down the dough! We’re aiming for the classic red, white, and green here, but remember, you can easily swap the green for cocoa powder to make amazing Chocolate Vanilla Pinwheel Cookies instead!
Dough Components for Pinwheel Cookies
When you gather everything, make sure your butter is truly softened, not melted—that’s important for our texture! You will need one cup of unsalted butter, softened. Then one cup of granulated sugar, and one large egg right out of the fridge. Don’t forget one teaspoon of vanilla extract. For the dry goods, grab three cups of all-purpose flour, one teaspoon of baking powder, and half a teaspoon of salt. Finally, get your red and green gel food coloring, and some extra granulated sugar just for rolling later.
Mastering the Slice and Bake Technique for Perfect Pinwheel Cookies
Okay, friends, this is where the visual payoff happens, but it takes a little patience! The successful execution of these simple slice and bake spirals hinges entirely on how you handle the dough *after* you mix it. Remember, we want those crisp, clean patterns when we cook them, and that means chilling, chilling, and then chilling some more. Don’t rush this part, or those beautiful colors will just bleed together into a muddy mess.
Once you get all the dough components mixed up, we divide it into three equal piles. This is a critical moment! Use your gel food coloring to dye two bowls—I use red and green—and leave the third one plain white. Make sure you mix that color all the way through until you have three solid, vibrant colors. Then, wrap each one up tightly.
Preparing and Coloring the Three Dough Layers
Seriously, don’t skimp on the coloring! Getting those deep, saturated shades is what makes these such amazing colorful layered cookies. Once the colors are uniform, wrap each color and banish them to chill for at least an hour. They need to firm up enough so you can roll them out thinly without tearing or pulling back significantly—that’s the secret for beautiful pinwheel cookies!
The Essential Chilling and Rolling of Pinwheel Cookies
This layering process is like making a little edible wrap. You want all three rectangles—white, red, green—to be rolled out to roughly the same size, maybe an eighth of an inch thick. A little tip from my notebook: use a ruler or just keep squaring off the edges while you roll to maintain a consistent thickness; that means your final cookie won’t bake unevenly! Then, carefully stack them, peel off the plastic wrap layers, and roll that whole stack as tightly as you can into a log. That tight roll defines your spiral! Wrap it again and pop it back in the fridge for a minimum of two hours. That second chill locks in your gorgeous swirling design!
Baking Instructions for Flawless Holiday Cookie Swirls
Now for the fun part—turning that chilled log into beautiful treats! First thing, get that oven warmed up to 375 degrees Fahrenheit. While it’s heating, line your baking sheets with parchment paper—I learned the hard way dealing with sticky sugar cookies before I started using it! That sugar coating we’re about to add can caramelize fast, and the parchment saves your cleanup time, promise.
Take the rock-hard dough log out and pour some extra granulated sugar onto a plate. Roll that entire surface of the log in the sugar until it looks sparkly and totally coated. This gives you that lovely, slightly crisp finish that really defines the Butter Cookies Swirl Pattern.
Use a sharp knife to slice the log into rounds about 1/4-inch thick. If the knife drags, stop! Put the log back in the freezer for 10 minutes; it slicing cleaner when it’s fully firm. Place them about two inches apart on the baking sheet.
Bake these beauties for just 8 to 10 minutes. You want the edges to look set, but don’t let the centers get dark or hard! They should still look a little soft when you pull them out. They finish baking on the hot tray, so pull them slightly early to guarantee a tender center. Let them rest for five minutes before moving them to a rack!
Tips for Success When Making Pinwheel Cookies
If you want these pinwheel cookies to look exactly like the picture—sharp, colorful, and perfectly round—you just need to pay attention to a couple of temperature and measurement details. Don’t worry about needing a complicated easy cookie swirl template; it mostly comes down to handling the dough correctly! I recommend keeping everything in the colder zone and using a ruler when you roll out those layers if you want that professional look. It makes a huge difference in keeping those beautiful design elements clean.
Troubleshooting Common Pinwheel Cookies Issues
The number one disaster is soft dough! If your log starts feeling mushy while you’re slicing, stop immediately. Take the dough log and put it back in the freezer for about 10 minutes. It needs to be firm so the layers don’t smear together when the knife goes through. Also, if you notice your colors are already blurring before baking, it usually means your dough wasn’t cold enough after that final roll.
Variations on Classic Pinwheel Cookies: Snickerdoodle and Chocolate Swirls
While the red and green are fantastic for the holidays, these pinwheel cookies base recipe is so versatile! If you’re tired of food coloring, turning them into Chocolate Vanilla Pinwheel Cookies is ridiculously easy. Before chilling the dough, take the plain white dough portion and mix in about 2 tablespoons of good quality unsweetened cocoa powder until it’s nicely marbled or fully combined for a dark brown dough. That gives you a stunning chocolate and vanilla swirl!
We can also pivot into a completely different flavor profile with a Snickerdoodle Pinwheel Recipe. For those, you skip the food coloring entirely. After you wrap and chill that final, layered log, instead of rolling it entirely in plain sugar (Step 10), you roll it generously in a mix of cinnamon and sugar. It gives you that tangy, classic snickerdoodle flavor hidden inside a gorgeous spiral—it’s such a fun twist on a standard cookie!
Storage and Make Ahead Holiday Desserts Using Pinwheel Cookies
One of the absolute best things about this recipe is how brilliant these are for planning ahead! Because they rely on chilling that dough log, these are truly fantastic make ahead holiday desserts. You can wrap that colored dough log super tightly in plastic wrap after you seal the seam in Step 9, and pop it straight into the freezer.
It stays perfectly good in there for up to three months! When company comes over unexpectedly, or you realize you forgot cookies for the office party, you just pull that frozen log out. Let it sit on the counter for maybe 20 minutes—just long enough so you can slice it without breaking your good knife—and bake them fresh!
Once they are completely cooled, store your finished pinwheel cookies in an airtight container at room temperature. They hold their buttery texture really well for about five or six days. They’re designed to look incredible days after baking, making them a true staple for any big holiday baking spread!
Serving Suggestions for Your Homemade Spiral Cookies
These homemade spiral cookies look almost too pretty to eat, but they deserve to be enjoyed! They are perfectly sweet and buttery on their own alongside a huge mug of hot coffee or a tall glass of cold milk—I’m a classic milk girl myself, especially for Christmas cookies.
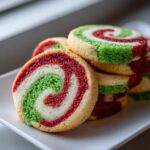
When you’re packaging them up for neighbors or setting them on your dessert table, try mixing them in with something plain, like a simple shortbread, so the vibrant swirls really stand out. They stack beautifully, too, which makes them ideal for gifting in little cellophane bags tied with a bright red ribbon. They really are the easiest way to look like a professional baker!
Frequently Asked Questions About Pinwheel Cookies
You’ve baked a batch of these gorgeous pinwheel cookies, but maybe you have a question popping up about the technique or storage! I get so many messages asking about the chilling, so let’s clear up the biggest mysteries right here. Knowing these little secrets means less stress in your kitchen and better results every single time you fire up the oven!
Can I make these pinwheel cookies without chilling the dough?
Oh honey, please don’t even try it! The answer is a definite *no*. Chilling isn’t just a suggestion here; it’s absolutely essential for success when making any swirl cookies easy recipe. If you skip that crucial chilling time, the dough will be too soft when you try to slice it. Instead of clean rounds, you’ll end up with blobs where the colors smear together, and they’ll spread out flat in the oven. That one hour (or two!) of chilling is what guarantees you get those beautiful, defined spirals we worked so hard to create.
What is the best way to store baked pinwheel cookies?
These are butter cookies, so we need to keep the air out so they stay wonderfully crisp on the edges but still soft inside. Once your cookies are totally cool—and I mean completely cool—stack them gently into an airtight container. Seriously, pop that lid on tight! If you store them at room temperature, they are usually perfect for almost a week. I wouldn’t recommend the fridge because sometimes moisture gets trapped and makes them a little soft, and we want to preserve that beautiful slice!
I also get asked about liquid food coloring a lot—stick to the gels! Liquid will throw off your dough consistency, and you won’t get those sharp lines you’re looking for in these pinwheel cookies.
Nutritional Snapshot of These Festive Cookies
I always try not to look too closely at the numbers during the holidays, but I know some of you like to plan ahead! Based on the ingredients we used in this full batch of pinwheel cookies, one single cookie comes out to about 140 calories. You’ll get about 7 grams of fat and 11 grams of sugar in that little swirl.
Remember, this is just an estimate because we are using real butter and real sugar here. Everything is made from scratch, so consider this a snapshot of deliciousness, not a strict dietary analysis—enjoy them!
Share Your Festive Cookie Creations
I truly hope these pinwheel cookies bring some cheer to your kitchen! Once you’ve baked your batch of beautiful colorful layered cookies, I would absolutely love to see them! Please hit that five-star rating button at the top of the page if these were a hit at your gathering.
If you snap a photo of your stunning swirls, share it on social media and tag us—it makes my whole day! If you run into any tricky spots or have a question that didn’t get covered, don’t hesitate to reach out via the contact page. Happy baking!
PrintEasy Slice-and-Bake Christmas Pinwheel Cookies
Make visually appealing, festive pinwheel cookies using this simple slice-and-bake sugar cookie recipe featuring red and green swirls. These are perfect for holiday trays and cookie exchanges.
- Prep Time: 45 min
- Cook Time: 10 min
- Total Time: 3 hours 55 min
- Yield: 3 dozen cookies 1x
- Category: Dessert
- Method: Baking
- Cuisine: American
- Diet: Vegetarian
Ingredients
- 1 cup unsalted butter, softened
- 1 cup granulated sugar
- 1 large egg
- 1 teaspoon vanilla extract
- 3 cups all-purpose flour
- 1 teaspoon baking powder
- 1/2 teaspoon salt
- Red food coloring (gel preferred)
- Green food coloring (gel preferred)
- Extra granulated sugar for rolling
Instructions
- Beat the softened butter and 1 cup of sugar together in a large bowl until light and fluffy. Beat in the egg and vanilla extract.
- In a separate bowl, whisk together the flour, baking powder, and salt. Gradually add the dry ingredients to the wet ingredients, mixing until just combined into a dough.
- Divide the dough evenly into three separate bowls. Leave one bowl plain (this will be white). Add several drops of red food coloring to the second bowl and mix until the color is uniform. Add several drops of green food coloring to the third bowl and mix until the color is uniform.
- Wrap each color of dough separately in plastic wrap and chill in the refrigerator for at least 1 hour, or until firm enough to handle.
- Prepare two large sheets of plastic wrap on your counter. Take the white dough and roll it out between the two sheets of plastic wrap into a rectangle approximately 1/8 inch thick.
- Repeat the rolling process for the red dough and the green dough, aiming for the same size rectangle as the white dough.
- Carefully peel the top layer of plastic wrap off the white dough rectangle. Place the red dough rectangle directly on top of the white dough. Peel off the top layer of plastic wrap from the red dough, and place the green dough rectangle on top of the red dough. You now have three layers stacked.
- Peel off the remaining bottom layer of plastic wrap from the bottom (white) layer. Starting from one long edge, tightly roll the layered dough into a log. Press gently to seal the seam.
- Wrap the log tightly in plastic wrap and chill for at least 2 hours, or until very firm. This step is crucial for clean slices.
- Preheat your oven to 375 degrees Fahrenheit. Line baking sheets with parchment paper.
- Pour extra granulated sugar onto a plate. Unwrap the chilled dough log and roll the entire surface in the sugar until coated.
- Use a sharp knife to slice the log into 1/4-inch thick rounds. Place the slices about 2 inches apart on the prepared baking sheets.
- Bake for 8 to 10 minutes, or until the edges are lightly set. The centers may look slightly soft.
- Let the cookies cool on the baking sheet for 5 minutes before transferring them to a wire rack to cool completely.
Notes
- For the best swirl pattern, make sure your dough layers are rolled to the same thickness before stacking.
- If the dough becomes too soft while slicing, return the log to the freezer for 10 minutes before continuing.
- You can substitute chocolate dough for the green or red dough for a chocolate vanilla pinwheel variation.
Nutrition
- Serving Size: 1 cookie
- Calories: 140
- Sugar: 11g
- Sodium: 75mg
- Fat: 7g
- Saturated Fat: 4g
- Unsaturated Fat: 3g
- Trans Fat: 0g
- Carbohydrates: 18g
- Fiber: 0g
- Protein: 2g
- Cholesterol: 25mg